iPhone Camera Not Working? Check Complete Fixes Now
If there’s is only one feature that iPhone users literally drool over, it’s the iPhone camera! From pixel resolution to image quality, ultra wide-angle camera, and more, you get excellency and perfection in every known camera feature. Wait, it doesn't mean you will never get stuck with any camera-related issues.
Were you about to capture a selfie and found your iPhone Camera is not working? Worry not! Whatever the issue your camera is facing, whether it’s a blackout camera screen, a frozen or laggy camera app, or any other, the following fixes have got you covered! Keep in mind these fixes work for all the iPhone models, including the iPhone 14.
- Fix 1: Restart the Camera App
- Fix 2: Restart Your iPhone
- Fix 3: Switch between the Front and Rear Camera
- Fix 4: Clean the camera lens
- Fix 5: [100% Success] Fix iPhone Camera Not Working Quickly
- Fix 6: Update iOS System
- Fix 7: Factory Reset Your iPhone
Fix 1: Restart the Camera App
The first and easiest way to fix the iPhone camera not working is to restart the camera app. Here is how you can do so!
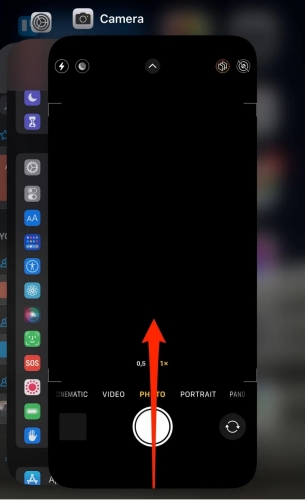
- Just double-tap it to show up the app switcher. However, if you don’t have a Home button, just swipe up from the screen bottom, and on reaching the middle part of your screen, hold your fingers, and release it when the app switcher pops up.
Swipe up to close the app.

- Wait for a few seconds and restart the camera app to check if the iPhone camera not working issue is resolved.
Fix 2: Restart Your iPhone
The following fix is to restart your iPhone. Although it’s pretty easy, we still have a detailed guide to clear out any confusion you have.
1. Press and hold the Power Button and any of the two Volume Buttons on iPhone X or later. Release when the slide to power off the slider shows up. If you have iPhone 8 Plus or earlier, just hold the Power button until the slide to power off slider appears.
2. Drag the slider to the right and wait for a while.
3. Press and hold the Power Button again until the Apple logo pops up on your screen.
Fix 3: Switch between the Front and Rear Camera
Switching between the front and rear camera is another fix that you can try to resolve the camera not working issue. Let’s learn how to do so!
- Launch the Camera app.
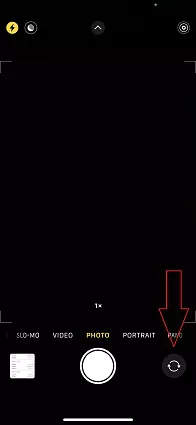
- Spot the Camera Switcher at the bottom right screen corner and tap on it. Wait for a while.
Tap on the Camera Switcher again and verify if your camera has resumed working. If not, move on to the next fix.

Fix 4: Clean the Camera Lens
This can be done in several ways; below, we will explain the simplest of all the ways to clean a camera lens in a matter of a few minutes.
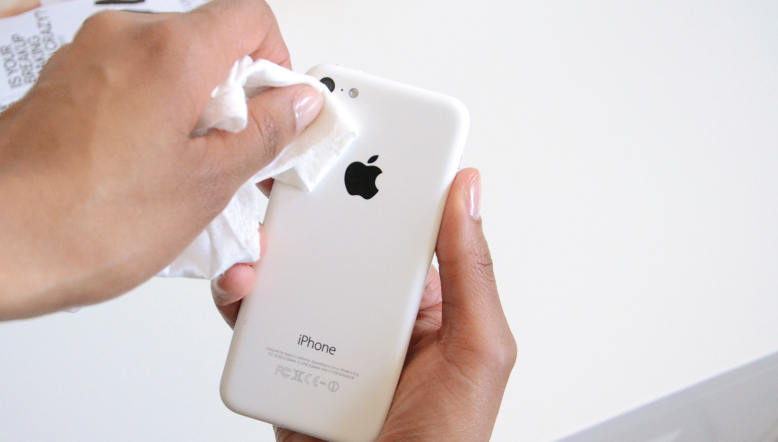
Step 1: Take a clean microfiber cloth. Ones used to clean eyeglasses will be perfect to use. If your cloth is not new, be sure to completely clean it.
Step 2: Now, use it to gently wipe all the stains, fogginess, fingerprints, and dust off the camera lens.
Fix 5: [100% Success] Fix iPhone Camera Not Working Quickly
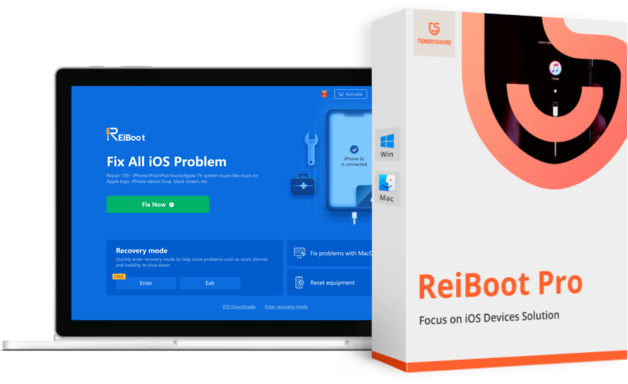
You can also get help from third-party recovery software, and when it comes to such software, the very first name that pops into mind is the Tenorshare ReiBoot. It’s an ideal all-in-one solution, as it not only recovers the iPhone camera but fixes all the issues faced by your device with a 100% success guarantee.
Below we have compiled a detailed guide on using this software; let’s have a look at it!
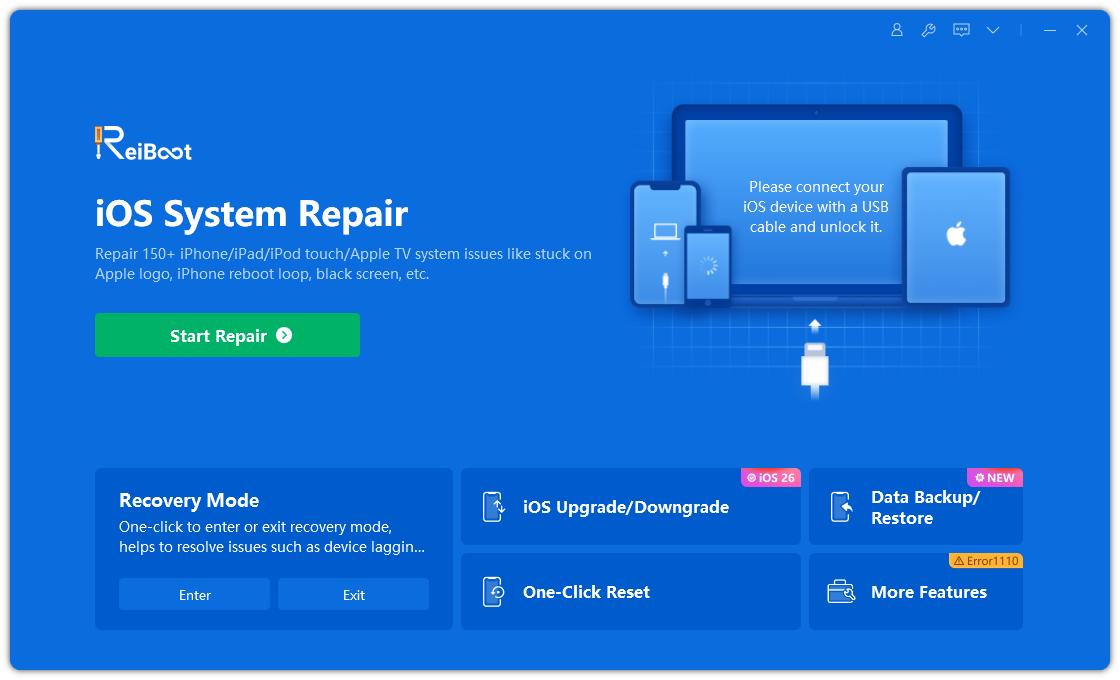
Go to the official Tenorshare ReiBoot to download and install the software on Mac or Windows. Once the installation terminates, launch the software, and connect your iPhone to the computer. Click "Start" button, then hit the Start button to use the recovery tool.

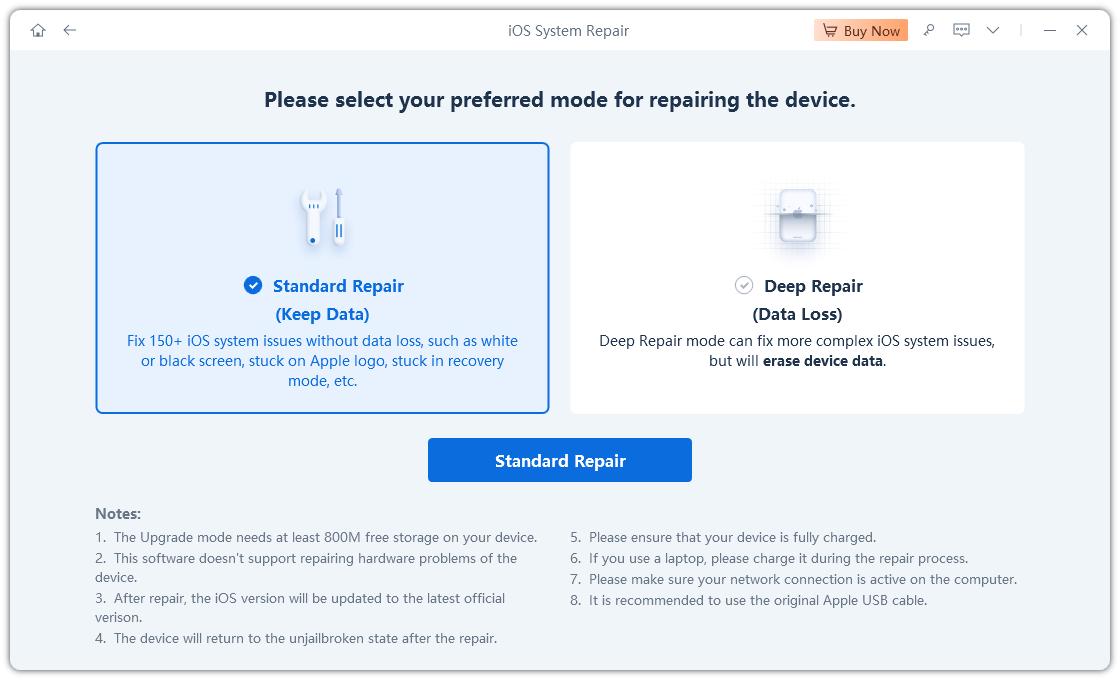
In the following window, choose Standard Repair.

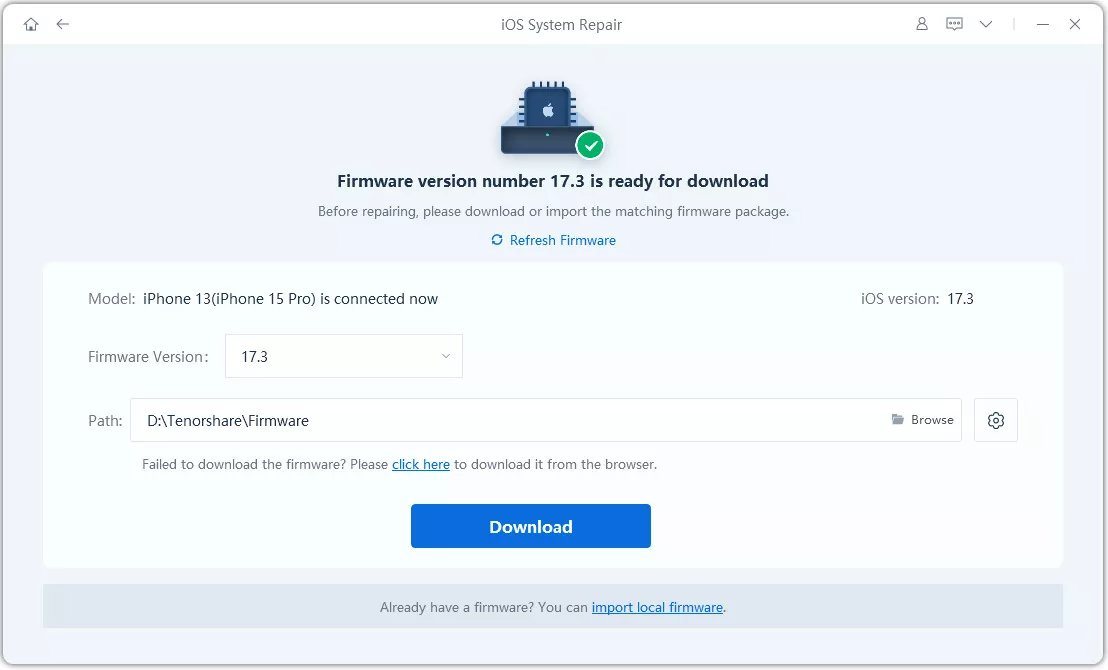
Now hit Download to download the firmware package. Wait for a while until the process terminates.

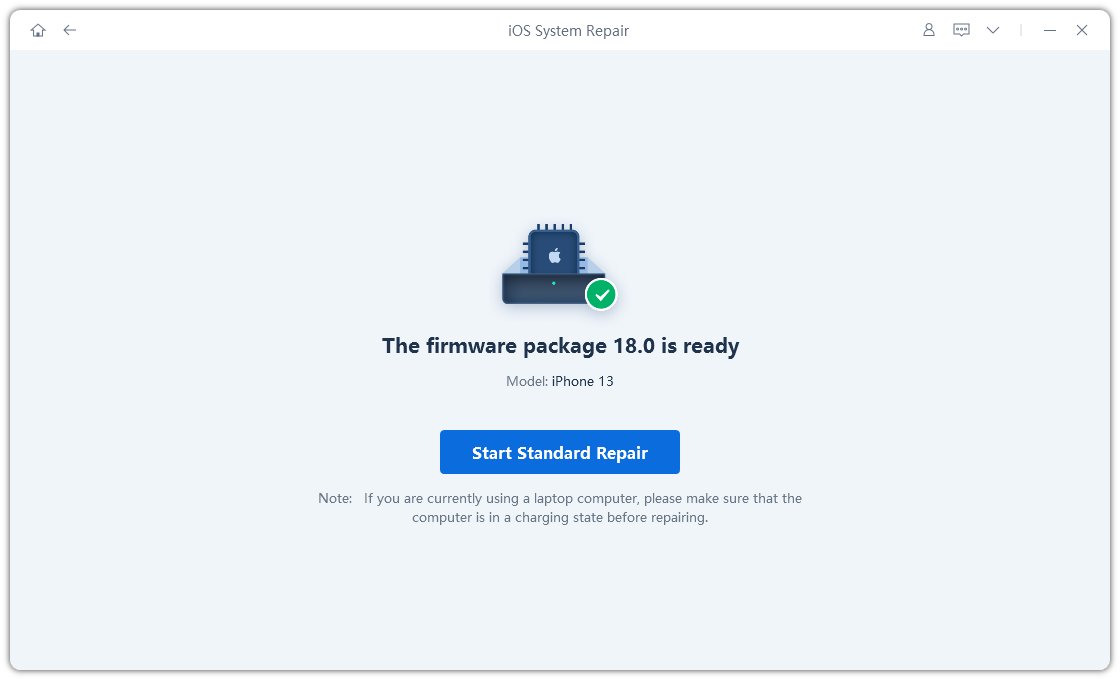
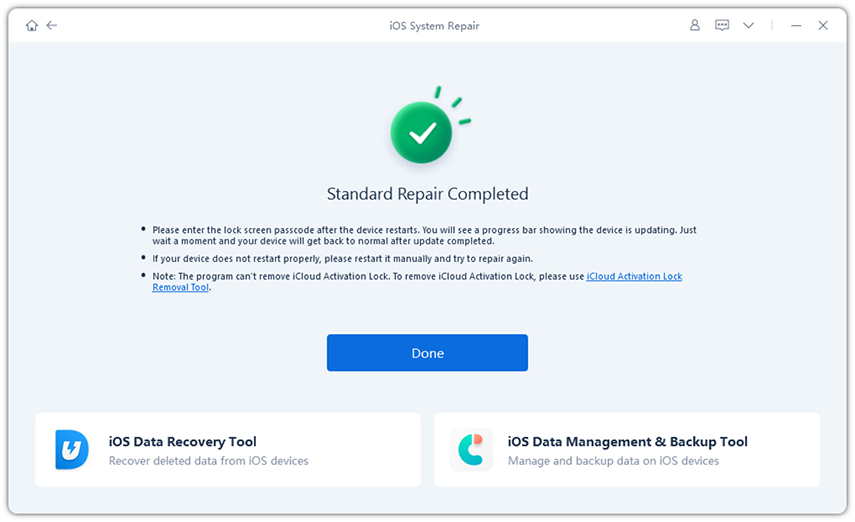
Once you are done with downloading it, select Start Standard Repair to begin the process of system recovery.The Standard Repair will complete in a few steps and your device will automatically reboot.


Fix 6: Update iOS System
Here is a step-by-step guide on how you can update the iOS system to get rid of the iPhone camera not working issue.
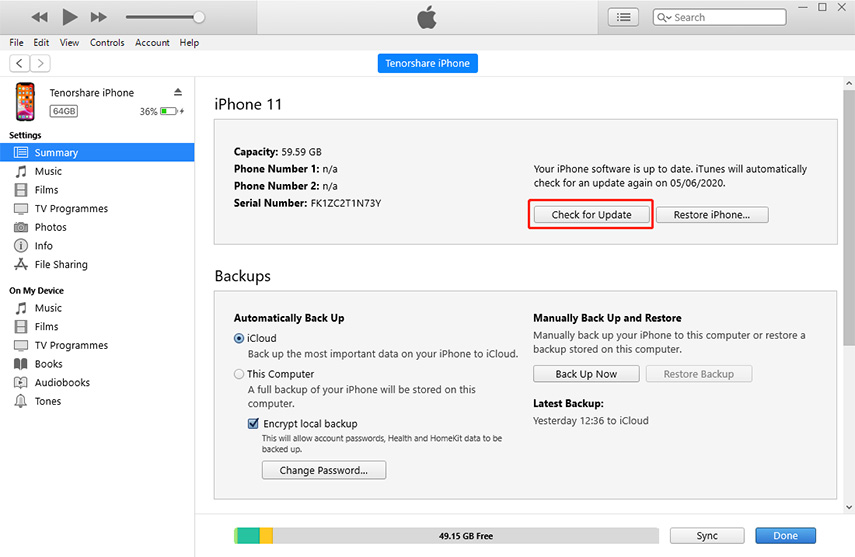
- Connect your iPhone to your computer via a charging cord, and lunch iTunes.
- Find iPhone in the Devices list and tap on it.
Hit the Check for Update option.

- If available, select Download and Update to install the iPhone update.
Fix 7: Factory Reset Your iPhone
The last fix to try out is to factory reset your iPhone. Back up all your data and follow the steps below to fix the iPhone camera not working.
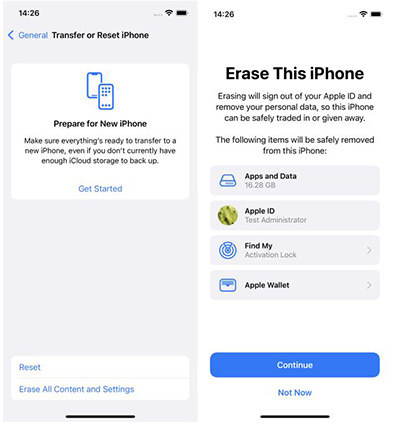
- Go to Settings.Select General and choose Transfer or reset the phone.
- Hit Erase all content and settings.
- Choose to Continue and proceed with inserting your passcode.
Now, your iPhone will back up to the cloud. You will be able to continue if the backup is done. Otherwise, you will be prompted to Erase it Anyway. If you have already done a backup, skip this step.

Check if your iPhone is restored and the camera has resumed working. If it’s still facing an issue, it might be due to some breakage or physical damage caused to the camera. To fix that, you have to contact Apple Support or access them by hoping inside the nearby Apple franchise.
Conclusion
That was all about the fixes that you can try out to answer the query about how to fix the iPhone camera not working issue. Although all are easy to opt for and resolve the issue successfully, one which will surely work for you with a 100% success guarantee is using Tenorshare ReiBoot. Hope you find our brief yet a comprehensive piece of information worth reading!
- Downgrade iOS 26 to iOS 18 ;
- Fix iPhone won't restore in recovery mode, my iPhone is stuck on the Apple Logo,iPhone black screen of death, iOS downgrade stuck, iPhone update stuck, etc.
- Support all iPhone models and the latest iOS 26 and earlier.
Speak Your Mind
Leave a Comment
Create your review for Tenorshare articles
