then write your review
UltData - Best iPhone Data Recovery Tool
Recover Deleted & Lost Data from iOS Devices Easily, No Backup Needed!
UltData: Best iPhone Recovery Tool
Recover Lost iPhone Data without Backup
Many people are starting their careers on YouTube. Making exciting content for audiences worldwide and gaining popularity on social media is the new way to earn quick fame and lots of cash. Luckily, the process is not that difficult either. All you have to do is create an account on YouTube, make it public, and upload video content online. However, most content creators and beginners on YouTube don't know how to upload video from Google Photos to YouTube.
Since a lot of content is saved on smartphones and clouds, not knowing how to upload it directly can be frustrating. If you are having similar problems, here is everything you need to know about it.
It may surprise some of you, but you could upload video to YouTube from Google photos directly just a while ago. It was a simple process, and content creators enjoyed using it very much.
However, in the recent past, many creators have complained that the feature is no longer available on their YouTube accounts. They are now concerned about whether it is even possible to directly upload the content from Google Photos to their YouTube accounts. Conveniently, if one door closes, another opens. So, yes, there is an alternative way of doing this.
The following are the steps to directly upload video to YouTube from Google Photos without downloading it:
Step 2: You will immediately notice an Upload button on the upper center of this page. Click it.
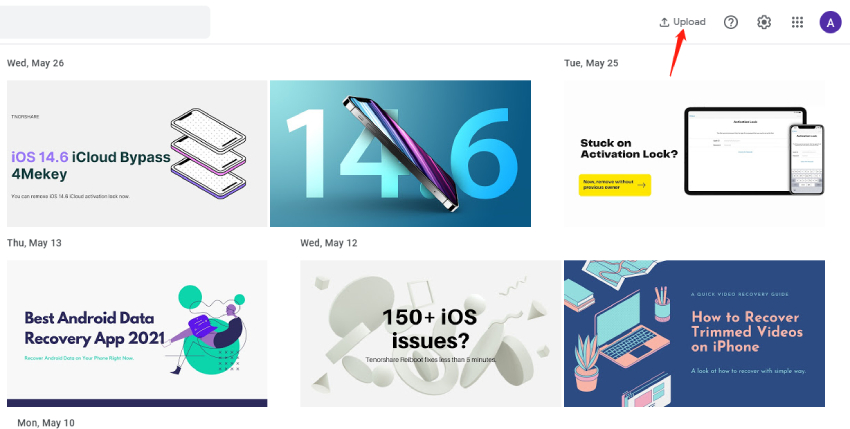
Step 3: You will see a pop-up. Click on Google Drive.

Step 4: Select the content that you wish to upload on your YouTube account.
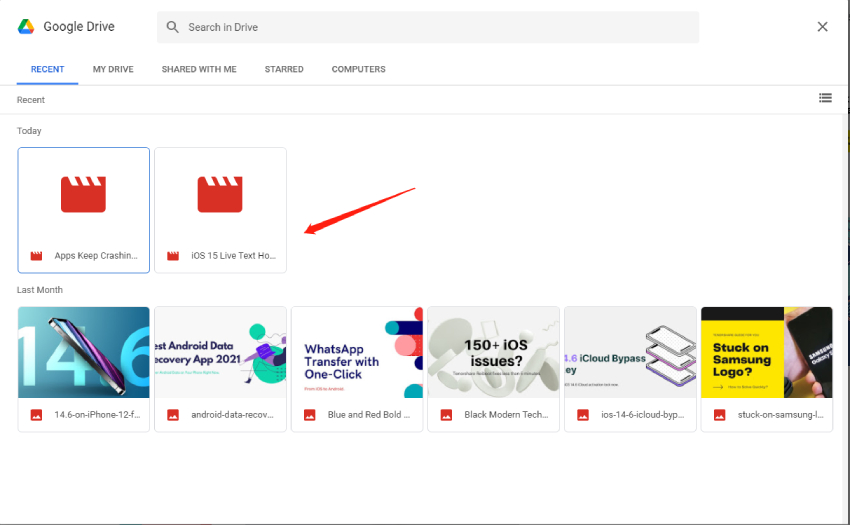
However, this conventional way of content transfer can be lengthy, time-consuming, and quite frustrating, to be honest. Content creators are not fans of this new method, but they are taking the time to adapt.
Interestingly enough, there are two ways to indirectly upload your content from Google Drive to YouTube without having to go through all that hassle.
Search for YouTube Uploader For Dropbox, Drive on your web browser and click on the first link provided by Google Chrome itself. This uploader will help you import videos from Google photos to YouTube. It will locate the videos on your Google Drive and allow you to upload them directly to your YouTube account.
If you want to edit the title and description of the video, you can open your YouTube app. Open the video you just uploaded and edit its details.
You can also click on Add To Chrome to make sure you never lose the link, and it's always there as soon as you open the browser.
A lot of times, content creators lose their videos while trying to upload them. Undoubtedly, nothing hurts a content creator more than losing a video that they spent hours creating and editing. Thankfully, today, there is a way of recovering those videos, and it's called Tenorhsare UltData. UltData is an iPhone data recovery tool that allows users to recover photos, videos, messages, and other deleted items. UltData for Android even offers data recovery services to android users and brings back anything you accidentally deleted. What's more, it's not even that complicated to use. Here are the four easy steps of getting your videos back using UltData:
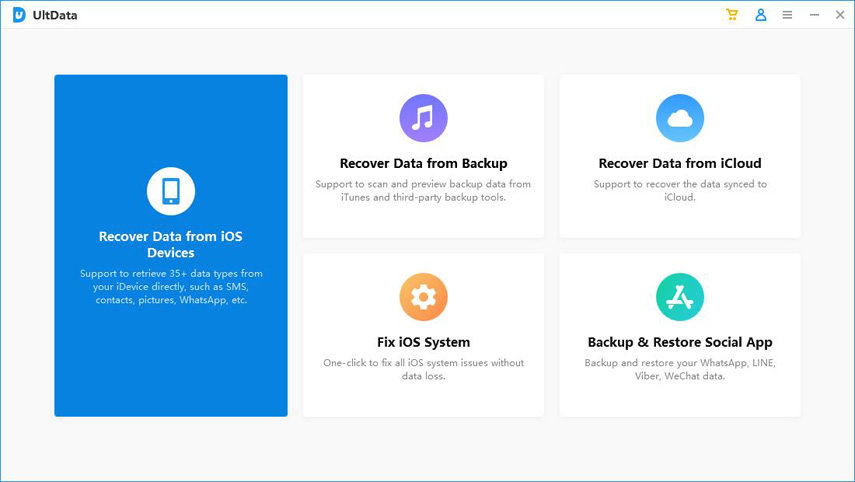
Download UltData on your phone or computer and open it. Select Recover Lost Data.
Connect your iPhone or Android phone to the computer via a USB cable and make sure it's on. If the device is not connected, follow the steps on the screen.
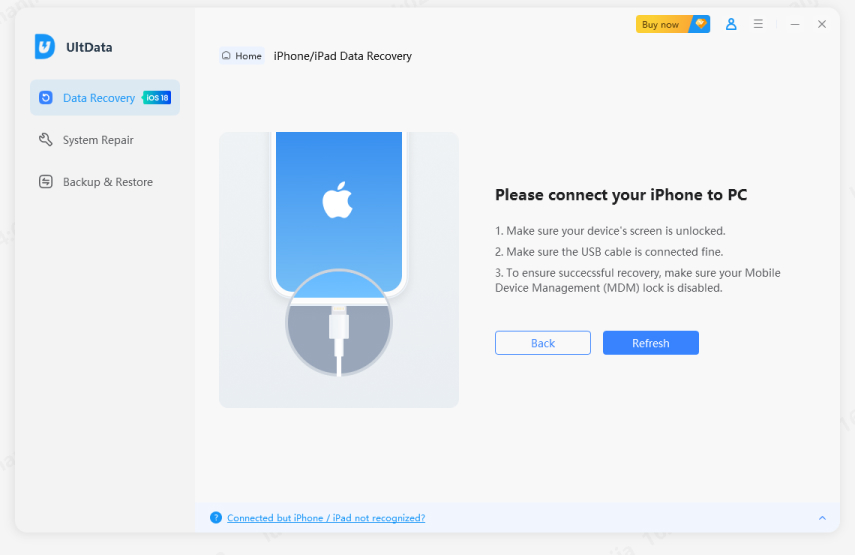
Once the application detects your phone, it will automatically show data files you can

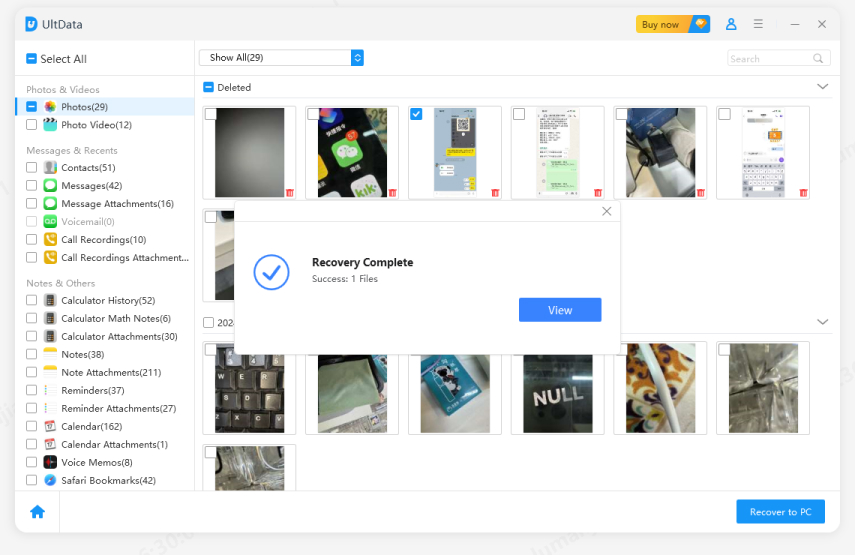
You can through the media files and preview the items that you want to recover. Tick the item you want back.
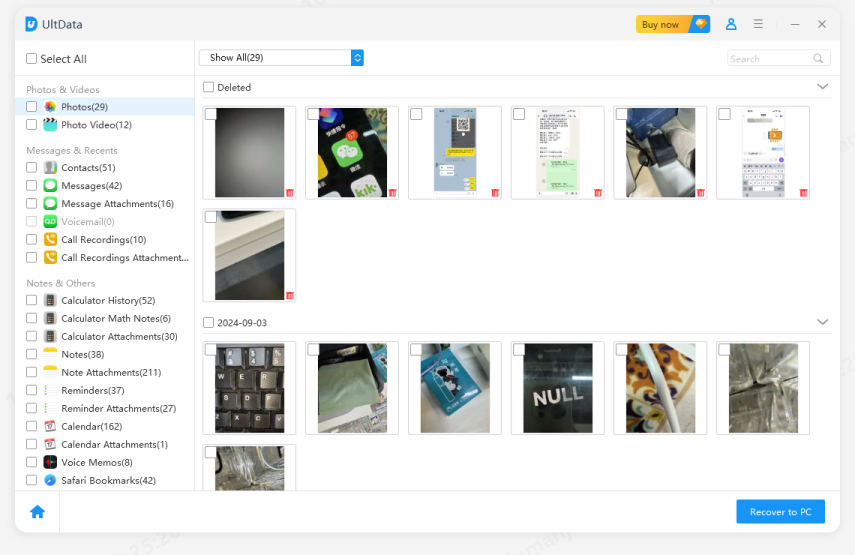
Click on "Recover" to re-download the chosen items to your Android phone, computer, or iPhone.
Hopefully, now you know how to upload Google photo video to YouTube directly without going through a thousand different steps. It is going to take some time to get used to these new ways of uploading, but we will get the hang of it sooner or later! And, as a bonus, now you know what to do if you accidentally end up deleting your YouTube content. It can be a frustrating situation to be in, but UltData will have your back during the tough times!
then write your review
Leave a Comment
Create your review for Tenorshare articles
By Jenefey Aaron
2026-02-08 / Cloud Merge