How to Convert HEIC to JPG on PC Quickly and Easily in 2025
HEIC is the default photo format capture on iPhones. Photos taken in HEIC take up less space and can store more details in the same MP count. However, if you’re trying to post iPhone photos on a third-party website from a PC or Mac, that website may not accept HEIC file format.
That’s why many users wonder how to convert HEIC to JPG on PC free. If you’re one of those and are looking for some reliable methods to convert your HEIC photos to JPG, this article has got you covered.
- Part 1: What’s the Difference between HEIC and JPG Format?
- Part 2: Convert HEIC to JPG on Windows
- Part 3. Convert HEIC to JPG on Mac
- Part 4: How to Batch Convert HEIC to JPG in one Go on PC
Part 1: What’s the Difference between HEIC and JPG Format?
High Efficiency Image Container is referred to as HEIC. It is a modernized version of the High Efficiency Image Format (HEIF), which Apple has utilized on all of its mobile devices. For HEIF photos, Apple utilizes HEIC. Thanks to cutting-edge compression technology, HEIF essentially saves images in higher quality than JPEG while still taking up less space. While.
While the Joint Photographic Experts Group is referred to as JPEG. It has been the standard file format for digital photographs ever since photographers started taking and storing pictures on digital cameras and other reproduction tools.
Which one is better?
In image quality, HEIC owns a higher image quality than the jpg format. And HEIC takes less storage space on your device than the JPG format. However, JPG format is almost compatible with all websites or apps.
Part 2: Convert HEIC to JPG on Windows
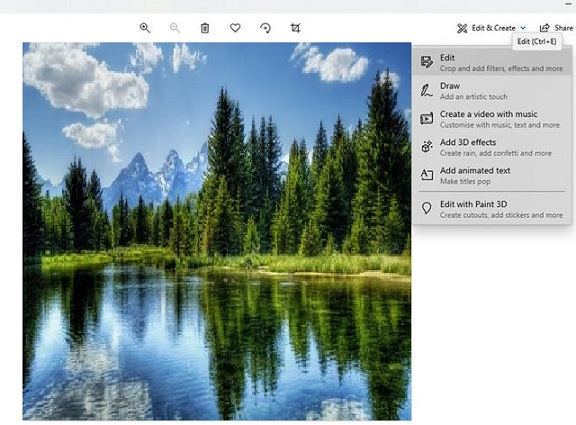
If you are a Windows user and wondering how to convert HEIC to JPG Windows 10, this section is for you. Luckily, you don’t need to download any third-party app to convert HEIC to JPG Windows; you can do it using the system Windows Photos app.
To convert HEIC to JPG Windows 10, follow the below-mentioned steps:
Navigate to the HEIC image you want to convert to JPG. Right-click on the image and select “Edit in Photos” (You may need to install an additional codec).

- When the Photos app is loaded, tap “Save a copy” in the bottom right corner.
- When the Save window appears, select the location where you want to save the JPG image. Make sure JPG is selected in the “Save as type” drop-down menu. Hit “Save”.
Part 3. Convert HEIC to JPG on Mac
There are two ways you can convert HEIC to JPG on Mac. Let’s look at both of them one by one.
1. Conver HEIC to JPG on Mac by Photos
You can use the system Apple Photos app to convert HEIC to JPG Mac. To change HEIC to JPG Mac, follow the below-mentioned steps.
- Make sure the photo you want to convert is added to your Apple Photos library.
- Open the Photos app and find the photo you want to convert.
- Select the photos you want to convert; you can select more than one photo at a time.
- In the top menu, select File > Export > Export Photos.
In the Photo Kind drop-down menu, select JPG. Select the destination where you want to save the photo. Click “Export”.

Your photos will now be converted and saved in JPG format in your selected destination.
2. Change HEIC to JPG on Mac Using Preview
Another way you can convert HEIC to JPG on Mac is through the Preview app. If you’re not already familiar, the Preview app lets you have a quick and effortless look at almost any common file type.
Plus, the Preview app also has a handy feature that lets you export HEIC to JPG Mac. To do that, follow the steps.
- Open Finder and navigate to the folder that contains the image file you want to convert.
- Select the file you want to convert, then press the Space bar on your keyboard to open Preview.
- When the image is open, hit “File” in the menu bar.
Select Export. Select JPG file format from the Format drop-down menu. Click “Save”.

Your HEIC image file has now been successfully converted and saved in JPG format.
Part 4: How to Batch Convert HEIC to JPG in one Go on PC
The last, and arguably the most efficient way to convert HEIC photos to JPG is through Tenorshare iCareFone.
Alongside being your all-in-one iPhone data management tool, iCareFone is now also your HEIC to JPG converter Windows. This handy tool lets you convert a batch of HEIC photos to JPG with just a few clicks. The conversion is faster than almost all the other HEIC converters. The best part about iCareFone is, it can convert several HEIC photos to JPG at once. To be precise, you can select up to 1000 photos at once and convert them to JPG.
iCareFone works with Windows 10 and Windows 11. On the Mac side of things, it supports almost all the iMacs, MacBooks, and Mac Pros. It also supports the latest iOS 15 version.
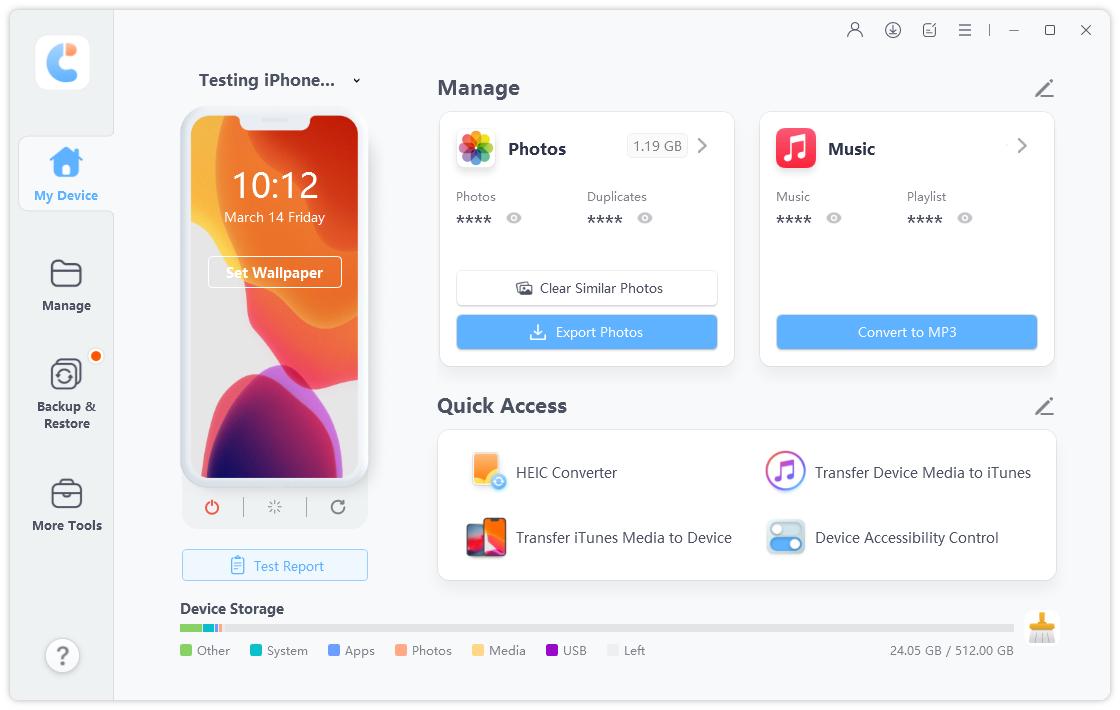
Download and launch iCareFone on your computer. Connect your device to the computer and then choose “HEIC Converter” from the main interface.

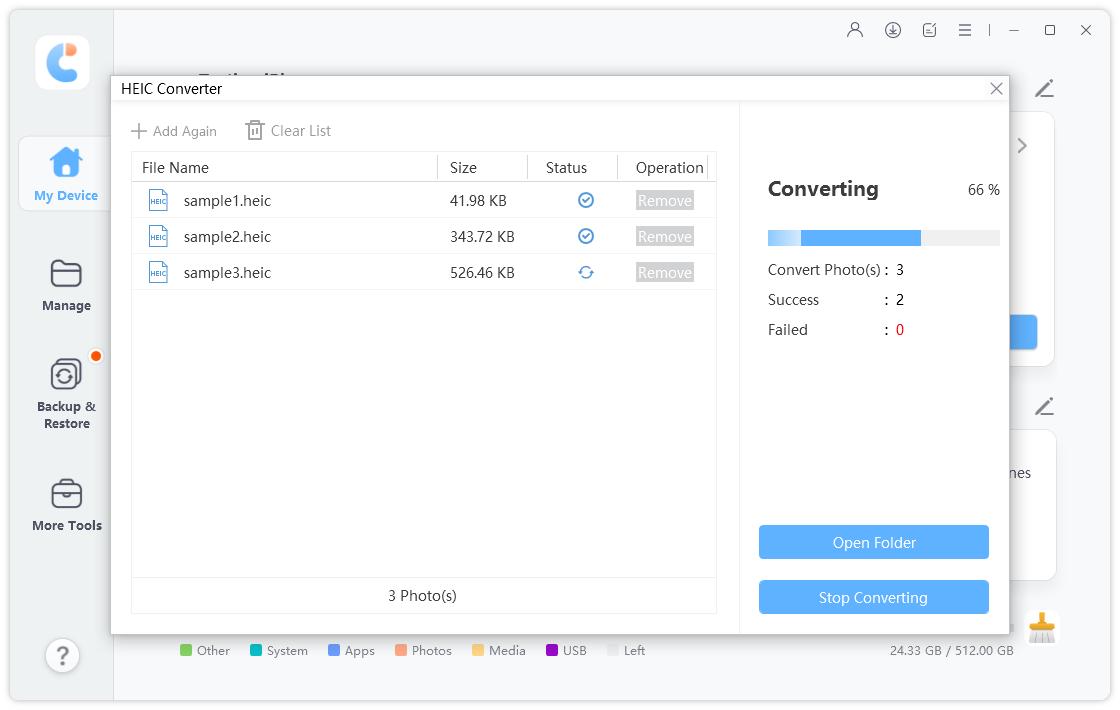
Then you need to select HEIC photos. If need to convert more than one photo, you can click “Select Folder” to batch import HEIC photos.

Then you can choose the image quality and the destination folder. After all is set down, click Transfer.

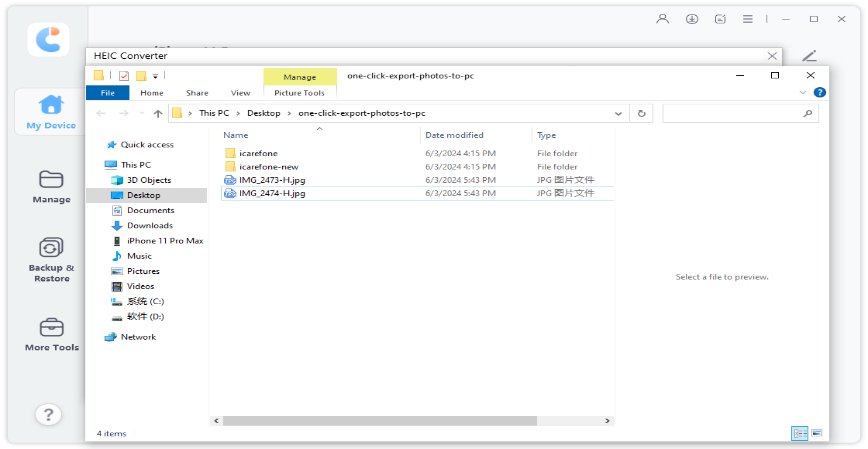
After the process is completed, the destination folder will pop up, and you will see the converted JPG photos here.

Conclusion
Many iPhone users wonder how to convert HEIC to JPG on PC or Mac when they can’t upload HEIC images to certain websites.
In this article, we have talked about some of the best methods to do that task. If you’re looking for the easiest method to convert several HEIC photos to JPG at once, there could be no better option than Tenorshare iCareFone.
Speak Your Mind
Leave a Comment
Create your review for Tenorshare articles

Tenorshare iCareFone
Best Free iPhone Transfer & iOS Backup Tool
Easily, without iTunes
