Change HEIC to JPG on iPhone with 2 Effective Ways
Most websites and online apps accept JPG as their default photo format. If your photos are taken on an iPhone, they’re most probably in the HEIC format — as that’s the default format of photos on iPhones.
Hence, you may have difficulty transferring these HEIC images. In this article, we talk about some of the best ways you can convert iPhone HEIC to JPG.
- Part 1: What is the HEIC Pictures on iPhone
- Part 2: How to Change HEIC to JPG on iPhone
- Part 3: How to Take JPG Photos on iPhone
- Part 4: How to Change HEIC to JPG Automatically When Send Photos to PC
- Part 5: How to Convert HEIC to JPG on PC by iCareFone
Part 1: What is the HEIC Pictures on iPhone
If you’re wondering what, exactly, are HEIC photos, this section is for you.
Standard JPG photos take up a lot of space and are less efficient. The HEIC format was developed by Apple to store high levels of photo details without taking that much space. Simply put, HEIC photos are much more storage efficient than JPG. HEIC files can store the same amount of photo details in a smaller file size than JPG.
The photos taken by Phone camera are HEIC format by default. However, some sites may not support uploading HEIC files — that’s when you’d need to convert HEIC to JPG on iPhone.
Part 2: How to Change HEIC to JPG on iPhone
There are a few ways you can convert HEIC to JPG iPhone. Let’s have a look at them one by one.
1. Copy the Picture and Paste it on Files(Pictures Taken with iPhone Camera)
One of the easiest ways to convert iPhone photos to JPG is through the system Files app.
You see, whenever you copy a photo from the Photos app and paste it somewhere else, it’s automatically converted into JPG. That’s why you can use this method to change HEIC to JPG iPhone.
To do that, follow the steps mentioned below.
- Open the Photos app and select the photos you want to convert.
- Tap the share button and select “Copy Photos”.
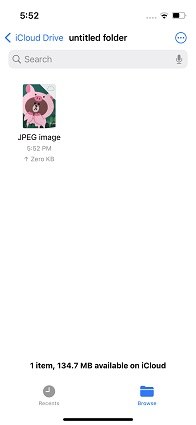
- Close the Photos app and open the Files app.
- Navigate to any folder where you want to paste the converted files.
Tap and hold on to an empty space and hit Paste.

When the photos are copied, they will automatically appear in JPG format.
2. Use Third-Party Apps to Convert HEIC to JPG on iPhone
You can also download and use a third-party piece of software to convert HEIC to JPG iPhone. However, this method isn’t recommended as the first method doesn’t require you to download any additional software and is pretty efficient.
However, if for any reason, the first method isn’t working well for you, feel free to download a third-party tool. Here are some of the best tools you can use to convert photo to JPEG on iPhone.
- Image Converter: Vector File. This handy tool on the App Store lets you convert photos from HEIC to JPG with ease. It also supports tons of other file formats.
- HEIC Converter. A small application on the App Store; its sole purpose is to instantly convert HEIC photos to JPG. It’s fast and simple to use.
- HEIC Converter, HEIC to JPG. 3.It’s a small and easy-to-use iOS app that can easily convert HEIC photos to JPG. Its user interface is very simple and minimal.
Part 3: How to Take JPG Photos on iPhone
You can set up your iPhone so that it captures JPG photos by default. By doing that, all the future photos you take with your iPhone will automatically be taken in JPG format.
Here’s how you can change this setting to change Apple HEIC to JPG on camera settings.
- On your iPhone, open the Settings app.
- Navigate to Camera > Formats.
Select “Most Compatible”.

Now, all the images you take will be captured in JPG format.
Part 4: How to Change HEIC to JPG Automatically When Send Photos to PC
If you’re sharing photos from your iPhone to PC or Mac, you can make it so that the photos are automatically converted to JPG while they’re being shared. By doing that, whenever you copy photos from your iPhone to PC or Mac, they will be copied as JPGs.
Here’s how to use this method to convert iPhone photos to JPEG when transferring between PC and iPhone.
- On your iPhone, open the Settings app.
- Navigate to Photos.
- Scroll down until you see the title “Transfer to Mac or PC”.
Select “Automatic”.

Part 5: How to Convert HEIC to JPG on PC by iCareFone
Tenorshare iCareFone is your single, best tool to handle your iPhone’s storage. With iCareFone’s latest update, now you can convert your HEIC photos to JPG on PC with ease. The best part is, you can convert a massive batch of HEIC photos to JPG at once. To be precise, iCareFone lets you convert up to 1000 HEIC photos to JPG in an instance.
Furthermore, iCareFone also lets you manage all the photos on your device.
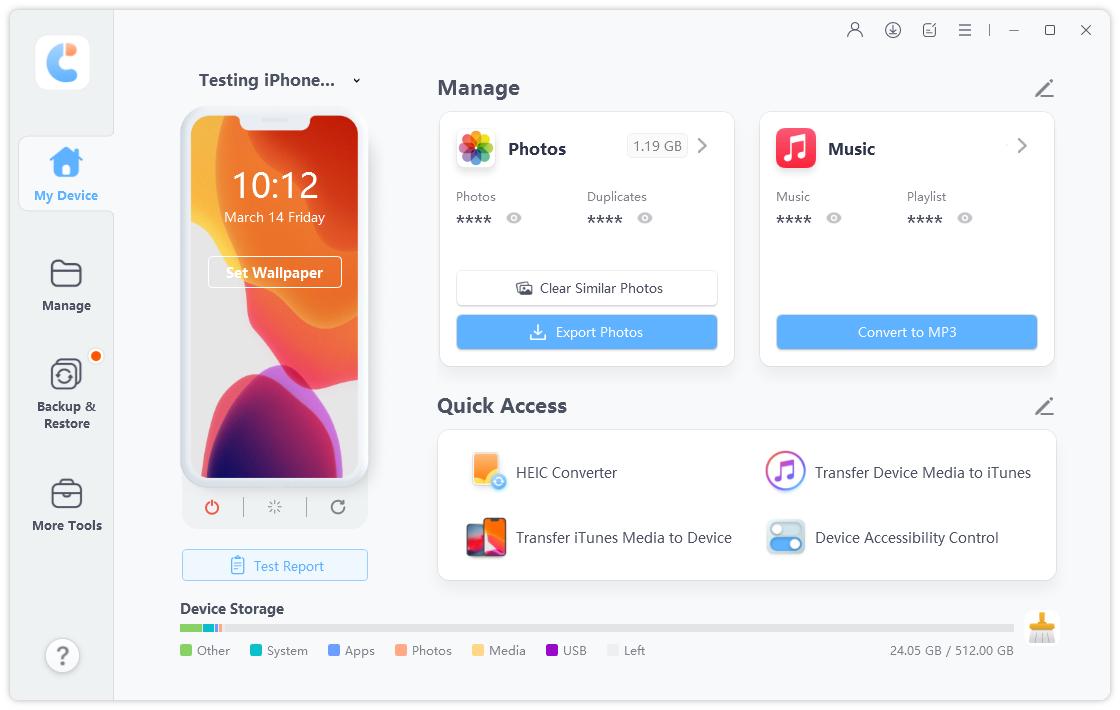
Download and install iCareFone on your PC. Connect your iPhone to the PC and choose “HEIC Converter” from the main interface.

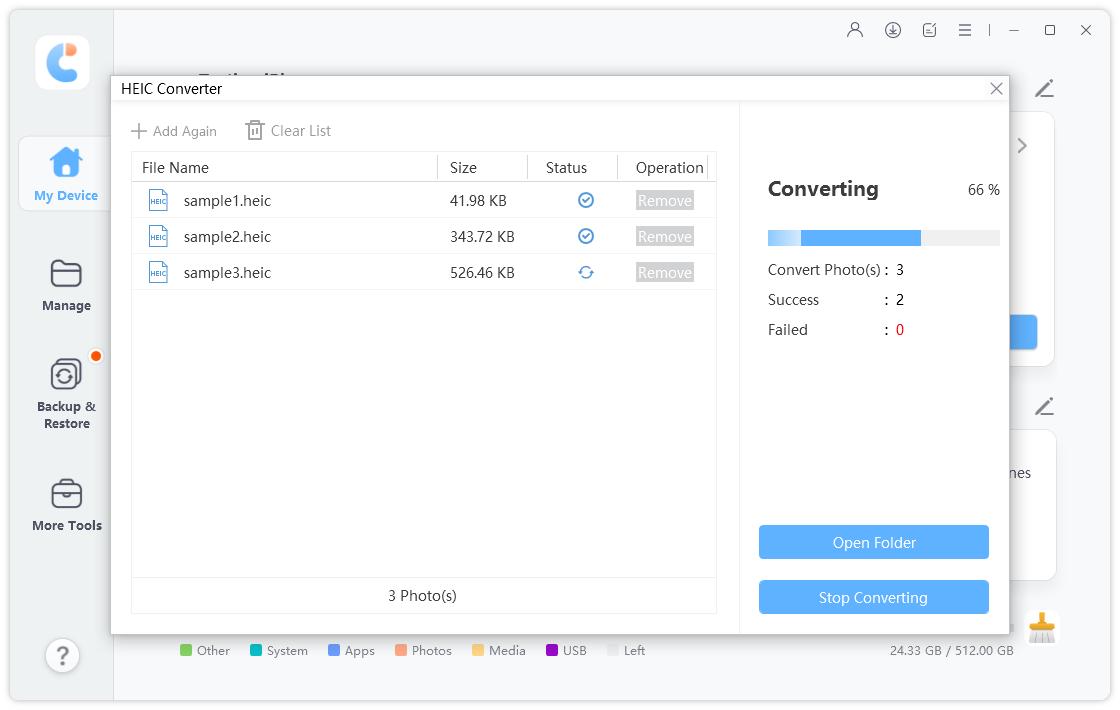
Then select the HEIC photos from your iPhone or PC and decide the JPG image quality. You can change the output path as you like.

Now click on Transfer and wait for the process to complete.

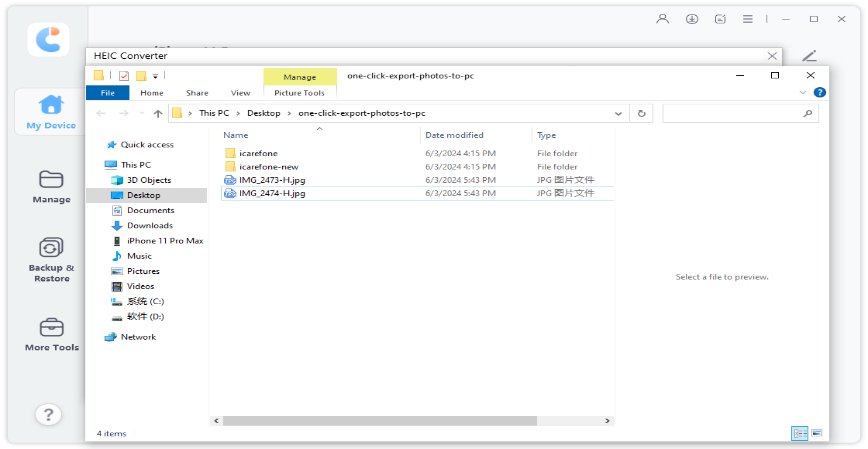
After the conversion is complete, the converted JPG photos will pop up.

Here's a video guide for you:
Conclusion
HEIC is the default photo format on iPhones. However, it’s not that widely accepted outside of the Apple ecosystem. In this article, we have talked about some of the best ways you can convert HEIC to JPG on iPhone.
To convert a big batch of HEIC photos to JPG at once, iCareFone is the single best option.
Speak Your Mind
Leave a Comment
Create your review for Tenorshare articles

Tenorshare iCareFone
Best Free iPhone Transfer & iOS Backup Tool
Easily, without iTunes
