Best Free DNG Converters 2025 (with Bonus DNG Tips)
If you’ve tried the RAW camera mode in your new iPhone 14, or even your iPhone 13/12 which could also shoot in 12MP RAW, you might be wondering what the DNG file format means.
Well, you’re not alone. Many other users are also confused about this new file format. Shouldn’t the file format for raw images be .raw?
Sit tight and read on, as you’re going to learn everything you need to know!
- 1. What DNG Means?
- 2. IS DNG File a Raw File?
- 3. How to Open a DNG File?
- 4. Top 5 DNG Converters You Can't-Miss
- Bonus: One-Click Method to Export iPhone Photos to PC/Mac
1. What DNG Means?
First and foremost, what does the DNG format even mean? DNG stands for Digital Negative. It’s a file format for RAW images which was developed by Adobe back in 2004.
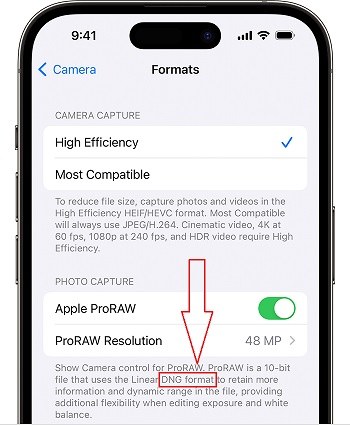
It’s the most widely used file format for RAW images. Most digital cameras and smartphones that can shoot in RAW use the DNG file format to save the captured images. (The iPhone 14 Pro raw pictures are in DNG format.)
2. IS DNG File a Raw File?
Simply put, yes. You see, RAW is not a file format. It’s rather a set of uncompressed image data that are preserved as it is, without any alteration from the maker’s post-processing.
DNG accompanies the RAW file format by saving the raw images in your internal storage. Simply put, every RAW photo you take in your iPhone 12, 13, or 14, is saved to your gallery as a DNG photo.
Also read How to convert raw to jpg.
3. How to Open a DNG File?
Now that you know what the DNG file format is, how do you open it? Well, there are multiple ways to go about the situation.
First and foremost, you might not even need to open a DNG file in an editing app. After you’ve taken a DNG photo on your iPhone, you can edit it right inside your Apple Photos app. Even if you don’t want to edit it, you don’t have to.
Then, you can go to any social media platform, like Instagram or WhatsApp, and send the file directly. When you send the file, it will be automatically converted into a compatible file format by the app.
If you still want to open the DNG file in an editing app, here’s how you can do it. Open the editing app of your choice, like VSCO, Adobe Lightroom, or any other, and select the option to open a new file.
Then, simply select your DNG file and it will be automatically imported to the editing app. Then, you can make edits to it as you wish, and export it in your desired file format.
4. Top 5 DNG Converters You Can't-Miss
Now that you know how to open file DNG, it’s time to talk about how you can convert it into another compatible file format, i.e., JPEG, which is used more widely.
For this purpose, you can use a converter, and here are the top 5 ones you should use.
Adobe Lightroom Mobile
It’s the most popular mobile editing app, and luckily you can also use it as your Adobe DNG converter.
To do this, install the app on your phone and import your DNG file. If you want to make any edits, do it now. Then, select to export your image as a JPG.
VSCO
It’s another popular editing app that also happens to be a solid DNG converter.
All you have to do is install the app, import your DNG file, then export it as a JPG. You can also make some edits along the way if you want.

Zamzar
Zamzar is an online tool you can use to convert DNG to JPG in seconds. As it’s a web app, you can use it as your mobile converter or DNG converter Mac. It’s your call.
Convertio
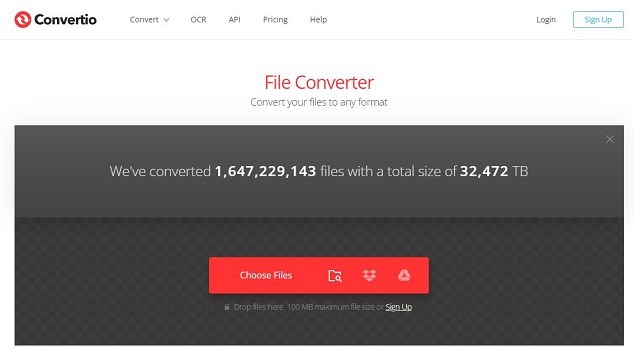
Convertio is a neat and fast tool you can use to convert DNG files to JPGs in an instant. It’s also a web app which means you can use it on any device.
CloudConvert
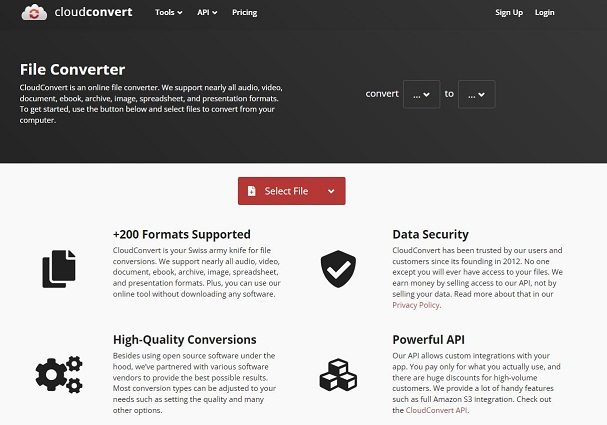
Last but not least, Cloud Convert is also a solid alternative, which essentially works the same way the previous two options do.
Bonus!
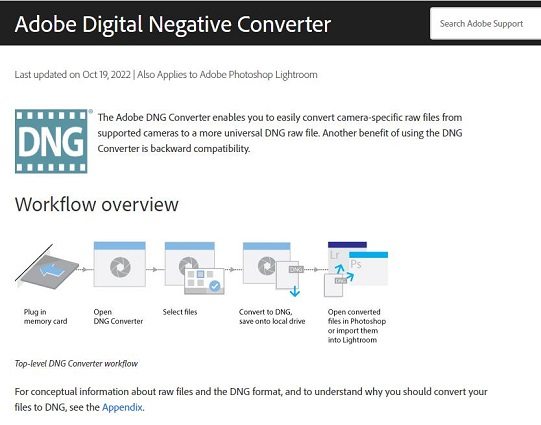
If you’re using some other digital camera, that might take raw photos in some other proprietary file format. In that case, you will need a RAW to DNG converter.
Luckily, Adobe has one, and you can access it here.
Bonus: One-Click Method to Export iPhone Photos to PC/Mac
If you’d like to export all your iPhone photos to a computer (PC or Mac), you can rely on Tenorshare iCareFone for that!
With iCareFone, you can easily move all your photos from the phone to the computer in an instant — and in your desired format! It’s an amazing iOS data management tool that can help you back up, restore or transfer your iPhone data such as photos, videos, and contacts.
Here’s how you can use it.
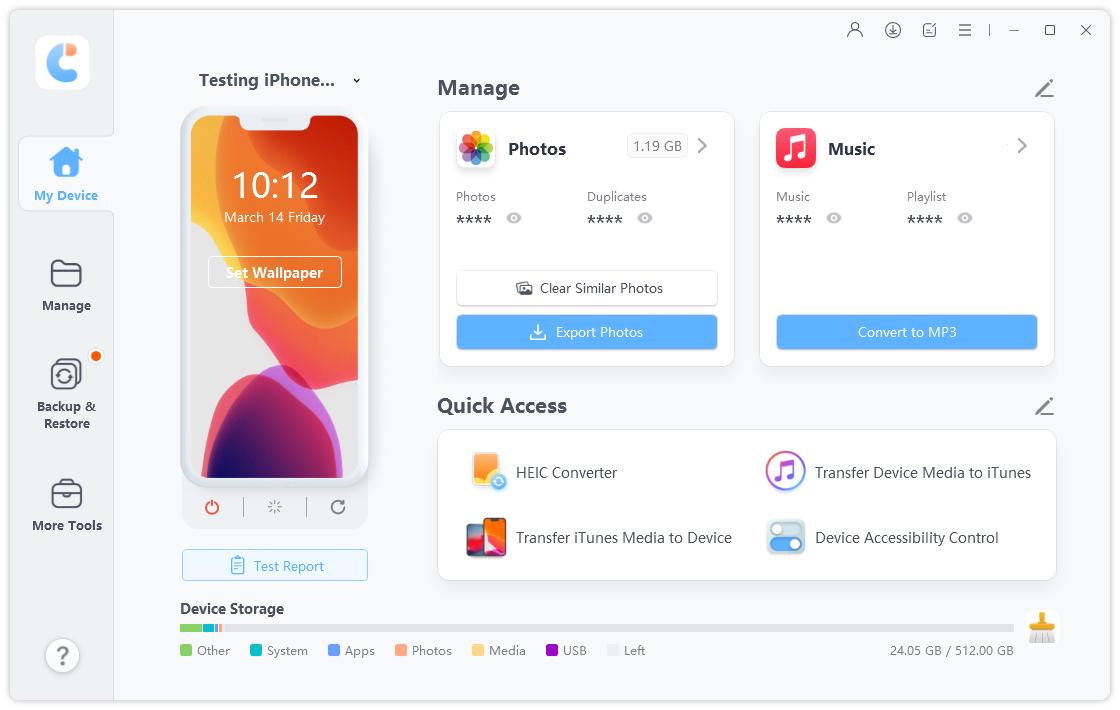
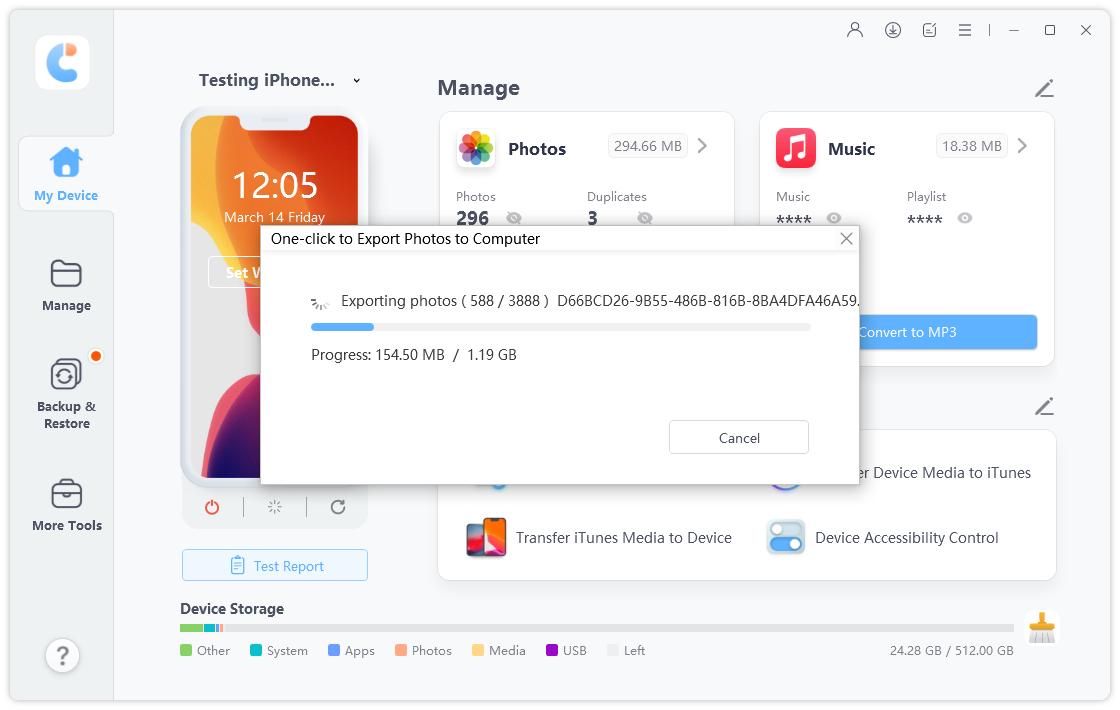
Download and install iCareFone on your computer. Open iCareFone. Connect your iPhone to the computer using a USB cable. Select the “One-click to Export Photos to Computer” tab from the main page.

Now all your photos are being transferred to your computer. Please wait for a while.

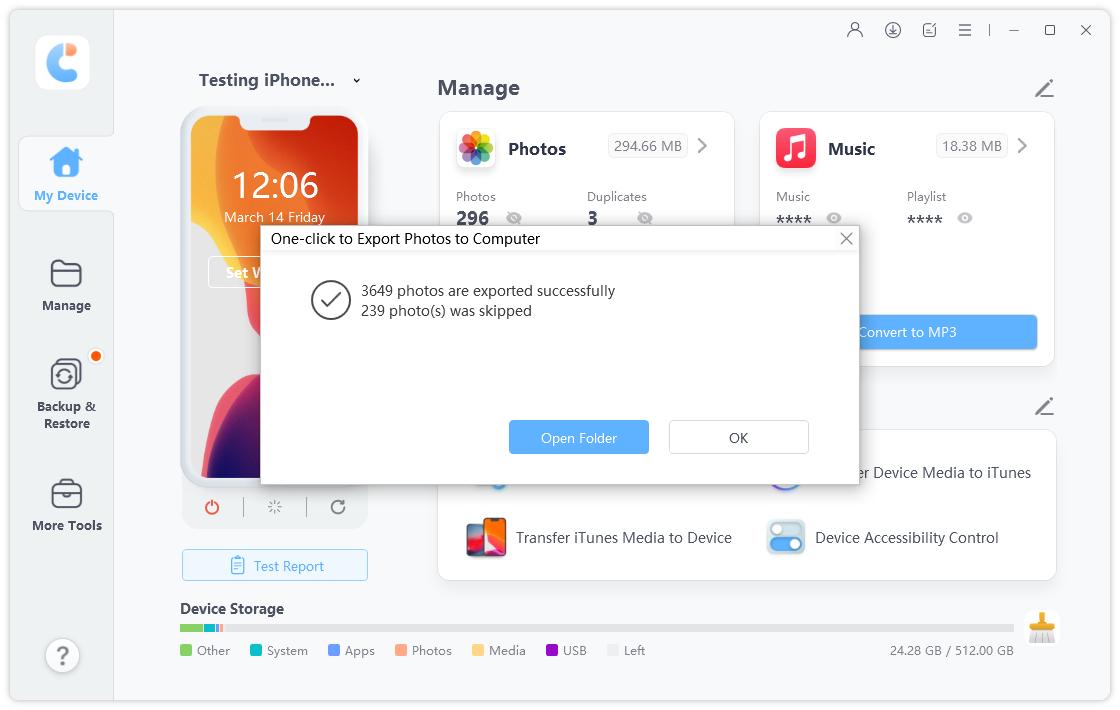
Within minutes, Now, all your photos will be exported in an instant.

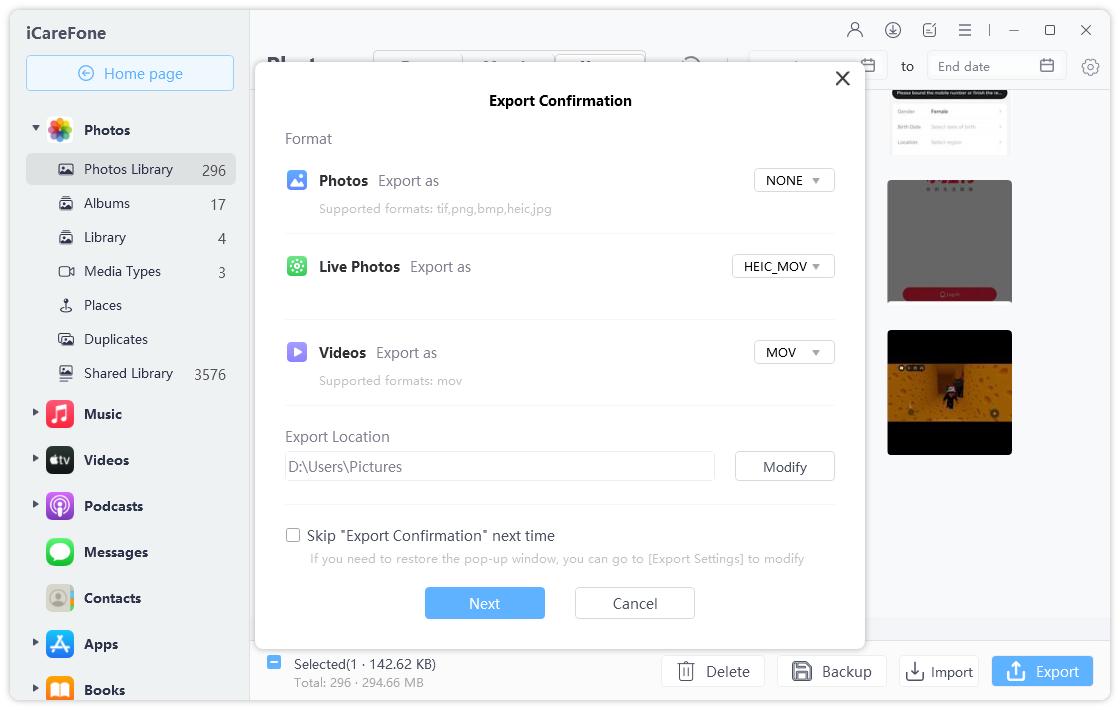
Note: If you want to change the format of the exported photos, you can go to the Manage section and then export the photos. When you export photos in the Manage section, you can decide the format of exported photos.

The Bottom Line
We get it — dealing with DNG/Raw files could be a daunting task, especially if you haven’t done it before. But with the right pieces of information by your side, it’s a piece of cake.
Luckily, after reading this post, now you know everything about this file format that you needed to know. Plus, now you also know about Tenorshare iCareFone, which lets you export all of your photos to a computer in your desired file format!
Speak Your Mind
Leave a Comment
Create your review for Tenorshare articles

Tenorshare iCareFone
Best Free iPhone Transfer & iOS Backup Tool
Easily, without iTunes


