The Ultimate Solution on How to Create a Virtual USB Drive in iPhone/iPad/iPod
Have you ever imagined you can make your iPhone become a portable USB drive?
Now, in this article, we will let you know how to create virtual USB drive in your device. Throw away the USB drive after reading this article. As a bonus, we also describe how to create virtual USB on your Windows PC.
- Part 1: What is a USB Virtual Drive
- Part 2: How to Create and Use a Virtual USB Drive in iPhone/iPad/iPod
- Bonus Tip: How to Create a Virtual USB Drive in Windows
Part 1: What is a USB Virtual Drive
There’s a great chance that you have seen a physical USB device at some point. Those are small, finger-sized storage devices that you can use to store data away from your computer or phone’s primary storage.
A virtual USB flash drive functions exactly like a real USB drive. The only difference is that it’s virtual, i.e., it doesn’t physically exist. You can use a virtual disk USB device for several purposes. For instance, you can use it to put away files and folders that you don’t want to store in your phone’s primary file manager.
Furthermore, if you want to install a security certificate, you do need a USB drive. But if you don’t have a physical one, you can make virtual USB drive and use it to install your certificates.
The benefits of using a virtual USB drive:
- Reduce the risk of loss. Think about your lost phone and lost USB drive, which has a greater chance.
- Avoid files corruption. We always find that the files stored in a USB drive may be corrupted due to unknown reasons such as physical damage.
- Longer life span. You can use the virtual USB drive until your phone broke.
Part 2: How to Create and Use a Virtual USB Drive in iPhone/iPad/iPod
With the introduction to a virtual flash drive or virtual USB drive out of the way now, it’s time to talk about how you can create one in your iPhone, iPad, or iPod. Luckily, you don’t need to be a nerd to create a virtual USB drive on your iPhone — all thanks to Tenorshare iCareFone’s ease of use.
With Tenorshare iCareFone, you can create virtual USB drives on your Apple devices, manage them, import or export data onto them, and do much more. It works on the principle: Create a “Virtual USB Drive” Folder on your device and you can get the data on your iOS device.
Tenorshare iCareFone is an amazing tool you can use to manage all kinds of data and files on your Apple devices. It’s an all-in-one management hub for your iPhone, iPad, or iPod storage. Plus, it’s really simple and easy to use so every novice user can also understand it with utmost ease.
Follow the below-mentioned steps to create a virtual USB drive on your Apple devices and store data on them.
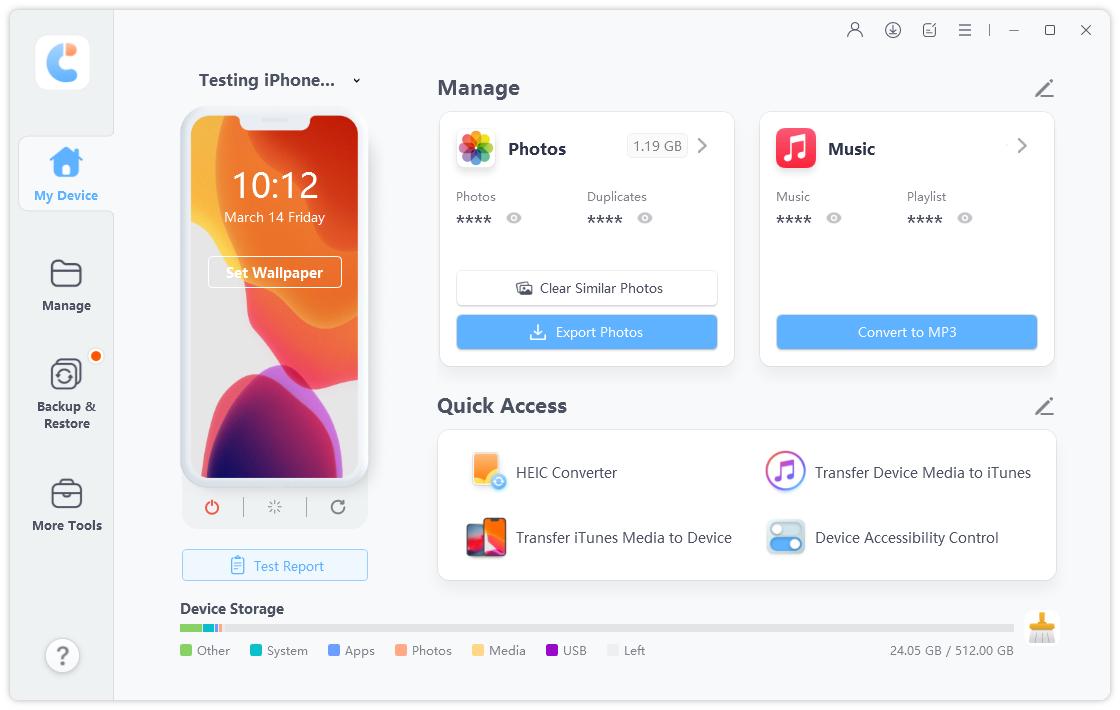
Download Tenorshare iCareFone by clicking the button above. After the installation process is complete, open iCareFone and connect your Apple device to the computer using a USB cable. If you’re connecting it for the first time, tap “Trust This Computer” when prompted on your Apple device’s screen.

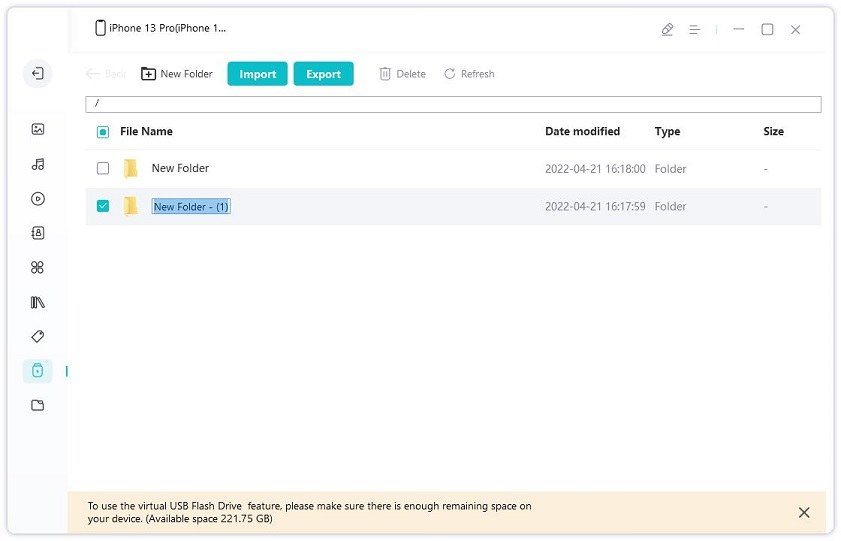
On the main interface of Tenorshare iCareFone, click “Manage” in the top menu. From the side list, select “Virtual USB Drive”. (Note: This Virtual USB Drive will take up the phone storage. So you need to make sure the device storage space is enough.)

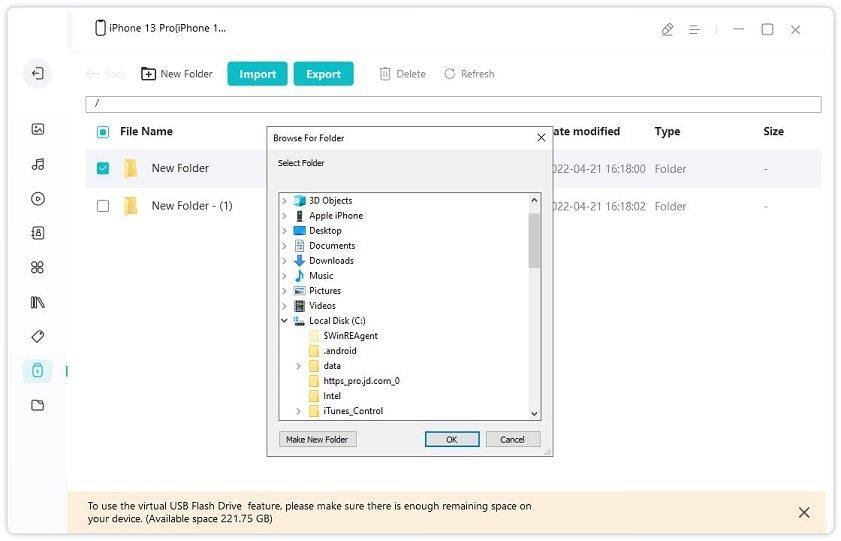
When on this interface, you can create as many folders as you want and import files onto them. To do that, select “New Folder” from the top bar, then pick a name for your folder and hit enter. You can import, export or delete files or folders stored in this Virtual USB Drive folder.

Bonus Tip: How to Create a Virtual USB Drive in Windows
You can create a virtual USB device Windows using the built-in app called the Disk Management utility. To do that, follow the steps mentioned below.
- Open the Disk Management utility by searching for it in the Windows search bar.
- Click the “Action” button and select “Create VHD” where VHD standards for “Virtual Hard Drive”.
- Select “Browse” and select a folder where you’d like to locate your virtual USB.
- Choose a file name and hit “Save”.
- In the next step, you’re asked to pick a size for the virtual USB. Just pick any size that fits your needs and proceed.
- Click “Ok” and your new virtual USB device is ready to be used.
Conclusion
A virtual USB drive can serve many purposes to users. It can be used to store files and folders away from your primary storage, install certificates, or simply hide files that you don’t want to see in your Files or Photos apps.
This article gives you all the info you need to create a virtual USB drive on your iPhone or other Apple devices. To manage files, photos, music, contacts, and other types of data on your devices, check out Tenorshare iCareFone.
Speak Your Mind
Leave a Comment
Create your review for Tenorshare articles

Tenorshare iCareFone
Best Free iPhone Transfer & iOS Backup Tool
Easily, without iTunes


