Managing Google Timeline iPhone: Everything You Need to Know
Google Maps timeline is one of those features that most users don’t even know about. It works in the background and you essentially have to do nothing with it.
However, people who are a bit tech-savvy know about it and want full control over it. In this article, we talk about some of the top tricks you need to manage your iPhone Google Maps timeline from your iPhone.
Without any further ado, let’s get to it.
- Part 1: What is GoogleTimeline iPhone
- Part 2: How to Use Google Timeline iPhone
- Bonus Tip: Google Timeline Not Working iPhone? Use Tenorshare ReiBoot to Fix
Part 1: What is Google Timeline iPhone
Before we talk about managing your Google Maps timeline iPhone, it’s important to understand what it actually is. And that’s what we talk about in this section.
You see, your Google Maps app keeps track of wherever you go and which routes you take to get there. All the places you have been over the years are probably stored in your timeline.
Why is this data stored, you ask? Well, your timeline is used to suggest routes for you. It’s also used to suggest similar places to you; places you’re most likely to visit because of your previous travels. If you’re worried about this data being sent to other parties, don’t be. All the Google Maps timeline data is stored locally in your device, within your Google Maps app’s storage files.
Part 2: How to Use Google Timeline iPhone
Now that you’re fully aware of what is Google maps timeline iPhone, let’s look at how you can manage it from your Apple iPhone.
1. How to Enable Google Timeline iPhone
First and foremost, you need to make sure you have the iPhone maps timeline enabled in Google Maps. After you have turned it on, only then you’d be able to store your location history and interact with different locations you have visited.
- If you haven’t downloaded Google Maps already, download it. Open Google Maps and make sure you’re logged into your Google account.
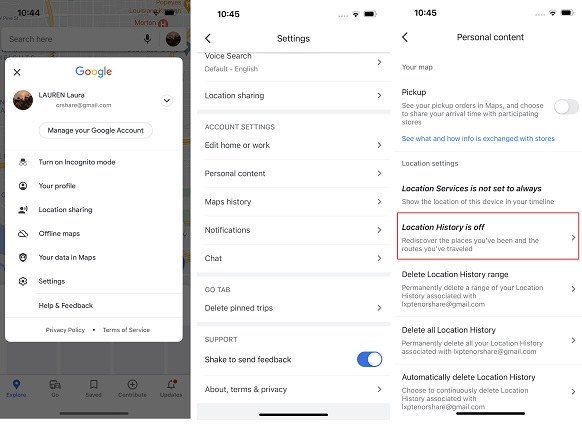
- Tap your profile photo in the top-right corner.
- Go to Settings > Personal Content.
Under the Location Settings label, make sure Location History is turned on. If it’s not, tap Location History and turn on the toggle.

2. How to Find Your Travels/Timeline
After you’ve enabled Location History, Google Maps will now start tracking your movements when you visit different places. Eventually, your timeline will be filled with different visits you do across time.
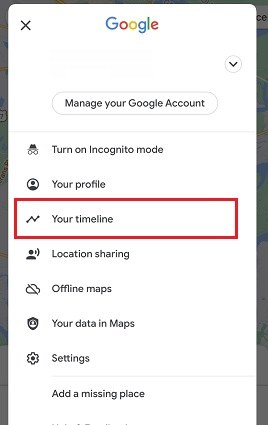
When you want to find and check your Google Maps timeline iOS, here’s how to find it.- Open the Google Maps app. Tap your profile picture on the top-right corner.
Tap “Your Timeline” — and you will be able to see all your visits of the day.

- To check out the visits from another day or month, simply tap “Show Calendar”, then swipe across different days.
3. How to Change a Place on Your Timeline
If you see an entry in your location timeline iPhone that isn’t correct, you can change it. This is a nice feature to edit out places that have been falsely added to your account.
Editing a location from your Location History is as easy as it gets.
- Open the Google Maps app on your iPhone. Tap your profile pic on the top-right corner.
- Tap “Your Timeline”. Wait for the timeline to load.
Select the location you want to change. Tap “Edit Place”. Or you can tap “Search for a place or address”, then choose the location you want to change to.

4. How to Disable Google Timeline iPhone
If for any reason, you want to disable your Google timeline iOS, this section is for you.
Some people don’t want their movements to be tracked due to privacy concerns — and we can’t blame them. If you’re one of those privacy-focused individuals who would like to turn off your Location History, follow the steps.
- Open Google Maps and make sure you’re logged into your Google account. Tap your profile photo in the top-right corner.
- Go to Settings > Personal Content.
- Under the Location Settings label, make sure Location History is turned off. If it’s not, tap Location History and turn off the toggle.
Bonus Tip: Google Timeline Not Working iPhone? Use Tenorshare ReiBoot to Fix
If your Google timeline not working iPhone, it could be due to a system-level bug. Bugs and glitches can sometimes do end up in your operating system due to several reasons.
To fix such issues, Tenorshare ReiBoot is one of the best tools you can find on the market right now. With Tenorshare ReiBoot, you can fix all kinds of annoying issues in your iOS system such as black screen, without losing your precious data.
Here’s how you can use ReiBoot to fix your iOS system and get rid of the Google timeline not working issue.
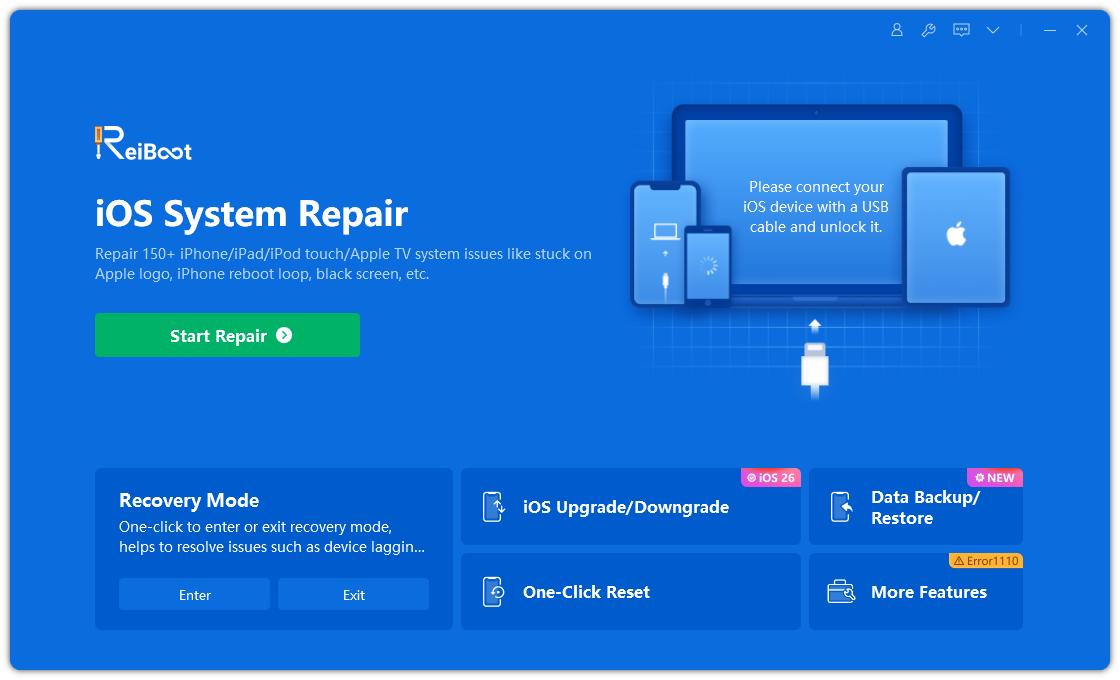
Download and install ReiBoot. Open ReiBoot. Connect your iPhone to the computer and select “Trust This Computer” if prompted on the iPhone. Click “Start”, then hit “Fix Now” on the next page.

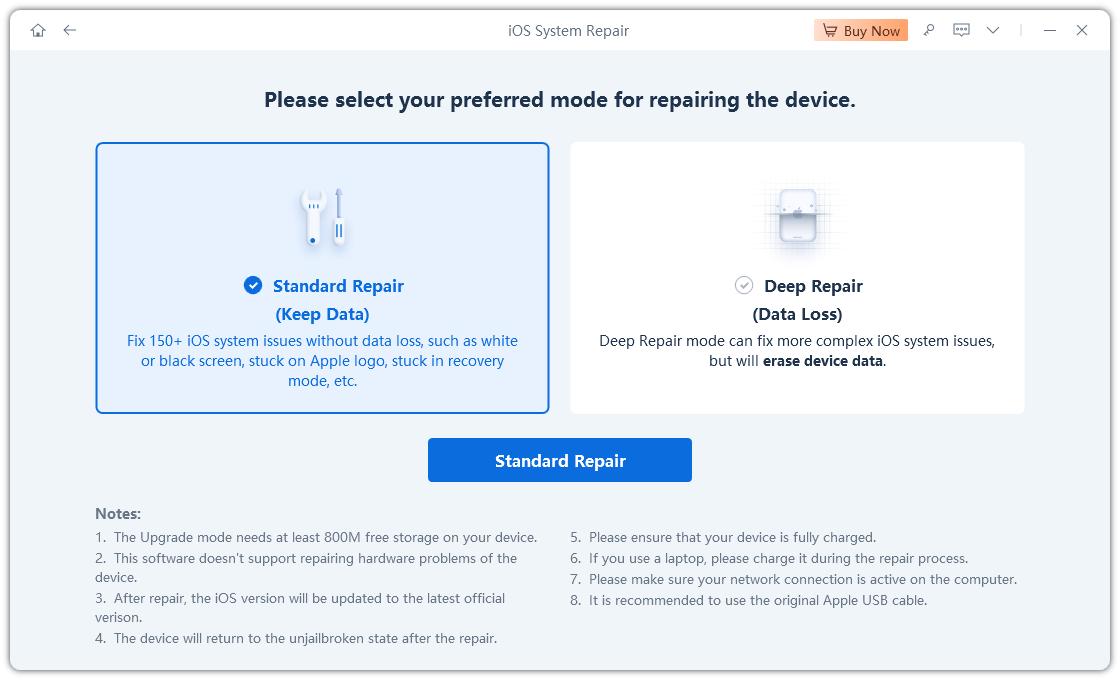
On the following page, select “Standard Repair”. Make sure to read all the instructions to avoid any problems.

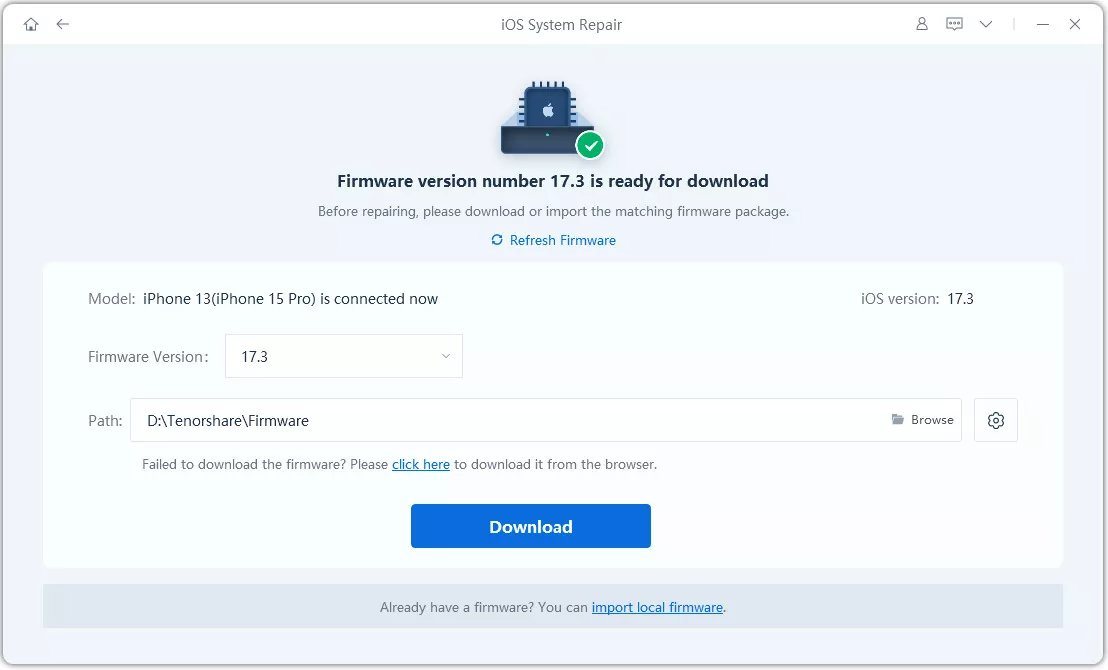
The system will prompt you to download the latest firmware, click “Download”.

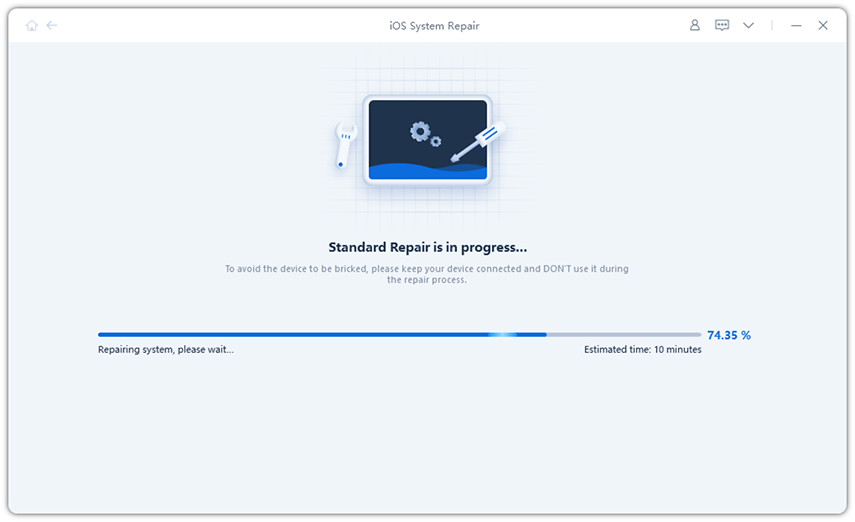
When the download is done, hit “Start Standard Repair”.

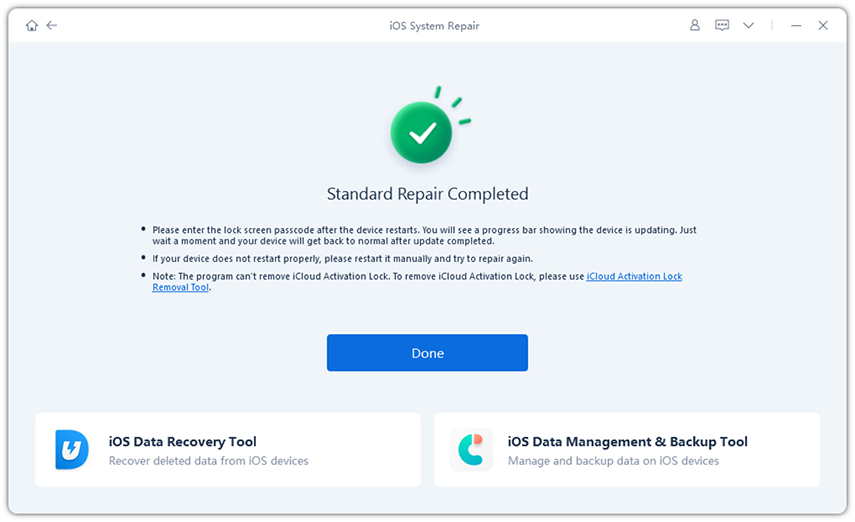
Wait for the process to complete, and you’re all set!

Now, your Google Maps timeline should work just fine on your iPhone. If not, we suggest you try Deep Repair.
Conclusion
There you go — this is everything you need to know about Google timeline iPhone; how to turn it on, how to turn it off, how to edit places, and more.
If your timeline is not working, you can always rely on ReiBoot to fix system-level issues in your iPhone. ReiBoot will rid you of all the pesky problems that may be ruining your experience.
Speak Your Mind
Leave a Comment
Create your review for Tenorshare articles
