Proven Solutions to Fix Unable to Complete Touch ID Setup
We see many people complaining about their inability to complete touch Id and the message that bear "unable to connect touch id set up. Please go back and try again." we know that try over and over again can be of no use sometimes, because it needs you to get more ways to solve the touch id set up issue. We are going to educate you about everything that you need to know about the touch id setup. Without any further, let's get started!

Part 1: Basic Checks to Fix 'Unable to Complete Touch ID Setup' Error
Before fixing the touch id setup issues, there are some checks that you can have to do. You have to make sure that there is undoubtedly a problem with your touch id set up so that you can use different ways for fixing it. There are six ways through which you can check for your touch id setup issue. Use the following listed methods to check your touch id setup issue.
- First of all, you have to make sure that the latest version of iOS runs on your phone.
- The next thing that you have to do is to check if your finger impression is clear. For this, you have to clean the home button and your finger and then try to login again.
- The other thing that can cause the touch id setup issue is that maybe your finger is not covering the home button properly. So, make sure that you properly covered the home button with your finger.
- The next thing you have to check is that your screen protector must not cover the home button area or the surrounding ring.
- Moreover, you have to check is that the iPhone Unlock or iTunes & App Store is not turned off. And check that you have enabled finger impressions.
- You can also enroll other fingers and then log in to try again.
The one thing that you have to keep in mind is that you have to try touch id after applying every method to check the touch id setup.
Part 2: Advanced Ways to Fix Unable to Complete Touch ID Setup iPhone 13:
Let's precede our conversation by adding some advanced methods to fix the "unable to complete touch setup issue. Please go back and try again." If your touch id is still not working after checking the methods as mentioned earlier to fix it, then it means that you need some advanced techniques to fix the issue. We are enlisting a few advanced techniques that you can use to resolve the issue. Let's have a look!
- Way 1. Force Restart iPhone (30% Success Rate)
- Way 2. Update to the latest iOS 15.1 (50% Success Rate)
- Way 3. Fix Touch ID Not Working with ReiBoot (100% Success Rate)
Way 1. Force Restart iPhone (30% Success Rate)
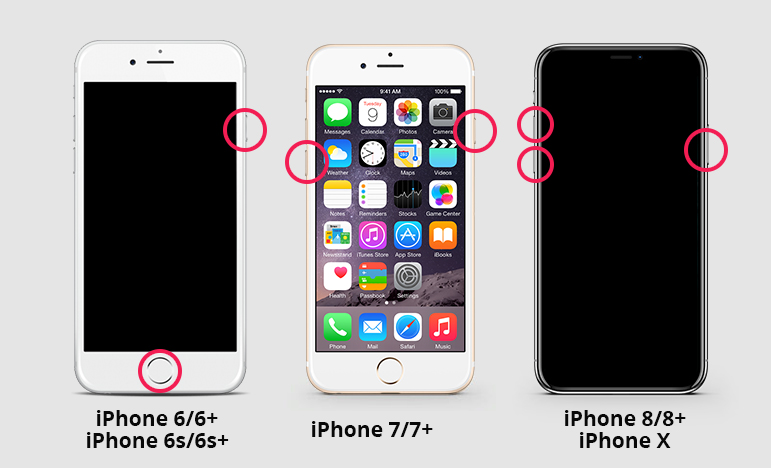
There are two types of restart in the iPhone, including soft restart and hard restart, but you will need force restart your iPhone to resolve the touch id setup. For this, you have to follow the following steps:
On iPhone 8 and Later
- Press and release the volume up button.
- Press and release the volume down button
- Press and hold the wake/sleep button to the point where you see the Apple logo on the screen.
On iPhone 7 and 7 plus
Press and hold the wake/sleep button and the volume down button until you see the Apple logo.
On iPhone 6 and earlier:
Press and hold the sleep/wake button and home button together until you see the screen's Apple logo.
Way 2. Update to The Latest iOS 15.1 (50% Success Rate)
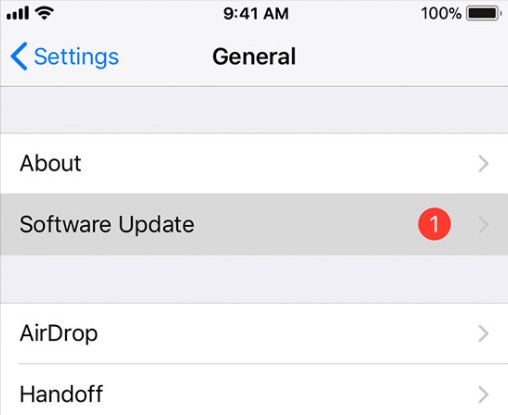
The next method to resolve the issue of touch id set up is to update your iOS. Sometimes, you don't update your version due to which the phone needs updates to continue. So, make sure that you have updated your version of iOS to the latest version to continue using your phone. Follow the following steps to update your iPhone.
- Plug your device with the charger and turn the Wi-Fi on.
- Select the "software updates" option in the setting menu.
- Then tap on the option "download and install." Sometimes the software will ask you to delete some apps to install updates. You should continue in all the situations because the software will reinstall the apps after downloading and installing the updates.
- At last, tap on the "install" option to complete the update installation.
Way 3. Fix Touch ID Not Working with ReiBoot (100% Success Rate)
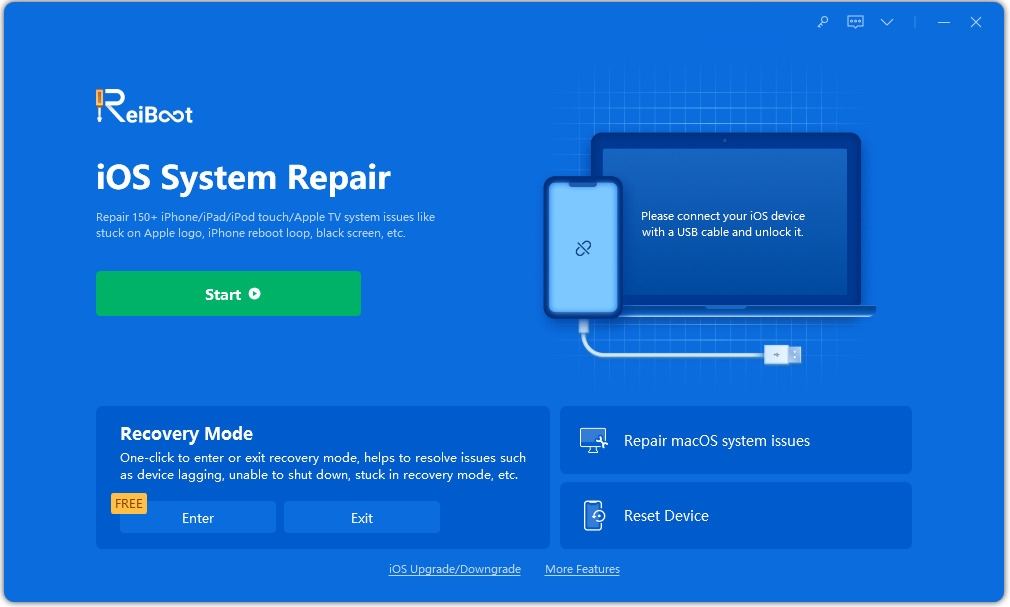
Sometimes, all the methods go in vain because there is some issue with the device's software, and in such cases, Tenorshare ReiBoot is the solution to the problem. If you also have tried all the other methods and still face touch id setup issues, you can use this method to solve the issue.
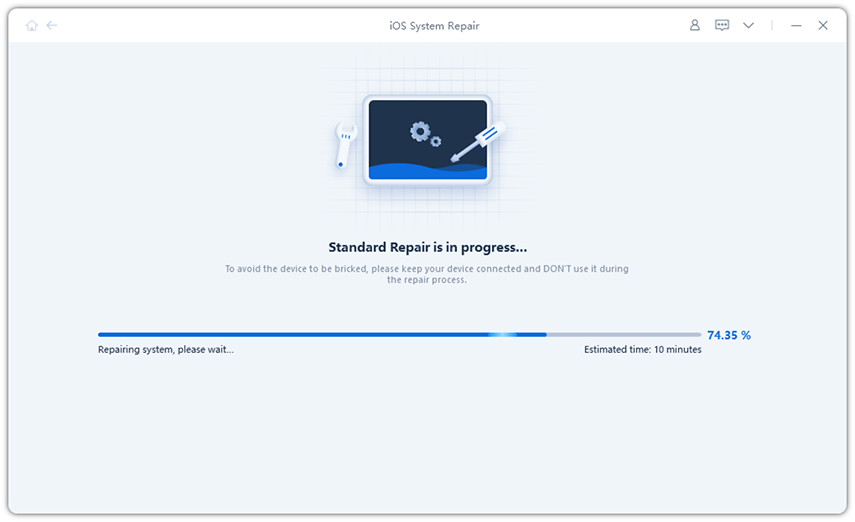
Download the application in your laptop or pc and then launch the application to use it. When the software recognizes your device, you have to select the "repair operating system" option.

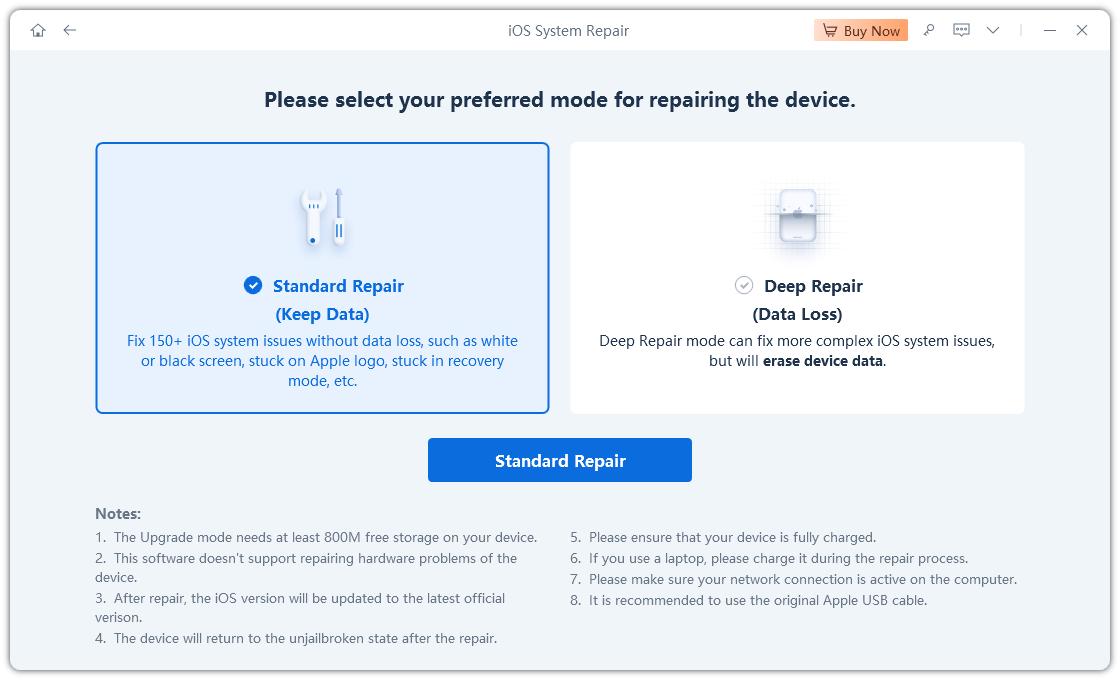
If your operating system is not working, you have to hit the "fix now" button to continue fixing it.

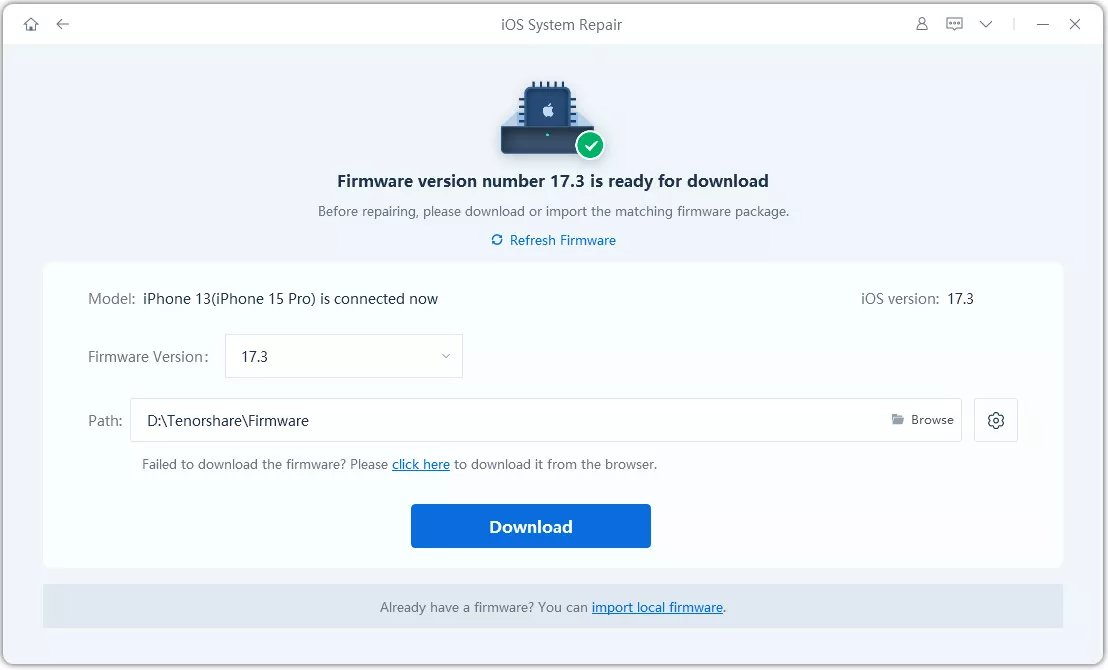
The next step is to download the firmware. You have to select the path where you want to download it and then hit the download option to continue.

If you already have downloaded the firmware packages, import them by clicking the "select" option.
Then you have to hit "start now" to initiate the repair process.

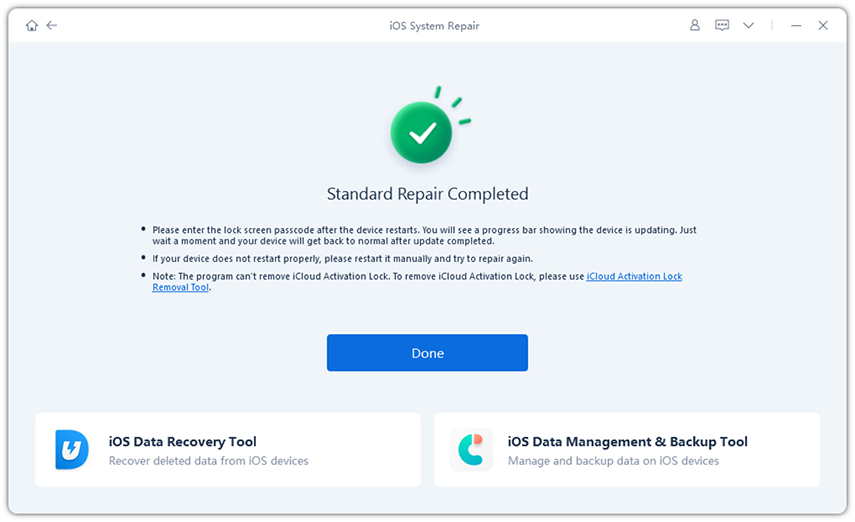
The whole process will take some time to complete, and you should not disconnect your device in the meanwhile. After the process completion, your device will boot as usual.

Extra Tip. How to Unlock iPhone without Touch ID?
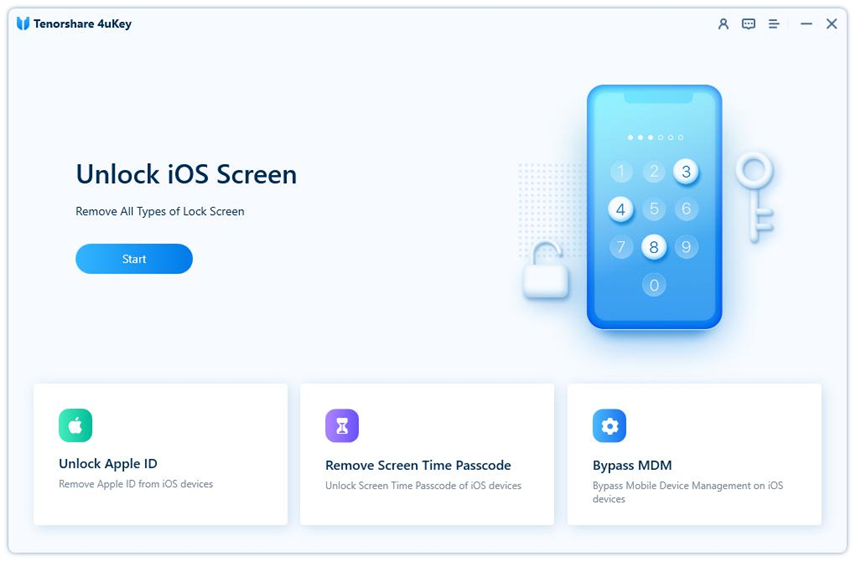
If you want to unlock your iPhone without a touch id, you will need a software tool. And Tenorshare 4uKey is the best tool for unlocking iPhone without touch id. It is an incredible way to bypass the Apple account and get access to all your mobile features. If you forget your id, don't worry, download Tenorshare 4ukey, and you can unlock your device with one click only.
Conclusion
It was all about resolving the issue "unable to complete touch id setup go back and then try again." We discussed all the ways through which you can unlock your device without losing data. Try all these methods before going to a professional repair at the market, because you can do it yourself. If you face the same issue, follow these instructions, and share your feedback with us!
Speak Your Mind
Leave a Comment
Create your review for Tenorshare articles
