Best Guide: How to Use ReiBoot iOS System Repair
iPhone is the most popular smartphone in the world. Its unique design, exceptional features, and user-friendly interface make it the best-selling smartphone. However, despite its perks and leverages, iPhone is not devoid of issues and many times, iPhone users face unexpected errors and bugs that can be irritating and can cause avoidable delays in your daily life. It is, therefore, necessary to have a useful software to troubleshoot iOS issues by yourself.
This guideline will delineate in detail the best iOS system repair ReiBoot software that will help you fix many iPhone issues in a few minutes.
What Is ReiBoot?
ReiBoot is a third-party executable file developed by the Tenorshare ReiBoot program and it helps you to fix many common iOS issues. Its premium version resolves more than 50 different types of bugs and errors in your iPhone. In other words, it is the best iOS system repair ReiBoot.
How Many Features of ReiBoot Now?
ReiBoot has 3 major features which are:
- Enter and Exit Recovery Mode with just one click
- Fix more than 50 iOS issues in your Apple devices without any data loss
- Factory Reset Apple devices without using iTunes or password
That is why it is a highly recommended iOS system repair software.
Why Do You Need ReiBoot iOS System Repair Tool?
As mentioned earlier, iPhone users encounter many iOS issues that can be fixed by Tenorshare ReiBoot. You often face problems like iPhone stuck on Apple logo, a black, or frozen screen, iPhone update error, iPhone apps stuck, iOS stuck issues, screen doesn’t turn on, recovery mode loop, network issues in Apple devices, iPhone stuck in recovery mode, and many other issues that hamper the normal functioning of your iPhone. All these issues can be fixed by the ReiBoot repair iOS operating system.
How to Repair iOS Operating System with ReiBoot?
ReiBoot is the world-leading iOS repairing software that helps the users to overcome many issues in Apple devices. If you want to repair your Apple device using ReiBoot, then follow the below steps:
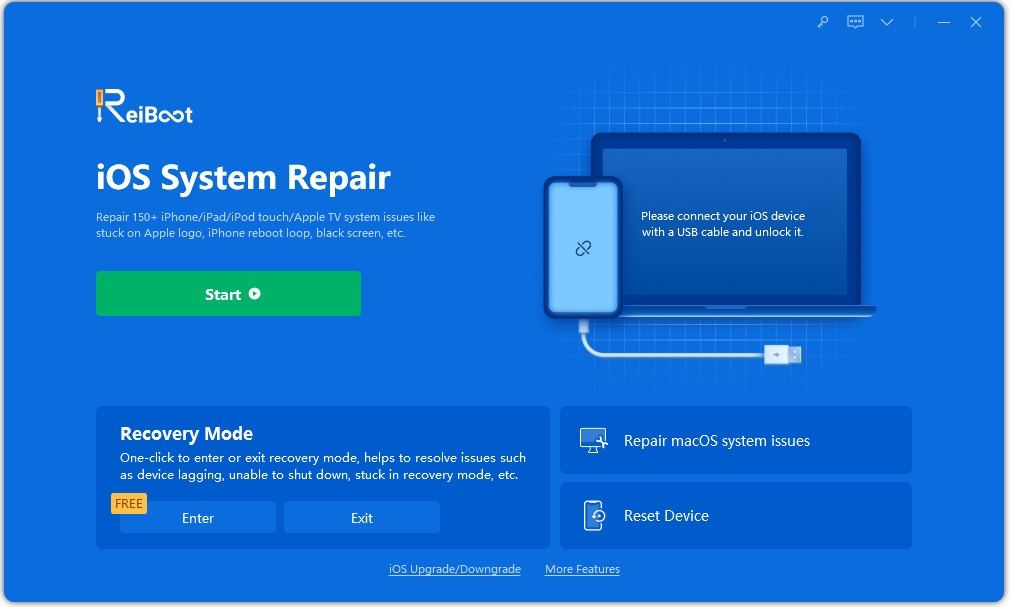
Install and launch Tenorshare ReiBoot on your computer and connect your iPhone to it. Now, click on the ‘Repair Operating System’.

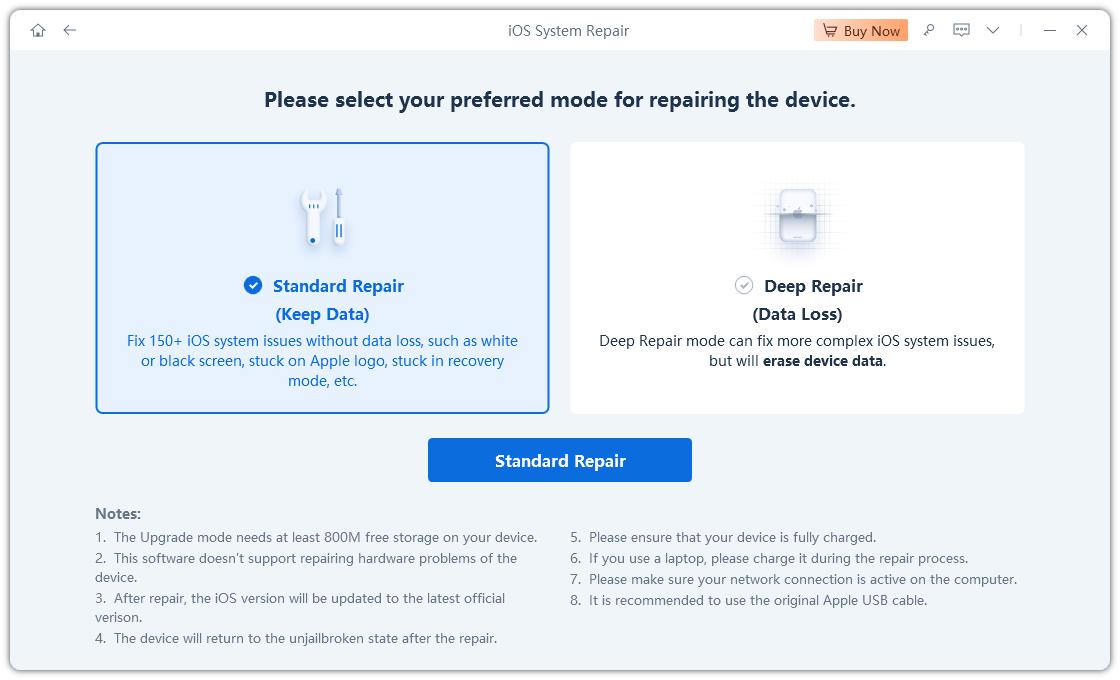
You will enter a new interface. Click on ‘Fix Now’ to start the repairing procedure on your iPhone.

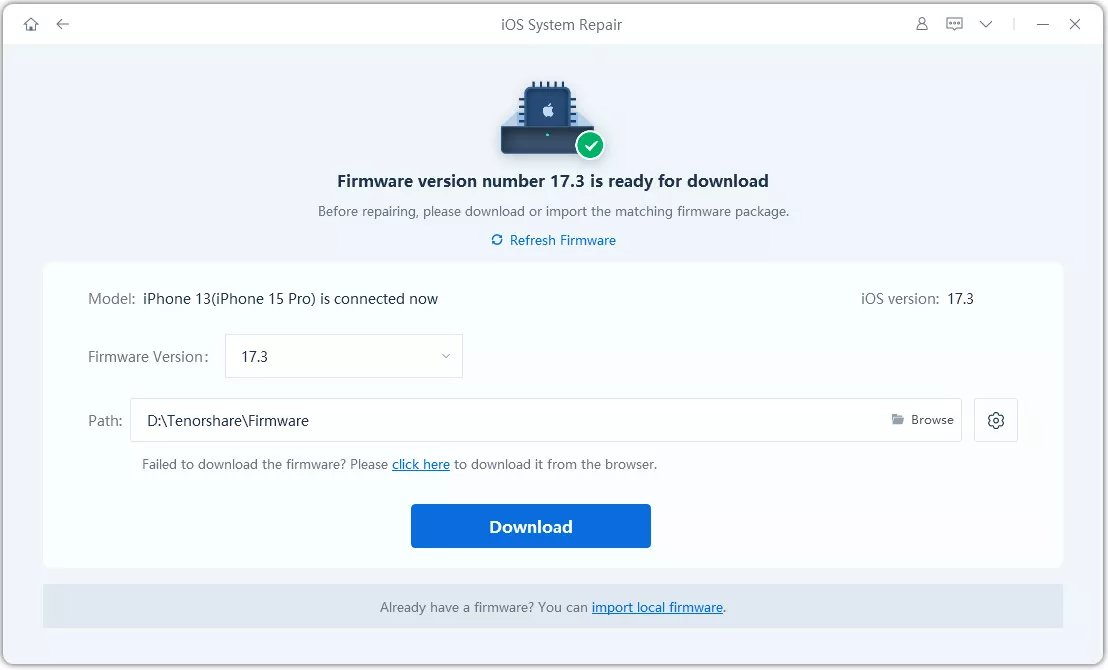
Now, the software will show the right Firmware package corresponding to your iPhone model. Use the Browse option to select a location on your computer and click on Download to download it.

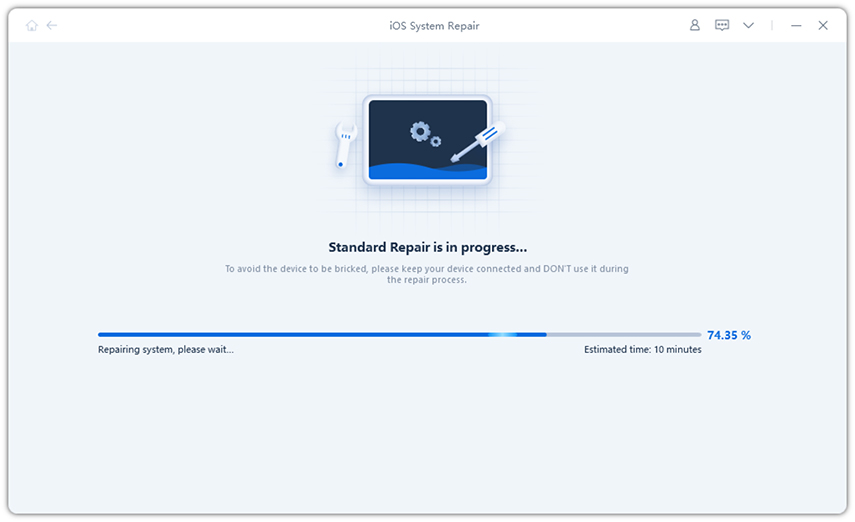
Finally, click on the ‘Repair Now’ once the firmware is downloaded and software will initiate repairing your iPhone.

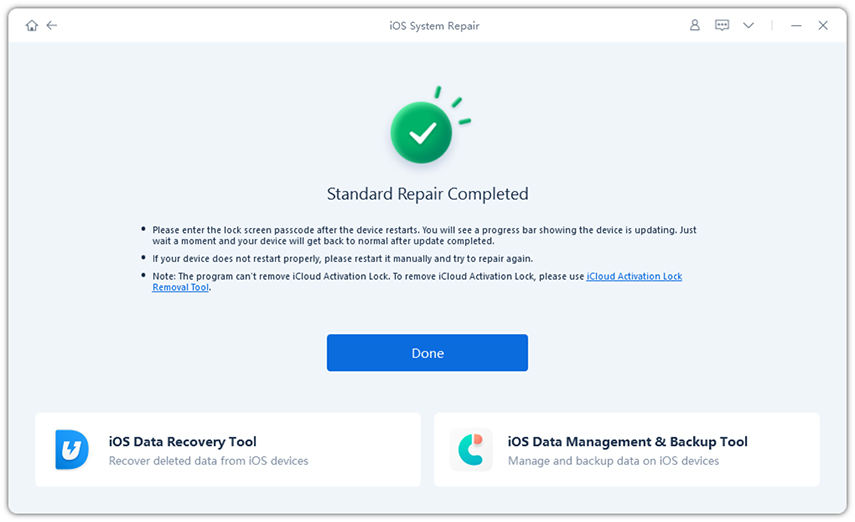
After some time, issues in your iPhone will be fixed and it will boot up as normal.

Conclusion
In this article, we apprised our readers of the most credible iOS repairing software available on the internet. ReiBoot iOS system repairis a powerful tool that helps you to easily resolve many iOS issues without any data loss. It analyzes the root cause and fixes it permanently. Its latest version is compatible with all the new iPhones including iPhone 12.
So, your next step should be to install ReiBoot from the official site and fix all and any issues on your iPhone.
FAQs about iOS System Repair ReiBoot?
In the last section, we will discuss some of the most FAQs by our customers.
Q1: Does ReiBoot really work with a high success rate?
Yes, all our customers have given positive reviews of ReiBoot. It has delivered results for almost all the users and that is why millions of iPhone users recommend using ReiBoot to fix your Apple devices.
Q2: How to use ReiBoot for Android?
Firstly, you have to download and launch ReiBoot for Android on your computer and then connect your Android mobile with it. After that, follow the steps on the screen to solve the errors in your Android device.
Speak Your Mind
Leave a Comment
Create your review for Tenorshare articles
