How to Convert MOV to MP4 on Mac? Easy Methods You Can Use!
If you’ve ever used or currently using an Apple device, you might have come across the file format “.MOV”. Most people don’t have any idea what it is, and how they can convert it to a more conventional MP4 on their computer.
If you’ve had similar questions in your mind, this article is a must-read for you.
In this post, we dive deeper into the MOV file format, explore what is is, and how you can convert MOV to MP4 for you convenience. Without any further ado, let’s get into it.
- 1. What is MOV File Format?
- 2. MOV vs MP4: Which is Better?
- 3. When Should I Convert MOV to MP4?
- 4. Best Tools to Convert MOV to MP4 on Mac
1. What is MOV File Format?
MOV is Apple’s proprietary file format for Apple devices. It’s the default video format for QuickTime player on Mac.
Plus, if you shoot cinematic videos on your iPhone 13 or 14, they’re also saved in the MOV file format.
Most social apps automatically convert your MOV file to MP4 when you upload it from your iPhone. However, sometimes you just can’t upload the MOV file directly. That’s when you’d have to convert the file before sharing it.
2. MOV vs MP4: Which is Better?
MP4 is the international standard for video files. Most of the videos on the planet are stored in MP4 file format. For that reason, MP4 is simply the better file format to store your files on.
However, if you’re in the Apple ecosystem and you use Apple devices a lot, like iPhone, Mac, and iPad, MOV could be better. It has better efficiency across Apple devices, and there’s no difference in support when compared to MP4.
However, if you want to upload a MOV file to a website or store it in a cloud service, it’s recommended to convert MOV to MP4 first.
3. When Should I Convert MOV to MP4?
If you simply want to share your video files from your computer or iPhone to Facebook, Instagram, or any other social platform, you don’t need to convert. As said earlier, the system will take care of this task for you.
However, when you want to store your files on a USB or external drive, or you want to store them in Google Drive, it’s better to convert them to MP4 first. That way, you can easily watch the video files on Android phones and Windows computers as well.
With all that being said, it’s time to take a look at how to convert MOV to MP4 Mac.
4. Best Tools to Convert MOV to MP4 on Mac
1. Tenorshare iCareFone
Tenorshare iCareFone is a must-have tool for iPhone users. It lets you manage all sorts of data, create backups, restore them, and do a lot more handy things.
But of course, in this post, we’re talking about its ability to easily convert MOV to MP4 on Mac.
It can do this task within minutes, without you having any technical knowledge of the process. Here’s how it goes.
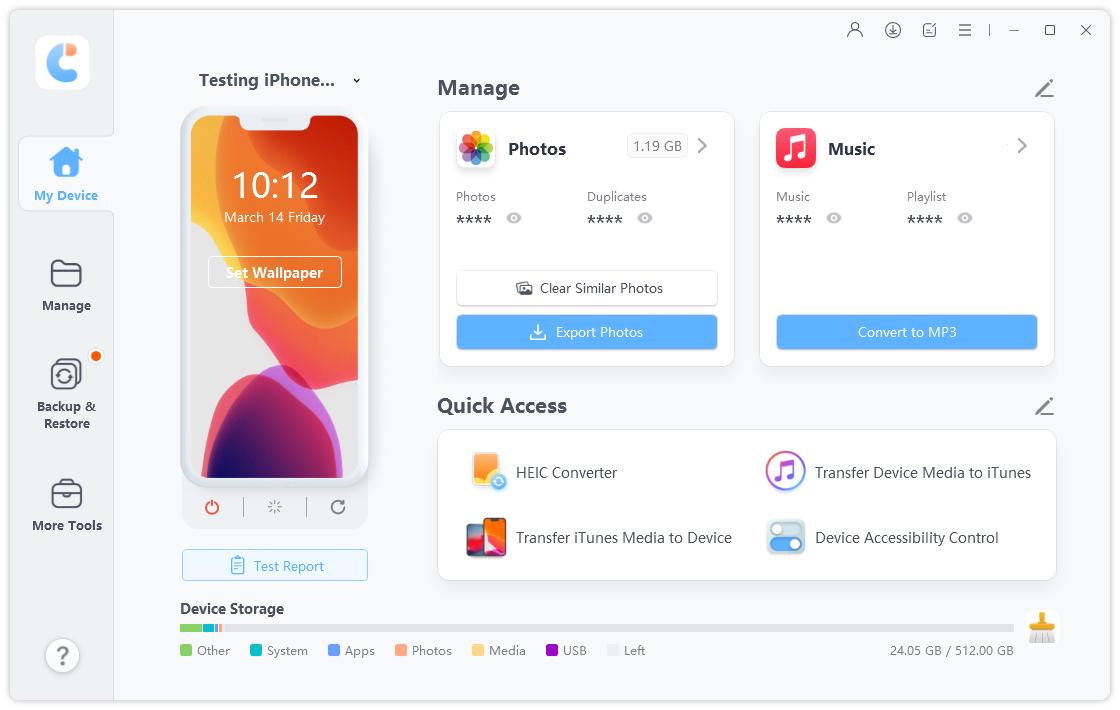
Download and install Tenorshare iCareFone to your computer, then open it. Connect your iPhone to the Mac using a USB cable. Select the Manage tab from the left menu bar.

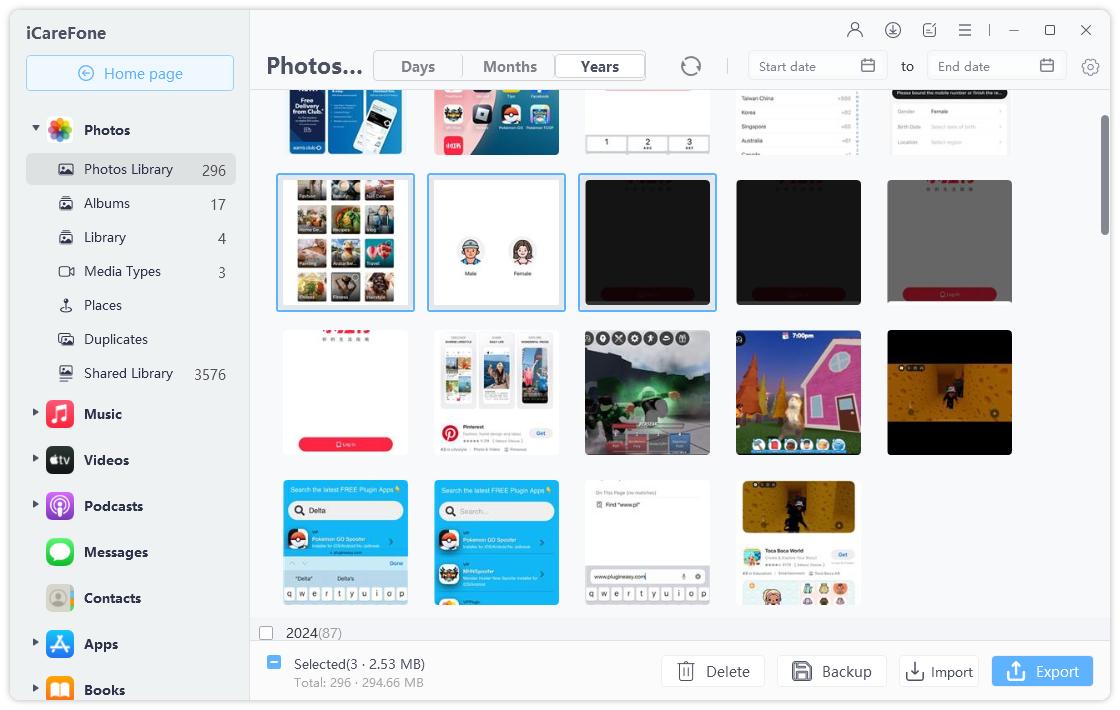
If the MOV files are on your computer, select the Import button and transfer them to your iPhone. If the files are on your iPhone, you can skip this step.

Now, select the files you want to convert from your iPhone storage, then hit the Export button.
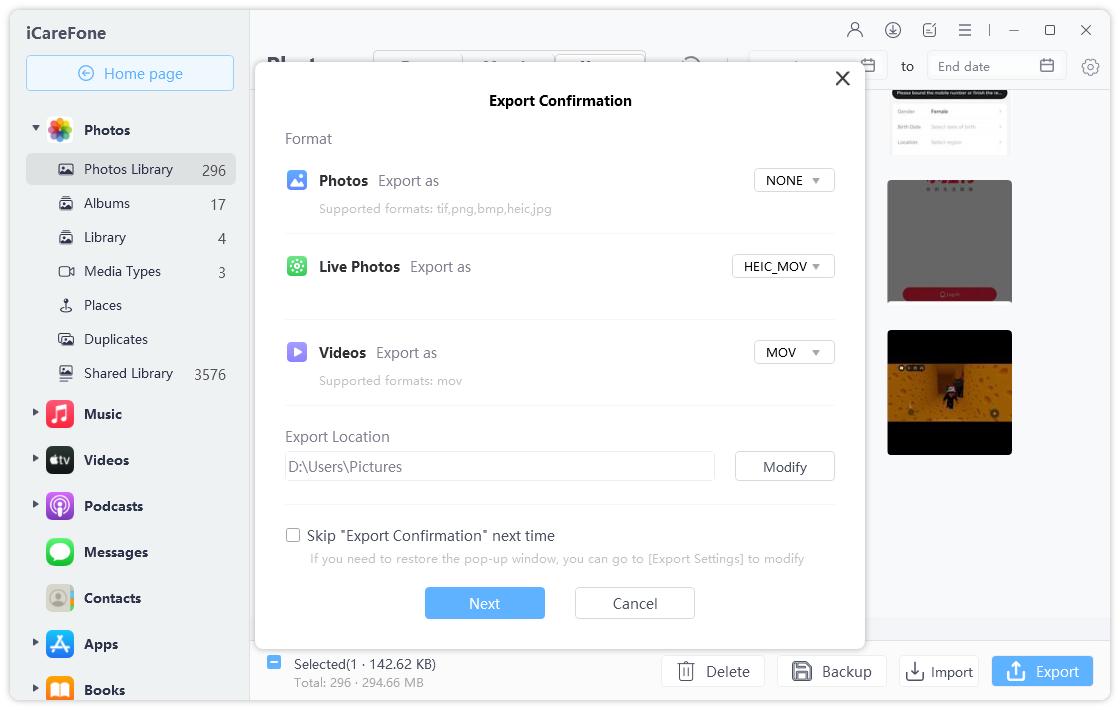
Choose the export format to be MOV, because that’s what you want to export to.

Wait for the process to complete, and your files will be converted in no time!
2. iMovie

iMovie is a free video editing app that you can use on your Apple devices, including iPhone, iPad, and Mac. However, we’re not concerned about its video editing features in this post.
Instead, we’re going to use it as a MOV to MP4 converter download.
If you don’t have it downloaded to your Mac yet, you can get it from the App Store. It’s free.
When you’ve downloaded it, start a new project and import your MOV file. Then, select Export from the menu, and choose MP4 as the exporting file format.
3. Adobe Express

If you want to convert MOV to MP4 online, Adobe Express might just be the thing for you.
Adobe is one of the biggest names in the editing and designing space, that’s why we have selected it to be our #3 pick.
All you need to do is open the tool on your Mac browser, drag and drop the files, and hit the Download button.
But, be noted that using an online tool has its pros and cons.
The good thing about them is that you don’t have to download them to use them.
The con is that you can’t use them without an internet connection. Whenever you want to convert a file, you need an active internet connection. Plus, you need to spend data uploading and downloading files. That could be a big problem if you have a slow or limited internet connection.
All in all, downloading a dedicated converter and using it is a better option.
Related read Convert MOV to MP4 without Losing Quality in 8 Tools.
The Bottom Line
And that’s how you convert MOV to MP4 on Mac.
After reading this post, you now have all the know-how of this file format, as well as how you can convert it to other formats.
If you want to jump straight to the best tool for the job, Tenorshare iCareFone is your friend.
Speak Your Mind
Leave a Comment
Create your review for Tenorshare articles


