12 Reliable Ways to Fix Always on Display not Working(Samsung S20/S10/S9/S8)
If you just updated your Galaxy S9+ and can't get the Always on Display working, you may need to check if your device clock is set appropriately. Perhaps you’ve taken such step before reading this article and couldn’t get the issue resolve, kindly check out some other solutions on this page.
- Part 1: Why is My Always on Display not Working?
- Part 2: Basic Checks before You Fix Always on Display not Working
- Part 3: 12 Ways to Solve Always on Display not Working
Part 1: Why is My Always on Display not Working?
Always on Display (AOD) is not working on your Samsung Galaxy phones due because your phone operating system is outdated. Also, it can arise from the wrong configuration of your phone. For example, if settings like Lift to Wake, Power Saving mode, Screen Saver, etc. and lots more are not configured properly, you can experience always on display not working after update.
Part 2: Basic Checks before You Fix Always on Display not Working
If your Samsung Note 8/20 always on display not working, there are some checks you will need to perform. Notable ones are :
- Check 1. Restart Your Android Phone
- Check 2. Check If Do Not Disturb is Off
- Check 3. Check If AOD is Shown Always
- Check 4. Enable the Smart Lock to Check
Check 1. Restart Your Android Phone
Restarting your phone is one of the ways to go if you’re encountering Samsung S9 always on display not working. All needed from you is to simply reboot the phone by pressing the power button and choose restart. This method is also known as "soft" restart. Taking this action helps clear your device memory and subsequently speeds things up on your device.
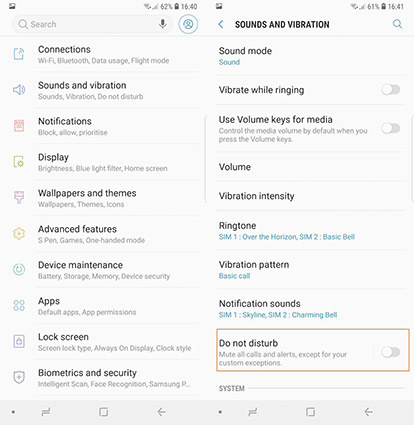
Check 2. Check If Do Not Disturb is Off
When Do Not Disturb is active on your device, you won’t be able to get alert about calls or even text messages coming to your device. Also, all notification on your device will be turned off.
- Pull down the Control Center by swiping down from the top of the screen.
- If you don't see the Do Not Disturb icon, swipe down a second time to see more icons.
Find "Do Not Disturb" and tap it. Each tap toggles it on or off.

Check 3. Check If AOD is Shown Always
The AOD feature on your Galaxy phone allows you to check the time, date, notifications, missed calls on your device. Simply check if it’s active by following the steps below :
- Go to Settings, search for “Always On Display”.
- Tap Always On Display, and then tap the switch to turn it on or off.
Tap Show always to keep the feature on all the time.

Check 4. Enable the Smart Lock to Check
Google Smart Lock works helps your Android system to remember your passwords when trying to login again. It’s also a feature that allows you to set security bypasses in certain places or when you connect to certain devices. With it, you can skip your screen lock type and gain a quicker access to your device.
If this option is disabled, you may experience Samsung S9 always on display not working.So, it’s better you activate it as soon as possible.
Part 3: 12 Ways to Solve Always on Display not Working
After you’ve carried out the diagnosis above and nothing seems to be working, then you need to perform the tasks below to finally resolve the Samsung s8 always on display not working challenges.
Way 1: Turn Off Battery Saver
The battery saver might have stopped the display feature. You should turn off the feature to make the always display work again. To enable Battery Saver mode or change its settings on an Android device, kindly take the following actions :
- Open the Settings app from the app drawer and tap “Battery”.
- Pull down the notification shade from the top of your screen.
- Turn off the battery saver.
Way 2: Turn Off Screen Saver
Another way to fix the always on display not working s8 issue is to turn off your device screen saver. To do this, follow the procedures below :
- Open your phone's Settings app.
- Tap Display Advanced Screen saver.
- Tap When to start and choose Never. If you don't see "When to start," click on the turn off Screen saver option.
Way 3: Turn Off Lift to Wake
This feature alway shows notification information on your phone or tablet’s display without you having to turn the display on. This can cause the always on display not working s8 problem. You should turn off the option to overcome the challenge. To achieve this objective, kindly take the following steps :
- Go to the Settings menu.
- Scroll down until you see the “Display” entry, then tap that.
- On the toggle for “Ambient Display.”, tap the slider to disable it. That will disable Ambient Display itself.
Way 4: Turn Off Roaming Clock
ou may also need to disable the roaming clock option so you can resolve the Samsung always on display not working problem. To do this, kindly follow the procedures below :
- From Home page, Tap "Apps".
- Tap "Settings".
- Tap "Lock screen and security"
- Tap "Clock and FaceWidgets".
- Tap "Roaming clock"
- Tap "Home time zone", then choose the intended time zone. Related Questions.
Way 5: Update the Bixby Routines to the Latest Build
Bixby works efficiently when you keep software up-to-date. If you don't update it, you can experience the Samsung always on display not working problem.To update it, please do the following :
- swipe down from the top of the page with two fingers to open the Quick settings panel.
- Swipe to the left, and then touch and hold the Bixby Routines icon.
- Tap More options (the three vertical dots), tap Settings, and then tap About Bixby Routines.
The latest software version of Bixby Routines will be displayed. If an update is available, you can update Bixby Routines from this screen.

Way 6: Update Always on Display to the Latest Version
Samsung always roll out a new update for Always On Display feature.Such update always fix a couple of bugs such as always on display not working s9. You can also update the feature to resolve the current challenge.
Way 7: Wipe the Storage Data of Always on Display
If there are cached file on your device, you can also try the option of wiping off the storage data of this particular application.
Way 8: Restore the Always-on Display to Default Settings
This is another great way of fixing the current challenge you’re experiencing. Kindly restore the App to the state it was when you bought your device.
Way 9: Uninstall and Reinstall Always on Display
Another cool way to fix this issue is by completely removing the app from your phone. Thereafter, install it back to your phone.
Way 10: Update Your Android System to the Newest
You can also choose to update your android system to its newest state. This ensure you easily fix the problem you’re experiencing.
Way 11: Fix Android System with ReiBoot for Android
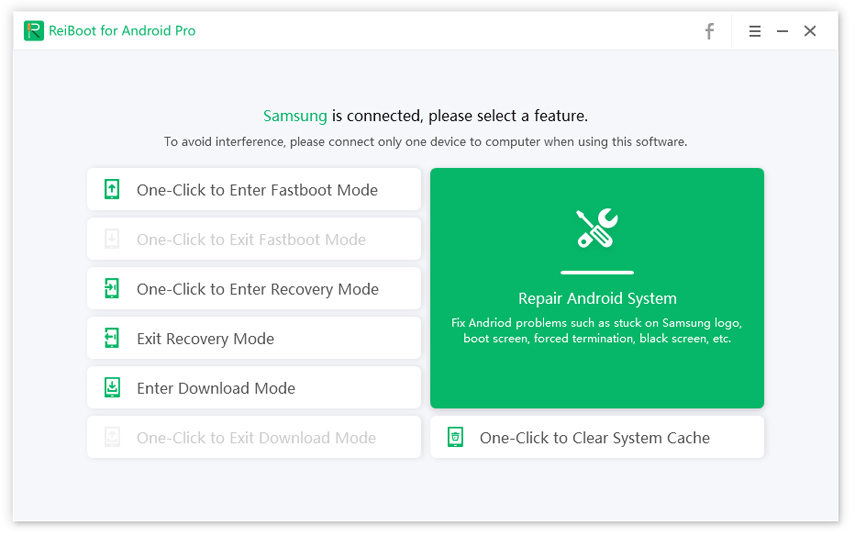
Using Tenorshare ReiBoot for Android is another great way of fixing the always on display not working.This app helps you to scan your device and replace its operating system with a functional one.Its one click functionality ensures that you resolve the challenge without much hassle. To get started with it,kindly follow the procedures below :
Download and Install ReiBoot for Android on Your PC.

click "Repair Now" to work on your iOS

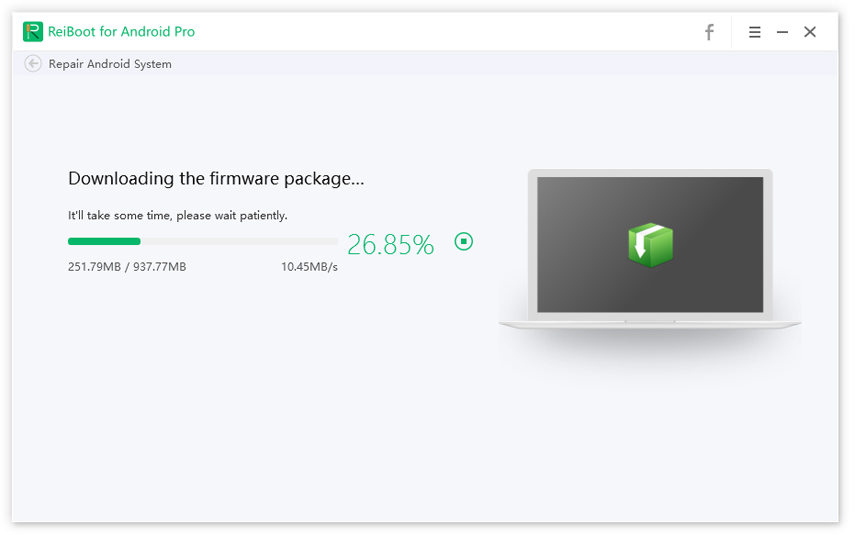
After you have checked the info and then click "Next" to download firmware.

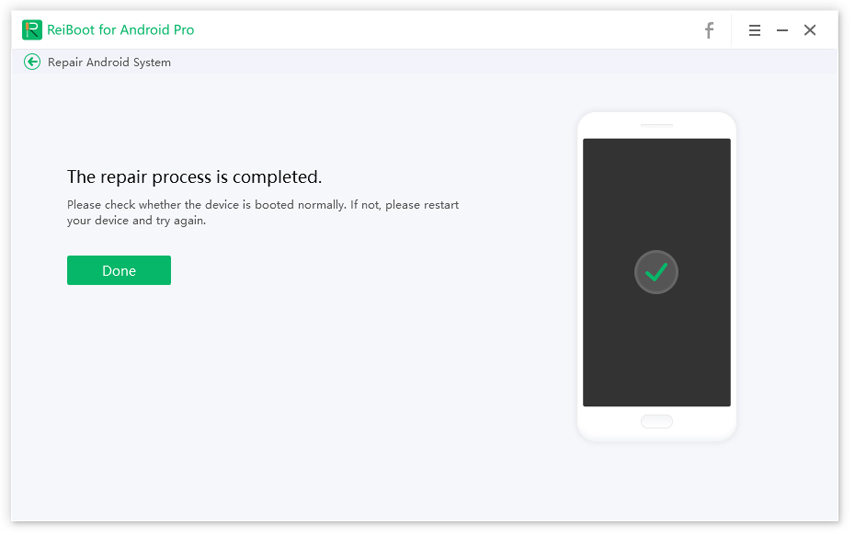
The Android system is repaired successfully.

Way 12: Factory Reset Your Android Device
The last option to solve the always on display s9 not working problem is factory reset. Kindly follow the steps below to reset your device.
- Open Settings, and select System.
- Select Reset options.
- Select Erase all data (factory reset).
- Select Reset Phone or Reset Tablet at the bottom.
- You'll be asked to confirm, select Erase Everything.
- Your device should reboot and may show a progress screen indicating that it is erasing the data.
Conclusion
The note 8 always on display not working issue often gives iOS device user a tough time. It can waste their useful work hours and even cause them to lose their essential files. If you’ve been experiencing this issue and notice that some of your files are missing, you should consider using Tenorshare ReiBoot for the file recovery. The software is extremely functional and powerful for file recovery task. To get it today, kindly visit Tenorshare ReiBoot official website to download the file.
Speak Your Mind
Leave a Comment
Create your review for Tenorshare articles
