Complete Knowledge about iCloud DNS Bypass
If you're receiving the notification “Activation Lock” on your iPhone screen, it implies that your device is connected to an iCloud account. If you’re not the owner of the phone, it can be hard to overcome such challenge. However, hope is not lost. There is a way you can overcome the situation easily. This is called DNS Bypass. Read this article further to learn more about it.
- Part 1: What is iCloud DNS Bypass?
- Part 2: Does iCloud DNS Bypass Really Work?
- Part 3: Professional & Effective Alternative of DNS Bypass-Tenorshare 4MeKey
Part 1: What is iCloud DNS Bypass?
Apple DNS bypass is a functionality that helps you convert readable names into numerical IP addresses. Most time, this app uses the DNS server to change the activation path of your phone. With the Apple DNS bypass , you can change the IP server path in your device’s WIFI settings and surf the internet, play games, and its more on your iOS device.
Part 2: Does iCloud DNS Bypass Really Work?
Yes, the DNS can bypass iCloud activation lock. However, it has some disadvantages which include the following :
- No assurance of unlocking your device always.
- Restrict users to access all the features on their iOS device.
- Fail to work on all versions of iOS devices.
However, if you’re someone who will love to use the function, below are the steps to follow to activate iCloud bypass DNS.
- Go to the WIFI setting page on your device. When you get there, you will be asked to connect to a WIFI network.
- Click ‘i’ symbol beside the WIFI network and then press Home Button> More WIFI Setting.
- Go to the connection settings and select Forget this Network.
- Click ‘i’ again and enter a DNS server to bypass iCloud Activation Lock according to your location.
- Now, turn on WIFI, select the WIFI network from the list and enter the password.
- You will see the option of Next page, don’t click it and press Back. Now you are on iCloud Bypass screen.
- Scroll down the page, go to the Menu and set up your apps, music, internet, camera, etc. That’s all. You have successfully achieved the iCloud DNS bypass.
Part 3: Professional & Effective Alternative of DNS Bypass-Tenorshare 4MeKey
If you’ve tried the option above , you must have noticed that the method is strenuous and not effective. To better save such hassle, you should use Tenorshare 4MeKey for your iPhone DNS bypass. The app has outstanding features that will easily allow you to achieve your Dns bypass iCloud activation with minimal stress.
Feature of Tenorshare 4MeKey
Some of the DNS iCloud bypass functionality peculiar to this software include :
- Fast removal of iCloud activation lock without password/Apple ID
- Unlock iCloud account anytime, anywhere when you forgot password or bought iPhone iCloud locked
- Log into App Store with new Apple ID after bypassing activation lock on iPhone/iPad/iPod touch
- Compatible with iOS devices from iPhone 5S to iPhone X, iOS 12 to iOS 14
How to Remove iCloud Activation Lock
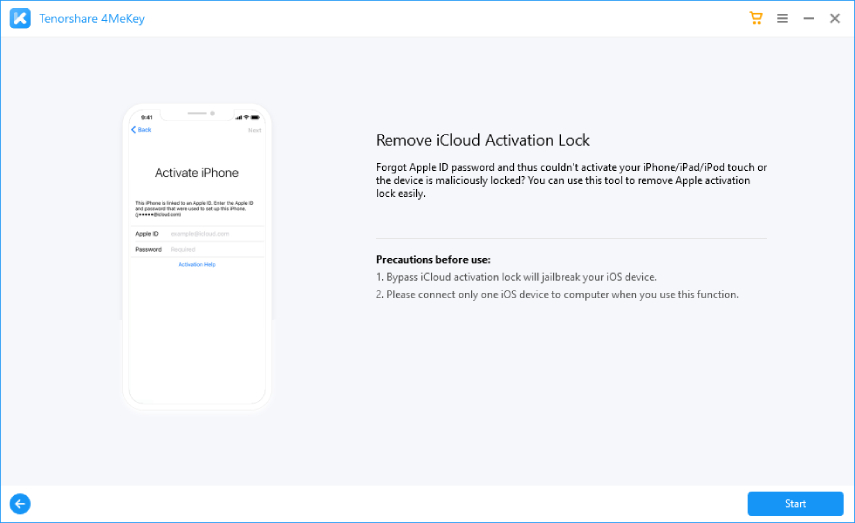
To use this software, you will need to download and install it on your computer. Then, you’ll see a message that request you to “Remove iCloud Activation Lock”.
Also, note that it will be necessary for you to note that Tenorshare 4Mekey will jailbreak your device.

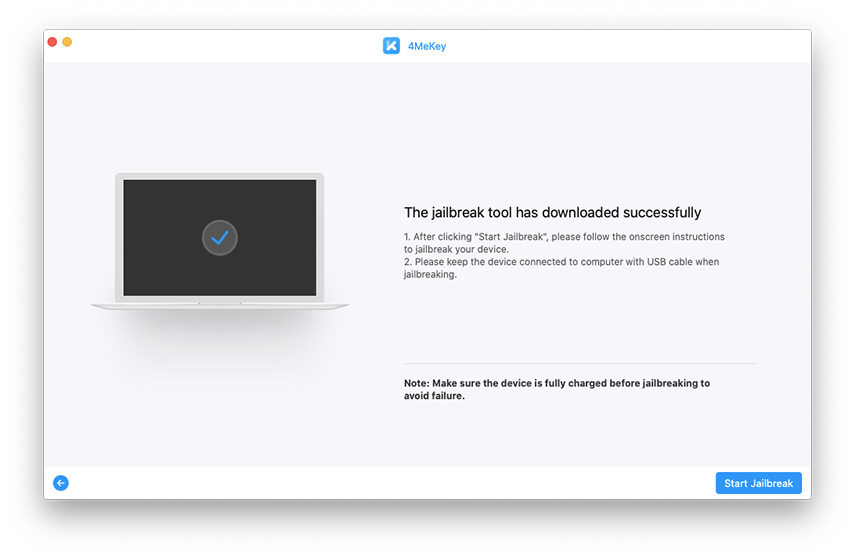
Now, you can start the jailbreaking process of your device. Hit the start button as depicted in the image below.
For Mac Users:

For Windows Users: This jailbreaking process neeeds a manual operation by yourself, please read this carefully.
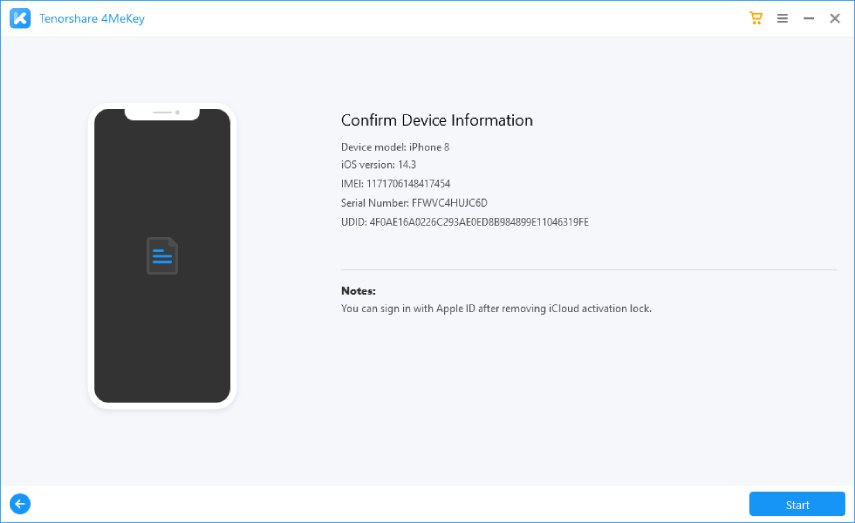
After jailbreaking is completed without question and click “Next”. You need to confirm your device information.

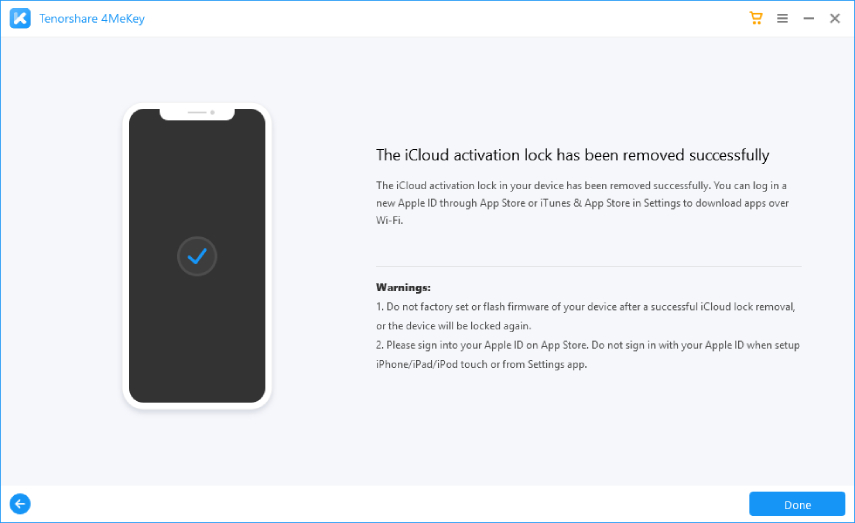
Now click “Start Remove”, iCloud activation lock is soon removed successfully.

Conclusion
This article has provided you with insight about the best way to run iCloud dns bypass code on your device. A tool like Tenorshare 4MeKey can ensure you achieve your objectives with minimal stress. It’s highly recommended you use the app for your DNS bypass goal.
Speak Your Mind
Leave a Comment
Create your review for Tenorshare articles
