How to Fix Android Camera Not Working (User Verified)

Updated on 09/10/2020 / Fix Android
100 % Helpful
It can be very funny how an Android camera can disappoint a group of excited friends, who are just trying to take some pics to keep the moment alive in their memories. However, all of a sudden, your Android camera failed. No flashing lights, no clicking sound. So how to fix camera error on Android?
I updated my 3XL to Android 11 yesterday. I can no longer get the camera to produce a correct image in either Panorama or Photosphere modes. Anyone else having this issue?"
- Part 1: When Will Your Camera Keeps Stopping Android
- Part 2: How to Fix Camera Error on Android
- Part 3: The Best Way to Fix Android Camera Failed Problem: Use ReiBoot Android System Repair Tool
When Will Your Camera Keeps Stopping Android
If Samsung Galaxy S9 camera failed or you notice rear camera and flashlight not working android, chances are that these issues are related to hardware or software problems. Below are some common reasons Android cameras may not work.
- Low RAM storage space: For most Android phones, when RAM storage is low, the camera app may begin to malfunction.
- Low space on external storage: When the SD card is about to run out of space, it is normal to get notification from the Android system. If these warnings are ignored, eventually, some apps which may include the camera app may begin to malfunction.
- Interference from 3rd part app: Third-party apps used to take, edit and share pics may interfere with Android camera function.
- Android Software issues: When the Android operating system in a device is faulty, one of the obvious sign is loss of camera app function.
How to Fix Camera Error on Android
Here are some solutions to front/back camera not working Android smartphones.
1. Free Up Memory Space
Since no memory space can hamper the camera app function, it makes sense to free up storage space on your device. You can do this by going to your File Manager so you can delete whatever files you do not need. The higher the size of the files you delete, the more free storage space you get. Big files like video files and heavy game apps can be good candidates to delete. If don't want to delete files from your SD card, you can buy and insert a new SD card so more space can be available for your apps to function.
2. Restart/Reboot Your Smartphone
If you are sure that your phone memory space is good enough, yet your back camera not working Android, try restarting or rebooting your phone. Follow the steps below to reboot/restart your phone.
- Hold down the power button on your device until you see control options show up on your screen.
Choose Restart/reboot and wait until your smartphone return to the home menu.

After the process, open your camera app to check if it is working. If it is not working, try the next solution.
3. Remove Phone Battery If Possible
If your Android is not the in-built battery type, gently open the cover case of your phone and remove the battery. Ensure that the phone is on before you remove the battery. After two minutes, replace the battery and reboot your phone.
4. Clear Camera App Data and Cache
The camera app cache is supposed to be cleared once in a while. If left uncleared for too long, the camera app function may be disturbed. To clear camera app cache, follow these simple steps:
- Go to Settings and click on Apps.
- Locate the camera app on the list and click on it.
- Select Clear App Cache and Clear App Data.
Reboot your phone to complete the effect.
5. Force Stop Custom Camera App
If you still get unfortunately camera has stopped system message, maybe Force stopping the app will do.
- Go to Settings and then select Apps.
- Scroll to the camera app and tap it.
- Select Force stop.
Restart your Android phone to finish the whole process.
Your camera app should be working by now unless the fault is a major one.
6. Return All App Settings to Default
You may also reset all app preferences to fix Android camera app issue.
- Go to Settings and click on Apps.
- Locate the All Apps menu at the top right of your screen.
Select the "Reset App Preferences" option.
7. Uninstall Every 3rd Party Camera App
You can uninstall all 3rd party camera app and leave only your custom camera app. You may also update your camera app if you find that it needs to be updated.
8. Run A factory Reset
Camera and flashlight not working Android can be a big challenge. Should all the above methods fail, running a factory reset is the next possible solution? Make sure you backup important files and folders before running a factory reset. You can remove your SD card before factory reset. Since factory reset wipes your phone clean, be sure you all necessary files are back up.
- Go to Settings and check under Personal to locate Backup and Reset. Click and proceed to the next step.
Click the factory data reset and confirm the command.
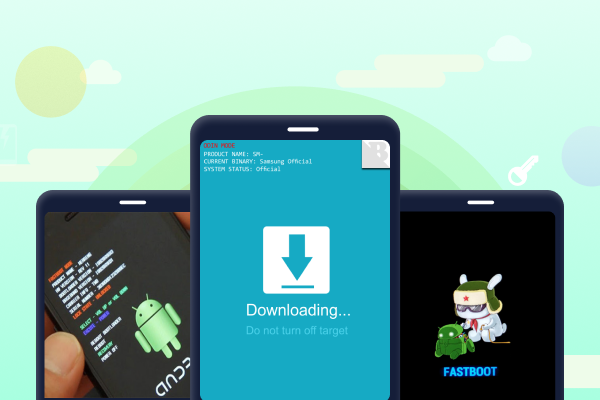
The Best Way to Fix Android Camera Failed Problem: Use ReiBoot Android System Repair Tool
Tenorshare ReiBoot for Android is a free boot book repairing tool that is available to Android phone users. It also helps fix issues like freezing and general phone recovery. The application which was built by tenorshare was designed to solve the restarting and coming up problem that most phones tend to encounter as they age using the phone's backup file.
Key Features
- It is compatible with a wide variety of Android phones.
- With a user interface that is easy to navigate, using the application isn’t cumbersome.
- Reiboot can solve more than 50 Android system issues, including app crashing, Android stuck in recovery mode and many others.
How to use ReiBoot to Repair Android Camera Not Working
If your Android camera still malfunctions after following the steps outlined earlier, then it is time to use ReiBoot to solve the system problem once and for all. Below are steps you can take to use Reiboot to repair your Android system.
Go to ReiBoot's official website at tenorshare to download the software on your computer, or you can click the download button below.

Once you have downloaded ReiBoot setup, install and run the app. Use a USB cable to connect your Android to the computer via USB Debugging mode. Click Repair Android System to continue.
Click on the “Repair Now” button as the app moves you to the next interface to select your phone type.
Scroll through the numerous list of phone types and models to select the appropriate one to continue. The right selection of phone type and model with trigger the download of the correct firmware for your phone.
The Repair Now can then be clicked to start the repair process.
Conclusion
It is important to buy smartphones with good camera reputation and high-quality performance. This is very important for many smartphone users, especially those who rely heavily on camera to express themselves or their jobs. In case you have issues with your front camera not working, try out any of the steps listed above first. Use Tenorshare ReiBoot for Android as the last resort. That is after you have tried all the other solutions to no avail.
If your camera doesn't work after using ReiBoot, it is likely that you have a hardware issue. You can take your phone to the recommended centers to check its camera.
Speak Your Mind
Leave a Comment
Create your review for Tenorshare articles
Don’t forget to share this post!


