Top 4 Ways to Remove Photos from iPhone to Computer [iPhone 17 Newly]
Have a lot of precious pictures stored in iPhone, then want to remove these photos to computer for storage space saving or for backing up. If you're looking for a way to transfer photos from your iPhone to your Windows PC or Mac, here we will share you with four different options concerning files transfer from iPhone to computer/laptop. In my experience, I will strongly recommend you to try the method 1, which is the easiest and most effective way among all those ways I've ever used.
1. How to Selectively Transfer Photos from iPhone to Computer without iTunes
If there is something wrong with your iTunes, then you cannot transfer files from iPhone to your computer or laptop with it. However, there's also the option of using third-party tool to help you remove photos to your computer.
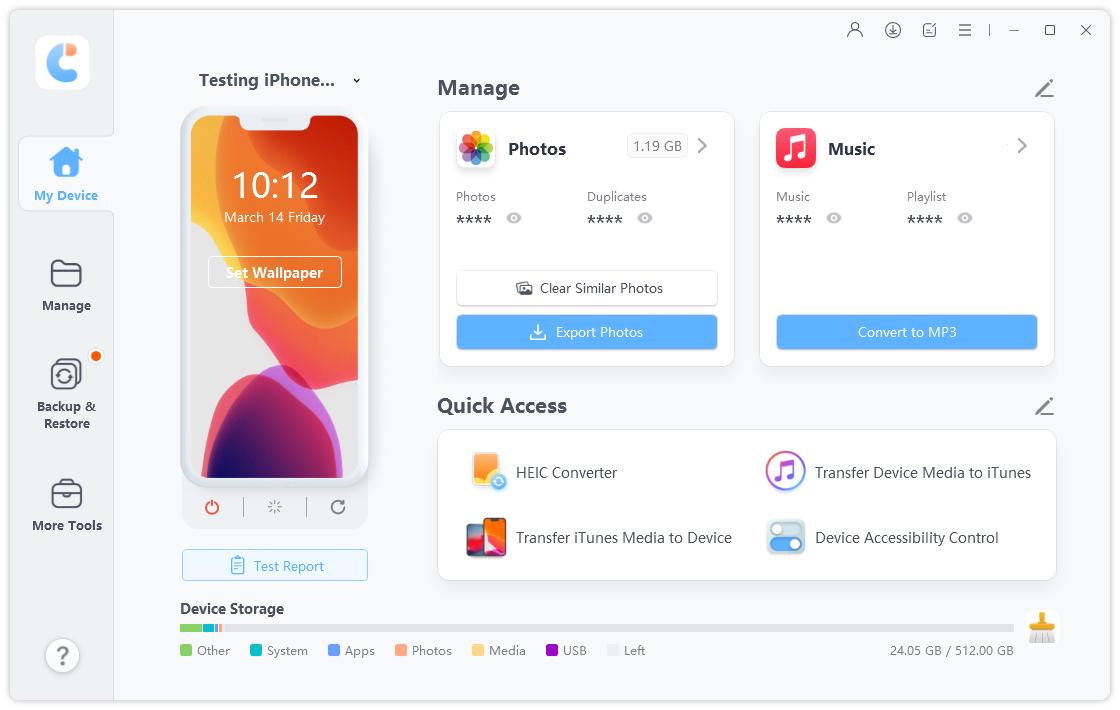
Tenorshare iCareFone is the most outstanding iOS file transfer among many offerings out there which provides a comprehensive way of transferring your files from iPhone to computer (both PC and Mac). It helps remove photos from iPhone camera roll in bulk and even the photos in photo library can be deleted. Here's how:
To get started, please download and install Tenorshare iCareFone to your computer.
Step 1: Connect your device to the computer via a USB cable. Launch the program and hit "File Manager" to use this function.

Step 2: Click on "Photos" from 9 types of file listed in the interface to move on.

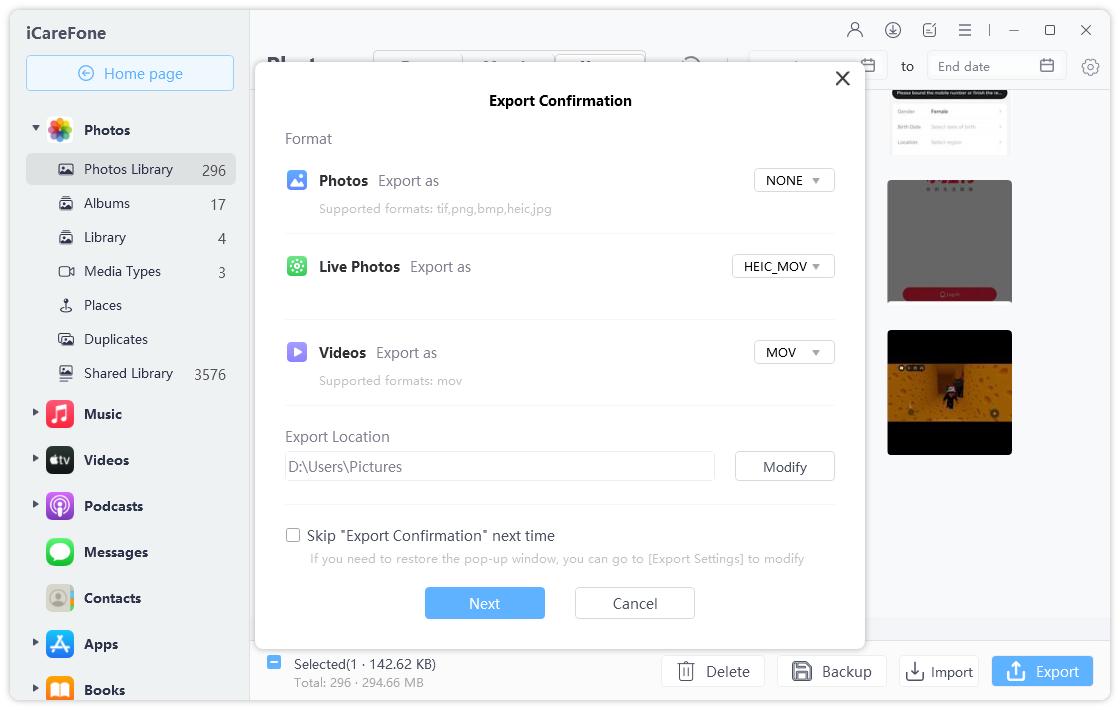
Step 3: To export files on your iPhone to computer, check target photos or simply tick "Select All", and then click "Export to" on the menu. By default, the files will be saved in a folder on your hard disk. You can feel free to set the location of the folder that saves the exported files.

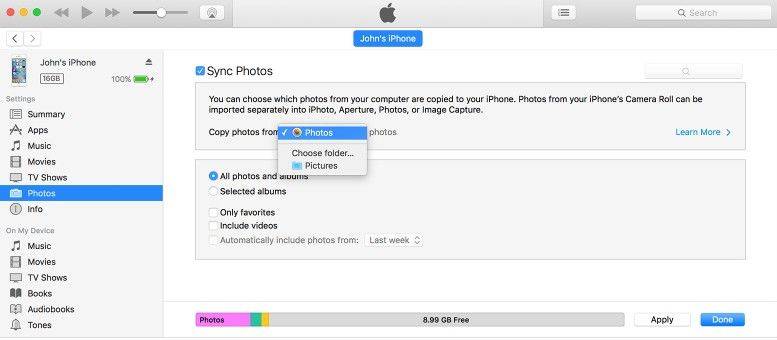
2. How to Remove Photos from iPhone to Computer with iTunes
Most of us have iTunes installed on computer, which makes this an obvious method to transfer images, videos and other files, now just follow the detailed steps below to start photos transfer.
- Step 1: First of all, please make sure that you have the latest version of iTunes.
- Step 2: Open iTunes on your computer, then connect your iPhone to computer with an included USB cable. Then find the iPhone icon on the menu.
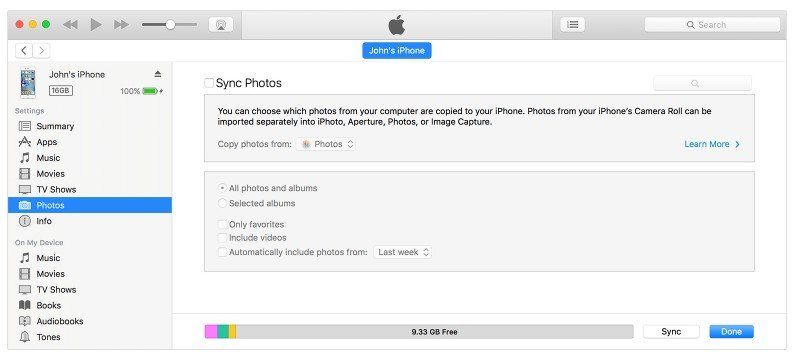
- Step 3: Click Photos tab under settings on the left. And hit the box next to "Sync Photos."
- Step 4: Select the app or folder that you want to sync from.
- Step 5: Choose to sync all photos or selected albums, then click Apply to start transferring.

3. How to Move photos from iPhone to PC with Windows Files Explorer
To move your photos from iPhone to computer, you can use Windows Files Explorer to achieve it on a Windows computer. Here's what you can try.
- Step 1: Plug-in your iPhone to the computer or your laptop without iTunes running. Wait for your computer to recognize it.
- Step 2: Open My Computer, and you will see your iPhone as a portable device.
- Step 3: Open it and find the folder called DCIMm. Then find the photos you need to transfer to computer.

Remember, if the iPhone pictures are not showing up in Windows, make sure the iPhone is unlocked first. Otherwise the iPhone will be found in 'My Computer' but all of the content on it will be invisible and inaccessible. If you run into that, all you need to do is touch the iPhone, unlock the screen and enter the passcode, and all of your stuff will be visible as expected.
4. How to Import Photos from iPhone to Mac with Photos App
You can use the Photos app to import photos from your iPhone to your Mac without using iCloud Photo Library. These steps also work for importing images from digital cameras and SD cards.
- Step 1: Connect your device toMac with a USB cable. If you're using an SD card, insert it into the SD slot on your Mac, or connect it using a card reader.
- Step 2: Type in your iPhone's passcode (if applicable) and then tap Trust This Computer on the pop-up menu. Allow your Mac access to your iPhone if prompted.
- Step 3: Wait for the Photos app to open. If not, open the Photos app.
- Step 4: Choose the Import tab from the top right section of your screen.
- Step 5: Select each photo you want to transfer. If you're only looking to import new photos, you can simply click Import All New Photos.
- Step 6: Click Important Selected in the top right corner of your screen. And choose whether or not to keep original photos on your iPhone. Clicking Keepwill preserve the photos, while clicking Delete will remove them from your iPhone.

Feel free to let me know how these methods work for you or what do you think about it. Thank you!
Speak Your Mind
Leave a Comment
Create your review for Tenorshare articles

Tenorshare iCareFone
Best Free iPhone Transfer & iOS Backup Tool
Easily, without iTunes


