

UltData - Best iPhone Data Recovery Tool
Recover Deleted & Lost Data from iOS Devices Easily, No Backup Needed!
UltData: Best iPhone Recovery Tool
Recover Lost iPhone Data without Backup
Be it recording songs, lectures, or an important interview, a readily available recorder is a boon! Everyone uses the Voice Memo app on an iPhone. The app works great for recording and saving voice memos. But what if, you want to upload voice memos from iPhone to Mac to save up your limited phone space? Well, we are here with a quick tutorial to help you out!
Space is a big issue for iPhone users! And if you want to get those iPhone voice memos onto your MacBook, there are 3 ways by which you can get it done.
Transferring iPhone voices memos to Mac with the help of email can be the easiest way by far. But this method doesn’t allow you to transfer more than one file/memo at a time and this is a big problem. One can repeat the whole process again and again but it takes a lot of time. But nevertheless, if you have one file or two files, you can start transferring by following these steps:


An email window will automatically open up with your memo being attached along with it. Just put the email address or the recipient and send it. You are done!
Also Read: Professional iOS Backup & Transfer Tool
As, discussed earlier, using email to transfer memos is tedious and monotonous, as you can select and transfer files one at a time. But when it comes to iTunes, you can start transferring multiple memos at a time. It is a very simple process as well. Here’s how to get voice memos off iPhone onto MacBook.


This method is also applicable for a Windows computer as well.
If you want to know how to transfer large voice memos from iPhone to Mac without iTunes syncing, you should check out Tenorshare iPhone Data Recovery . It is purely an iOS data recovery software that can help to backup iPhone voice memos to Mac. It can even recover deleted or lost memos easily.


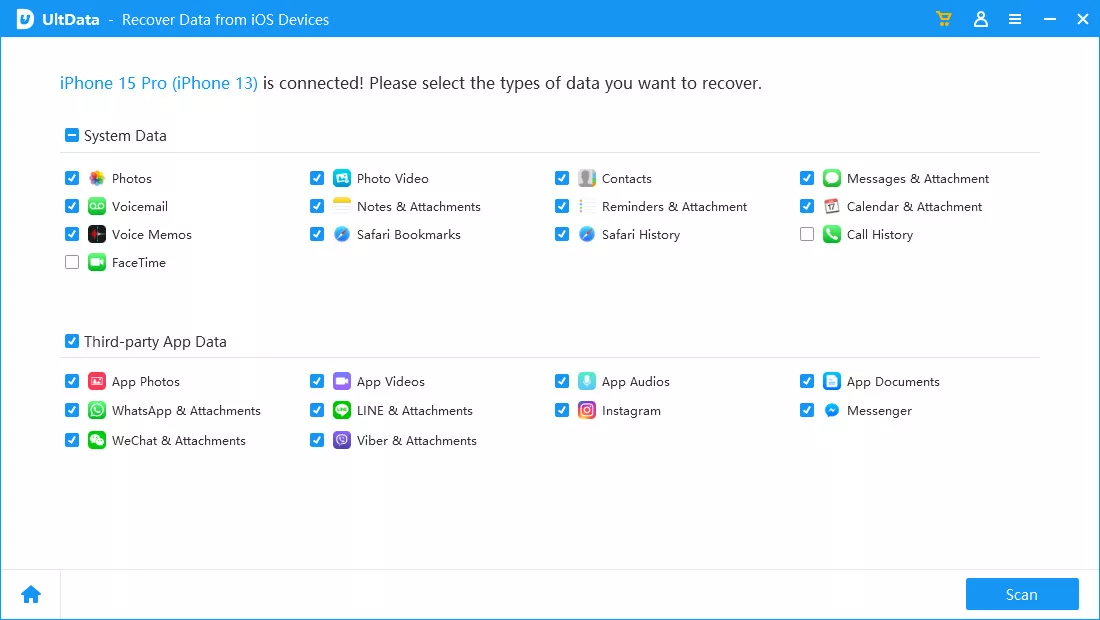

All your selected voice memos will get uploaded to your MacBook or computer.
With the help of UltData, your files will be safe and won’t get affected by any means. It is highly recommended that you try UltData for transferring or recovering files and memos with relative ease and convenience.
This article shows you how to get voice memos off iPhone X/8/8 Plus/7/7 Plus/SE/6s/6 onto Mac, iMac, MacBook or any computer. If you like this article, do share and comment below.

UltData - Best iPhone Data Recovery Software


then write your review
Leave a Comment
Create your review for Tenorshare articles
UltData - Best iPhone Data Recovery Tool
Recover Deleted & Lost Data from iOS Devices Easily, No Backup Needed!
UltData: Best iPhone Recovery Tool
Recover Lost iPhone Data without Backup
By Jenefey Aaron
2026-06-08 / iOS File Transfer