Transfer Photos from iPhone to PC Wirelessly 100% Working [40K Readers]
Hi, my data cable is missing, but I have a batch of important photos on my phone that I want to transfer to my computer. Can someone help me? How can I transfer photos from iPhone to PC wirelessly?"
Don't worry, it's actually possible to transfer photos from your iPhone to PC without a cable. Moreover, these methods are quite simple and don't require much time. Let's take a closer look at the specific methods.
- Method 1: Transfer Photos from iPhone to PC Wirelessly via WiFi
- Method 2: Transfer iPhone Photos to PC with iCloud Sync
- Method 3: Send iPhone Photos to PC by Email
- Can I Transfer Photos from iPhone to PC via Bluetooth?
Method 1: Transfer Photos from iPhone to PC Wirelessly via WiFi
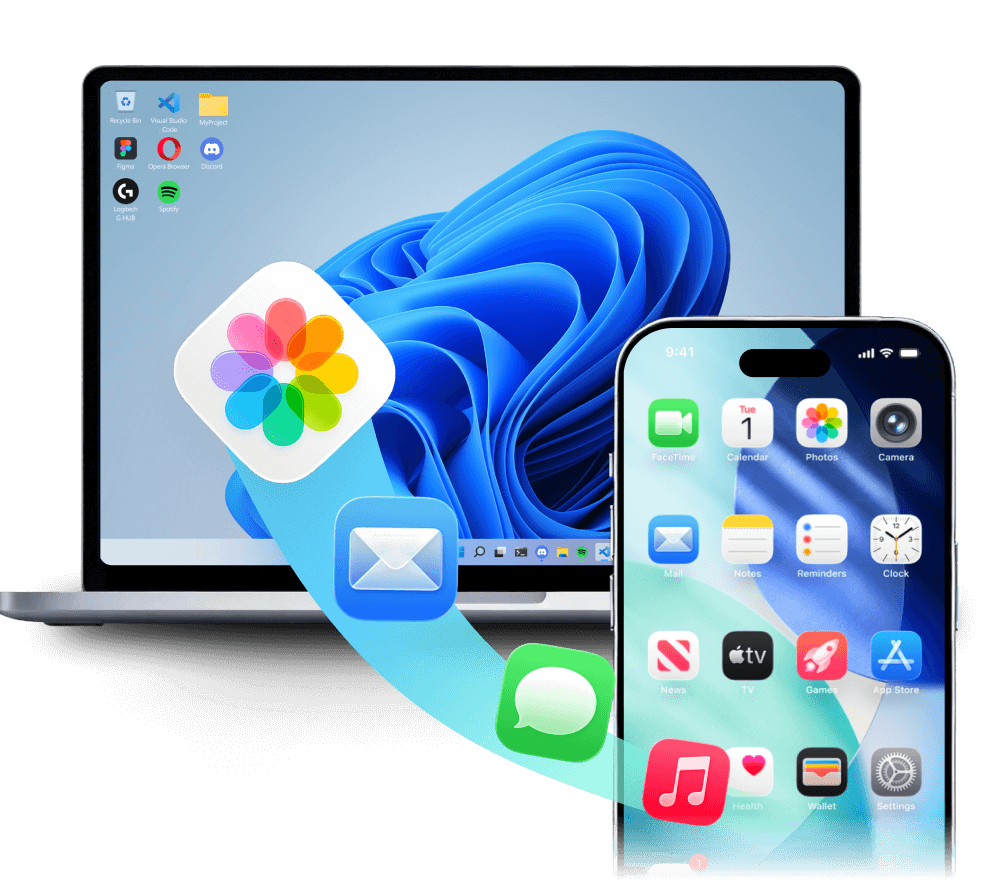
The most effective way to transfer photos from iPhone to PC wirelessly is by using iCareFone, which is an all-in-one iOS data management tool designed to facilitate the transfer of all your iPhone photos to your PC through a WiFi connection.
Furthermore, iCareFone allows you to back up your iOS data to your computer for free and gives you the ability to view, export, and restore the backup at your convenience. It outperforms iTunes in managing, exporting, and transferring iPhone photos, videos, music, contacts, and more. In fact, iCareFone offers more comprehensive iPhone data management capabilities than you might imagine.
Let's explore how to use iCareFone for the wireless transfer of photos from iPhone to PC via a WiFi connection:
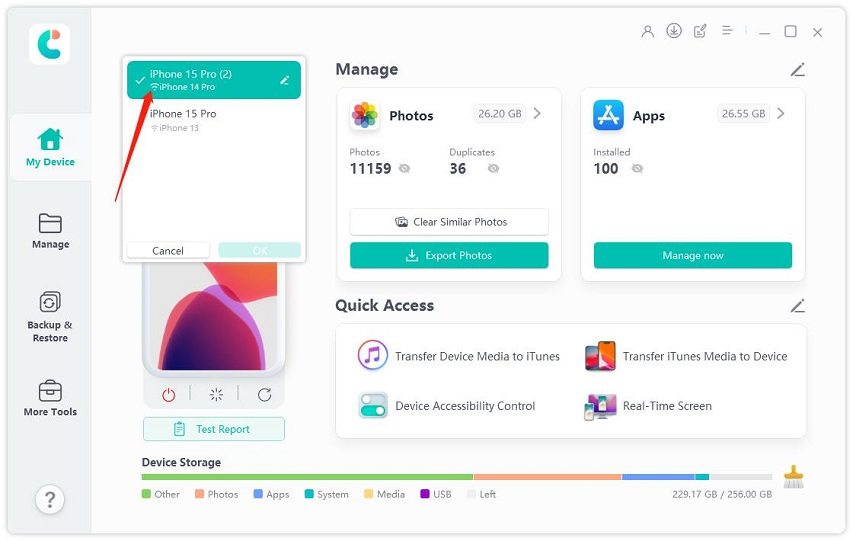
Download and install iCareFone on your computer by clicking the download button above. Connect your phone and computer to the same Wi-Fi network. Then your device will detected by iCareFone.

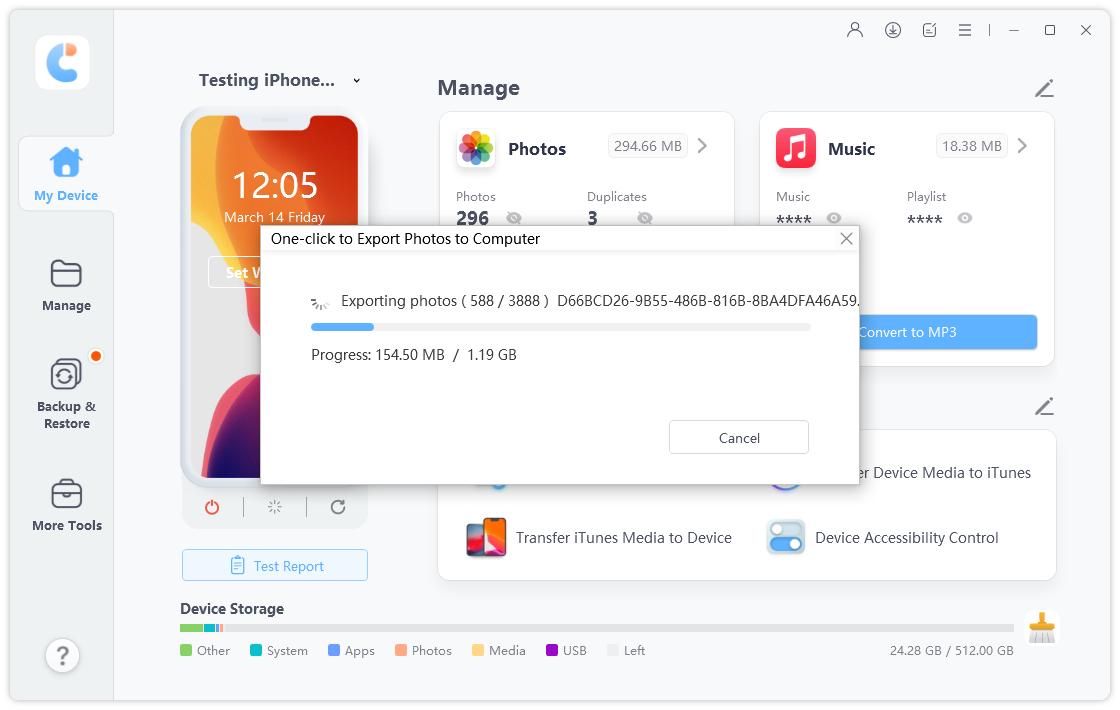
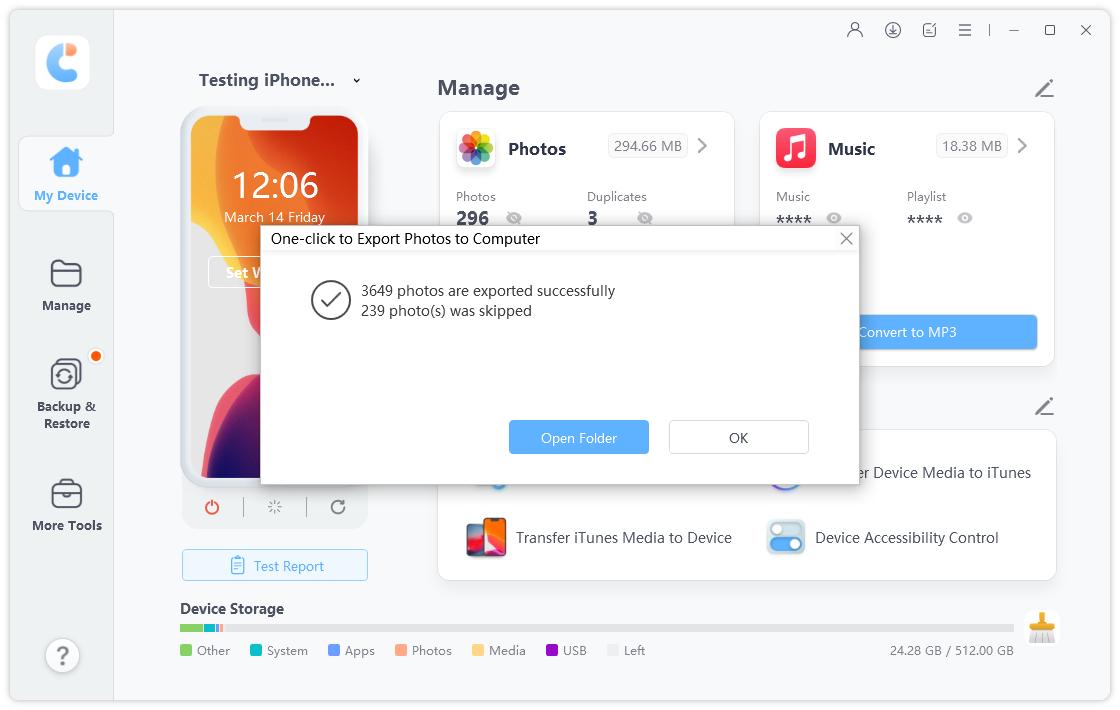
Click the “Export Photos” button in the Photos section. All your photos will be transferred to your pc wirelessly. Then wait for the photos transfer process to complete.


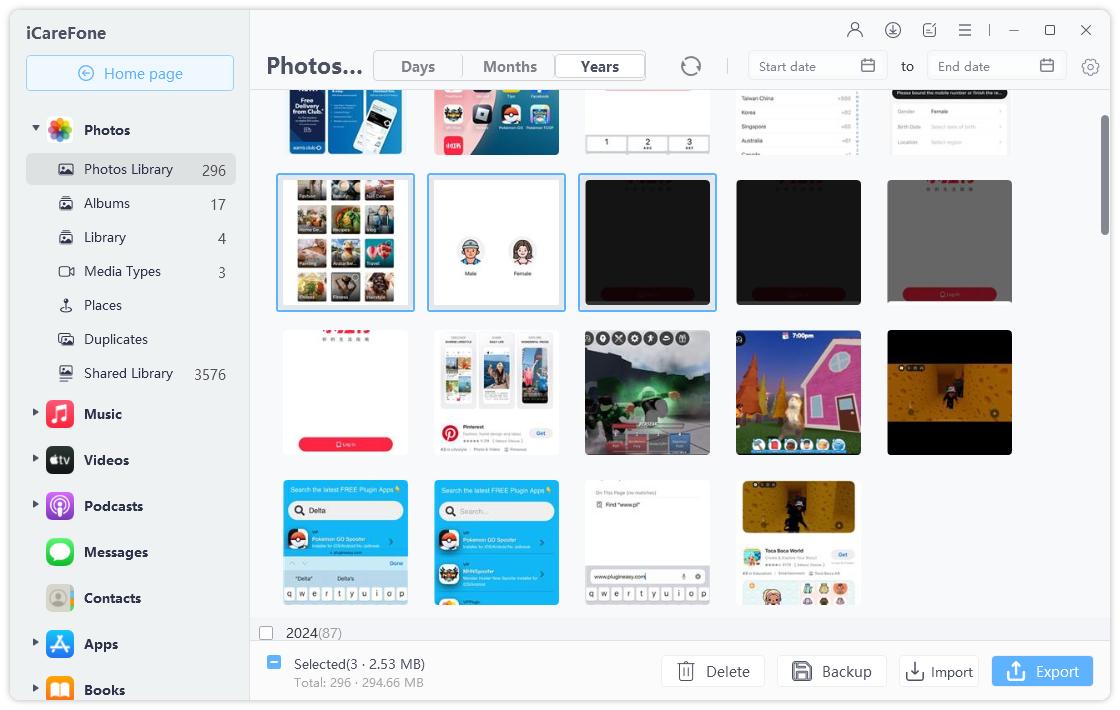
If you want to transfer only a part of your photos, then just head to the photos management section. Select the photos and click the “Export” button.

Method 2: Transfer iPhone Photos to PC with iCloud Sync
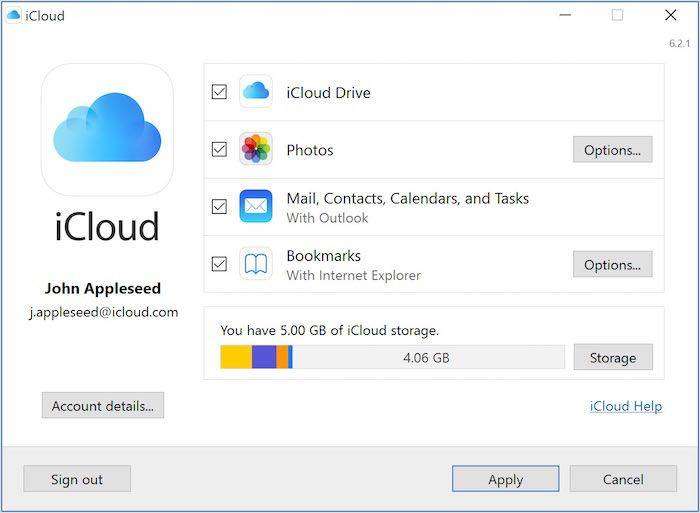
Another method to transfer iPhone photos to a PC without a cable is through iCloud. As an iPhone user, I believe you are already familiar with iCloud, but most people are unaware that Windows computers can also download iCloud and help you sync iPhone data to a Windows PC.
However, this method has its drawbacks: it's slow, and if you want to have wireless automatic synchronization of iPhone photos to a Windows PC, it's a bit luck-dependent, as you need to wait for iCloud to sync data on its own. Additionally, there is only 5GB of free space.
Let’s see how to use iCloud to sync/transfer photos from iPhone to pc without cable:
- First, you need to enable iCloud photos on your iPhone: Settings - Tap on your Apple account - iCloud - Turn on Photos option.
- Download and install iCloud for Windows on a computer.
- Use the Apple ID that you use for your iOS device to log in.
- Check the "iCloud Photo Library" checkbox by clicking "Options" next to Photos.
Press "Done" then "Apply."

Check your iPhone images from "This PC" > "iCloud Photos" > "Downloads" after the synchronization procedure.

For Mac:
- Mac users should choose "System Preferences" from the Apple menu.
- Click "iCloud" and sign in using the iPhone's Apple ID.
- Activate "iCloud Photos" by checking the "Photos" option.
- The Photos app will then display all of your iPhone's pictures.
Related read Transfer Photos from iPhone to PC Using iCloud.
Method 3: Send iPhone Photos to PC by Email
Email is a more conventional method to transfer photos from iPhone to PC wirelessly. While the steps are simple, the pixel quality of photos may be compressed during the email sending process. Additionally, if there are many photos, the waiting time for sending emails can be long, and there is even a risk of sending failure.
This method is more suitable for users who only want to transfer several photos from iPhone to PC wirelessly. Here are the steps:
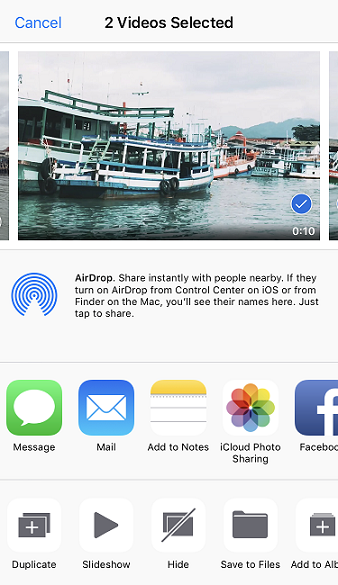
- On your iPhone, go to Photos, select the photos you want to transfer, and tap the share icon in the bottom left corner.
Choose "Mail" and enter your own email address (yes, you can send an email to yourself).

- On your Windows computer, sign in to your email using the web version, and you will find your photos as attachments in the inbox.
- Download the photos to your computer.
Can I Transfer Photos from iPhone to PC via Bluetooth?
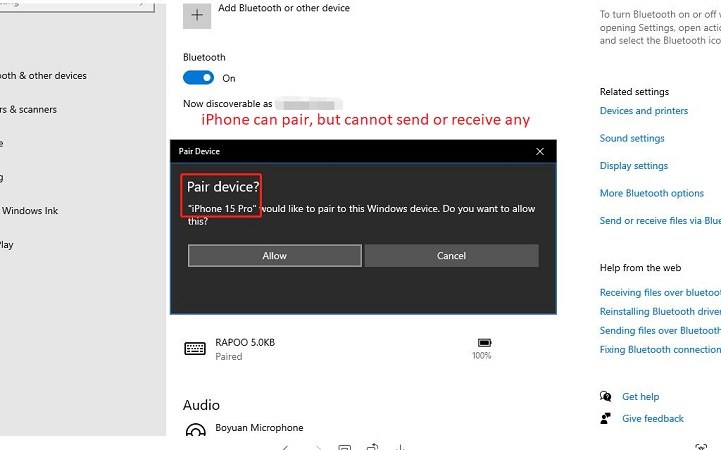
In straightforward terms, sending photos from an iPhone to a PC via Bluetooth is not feasible.
While Android phones can use Bluetooth for transferring photos to Windows PCs, iPhones lack this capability. Although you can pair your iPhone with your PC's Bluetooth, the Apple Photos app does not offer an option to send photos through Bluetooth.
So, what's the alternative? If transferring photos from an iPhone to a PC via Bluetooth isn't an option, how can you achieve it? Read the following section to discover the solution!
Related read Transfer Photos from iPhone to PC via Bluetooth?.
Conclusion
These three techniques on how to send pictures from iPhone to computer or transfer photos from iPhone to pc wirelessly are 100% effective. Every approach has benefits and drawbacks. With the exception of the photo transfer feature, iCareFone is the most effective, quick, and convenient way to transfer photos from iPhone to pc wirelessly. It is a great alternative to iTunes for managing your iOS data.
Speak Your Mind
Leave a Comment
Create your review for Tenorshare articles

Tenorshare iCareFone
Best Free iPhone Transfer & iOS Backup Tool
Easily, without iTunes


