Fix 'Unable to Verify Security Response' 16.4.1 Error Quickly
Hi there. Apple just released a security response update for my iPhone, but I can’t seem to install it. I get the “Unable to Verify Security Response” error. Can you help me fix it? Thanks in advance.”
Apple just released the first-ever security response update: iOS Security Response 16.4.1. As the name suggests, this update is for the iOS version 16.4.1.
However, a lot of people complain that they’re not able to install the update because they get the error message while verifying security response during installation.
Since you’re facing the same issue, you must be wondering how to get rid of it. Well, don’t worry! This article tells you exactly what you need to know. Let’s get started right away.
- Part 1: Possible Reasons Caused "Unable to Verify Security Response" Error
- Part 2: Quickly Fix "Unable to Verify Security Response" Error - 8 Normal Fixes
- Part 3: Stuck on Verifying Security Response? Quickly Get Rid of It
- Part 4: Use ReiBoot to smoothly Upgrade to iOS 16.4.1
- Part 5: Things to Do Before Updating
Part 1: Possible Reasons Caused "Unable to Verify Security Response" Error
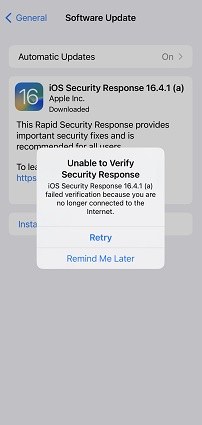
There could be several reasons why iOS security response 16.4.1 is failing to install. Here are the most important ones:
- There’s a problem at Apple’s end, which is preventing the update from being approved.
- You don’t have enough space in your device.
- There’s a temporary issue in the system.
- The system has downloaded a faulty update and needs to be re-downloaded.
Part 2: Quickly Fix "Unable to Verify Security Response" Error - 8 Normal Fixes
Fix 1: Reboot or Force Restart your Device
Since you’re having trouble verifying security response, you should try restarting your phone. Or even better, try a force restart. Force restarting your iPhone is usually more effective.
Here’s how you can do this. Be sure to perform the steps below in quick succession.
- Press and release the volume up button.
- Press and release the volume down button.
Press and hold the side power button for several seconds until you see the Apple logo.

Your phone has now been force restarted.
Related read How to ReBoot iPhone.
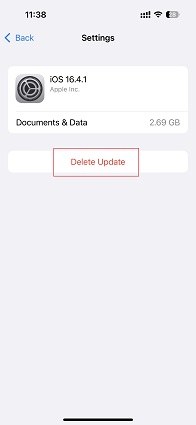
Fix 2: Delete the Update and Install It Again
If you’re still unable to verify security response, you should delete the update and download it again.
In case the downloaded update this faulty, this fix will get rid of that. Here’s how you can do it.
- Open the Settings app.
- Go to General > iPhone Storage.
- Find the update in the list of apps, then tap it.
Select “Delete Update”.

- When it’s deleted, go to General > Software Update to redownload the update.
Fix 3: Try Again Later in 1-2 Hours
If you’re unable to verify security response even now, your best course of action would be to wait for a few hours.
It’s very likely that there’s a problem at Apple’s end, and all you need to do is just wait for them to fix it.
So, select to try again later, and come back again after around 2 hours and try again.
Fix 4: Switch Network Connection
It’s likely that you have an unstable network connection that’s preventing the update from being verified. You see, you need to connect to Apple’s servers to get the update verified. If you have an unstable connection, that won’t happen.
If you’re not able to install the iOS 16.4.1 security response even now, connect to a different WiFi connection or mobile data and try again.
Fix 5: Disable VPN Connection
To successfully install iOS 16.4.1 rapid security response, you need to have a stable network connection — and a VPN can take that away.
Due to the nature of how a VPN works, it can slow down your internet.
So, if you’re using a VPN, open your VPN app and disconnect it. Then try installing the update again.
Fix 6: Reset Network Settings
There might be something wrong with your phone’s network settings. To fix those, you can try resetting them to factory settings.
To do that, follow the steps.

- Open the Settings app.
- Go to General > Transfer or Reset iPhone.
- Tap Reset, then select “Reset Network Settings”.
- Enter your passcode and confirm.
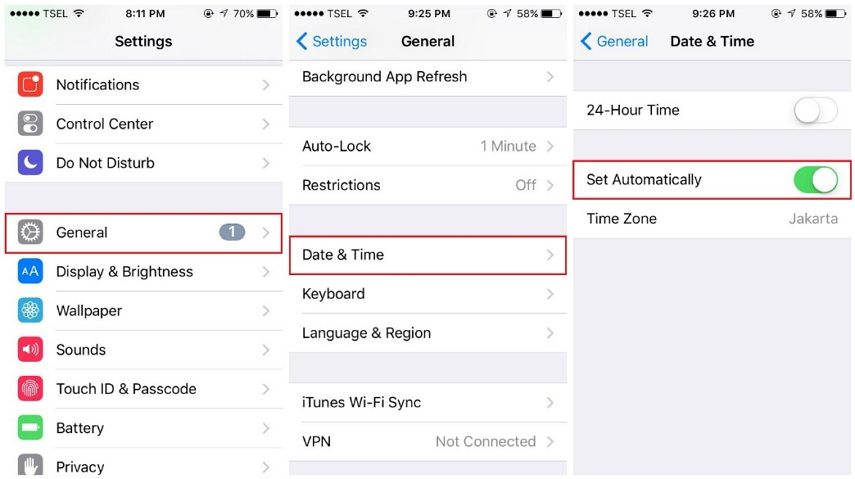
Fix 7: Check Device Time and Date
If you’re still unable to verify security response, you might have an incorrect date or time on your device.
Having an incorrect date or time can prevent the update from being verified. To fix this, follow the steps.
- Open the Settings app.
- Tap Date and Time.
Turn ON the toggle for “Set Automatically”. Doing this will automatically set the correct date and time based on your location.

Fix 8: Ensure Enough Device Storage
Lastly, you should make sure you have enough storage on your device to install the update.
You may be unable to verify security response if you don’t have at least 1GB of free storage. Even if the update is small in size, it may need more storage space to install.
To check your available free storage, go to Settings > General > iPhone Storage.
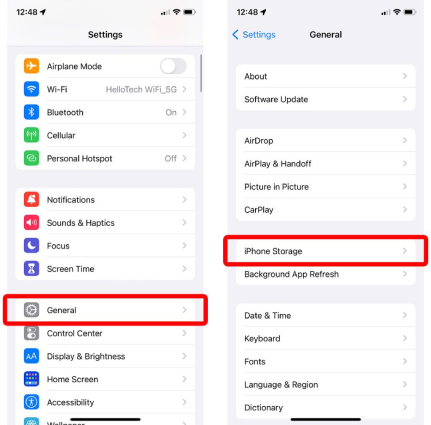
If you have less than 1GB of free storage left, delete some unwanted videos and photos from your phone to free it up.
Related read Clear Storage on iPhone Before Upgrading.
Part 3: Stuck on Verifying Security Response? Quickly Get Rid of It
Some users are reporting that they’re completely stuck on the Verifying Security Response popup, and can’t seem to get rid of it.
If you have a similar problem, you can use Tenorshare ReiBoot to get rid of it.
ReiBoot comes with tons of features for your iPhone issues. You can use it to quickly enter or exit recovery mode for free, completely reinstall the iOS system on it, fix more than 150 iOS system issues, and more.
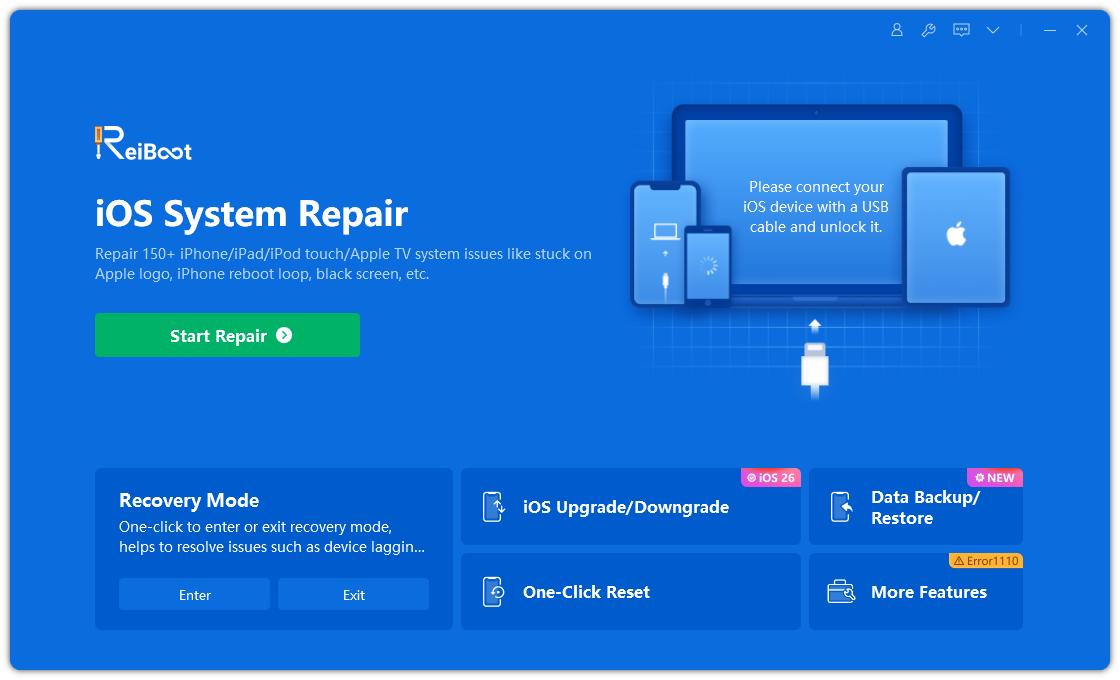
If you’re stuck on the Verifying Security Response message, here’s how you can use ReiBoot to exit it:
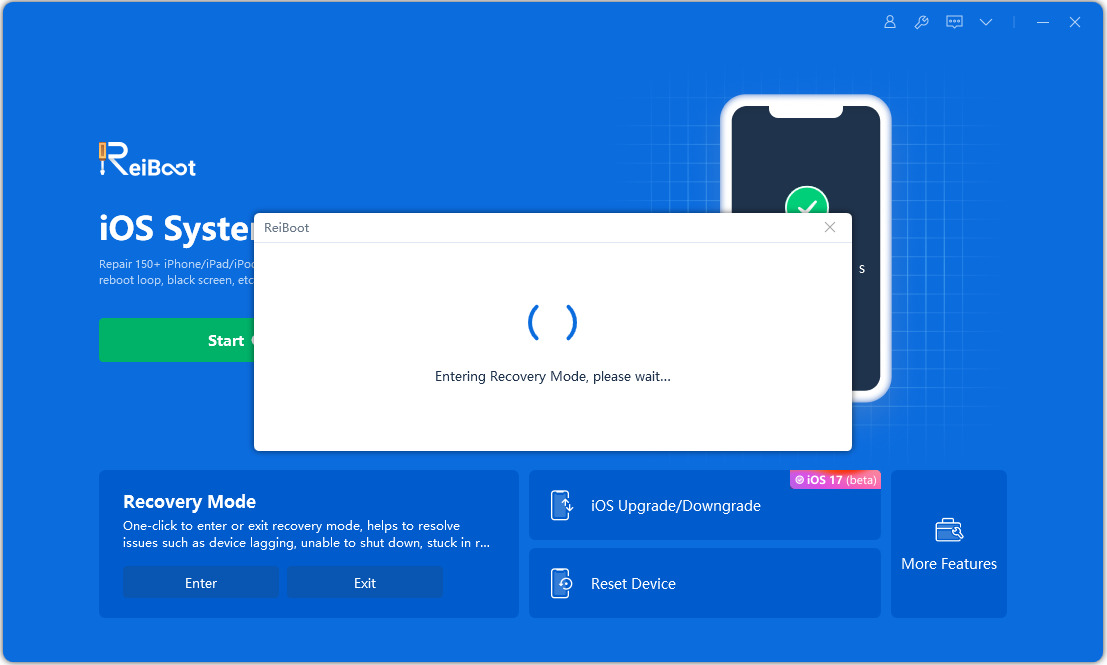
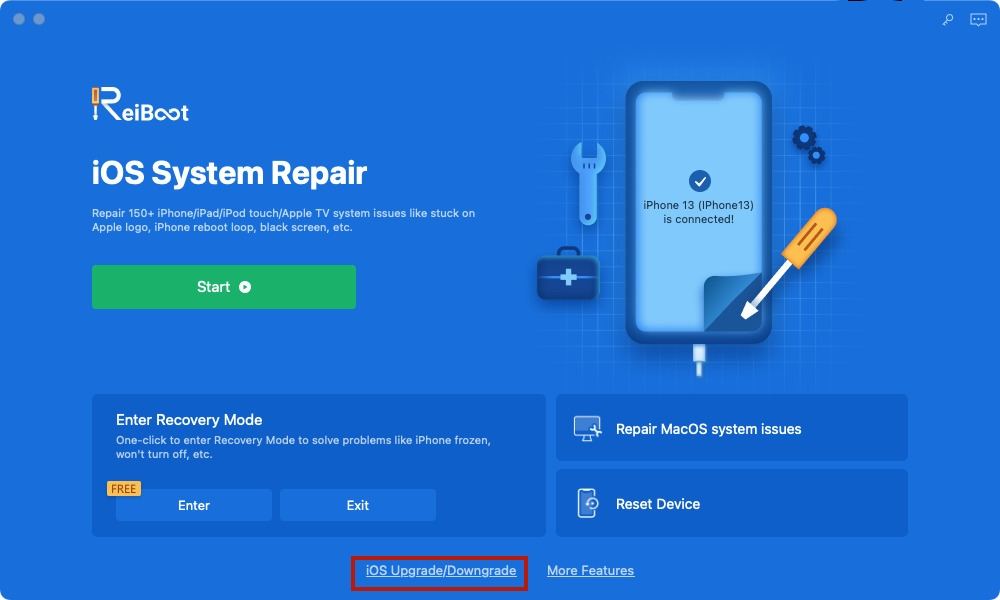
Install ReiBoot on your computer, then open it. Connect your iPhone using a USB cable.

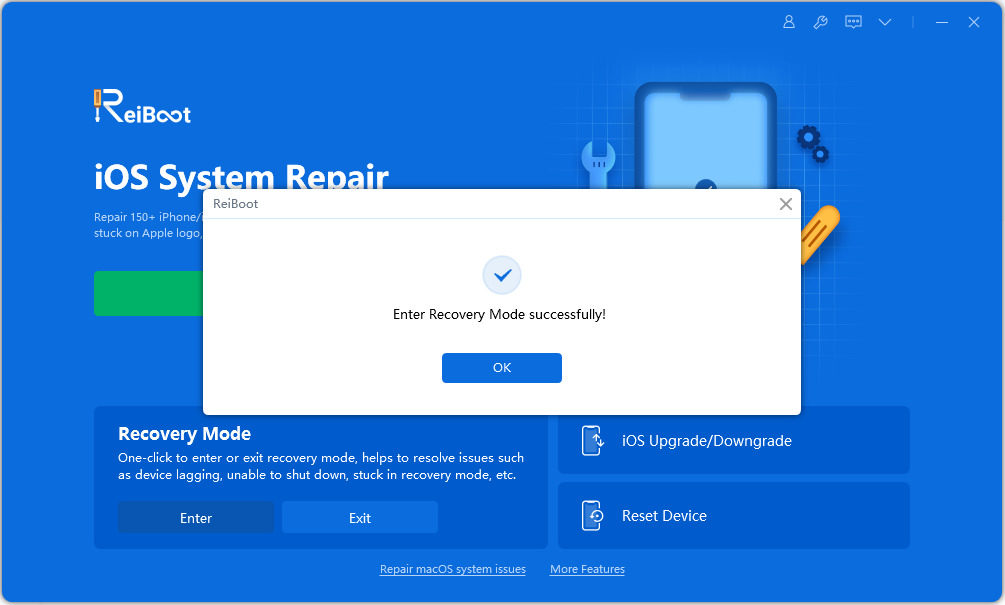
Select “Enter Recovery Mode” at the bottom left, and wait for a few seconds.

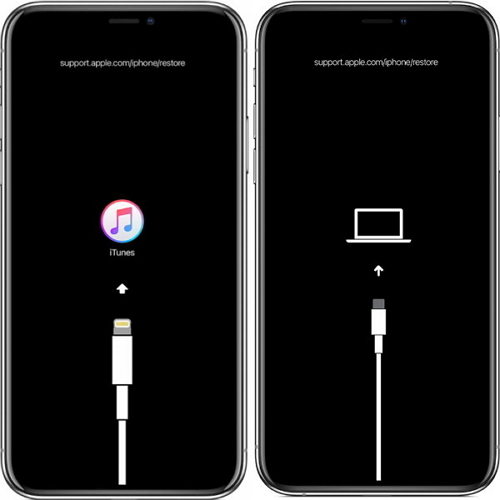
Your phone is now in Recovery Mode.


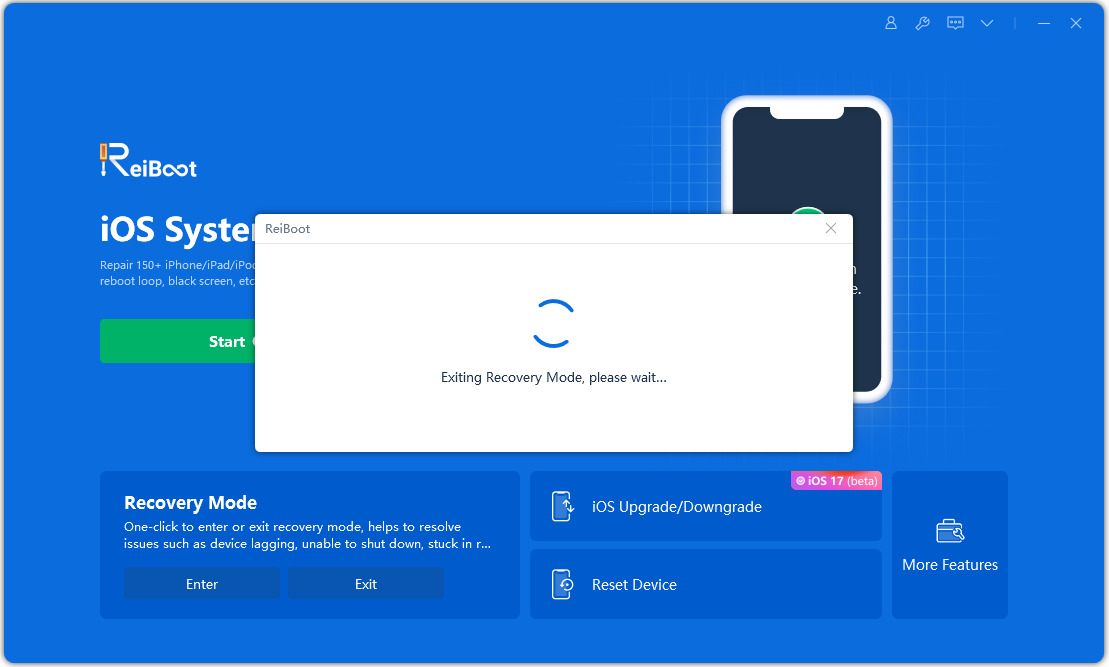
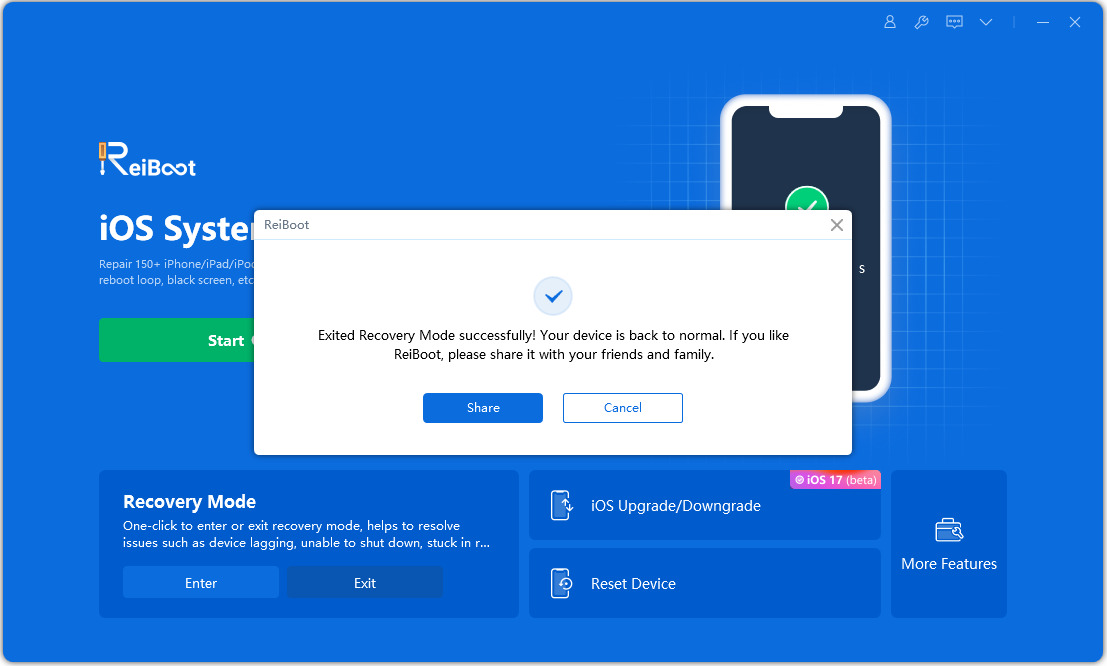
Now you need to exit it to turn your phone back ON. To do that, click “Exit Recovery Mode” on the bottom right.

After your phone exits recovery mode, it will return to normal, and you won't see the stuck interface anymore. If the issue still persists, you can use ReiBoot's standard repair mode to exit the "Verifying Security Response" stuck interface. It won't cause any data loss.

Part 4: Use ReiBoot to smoothly Upgrade to iOS 16.4.1
As mentioned earlier, ReiBoot is a reliable tool for recovering iOS/iPadOS/Mac system issues. In addition to that, ReiBoot also offers support for downgrading and upgrading iOS/Mac OS, ensuring a seamless process.
If your iPhone is experiencing a freeze on the "Verifying Security Response" interface, follow the aforementioned steps to use ReiBoot to resolve it. Then, you can proceed to upgrade to iOS 16.4.1 using ReiBoot without encountering any errors.
On ReiBoot main interface, choose “iOS Upgrade/Downgrade” at the bottom left of the panel.

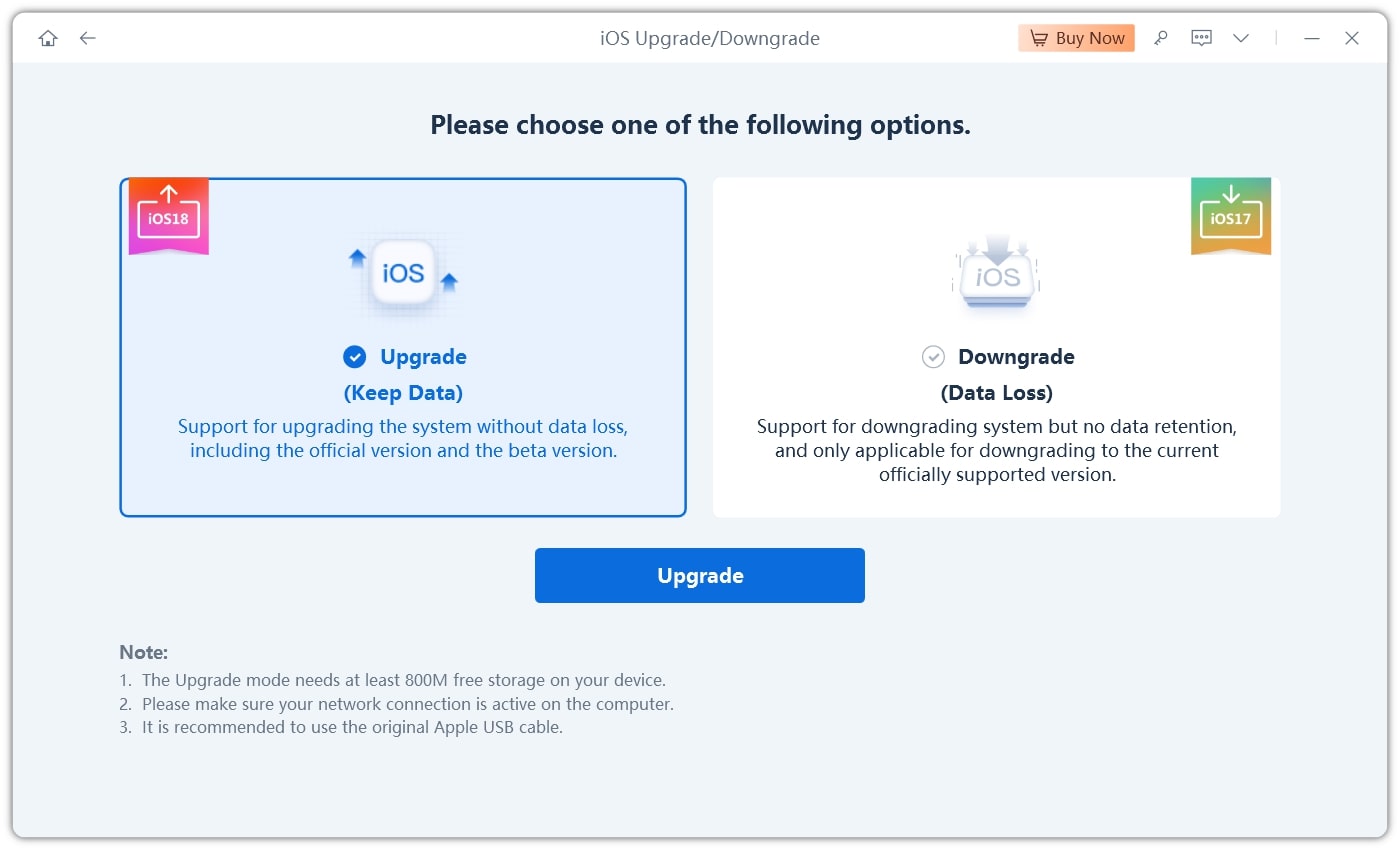
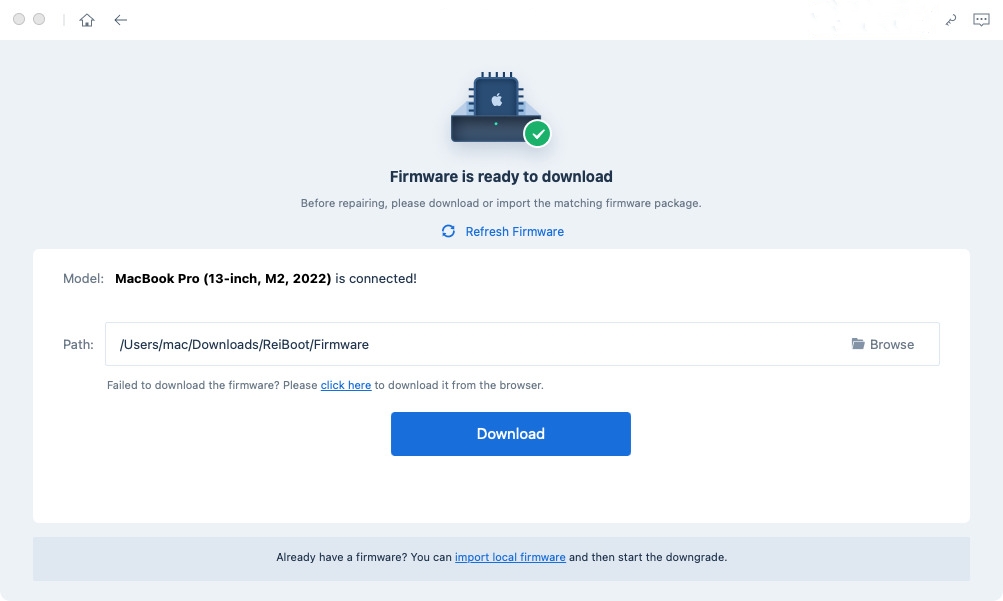
Then choose “Upgrading system”. It may take a few minutes to download the firmware. Please wait until the download is complete.


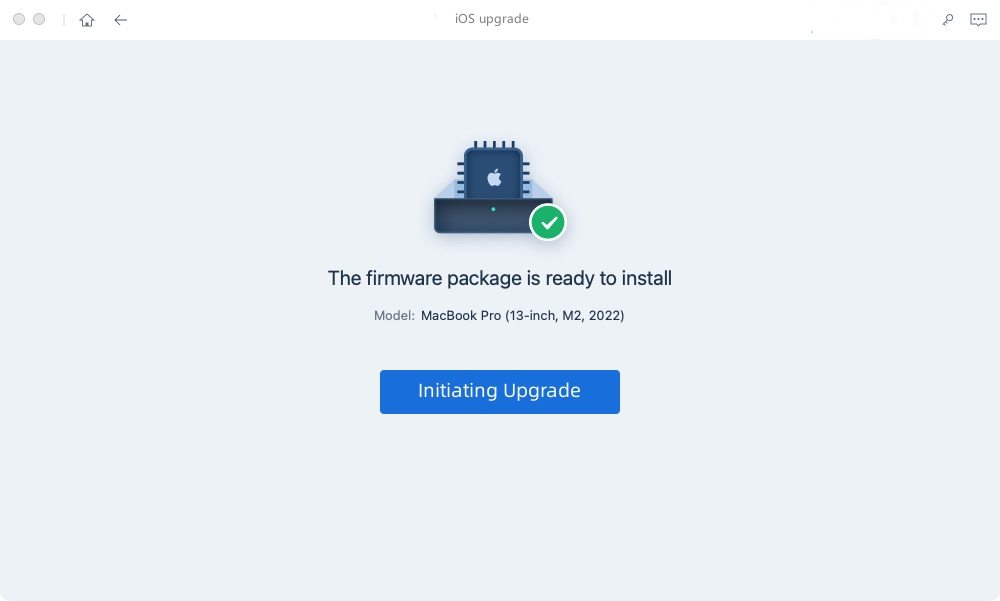
Once the firmware package is downloaded on your computer, you can click 'Initiating Upgrade' to update iOS.

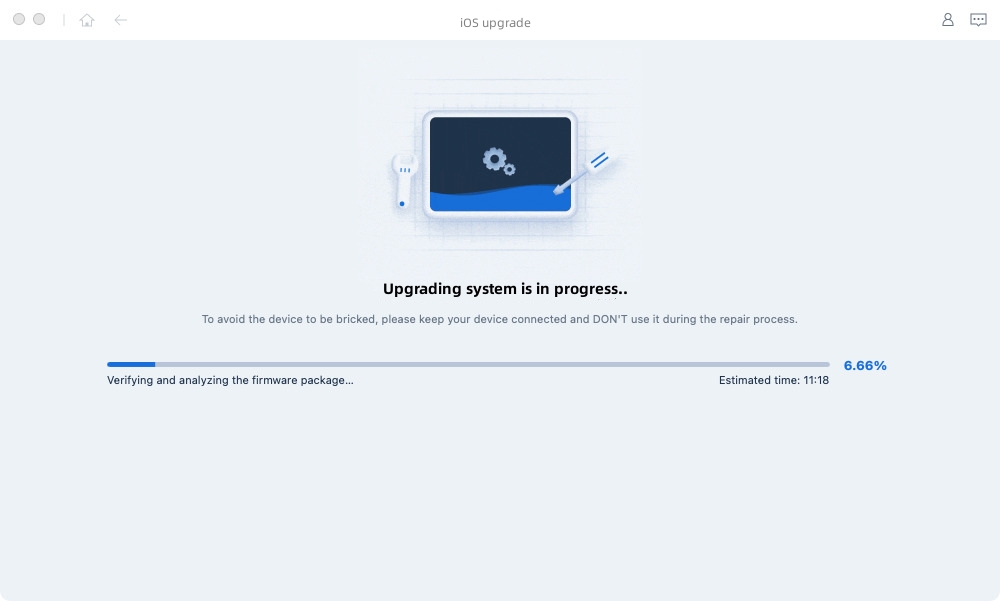
Now the program starts to update iOS, please do not disconnect your device during the upgrade process.

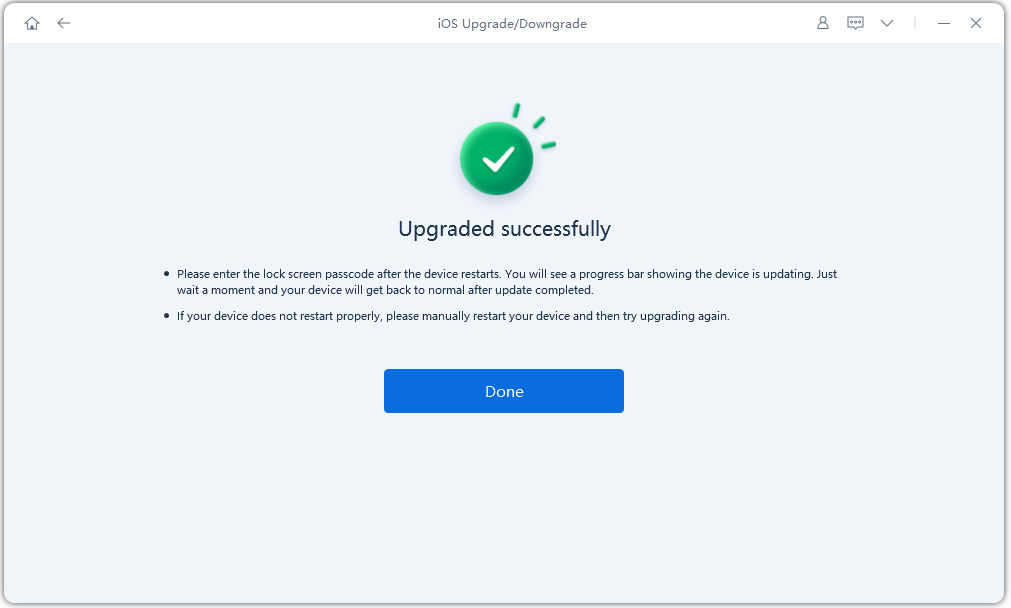
When the upgrade is completed, you will see the completed page and your devices will be the newest version.

Part 5: Things to Do Before Updating
To maximize your chances of successfully installing the update, you should make sure you’re meeting a few crucial requirements.
Here they are:
- Check your internal storage and make sure you have at least 1GB of available space. If you’re installing a big iOS update (not a security response), you should have at least 7GB of free space.
- Check your internet connection and make sure it’s working well. Open a few web pages on your browser and see if they open quickly.
- Make sure your iPhone is at least 50% charged.
- Put your iPhone on charger, even if it has at least 50%. This can further improve the chances of a successful update, especially on older iPhone models.
The Bottom Line
That’s it! If you’re unable to verify security response, now you know exactly how to fix it.
If you’re stuck on the Verifying Security Response message, you can use Tenorshare ReiBoot to fix it.
Speak Your Mind
Leave a Comment
Create your review for Tenorshare articles
