iOS 26 Software Update Failed: Here's How to Fix It
It is understandable that whenever there is a new iOS update, such as the latest iOS 26 software, users are excited to update their devices and switch to the latest version of this renowned operating system.
However, it is also common for some users to face challenges in updating their devices. So, if your iOS 26 software update has failed or if you are wondering why is your device update taking so long to switch to iOS 18, you are in the right place!
In this article, we will discuss the common reasons behind iOS 26 software update failure and what are some reliable solutions to resolve this issue.
- Part 1:Why iOS 26 Software Update Failed?
- Part 2: How to Fix iOS 26 Software Update Failed
- Method 1:Check Device Compatibility for iOS 26 Software Update Failure
- Method 2:Check Network Connection
- Method 3:Reset Network Settings
- Method 4: Restart iPhone
- Method 5: Clear Space for iOS 26 Software Update
- Method 6: One Click to Fix iOS 26 Software Update Failed Error with ReiBoot
- Method 7: Update iPhone in iTunes
Part 1: Why iOS 26 Software Update Failed?
Many different things can result in iOS 26 software update getting failed. Some of these common causes are:
- Lack of storage in your device can cause the entire iOS 26 software update to get failed, even after the downloading is complete.
- You are using an iPhone or iPad that does not support iOS 26.
- You have not gained access to iOS 18, or it's not available in your specific region.
- Connectivity issues or slow internet causes the update process to take too long.
- Your device shuts down in the middle of the update.
- There is something wrong with the Apple update database, and you are not able to connect to it or get glitches.
Part 2: How to Fix iOS 26 Software Update Failed
It is evident that a number of reasons can prevent you from getting the latest iOS 26 software update. If you are facing the “iOS 26 software update failed” or “an error occurred while checking for a software update” errors, you can follow these methods to fix the issue:
Method 1: Check Device Compatibility for iOS 26 Software Update Failure
Once you decide to update your iPhone to the latest iOS 26, you must make sure that your device is actually compatible with the latest iOS 26. Apple has released the following list of iPhone models that support iOS 26:
- iPhone 15 and iPhone 15 Pro (Upcoming Models)
- iPhone 14, iPhone 14 Plus, iPhone 14 Pro, iPhone 14 Pro Max
- iPhone 13, iPhone 13 mini, iPhone 13 Pro, iPhone 13 Pro Max
- iPhone 12, iPhone 12 mini, iPhone 12 Pro, iPhone 12 Pro Max
- iPhone 11, iPhone 11 Pro, iPhone 11 Pro Max
- iPhone XS, iPhone XS Max, iPhone XR
- iPhone SE (2nd generation or later)
This is a long list of iPhone models that support iOS 26, but most prominently, iPhone 8 and iPhone X do not support the latest version of iOS.
Method 2:Check Network Connection
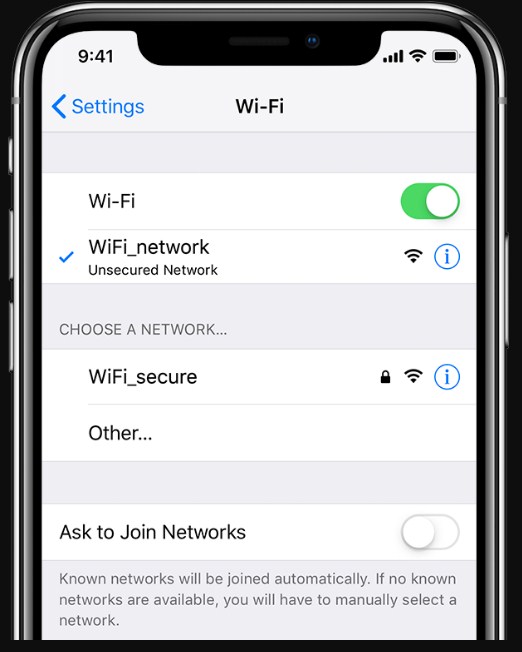
Having a stable, and preferably a fast, internet connection is the key to successfully updating your iPhone. You should make sure that your network is stable before downloading and installing the update.
However, if the update is taking too long or you get the iOS 26 software updated failed error message, then you must check your internet connectivity again and ensure that your connection is stable enough for the update to complete without any interruption.
Method 3:Reset Network Settings
It is also possible that your internet connectivity is fine, but there are some issues with the network settings of your iPhone. In such a situation, you should reset the network settings to solve any problems related to your network connectivity options on your iPhone.
You can easily reset the network settings of your iPhone by following these steps:
- Open the Settings on your device and access the General settings.
- Tap on the Reset option in the menu.
- Click on the Reset Network option twice to reset your network settings to default.

Method 4:Restart iPhone
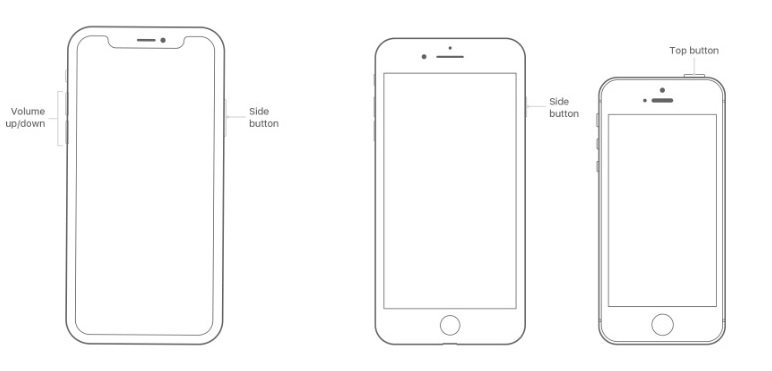
Restarting your iPhone can be helpful in resolving many different issues, including when an error occurs while checking for a software update or installing iOS 26 update. You can easily restart your iPhone by pressing and holding the Sleep key till you get the option to Slide to Power off. Now, slide it down to turn off your phone and turn on your iPhone again to see if the update issue is resolved.
Method 5: Clear Space for iOS 26 Software Update
Lack of space is a common problem. It simply means the amount of space available in your device is not sufficient for the iOS 26 update to be downloaded and installed on your device. So, you should make sufficient space on your device by deleting some content or apps. You can upload your photos and videos to iCloud to safely store the data.
Also Read: 7 Easy Methods to Clear Storage on iPhone
Method 6. One Click to Fix iOS 26 Software Update Failed Error with ReiBoot
Since the variety of issues that can be causing your iOS 26 software update to fail is so vast, it is possible that the traditional methods of resolving these issues might not work for you. Therefore, it becomes integral to rely on a third-party tool like ReiBoot that helps you in solving the iOS 26 software update failed error with a one-click solution.
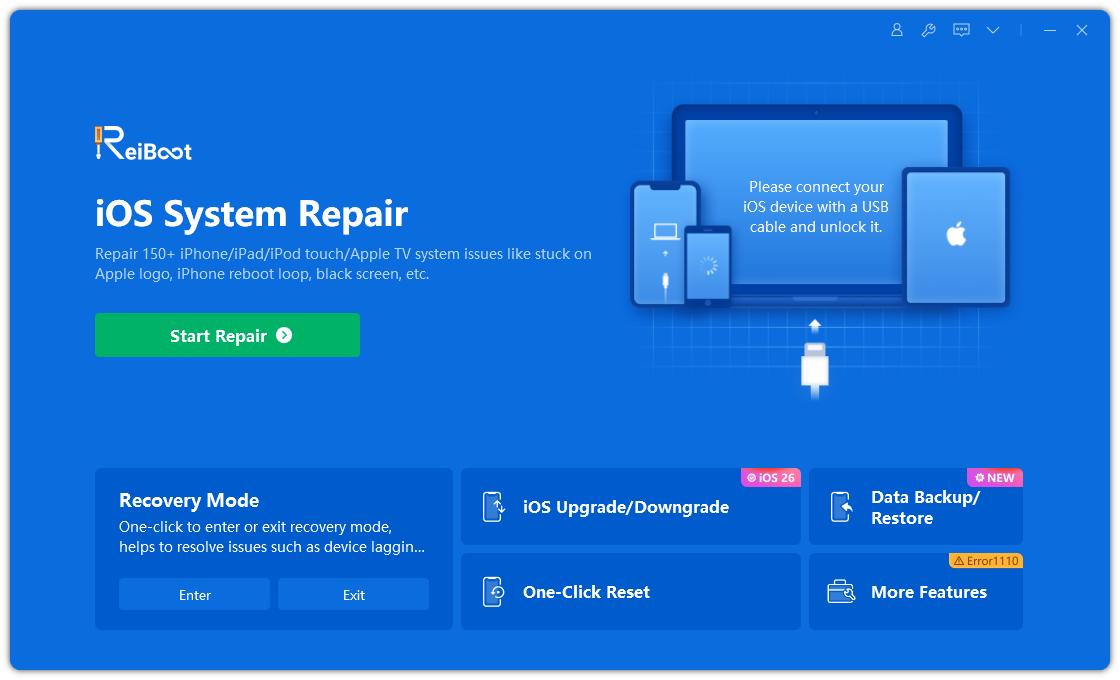
ReiBoot is a quick and effective iPhone recovery mode and repair tool. It has many features that allow you to resolve a huge variety of errors. These features include quick entry and exit from the recovery mode and solutions for over 150 issues in iOS devices that might be preventing it from getting updated or even turned on.
Moreover, you can use ReiBoot to update to the latest iOS 26 without jailbreaking your device. It can handle the repair and update process within a few minutes.
Using ReiBoot to update your iPhone to the latest iOS 26 is also quite easy, as it involves the following simple steps:
Download, install, and launch ReiBoot on your computer system. Connect your iOS device to the system, preferably with the original Apple cable.

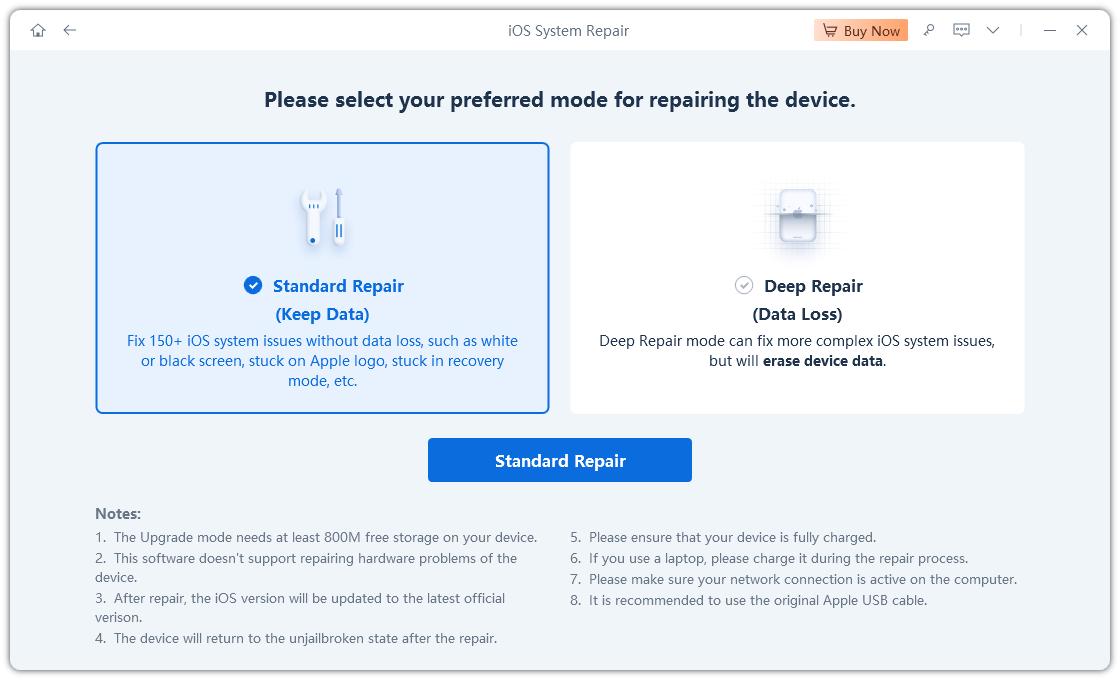
Choose the Standard Repair option from the main screen.

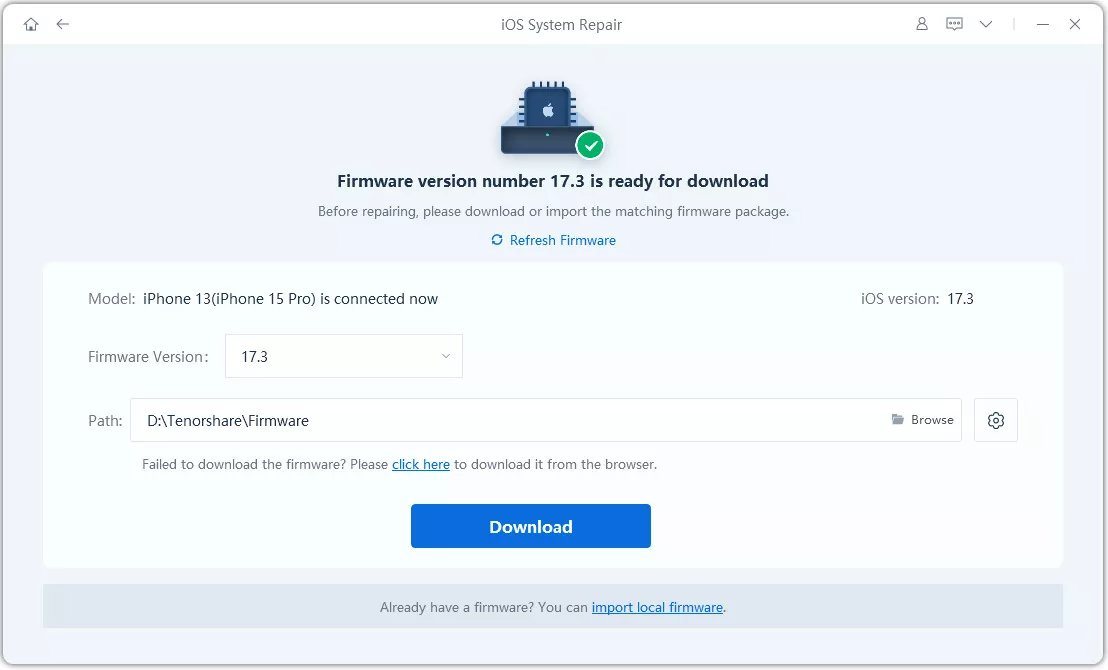
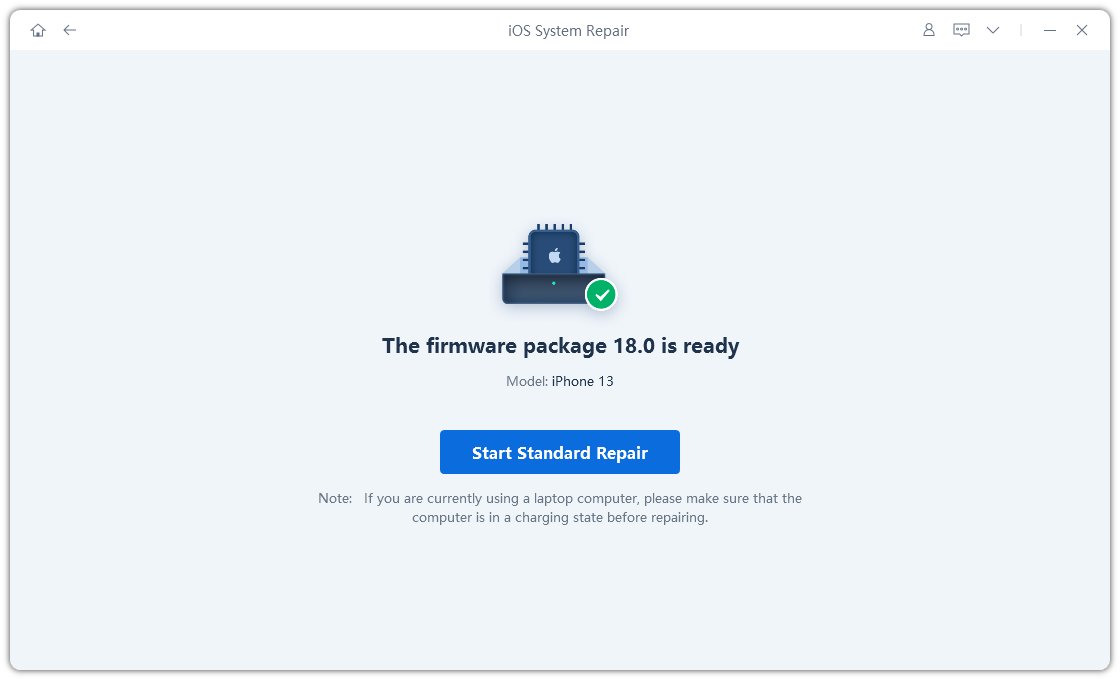
Download the latest firmware package, such as the iOS 26.

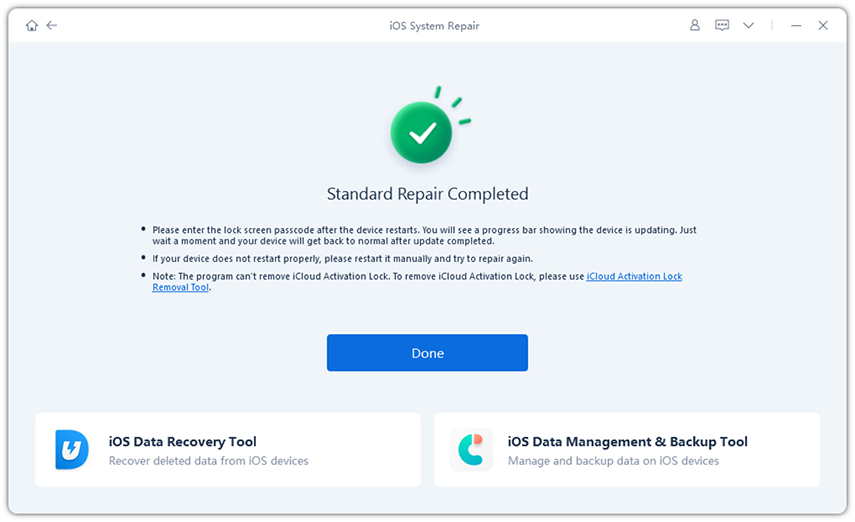
Start the Standard Repair and let the process be completed.

Once the loading is complete, your iPhone will be running with the latest iOS 26.

Method 7. Update iPhone in iTunes
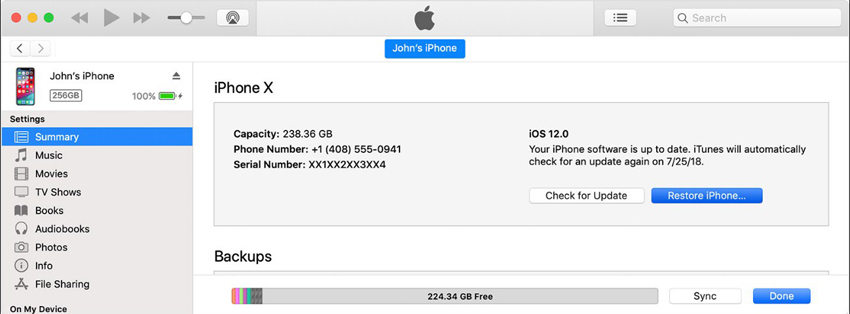
It is possible that you tried all of the other methods, and you are still not able to update your device to iOS 26 and getting the iOS 26 software update failed error message. If you are facing this issue, you can update your iPhone with iTunes by following these steps:
- Download and install the latest version of iTunes on your computer.
- Launch iTunes and select your device.
- Click on the Summary options to check for updates.
- Click on the Download and Update option to update your iPhone to the latest iOS 18.
Also read: Quickest Fixes for iOS 18 Bugs and Problems [Up-to-Date]
Conclusion
There is no doubt that iOS 18 comes with a whole range of useful features and functionalities that can elevate your entire experience of using an iPhone. However, the actual process of updating to the latest iOS can be difficult due to the different issues that can arise in this process.
The quickest and most effective way to resolve all such issues is to use a tool like ReiBoot and let it update your device to the latest iOS without any issues. Ultimately, by following these methods and solutions, you will be able to get rid of the iOS 17 software update failed error message and get the latest features on your device.
- Downgrade iOS 26 to iOS 18 ;
- Fix iPhone won't restore in recovery mode, my iPhone is stuck on the Apple Logo,iPhone black screen of death, iOS downgrade stuck, iPhone update stuck, etc.
- Support all iPhone models and the latest iOS 26 and earlier.
Speak Your Mind
Leave a Comment
Create your review for Tenorshare articles
