10 Easy Ways to Fix a Mac Not Connectting to WiFi
"I am in desparate need f some help from anyone. My macbook pro will not connect to the internet. All I get is a self assigned IP address. I have tried renewing the DHCP, restarting the computer, resetting the network, etc. Nothing seems to work."
If your Mac cannot connect to WiFi, you will not be able to access any of the services on your Mac that utilize an Internet connection. If this is a sudden and unexpected issue, you may want to do something about it so that it gets fixed. That is actually your only way to be back on the Internet, unless, of course, you use a wired Ethernet Internet connection.
There are various things you can do when you cannot connect to WiFi on Mac. These small fixes help you establish a proper connection with your WiFi network so you can use the Internet on your Mac. Here we take a look at ten tips that will help you fix the Mac won t connect to WiFi issue on your machine. Let's check them all out one by one.
- Fix 1. Check for Wi-Fi recommendations
- Fix 2. Remove and Re-Add the WiFi Service
- Fix 3. Use Wireless Diagnostics
- Fix 4. Try Connecting Other Devices
- Fix 5. Reset the Router
- Fix 6. Reset PRAM and SMC
- Fix 7. Delete the Internet Preference Files
- Fix 8. Check Your TCP/IP Settings and Renew DHCP
- Fix 9. Change Your Domain Name System (DNS) Settings
- Fix 10. Update macOS
- Bonus Tips: The Best Mac Data Recovery Software 2019
Fix 1. Check for Wi-Fi recommendations
When the WiFi stops working on your Mac, the first thing you will want to do is check the WiFi recommendations given by your machine. Whenever there is an issue with a WiFi network, your Mac provides you with tips as to what you should do.
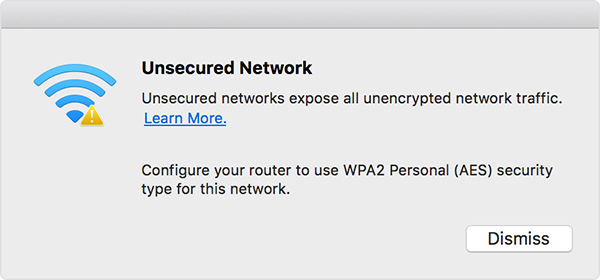
The dialog box that opens upon clicking on the option will tell you what is wrong with your network. It will help you tremendously to then take appropriate actions.
Fix 2. Remove and Re-Add the WiFi Service
It could be the issue you are facing is due to an improper network configuration on your Mac. In that case, your best bet is to remove the current WiFi service and then re-add it again. Here is how to do it.
Step 1: Click on the WiFi icon in your menu bar and select Open Network Preferences.
Step 2: Select your WiFi service in the left pane on the following screen and then click on the - (minus) sign at the bottom to remove it.
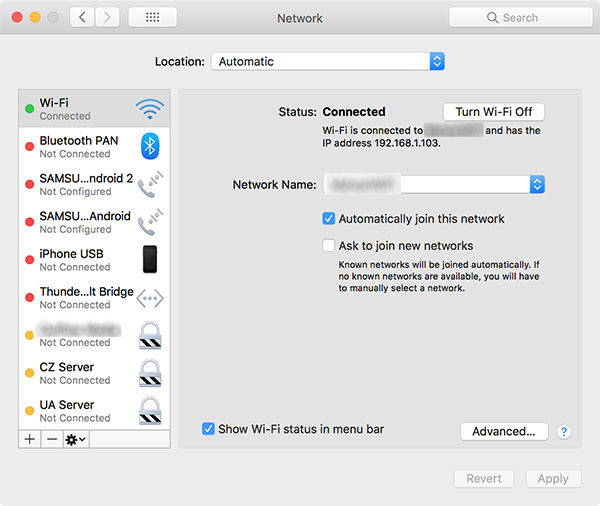
Step 3: Click on the + (plus) sign to re-add the service. Make sure to choose Wi-Fi in the Interface dropdown menu.
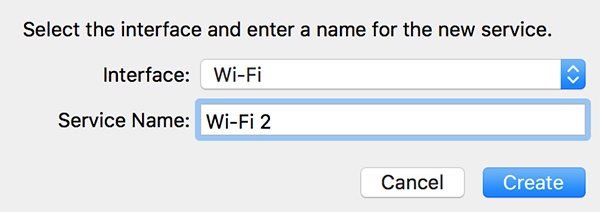
The Mac not connecting to WiFi issue should now be resolved and you will be able to connect to WiFi successfully.
Fix 3. Use Wireless Diagnostics
The built-in Wireless Diagnostics tool on your Mac helps you figure out the wrong configuration of your WiFi network. It provides a lot of information for you to find out what is wrong with your connection. Here is how you fix your MacBook not connecting to WiFi using the tool:
Step 1: Hold down the Option key on your keyboard, click on the WiFi icon in the menu bar, and select Open Wireless Diagnostics.
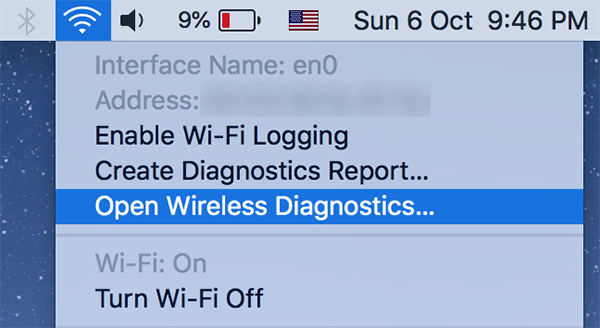
Step 2: Let the tool scan your network and find issues, if any. It will then show a summary telling you what to do to fix your WiFi network.
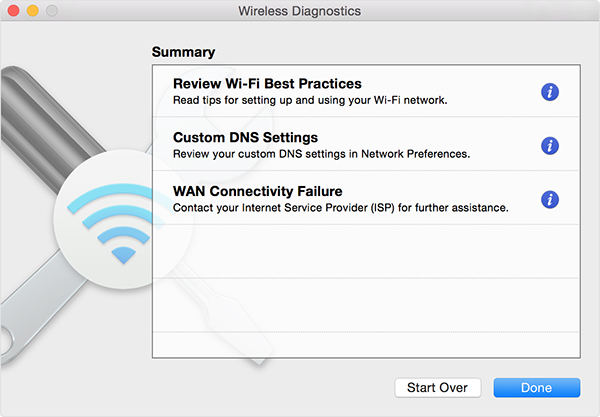
Once you have applied the suggested fixes, you will be able to connect your Mac to your WiFi network without any issues.
Fix 4. Try Connecting Other Devices
You must also make sure that your other devices are able to connect to your WiFi network. It could be that your WiFi network has issues and not your Mac.
Fix 5. Reset the Router
Resetting the router also helps fix the issue when there is an improper configuration on the router itself. You will find the instructions on how to do this in your router's manual book.
Fix 6. Reset PRAM and SMC
Resetting PRAM and SMC also helps fix the Mac OS Mojave cannot connect to WiFi issue.
How to Reset PRAM:
- Turn off your Mac.
- Press the Power button and then press and hold down Command + Option + P + R buttons together.
- Your Mac will reboot and it has reset PRAM.
How to Reset SMC:
- Turn off your Mac.
- Press the Power button and then press and hold down Shift + Option + Control.
- Your Mac should reboot and it has reset SMC.
Fix 7. Delete the Internet Preference Files
Removing your preferences files also helps get rid of the issue. To do it, head to the /Library/Preferences/SystemConfiguration/ path and delete the following files:
com.apple.airport.preferences.plist
com.apple.network.identification.plist
com.apple.wifi.message-tracer.plist
networkInterfaces.plist
preferences.plist

Empty the trash after deleting the files.
Fix 8. Check Your TCP/IP Settings and Renew DHCP
While not always, renewing DHCP sometimes lets you fix your MacBook wont connect to WiFi issue.
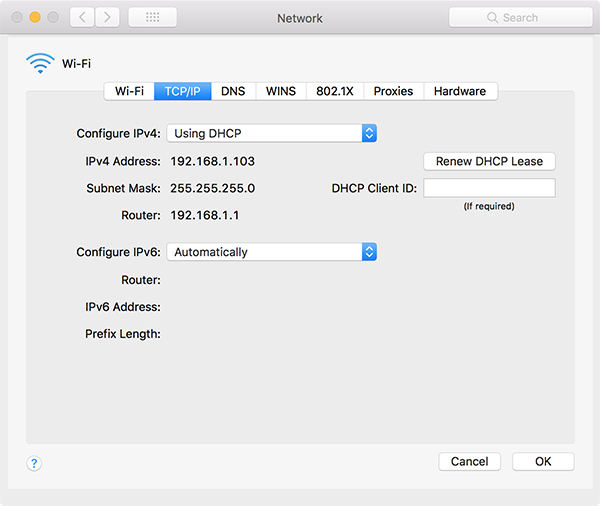
Click on the WiFi icon in your menu bar and select Open Network Preferences. Select your WiFi network, click on Advanced, head into TCP/IP tab, and click on Renew DHCP Lease.
Fix 9. Change Your Domain Name System (DNS) Settings
DNS servers decide how web pages are loaded, and if these servers are down, you will have WiFi issues on your Mac.
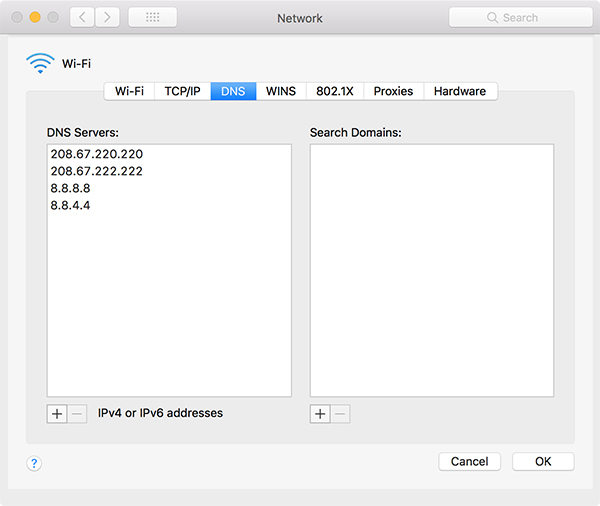
Head into the network preferences menu and change the DNS servers to either OpenDNS or Google DNS.
Fix 10. Update macOS
Lastly, if nothing works, try updating your macOS version as the newer version might have the Mac self-assigned IP cannot connect to Internet WiFi extender issue fixed in it.
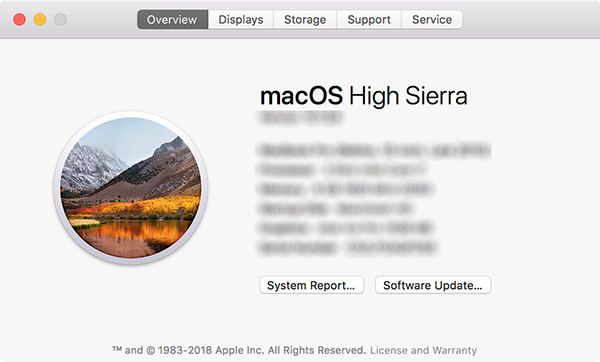
Click on the Apple logo, select About This Mac, and hit Software Update to do so.
Bonus Tips: The Best Mac Data Recovery Software 2019
If you suffer any data loss on your Mac due to WiFi or any other reasons, you will need to use a data recovery software to recover your precious data.
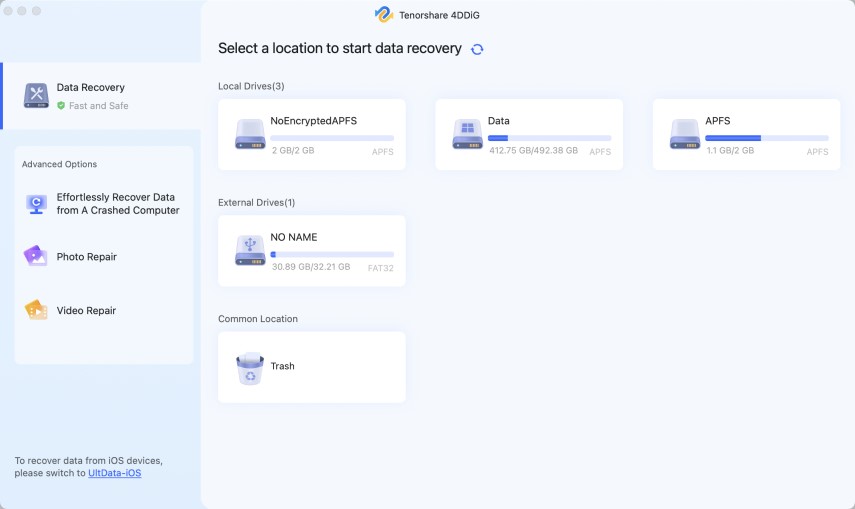
Tenorshare 4DDiG for Mac Data Recovery makes the whole process of recovering data easier for you. It provides you with an easy to use interface to help you recover your photos, videos, documents, and various other file types on your Mac.
Step 1 Download and install the software on your Mac.
Step 2 Select your Mac drive and click on Scan.
Step 3 Preview the data, select the files to recover, and click on Recover.
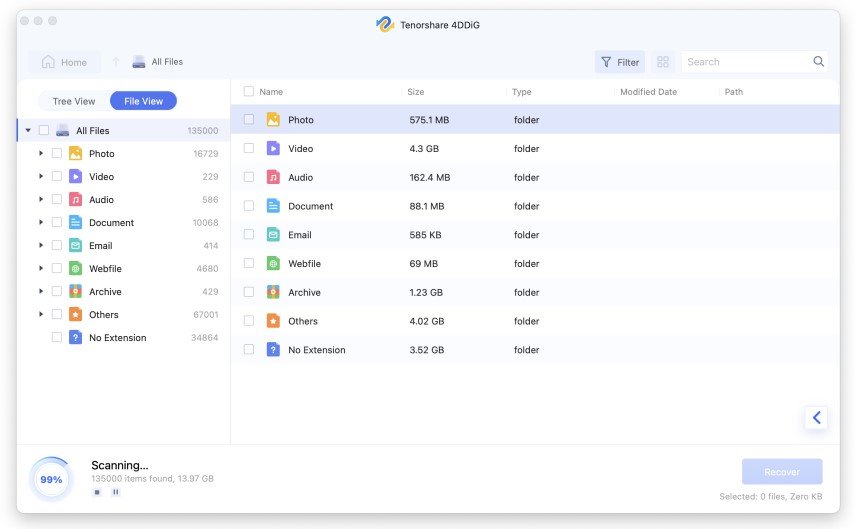
Your files will be recovered.
Sum Up
If you cannot use a WiFi network, you will naturally wonder "why my Mac cannot connect to WiFi". The above tips will help you rectify the issue on your Mac.
Speak Your Mind
Leave a Comment
Create your review for Tenorshare articles


