How to Set Up iMessage on Mac without iPhone
“I've been trying to set up my iMessage account so that I can receive my texts and messages to my MacBook Pro. I've set up my iCloud, and my AIM, and my FaceTime, but I can't figure out how to set up my iMessage, any help?”
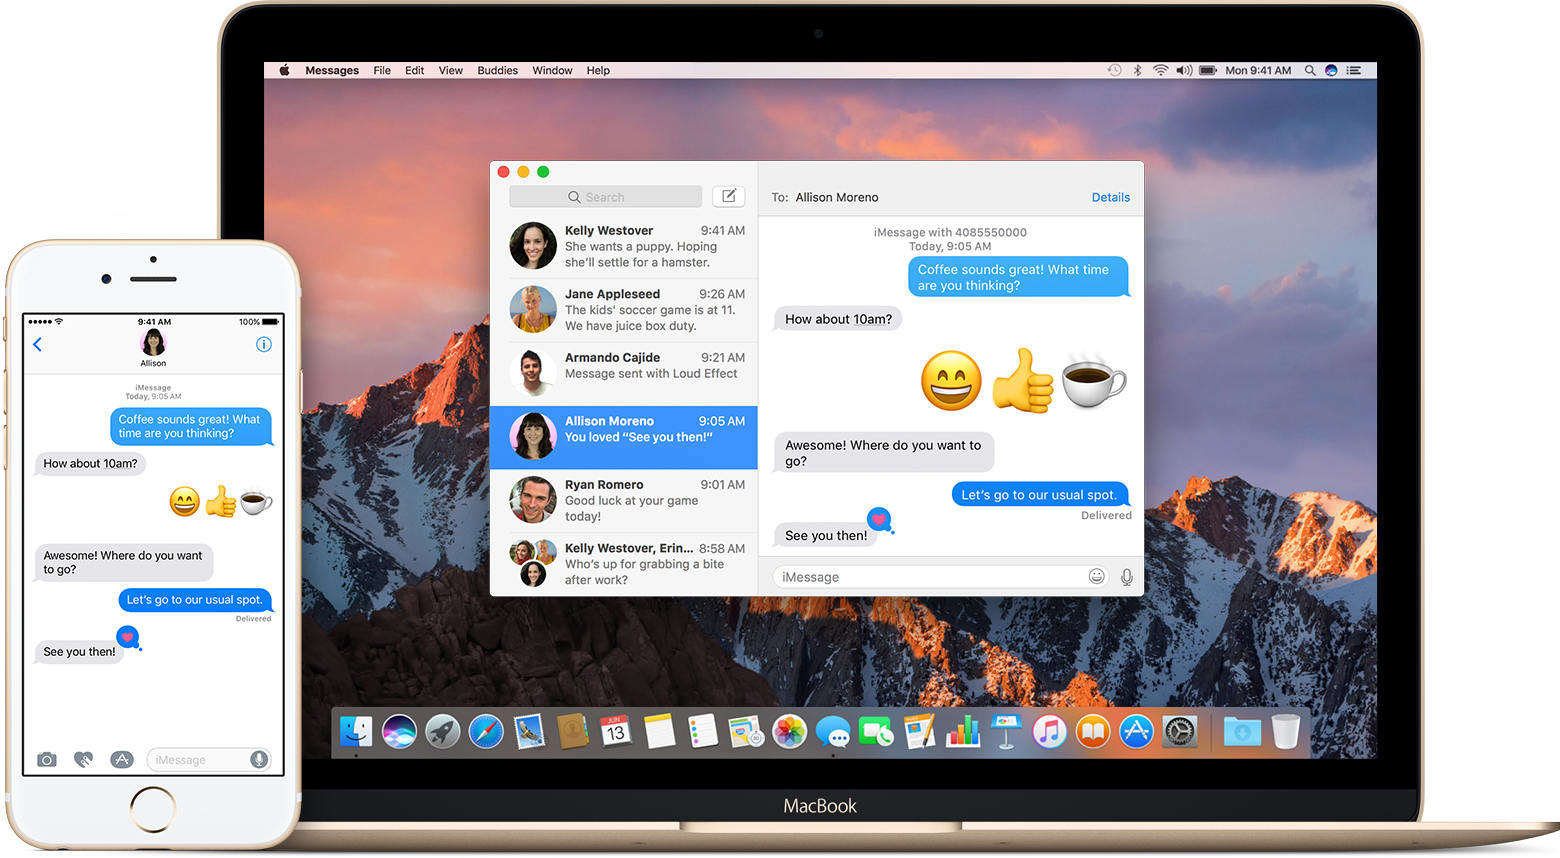
There is no denying that iMessage is one of the best modes to stay in touch with colleagues, folk and acquaintance. It is the Apple messaging service that you get automatically with your Apple ID. With iMessage on Mac, you are also able to send IM messages from other famous platforms (for instance, Google, Facebook, Yahoo, AIM, etc.) as long as login with the same Apple ID with Messaged on your iPhone, iPad, iPod touch and Apple Watch. Here in this article, you can find troubleshooting tips about how to set up iMessage on Mac without iPhone and other related how-to tips.
Part 1: Operating System Requirements
First of all, you are demanded to be sure that your Mac is running OS X 10.1 or later. If it is EI Caption or the latest macOS High Sierra, macOS Sierra, then it will be better.
Secondly, you need to make sure the iPhone is running at least iOS 8 or later. If the system is iOS 10, it is quite recommended.
Thirdly, CPU may be Intel Pentium 1GHz and above, RAM may be 512MB or above (1GB is recommended), hard disk space had better be 200MB of free space for the application.
Part 2: Steps to Set Up iMessage on Mac without iPhone
Within a few easy steps iMessage can be set up on any Mac. The advantage of setting up messages for Mac is that you are able to synced with all of the communication on iPhone or iPad through iMessage. Because of this, you have no worry about data mess.
Now let’s follow the onscreen instruction and see how to set it up:
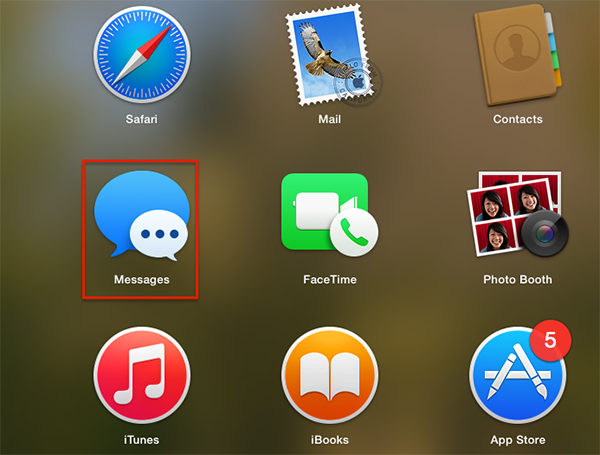
Step 1. To get started, launch Messages app from your Mac desktop, dock, Application folder or Launchpad.
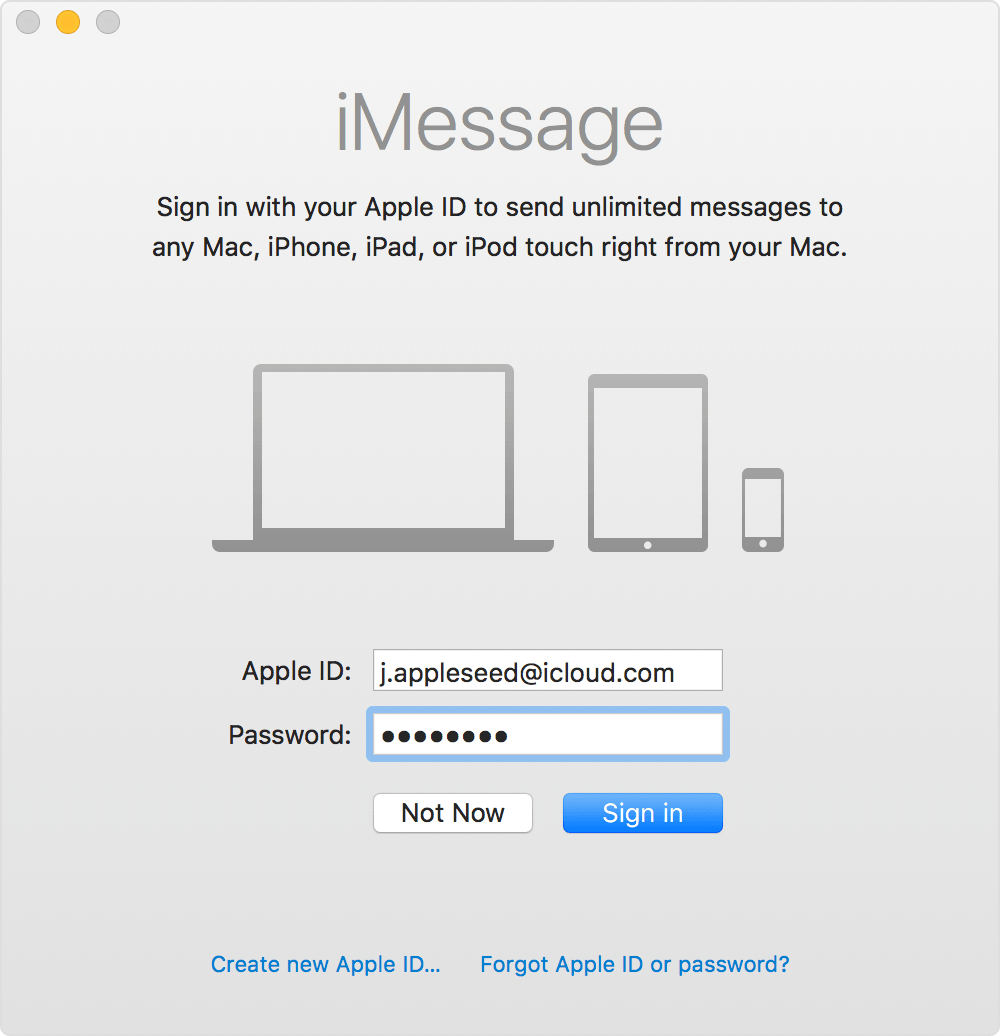
Step 2. Then it will pop up an alert window as below. Type your Apple ID and password and then click “Sign in” button.
Note: If you have two-step or two-factor authentication turned on for your Apple ID, just enter your correct verification code. Make sure the Apple ID is the same Apple ID you’re suing on other iOS devices.
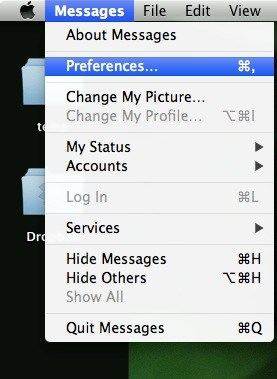
Step 3. Now you have successfully access iMessage. Just click on the “Preferences…” of the “Messages” on task bar, located in the head of Mac computer.
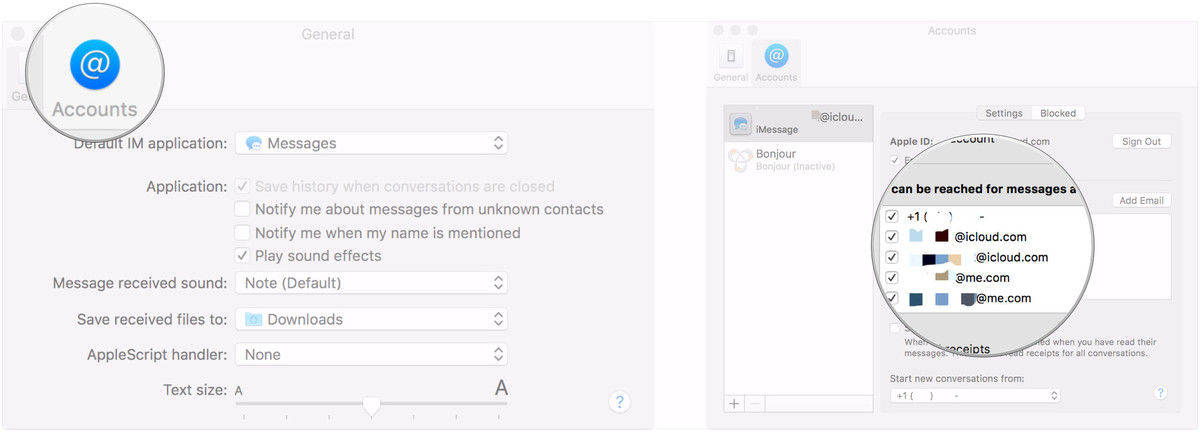
Step 4. Select “Accounts” tab and then type your phone number and email addresses that you hope to catch up with.
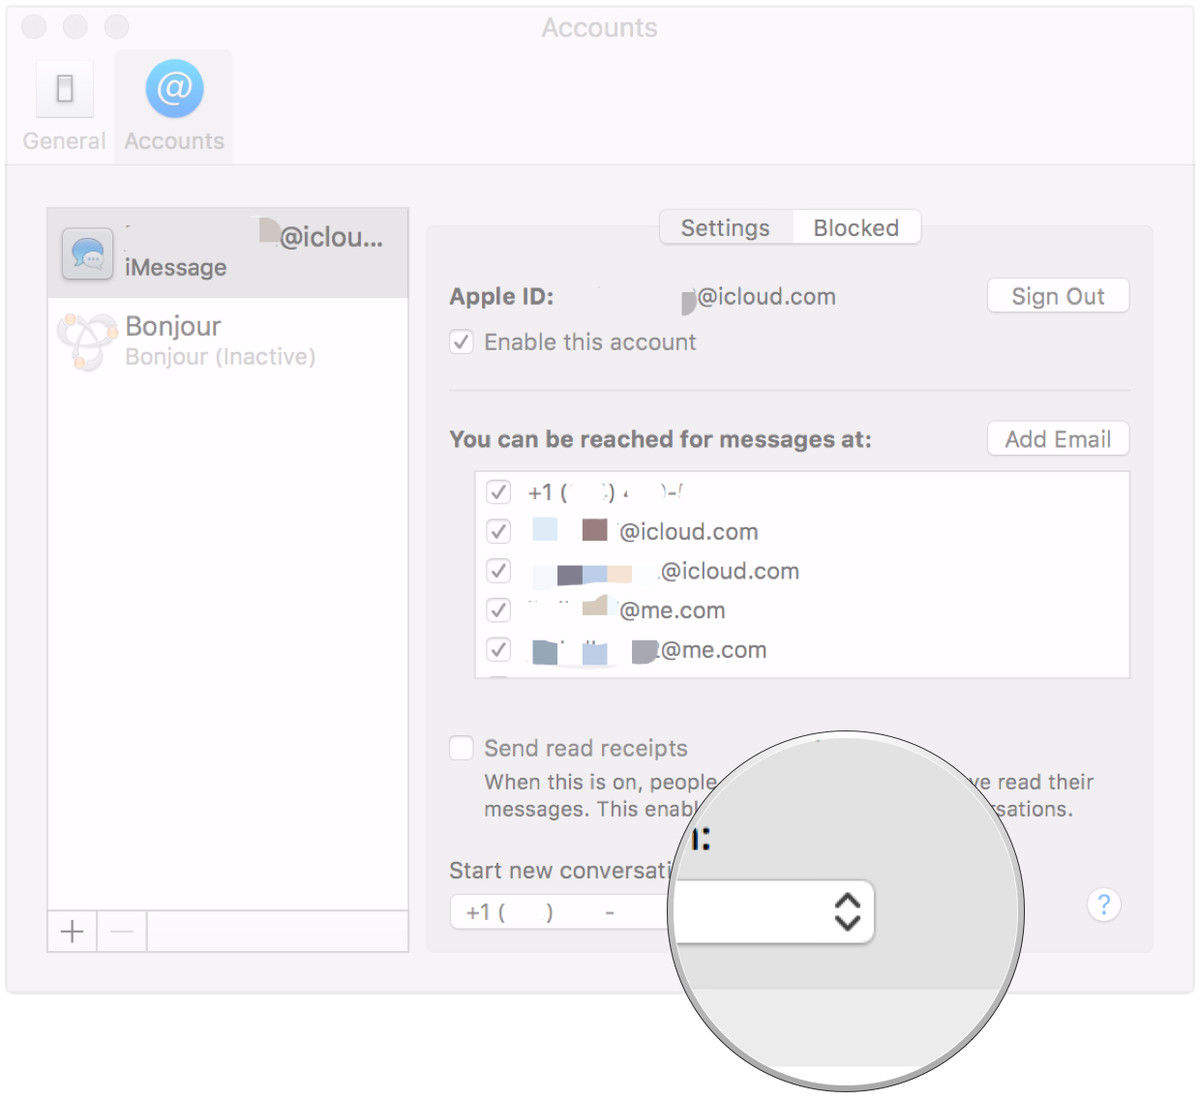
Step 5. Select the phone number or email address that other iPhone/iPad/iPod users will see when you begin a new conversation.
Note: In this way, we have to realize that only iMessage are synced to iPhone/iPad/iPod, the text messages won’t be.
Pro Tips: How to Make iMessage Conversation or Disable iMessage on Mac
Why do you would like to set up iMessage on Mac? Of course for the contact with people. Within iMessage, all the conversations appear in blue bubbles when the device owners are using it.
To send and receive iMessage message on Mac, follow this:
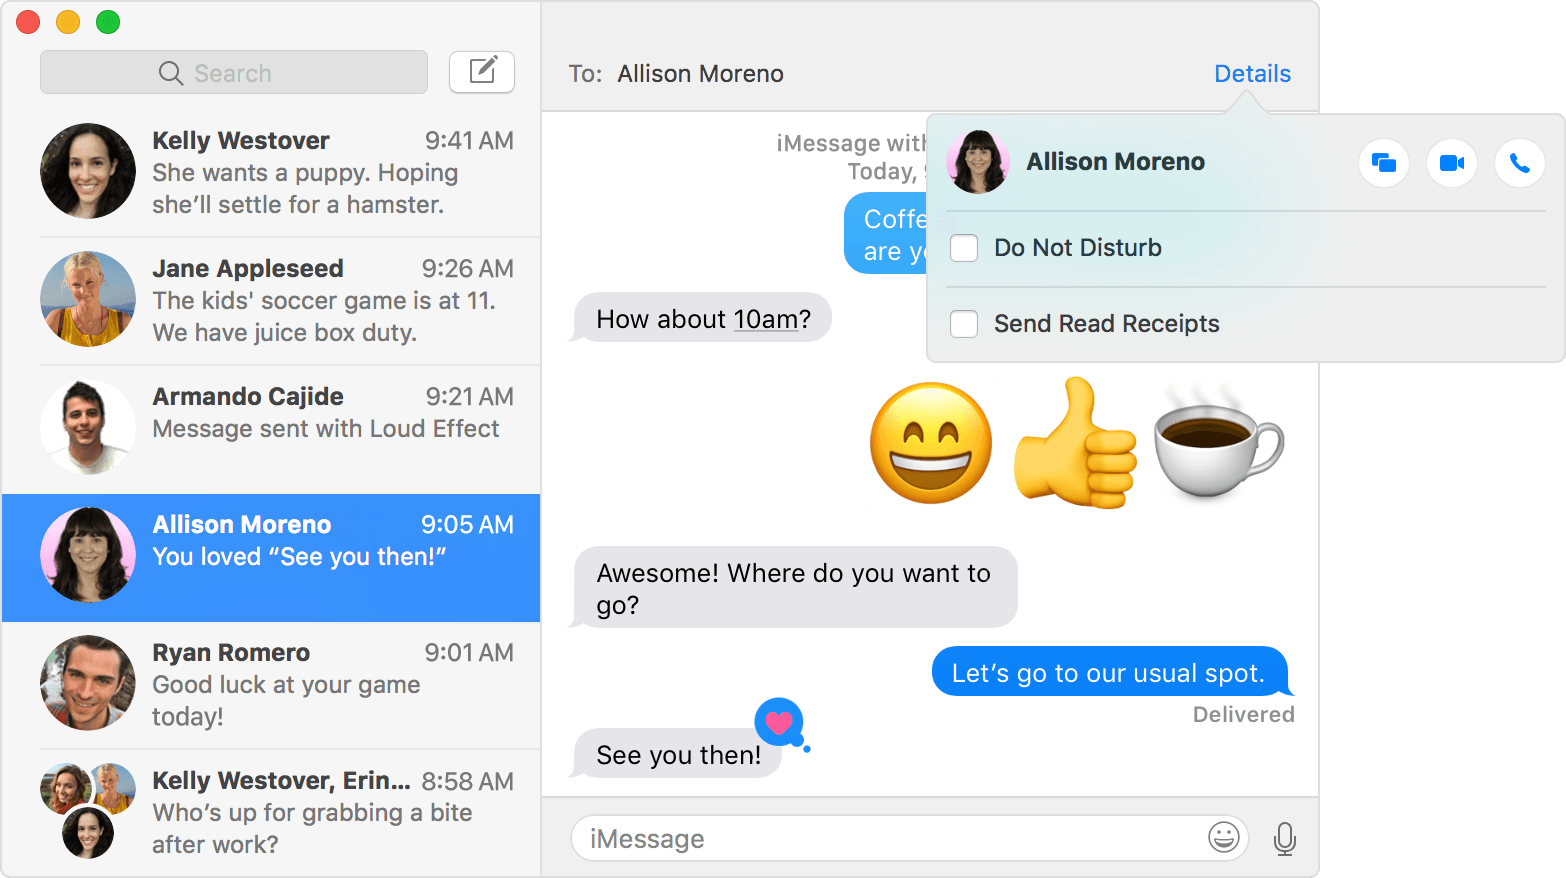
1. After setting up iMessage, just click the new message icon, which is nearby the “Search” field on the left.
2. Then in the pop up window, choose the phone number of the person you would like to send message and type “Enter”, then type your content, it could be character, emoji, picture or video.
3. After that, press “Enter” again to send them.
4. When your friend receives the message, you can receive the reply as soon as possible.
To sign out or disable iMessage on Mac, just do this:
1. Tap on Messages > Preferences on Mac.
2. Click “Accounts” and then choose the iMessage account on the left.
3. To sign out account, just click “Sign Out” and then confirm that action. You won’t receive messages via that account.
4. To disable the account, just uncheck “Enable this account” and finally your status is offline.
That is how to set up iMessage on Mac OS without iPhone, iPad or iPod. In terms of Apple’s closed system compatibility, Messages only used on Mac OS, which is disappointing for users whose computers are running Windows currently. By the way, if you lost data on iOS device, attempt to recover them with UltData. If you lost data on Mac, the Tenorshare Data Recovery for Mac software is worth to try.
- Recover data deleted, formatted or lost on Mac;
- Restore files from hard drive and external storage devices;
- Recover data from failed/crashed/dead MacBook;
- Fully supported latest macOS 26 Catalina;
Speak Your Mind
Leave a Comment
Create your review for Tenorshare articles

