[Quick Fix] Notes App Not Syncing in macOS Catalina Update
"Notes App Not Syncing After macOS Catalina. New notes and changes from iPhone or iPad sync to Cloud and to Mac, but new notes and changes from Mac do not sync. Turned iCloud Notes off/on again, same behavior afterwards."
Notes app not syncing after macOS Catalina is actually an issue faced many users who updated their Macs to the latest version of the macOS. What happens in the issue is that you do not see any revisions or changes made to your notes on your devices. This happens due to the lack of proper sync of your notes in Catalina.
Fortunately, though, a few fixes have surfaced online allowing you to fix the notes not syncing from MBP to iCloud issue on your Mac to then let you sync and access the latest versions of your notes on your Mac machine.
The following guide lists out some of the working methods to resolve the issue and to get your notes to properly sync on macOS Catalina.
- Fix 1. Ensure You're Signed Into iCloud On All Devices
- Fix 2. Update All Your Device to Latest Version
- Fix 3. Make Sure Notes Syncing is Turned On
- Fix 4. Sign Out/Back in to iCloud
- Fix 5. Restart your iPhone and Mac
- Fix 6. Contact Apple Support
- Fix 7: Sync Notes from iPhone/iPad to Mac without iCloud
- Bonus Tips: How to Transfer Notes from iPhone to Mac without iCloud
Fix 1. Ensure You're Signed Into iCloud On All Devices
The very first thing you will want to verify is if you are signed-in to your iCloud account on all of your devices. The notes you create on your Apple devices are actually synced using a service called iCloud. If the service is disabled or if you use another iCloud account on your other devices, your notes will not sync and as a result you will not see the updated versions of your notes on your Mac.
Head into the Settings menu on your devices and ensure you are logged-in to the same iCloud account on all of your devices.
Fix 2. Update All Your Device to Latest Version
Another thing that could be causing the issue is the version of the operating system on your device. You must make sure all of your devices where you want to sync your notes are running the latest version of the OS available.
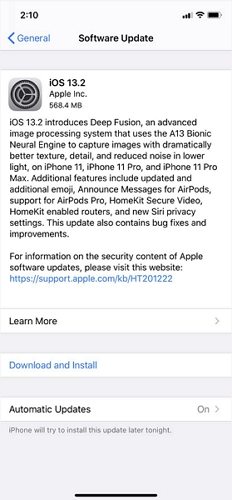
If you are an iPhone user, head to Settings > General > Software Update and tap on Download and Install. It will download the necessary updates and install them on your device for you.
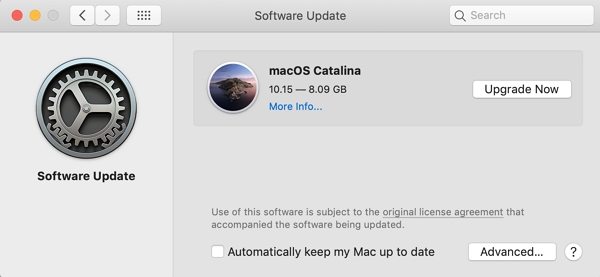
On a Mac, you can update the operating system version by clicking on the Apple logo at the top-left corner of your screen, selecting About This Mac, and finally clicking on Software Update.
Try syncing your notes after you have updated your devices to their latest OS versions.
Fix 3. Make Sure Notes Syncing is Turned On
It could be that the notes sync option is disabled on your devices and so you are unable to sync notes on your Mac. Many times people forget to turn this option on and that is what causes issues like the one you are currently facing.
Notes syncing can easily be enabled on both iPhone and Mac and the following are the steps on how to do it.
Enable Notes Sync on the iPhone
- Launch the Settings app on your iPhone and tap on the option that says Notes.
- Tap on Accounts > iCloud and ensure the Notes toggle is turned to the ON position. This is what lets your iPhone sync your notes to iCloud.
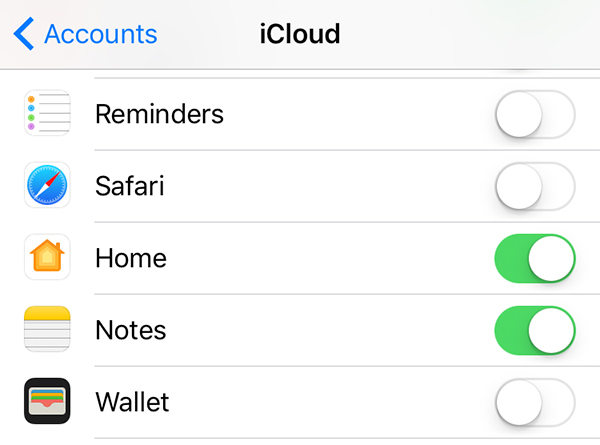
You will need to wait a couple of minutes for your iPhone notes to be synced with your iCloud account.
Enable Notes Sync on the Mac
- Click on the Apple logo and select System Preferences. Then select iCloud on the following screen.
- Put a checkmark in the option that says Notes to enable notes sync on your Mac.
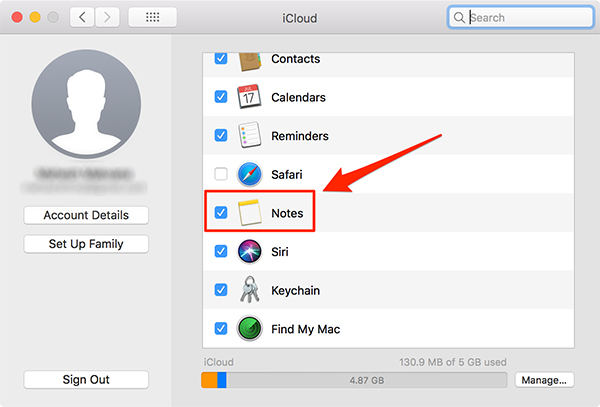
You are all set and that should fix your Catalina Notes app not uploading to iCloud issue.
Fix 4. Sign Out/Back in to iCloud
Logging-out and then logging back in could also help your stuck notes to sync with your Mac.
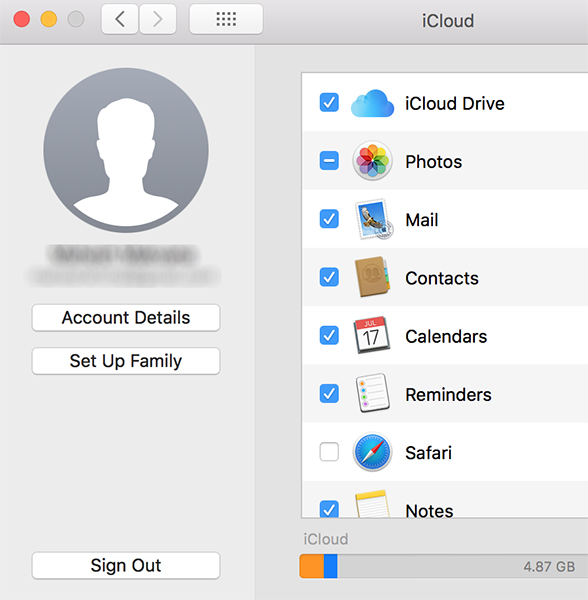
- Click on the Apple logo at the top-left corner of your Mac and select System Preferences.
- Select iCloud and then click on Sign Out.
Fix 5. Restart your iPhone and Mac
Many minor glitches can be fixed by simply rebooting your devices.
Reboot your iPhone by holding down the Power button and any Volume button for a few seconds. Drag the slider and your iPhone will turn off. Then use the Power button to boot your phone.
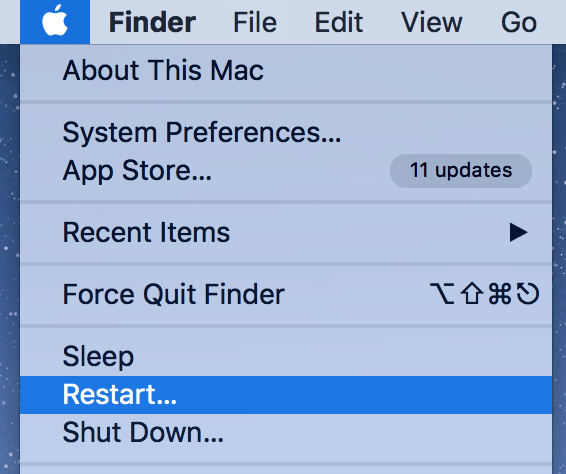
To reboot your Mac, click on the Apple logo at the top and select Restart.
Fix 6. Contact Apple Support
If the methods mentioned above do not work, it is suggested that you get in touch with the official Apple staff and seek help.
They can be reached out on their Apple Support website.
Fix 7: Sync Notes from iPhone/iPad to Mac without iCloud
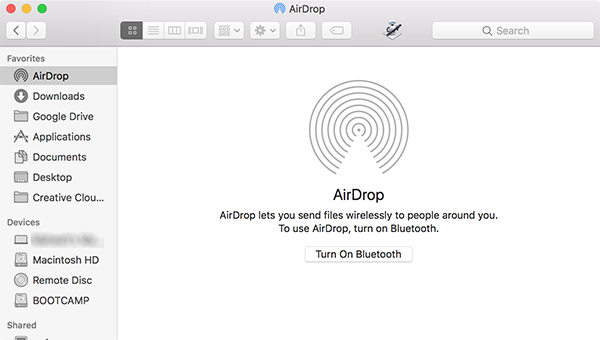
If it is just one or a few notes that you want to sync with your Mac, you could do the task without using iCloud at all. There is a built-in share option on your iPhone called AirDrop that should let you send notes from your iPhone to your Mac.
Step 1. Open AirDrop in the Finder on your Mac and click on Turn On Bluetooth.
Step 2. Launch the Notes app on your iPhone, select the note you want to send, and tap on the share icon.
Step 3. Select your Mac in the AirDrop list.
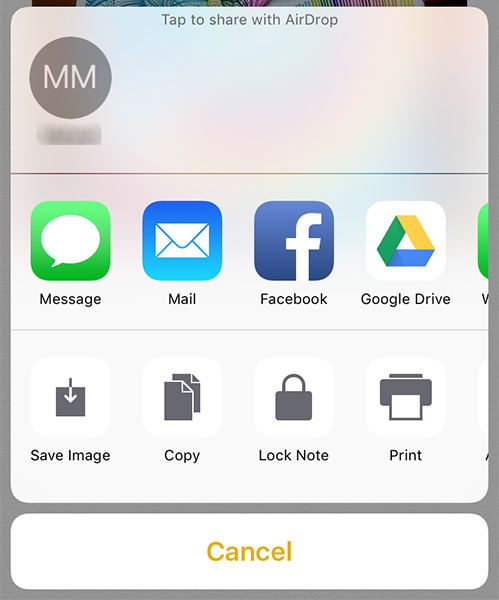
Your chosen note will be sent to your Mac.
Bonus Tips: How to Transfer Notes from iPhone to Mac without iCloud
If you do not wish to use iCloud anymore as you are just too tired of its issues, you can use one of the third-party software that let you transfer your notes and other content without using iCloud at all.
Enter Tenorshare iCareFone, a software that allows you to sync notes from your iPhone to your Mac without the need of iCloud. It lets you transfer various other files types as well should you want to do it.
Step 1 Download and launch the software on your Mac. Plug-in your iPhone to your Mac and click on Backup & Restore in the software.
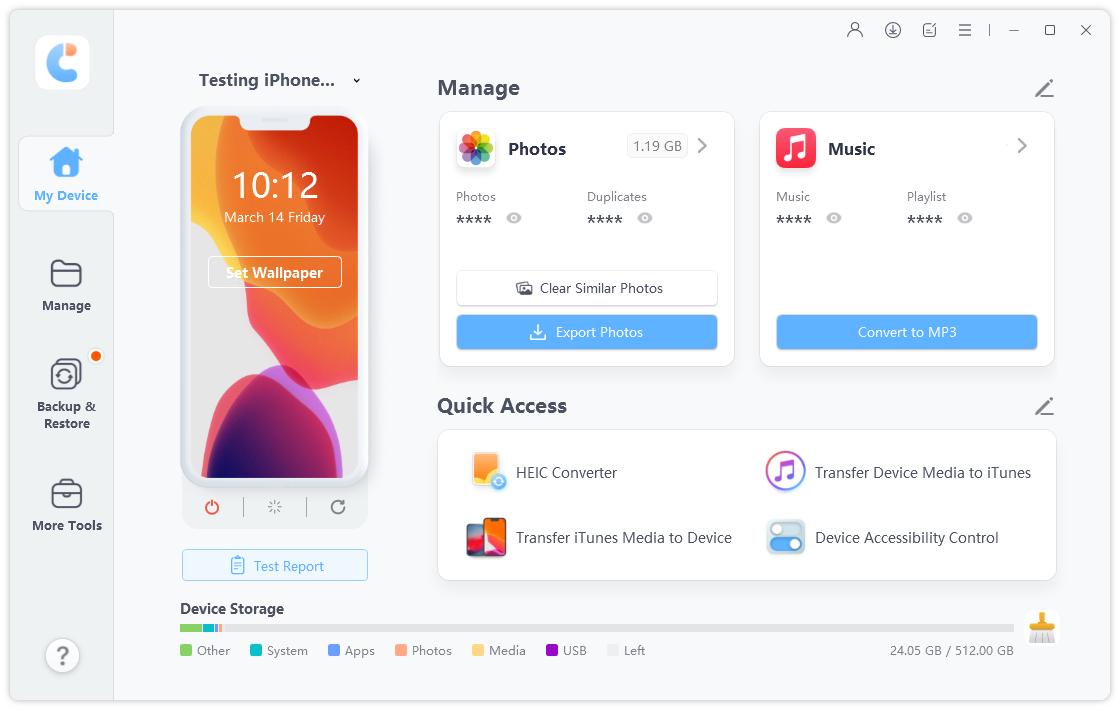
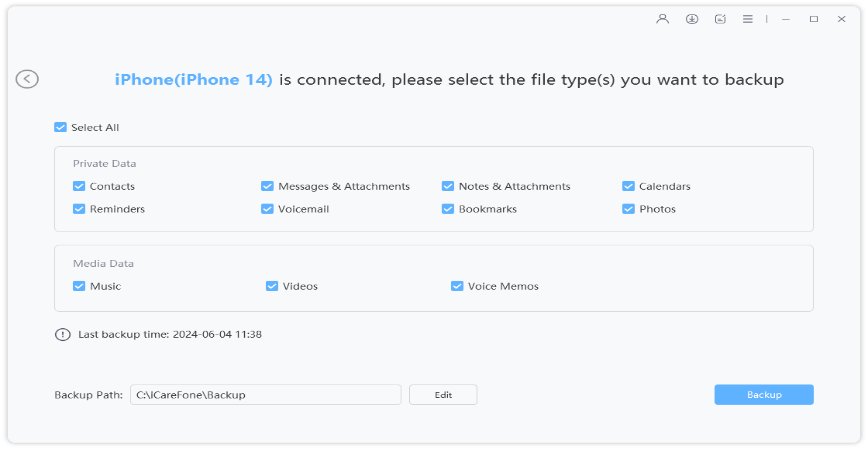
Step 2 Select Notes & Attachments on the following screen and click on Backup.
Step 3 You will see the following when your notes are transferred to your Mac.
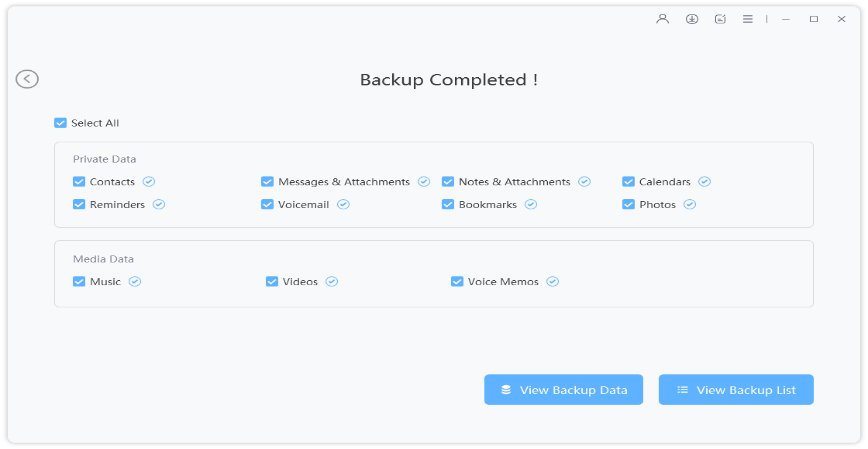
That is all there is to copying notes from iPhone to Mac with iCareFone.
Sum Up
Apple Notes not syncing after Catalina update has put many users into trouble as they are unable to access the recent versions of their important notes. You have several ways to fix the issue, though, and the above guide shows some of those ways for you to get around the problem.
Speak Your Mind
Leave a Comment
Create your review for Tenorshare articles

Tenorshare iCareFone
Best Free iPhone Transfer & iOS Backup Tool
Easily, without iTunes


