[Workable Fix] Unable to Verify Update iOS 17? Quick Fix Now!
Are you getting the "Unable to Verify Update iOS 17" error when you try to update your iPhone? This is a common error that can be caused by a number of factors like an unstable internet connection or a problem with your iPhone’s settings. In this blog, we will show you how to fix this error. We will walk you through a series of steps that you can take to resolve the issue and get your iPhone updated.
Unable to verify update iOS 17? Don't worry, ReiBoot help you upgrade to iOS 17 without iTunes & jailbreak.
- Part 1: Why My iPhone Is Not Updating to iOS 17?
- Part 2: Top 9 Fixes for Unable to Verify Update iOS 17 [Video Guide]
- One-Stop Solution: Fix iOS 17 Unable to Verify Update iOS 17
Part 1: Why My iPhone Is Not Updating to iOS 17?
There could be a lot of reasons why your iPhone is not updating to iOS 17. There could be a problem with your network’s settings or issues with your iPhone’s system. Let’s take a look at what could possibly make your iPhone unable to verify update iOS 17.
1. iPhone incompatible with iOS 17. iOS 17 update is not for all iPhones. Check Apple's website to check if your iPhone is on the list of the supported devices.
Weak Internet Connection. Make sure that you are connected to a strong and reliable Wi-Fi network. If you're not sure if your internet connection is strong enough, try running a speed test.
2. No Storage for Update.You should have about 5.18GB of storage space to install the iOS 17 update. If you're low on storage space, try deleting some apps or media files.
3. Installing Beta Version. You might be installing the beta version of iOS 17 instead of the actual update. The beta version of iOS 17 may have some issues including bugs and errors. This might be the reason your system is unable to verify the update iOS 17.
4. Corrupted iOS 17 File. In rare cases, the update file may be corrupted or damaged. If you think this might be the case, try deleting the update file and downloading it again.
Part 2: Top 9 Fixes for Unable to Verify Update iOS 17 [Video Guide]
Now that you know what could be making your iPhone unable to verify update iOS 17, let’s take a look at the ways you can fix this error.
Here are the top 9 fixes for unable to verify update iOS 17.
- Fix 1: Check Internet Connection
- Fix 2: Check Server Status
- Fix 3: Force Restart iPhone
- Fix 4: Free Up Storage Space
- Fix 5: Update iOS 17 via iTunes
- Fix 6: [100% Assured] Update to iOS 17 without iTunes in One-Click
- Fix 7: Clear Cached Update Data
- Fix 8: Enable Automatic Updates on Settings
- Fix 9: Reset Network Settings
Fix 1: Check Internet Connection
One of the most common reasons why you are getting the "unable to verify update iOS 17 no longer connected to the internet" error is because of a weak or unstable internet connection. Make sure that you are connected to a strong and reliable Wi-Fi network.
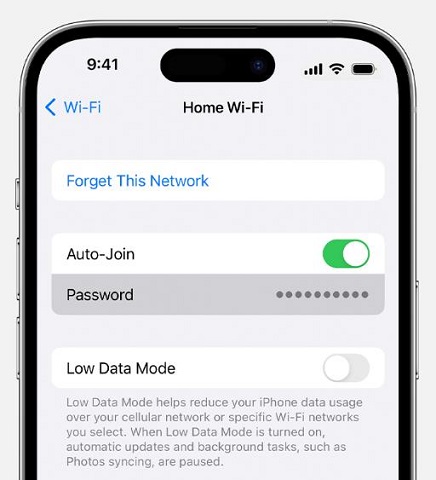
Here are the steps on how to check your internet connection:
- Go to Settings > Wi-Fi. Make sure that your iPhone is connected to a Wi-Fi network.
Tap on the name of the Wi-Fi network that you are connected to.

If the signal strength is weak, you may need to move closer to your router or connect to a different network.
Fix 2: Check Server Status
If you have checked your internet connection and it is strong and reliable, but you are still getting the "unable to verify update iOS 17" error, there might be an issue with Apple’s servers.
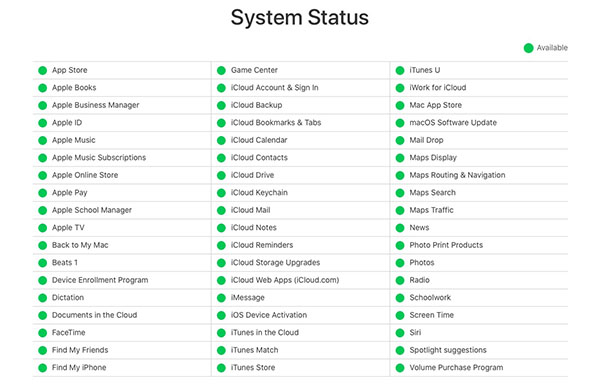
You can check the server status by going to Apple System Status. Here you can see everything including the status of iOS updates.
Go to the Apple System Status.

- Scroll down to the Software Updates section.
- If the status for Software Updates is Green, then the servers are up and running. In this case, there is no issue with Apple’s server and you might be experiencing an issue on your end.
- However, if the status for Software Updates is yellow or red instead of green, Apple’s servers have an issue which they might fix shortly and you don’t have to worry about it.
Fix 3: Force Restart iPhone
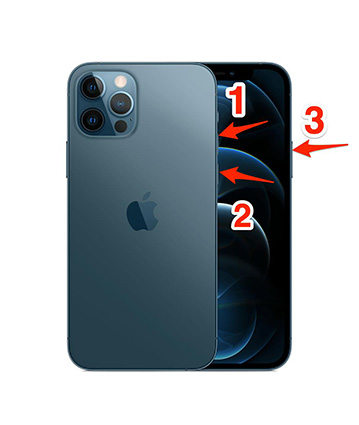
Sometimes, a simple force restart can fix minor software issues that can cause the "unable to verify iOS 17 update" error. To force restart your iPhone, follow these steps:
- Press the Volume Up button once.
- Then press the Volume Down button once.
- Press and hold the Power button for a while until you see the Apple logo.
- When the Apple logo appears, release the Power button.
After your iPhone has restarted, try to update it again.

Fix 4: Free Up Storage Space
The iOS 17 update requires at least 5.18 GB of free space, so if you have less than that, you will need to free up some space before you can update your iPhone. Follow these steps:
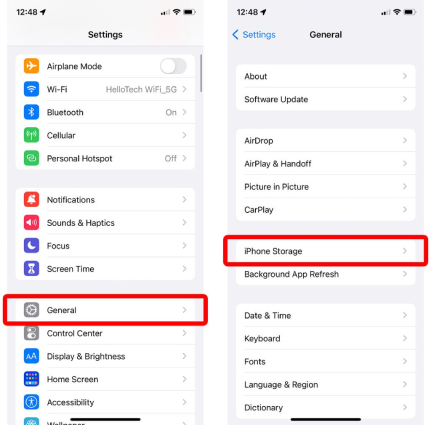
Go to your iPhone’s Settings > General > iPhone Storage. Here you will see the apps on your iPhone and how much storage space they’re taking up.
Fix 5: Update iOS 17 via iTunes
You can also try updating your iPhone using iTunes. This will download the update file from Apple's servers and install it on your iPhone. To update your iPhone using iTunes, follow these steps:
- Connect your iPhone to your computer using a USB cable. Open iTunes.
- Click on the iPhone icon in the iTunes sidebar.
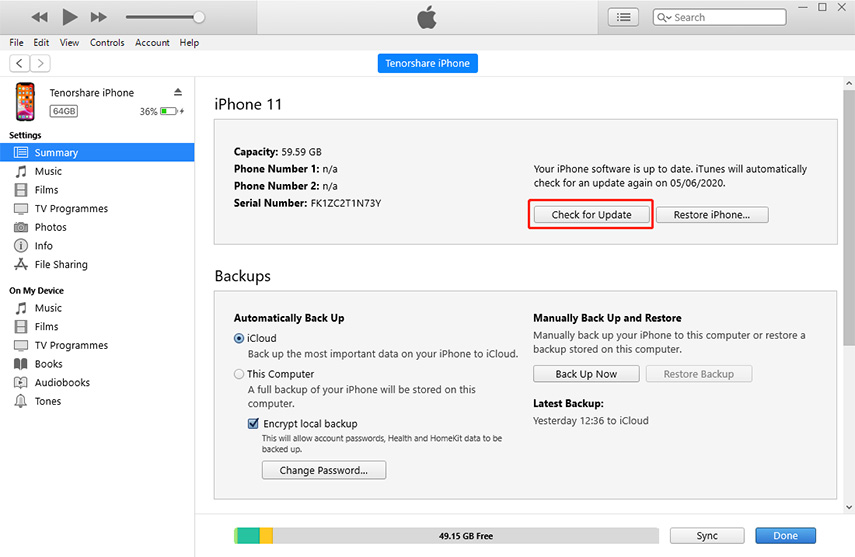
- Click on the 'Summary' tab in the left sidebar. Click on the “Check for Update” button.
If an update is available, click on the Download and Install button.

Once the update is downloaded, iTunes will install it on your iPhone.
Fix 6: [100% Assured] Update to iOS 17 without iTunes in One-Click
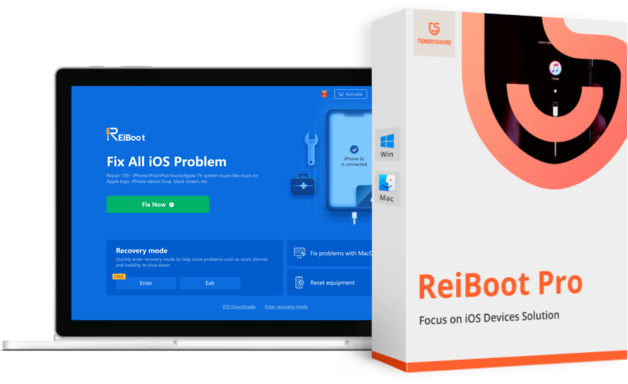
All of the previous steps are lengthy and might not work in some cases. But don’t worry! We have the perfect one-click solution to your problem. Tenorshare ReiBoot is a powerful iOS system recovery tool that can help you fix your iPhone in minutes and you can easily update your iPhone to iOS 17 without the need of iTunes.
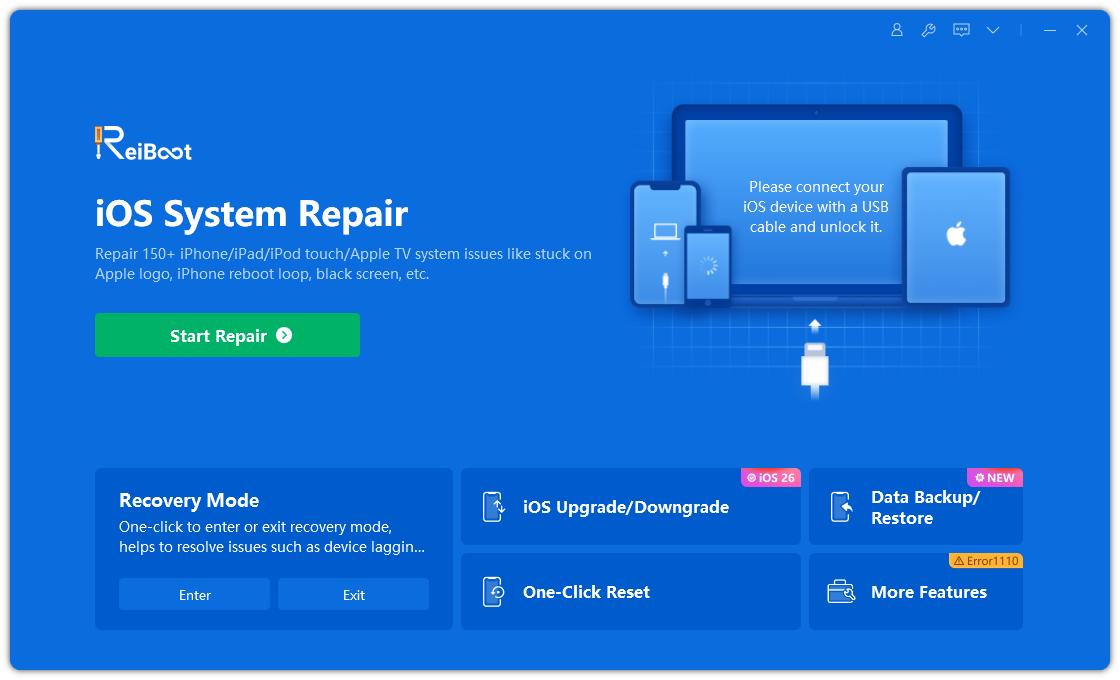
Run ReiBoot on your computer and connect your iPhone to it. It is recommended you use Apple original lightning USB cable to connect the devices. Once connected, click “iOS Upgrade/Downgrade” at the bottom left of the panel.

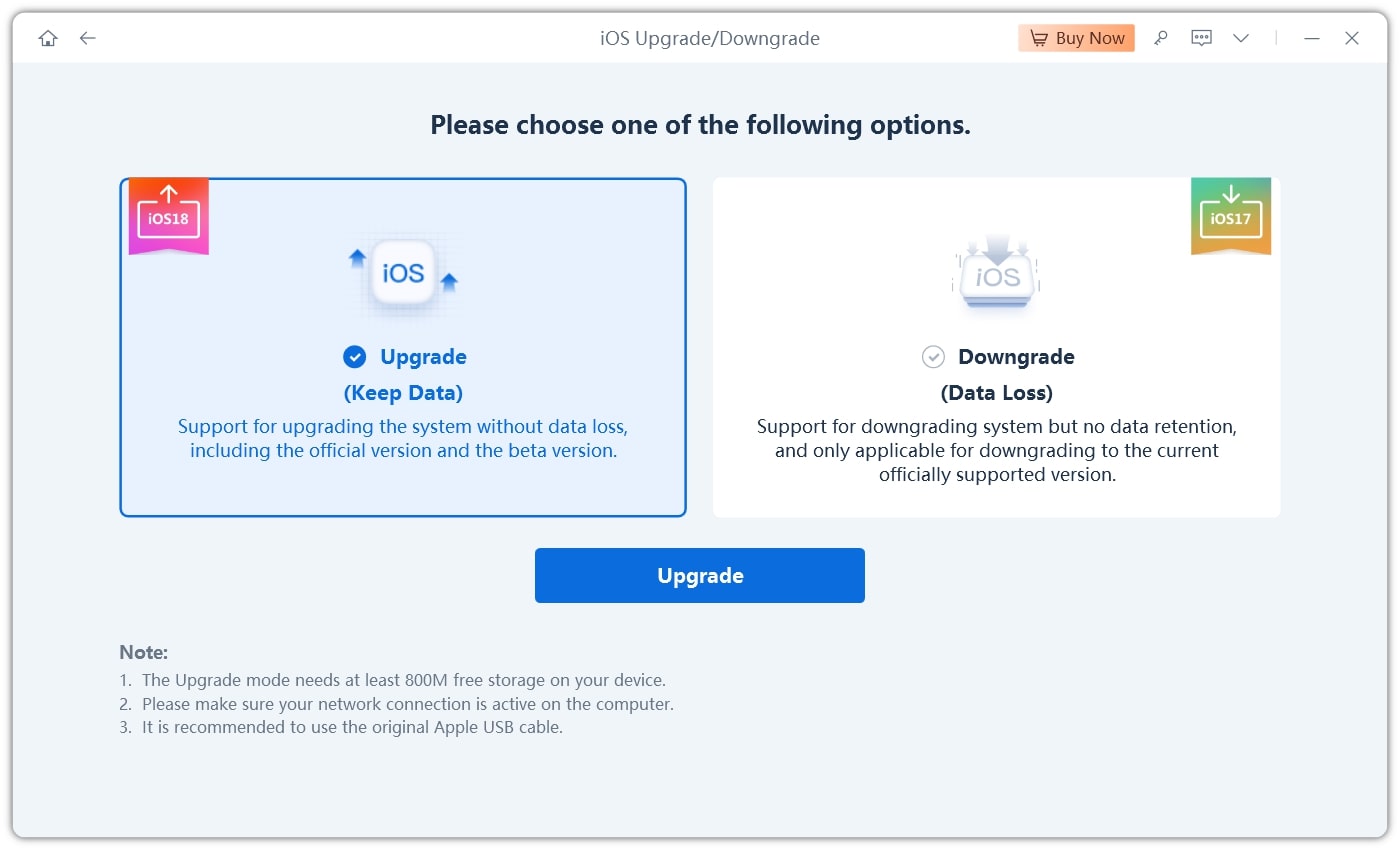
Click on the Upgrade option and then click on the button below.

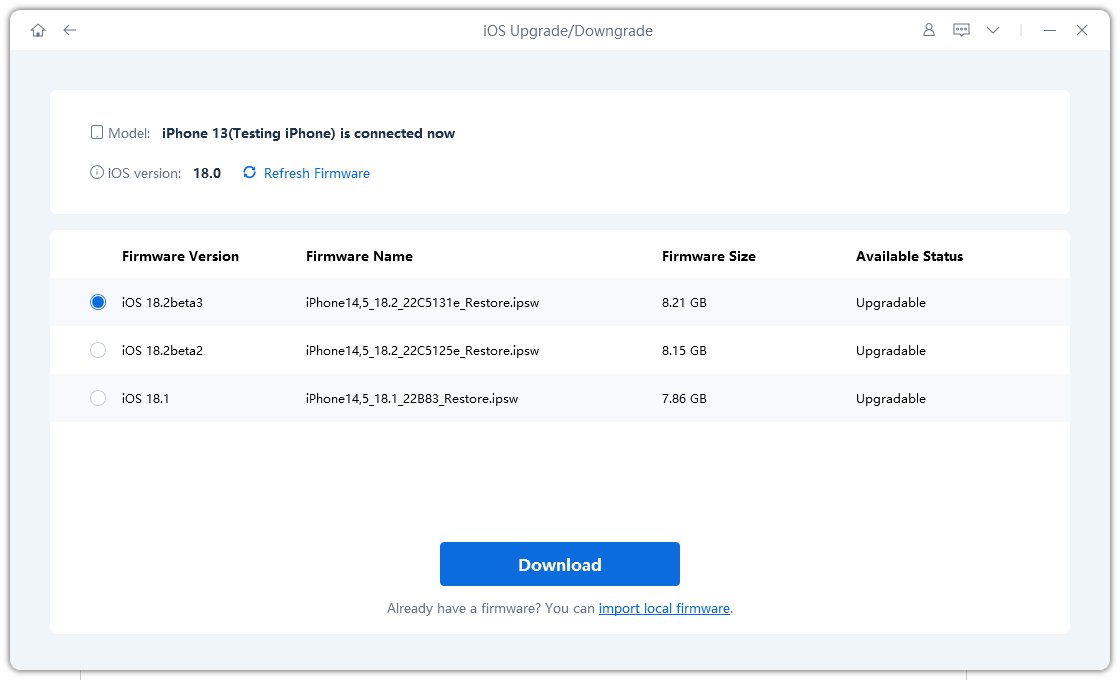
ReiBoot will automatically detect your iOS version and show the upgradable iOS firmware. You can download iOS 17 here. Click “Download”.

After downloading, click “Initiating upgrade” to update iOS.

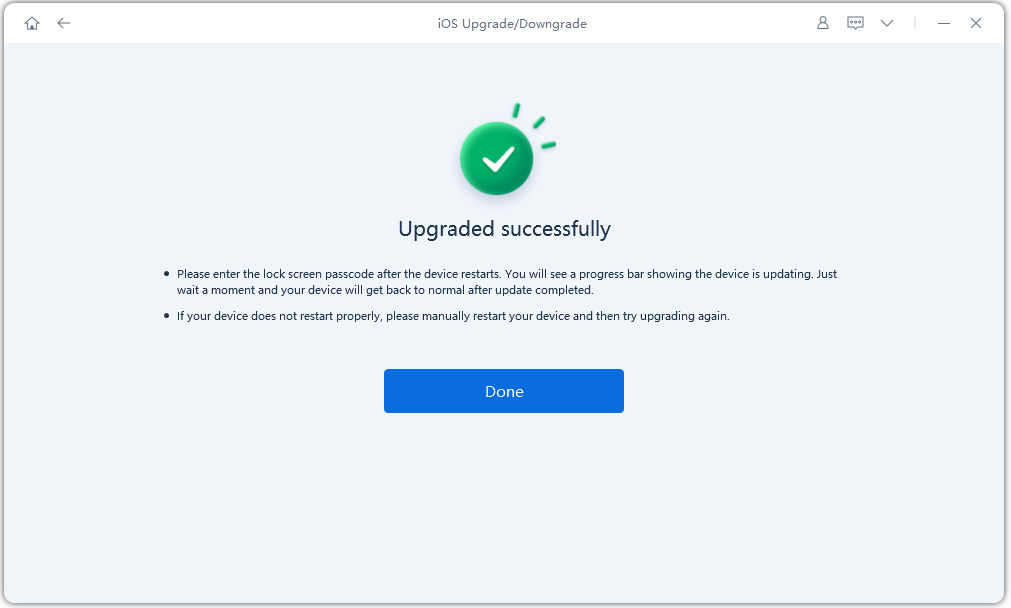
The iOS update will start on your computer. Keep the device connected and avoid using it. The program will prompt “Upgraded successfully” after the download is complete. Click “Done.”

Fix 7: Clear Cached Update Data
Corrupted cached data may also cause errors when installing the iOS 17 update. Follow these steps to clear cached update data:
- Go to Settings > General > iPhone Storage.
- Scroll down and find the iOS 17 update file.
- Tap on the file and then tap Delete Update.
Once you have deleted the cached update data, try to update your iPhone again. Note that the cached data is just temporary data stored on your iPhone to help with the update process. Clearing the cached update data will not delete any of your apps or data.
Fix 8: Enable Automatic Updates on Settings
If you have not enabled automatic updates on your iPhone, you may be getting the "unable to verify iOS 17 update" error because your iPhone is not checking for updates automatically. To enable automatic updates, follow these steps:
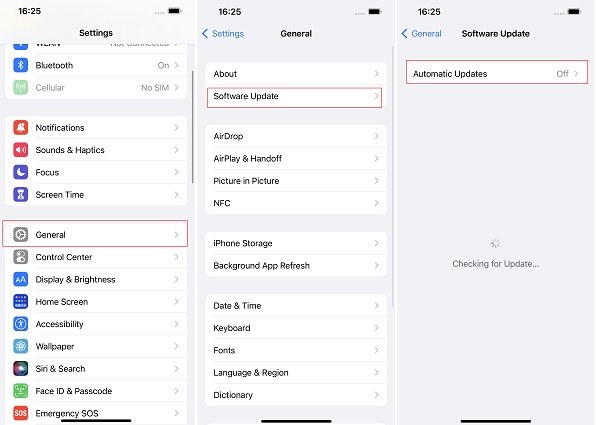
- Go to Settings > Software Update > Automatic Updates.
Toggle on the Automatic Updates.

Once you have enabled automatic updates, your iPhone will automatically check for updates and install them when they are available.
Fix 9: Reset Network Settings
Resetting your network settings can sometimes fix software issues which may help with installing the iOS 17 update smoothly. Here’s what you need to do:
- Go to Settings > General > Transfer or Reset iPhone.
Tap on Reset, then Reset Network Settings.

Your iPhone will ask for your passcode; enter that and then tap Reset Network Settings again.
Once you have reset your network settings, your iPhone will restart and your network settings will be reset to their default values. Note that resetting your network settings will only remove the network settings and not the media or apps.
One-Stop Solution: Fix iOS 17 Unable to Verify Update iOS 17
You’ve tried a lot of things now - checked your internet connection and Apple’s server status, deleted extra apps on your phone, and force restart your iPhone - but the problem is still not solved. If that’s the case, we are going to tell you a one-stop solution to fix all your iOS problems forever.
With Tenorshare ReiBoot - Standard Repair, you can easily update your iOS device to the latest version without any risk of data loss or damage to your system. Here is how to do it:
Download and install ReiBoot on your computer (PC or Mac). Launch the program and connect your iPhone via thunderbolt cable.

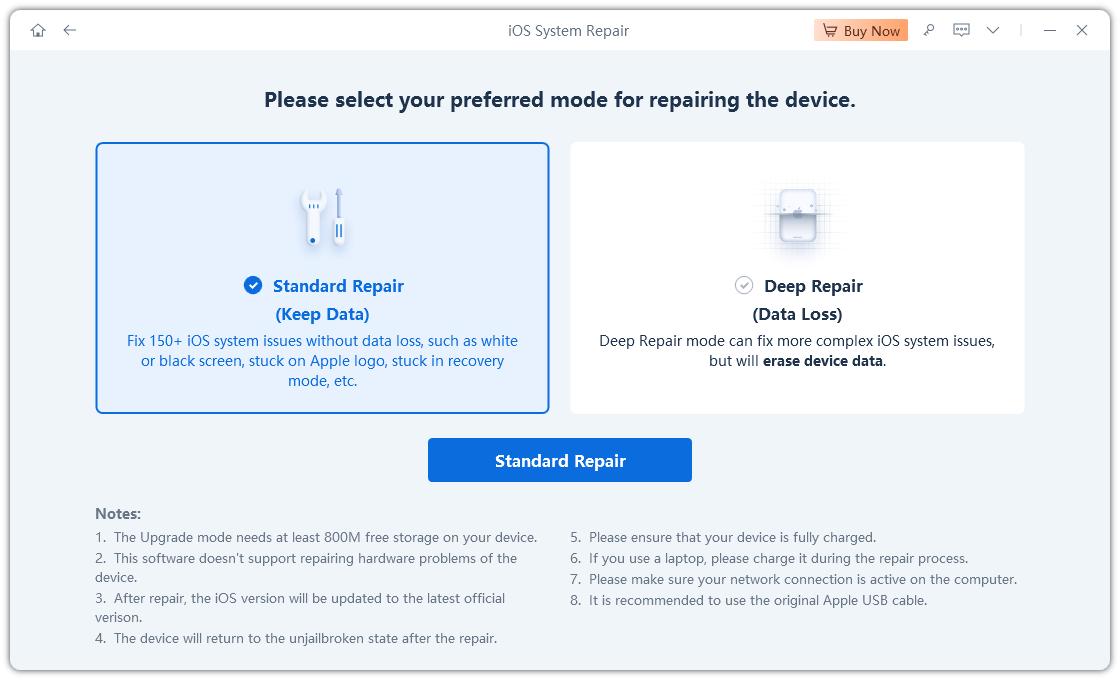
Select the Standard Repairoption and proceed by clicking on the Standard Repair button.

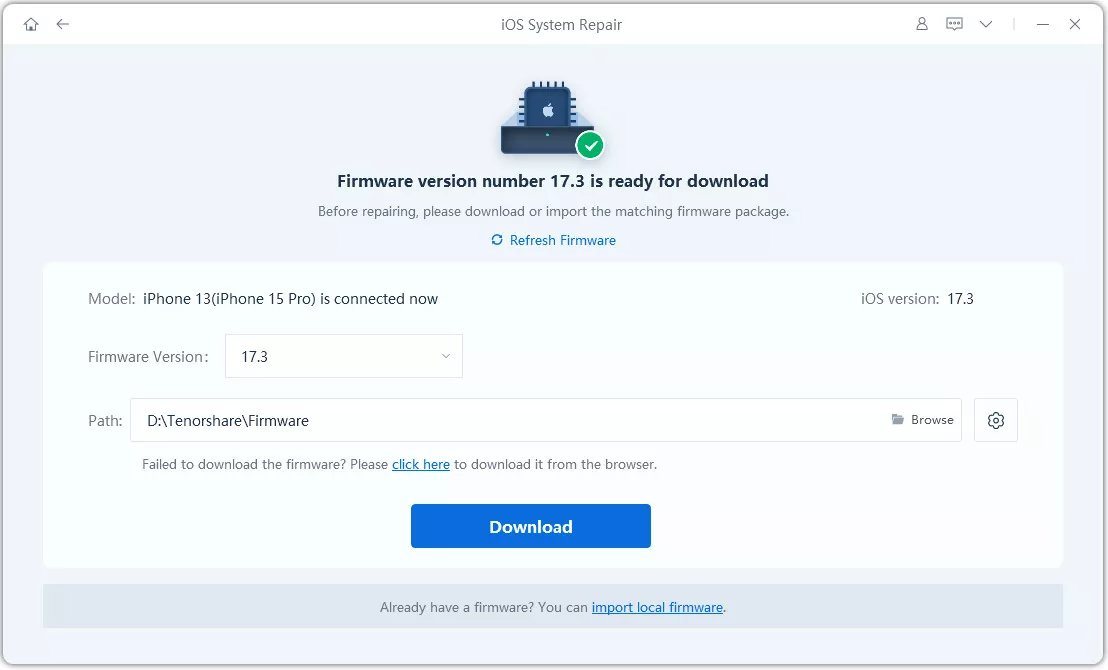
Click on the Download button to download the latest version of iOS.

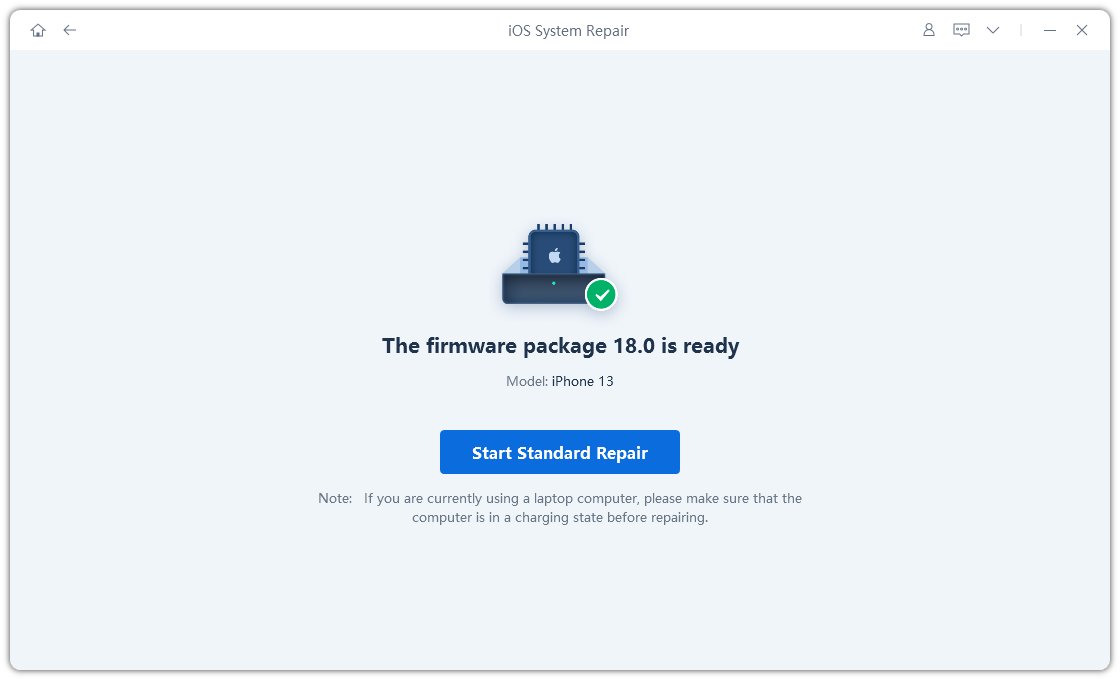
Once the download completes, click on the Start Standard Repair button to continue.

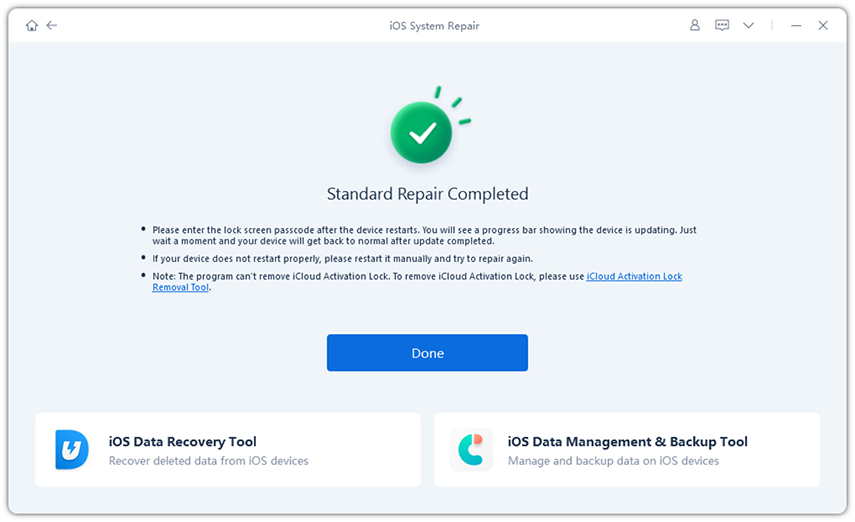
This will take a few minutes, so wait for the progress bar to end. Once the progress bar gets completed, you’ll see a confirmation message that your Standard Repair is completed.

Conclusion
Resolving the "Unable to Verify Update iOS 17 " error is crucial to ensure your iPhone's optimal performance. From understanding the underlying causes of this issue to implementing effective solutions, we've covered a comprehensive range of approaches.
For persistent issues, consider our ultimate solution: Tenorshare ReiBoot. This tool guarantees a smooth transition to the latest iOS version while safeguarding your data. With these solutions at your disposal, you're well-prepared to conquer the update challenge and enjoy iOS 17 to its fullest.
- Downgrade iOS 26 to iOS 18 ;
- Fix iPhone won't restore in recovery mode, my iPhone is stuck on the Apple Logo,iPhone black screen of death, iOS downgrade stuck, iPhone update stuck, etc.
- Support all iPhone models and the latest iOS 26 and earlier.
Speak Your Mind
Leave a Comment
Create your review for Tenorshare articles
