The Complete Guide on How to Format SD Card For GoPro HERO5 Session
Curious on how to format the SD Card for your GoPro Hero 5 Session? Whether you need to remove old photo and video files to free up space again or having troubles with your camera, formatting your SD card comes as an essential routine to avoid and address any GoPro camera issue. Unfortunately, despite the importance of this practice, GoPro product manuals fail to provide a step-by-step guide on how to actually do it. With this, users are left with vague ideas on how to format SD card for GoPro hero5 session on their laptops.
If you’re one among them, chances are you’re still trying to figure out how to completely and safely offload your old data. To help you with that, here is a brief guide on how to format SD card for GoPro Hero.
- Part 1: Using GoPro Mobile App to Format SD Card for GoPro HERO5 Session (the Only Way)
- Part 2: GoPro SD Card Format for Other Models
- Part 3: How to Recover Your Unsaved Files after Formatting SD Card for GoPro HERO5 Session
Part 1. Using GoPro Mobile App to Format SD Card for GoPro HERO5 Session (the Only Way)
Unfortunately, when it comes to GoPro Hero5 session, you cannot format your SD cards using the camera’s onboard menu system. In order to do it, you will need to have the official capture app installed on your phone or laptop.
Below is a brief rundown on how to do so:
Download the GoPro Mobile App
The first step you’ll need to do in order to format your SD card is to download the GoPro Mobile App (Capture App) from App Store or Google Play in your laptop or mobile phone. The app comes free-of-charge, so you won’t have to worry about paying some fee. Simply click on the download button and wait for it to be completed.
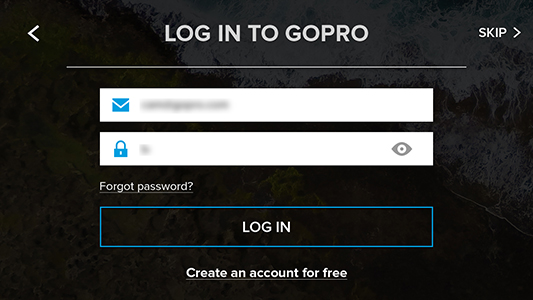
Log in your GoPro Account
Once your download is done, open the app and input your GoPro.com account. If you don’t have one yet, you can simply create yours using the app right away.
- Turn on your GoPro Camera
Once you’ve log in to your account, the app will ask you to turn on your GoPro camera. After doing so, hit on the “My Camera is On” button. - Open your Utility Drawer
After confirming you have turned on your camera, the app will instruct you to open the utility drawer of your GoPro. To do so, simply swipe your finger from the top of the camera’s screen down to its base. From there, the utility drawer will pop up on the screen. Click on the “Connect” button to proceed. Go to your Settings
Once you’ve clicked on the “Connect” option, you will need to return to your phone and go to its Settings. Click on the “WiFi” option, find your camera name, and input the password that will show up on your GoPro camera.
- Connect the device to the mobile app
Once you’re done, open the app again to see a blue circle with a check mark on the screen. That indicates that the connection between your camera and the app is now complete. - Pair up via Bluetooth
From there, the app will ask you whether you’ll also want to pair with Bluetooth as well. Simply click on the “Continue” button to proceed. Proceed to formatting
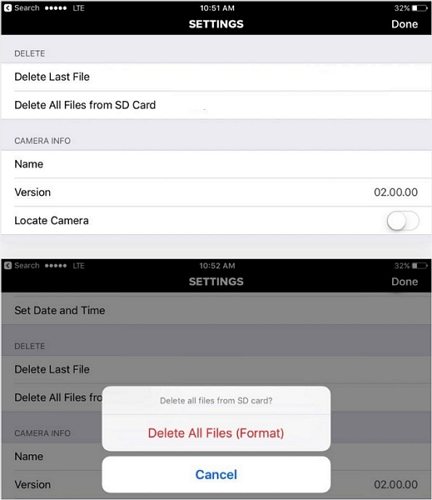
After that, go to your phone’s Settings. From there, scroll down to see the Delete section and tap on the “Delete All Files from SD Card.” By clicking that option, a warning will pop up saying it will be deleting everything on your data. Simply click on the “Delete All Files (Format)” to confirm and start the formatting.
Part 2. SD Card Format for Other Models
Generally, formatting SD card varies depending on what GoPro Model you’re using. To help you know the proper way to do so, here is a quick rundown for other GoPro models. Check them out:
Gopro Format SD Card HERO 7 Black, Silver, or White
- Insert the card into the camera and turn it on.
- Open the menu on the back screen (side button).
- Go to Preferences.
- Scroll down to Reset.
- Tap Format SD Card.
Gopro Format SD Card HERO6 Black or HERO5 Black
- Insert the card into the camera and turn it on.
- Open the menu on the back screen (side button).
- Go to Preferences.
- Go to the bottom, find and click on “Format SD Card.”
- Hit Delete.
Format SD card in HERO Session or HERO4 Session
Similar to Format SD Card for GoPro HERO5 Session, it is not possible to format the SD card using the camera’s onboard menu system on these models. In order to do so, you’ll need to download the Capture App and follow the step-by-step procedure presented on Part 1.
Format SD card in Hero4 Black and Hero4 Silver
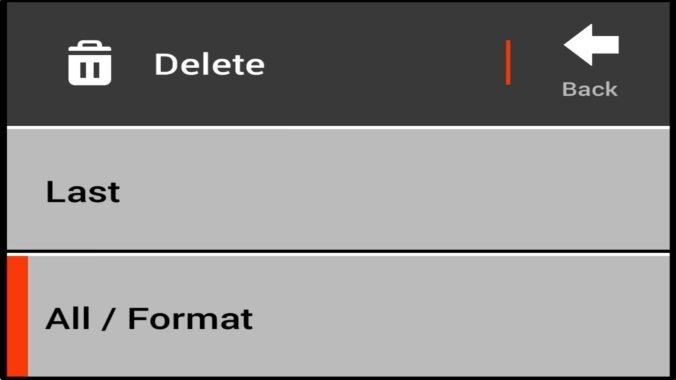
- Go to Settings.
- Scroll down to Delete.
- Choose All/Format.
- Click on Delete.
Part 3. How to Recover Your Unsaved Files after Formatting SD Card for GoPro HERO5 Session
Since formatting your SD Card will erase every file it contains, it’s important to make sure that you have downloaded or kept a separate copy of all the photos and footage it has before proceeding. However, in case you haven’t, it is important to know that there is still a possibility to recover your unsaved files, but it’s going to require some extra effort.
To guide you in that, here are is a brief rundown on how you can recover your photos and video files using 4DDiG for Windows Data Recovery app.
What is 4DDiG for Windows Data Recovery?
Developed by Tenorshare, the 4DDiG for Windows Data Recovery operates as a data recovery software that enables users to easily recover hundreds of files that may have been deleted, formatted, or lost due to some reasons, including file corruption, hardware failure, human error, and many more.
Generally, 4DDiG for Windows Data Recovery presents a rich variety of key features. Among these include:
- Allows recovery of over 550 files without risk
- Can recover photos, videos, audios, mails, pdfs, documents, game files, RAR/ZIP, system files, and more
- Can be used to recover lost data from a computer, laptop, USB drive, digital camera, HDD/SSD, SD/CF Card, or Media Player
How to Use the 4DDiG for Windows Data Recovery App
Download the app, connect your GoPro Hero 5 Session to your computer or mobile phone using a cable and launch the tool.
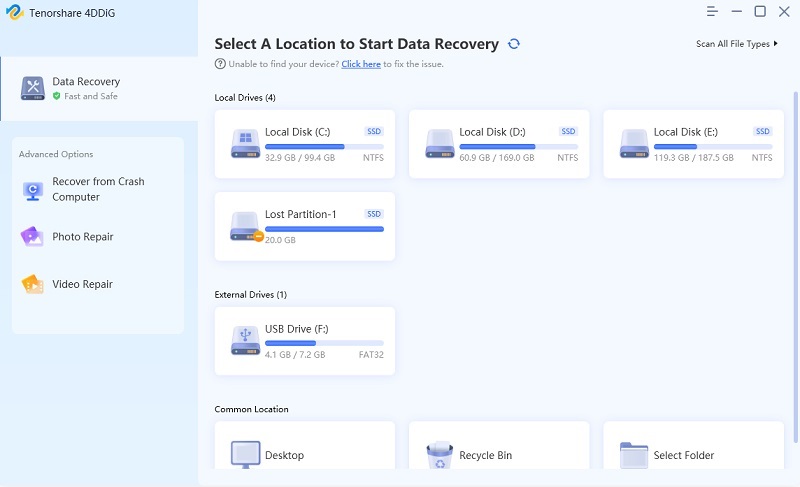
After opening the app, a box will pop up on your computer/phone that will ask you to select the location where the lost files were saved.

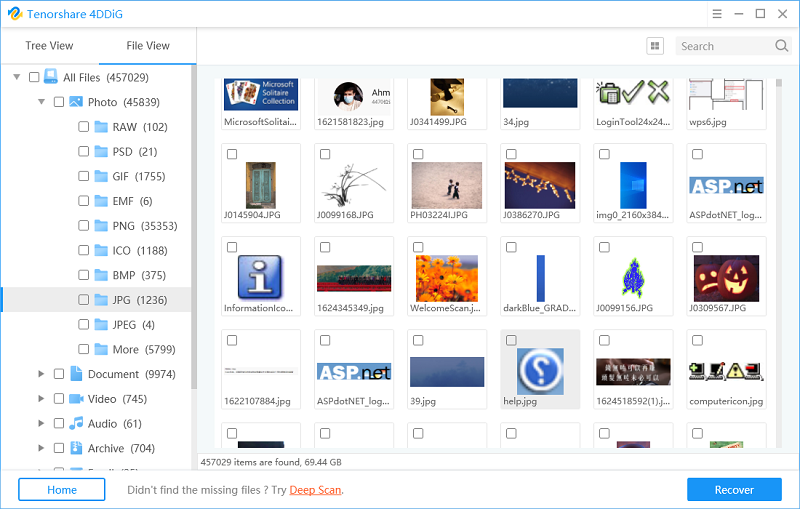
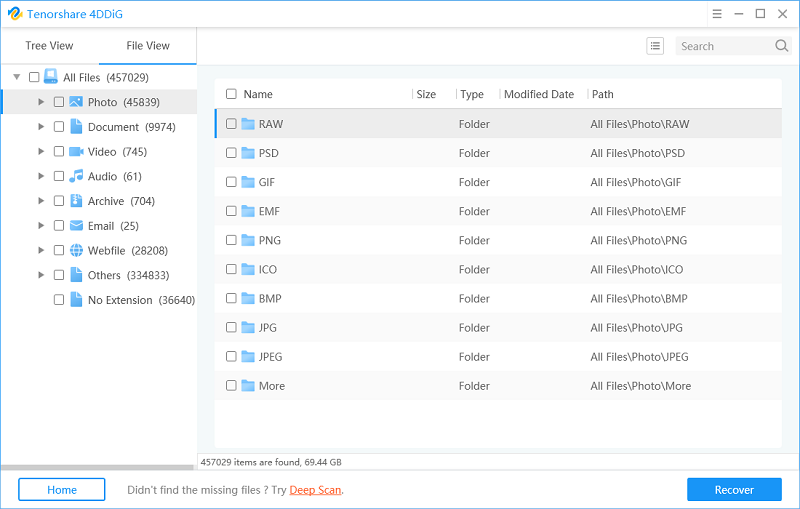
Once you’ve selected the location, hit the “Scan” option. Once it is completed, the app will provide a list of all the deleted files in the selected location.
- Click the "window" icon located on the bottom-right of your screen to switch to Preview Mode. From there, you can hit the “Preview” category of each file to identify which one should be recovered and which shouldn’t.

Once you’ve ticked on all the files you need to recover, hit the “Recover” button located at the lower-left part of your screen.

Conclusion
Was this guide helpful to you? Be sure to regularly format SD Card for GoPro Hero5 Session to free up enough space and get ready for yet another set of shooting. If you have any inquiry, do not hesitate to visit GoPro’s official website today. If you want to recover lost data, don't forget to use 4DDiG for Windows Data Recovery.
Speak Your Mind
Leave a Comment
Create your review for Tenorshare articles

