How to Fix iTunes Backup Now Greyed out Windows 10/8/7
Have you ever attempted to back up your important files to iTunes and experienced that iTunes is broken? The day can’t get worse than being unable to perform an action to safeguard your important files. Every time you try to backup, the “Backup Now” tab greyed out, and there is no possibility to perform any action; we have a solution for you. The greyed back up tab in iTunes means you can no longer backup your data to the cloud, and there is a synchronization issue between device and iTunes. Fortunately, we have a proper solution to the issue; follow along to the article’s end to learn details.
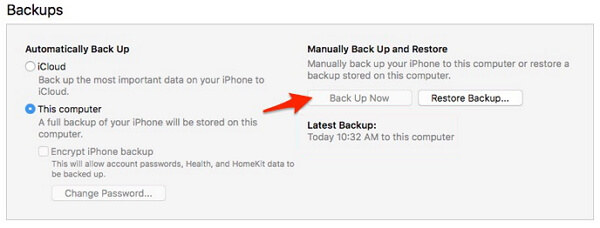
Why Is Backup Now Greyed out in iTunes
There could be several convictions why the backup in iTunes is greyed out. We have run-down some prior causes:
- iTunes in your computer might be outdated and no longer supports synchronizing your iOS devices.
- You might be using the wrong USB port to connect the iOS device to the computer.
- The cord you are using might be broken that does not support data sharing.
- Your iOS device might not be updated
- Internet connection to your computer or the iOS device might be weak.
Solutions to Fix iTunes Backup Now Greyed out Issue
1. Update iTunes to The Latest Version
If you are considering iTunes to back up your data, the greyed on Back up tab might have occurred due to outdated iTunes. The ultimate issue to the problem might be resolved by updating iTunes to the latest version. Follow through the stepwise guide to update iTunes to the latest version.
- Open iTunes on your computer.
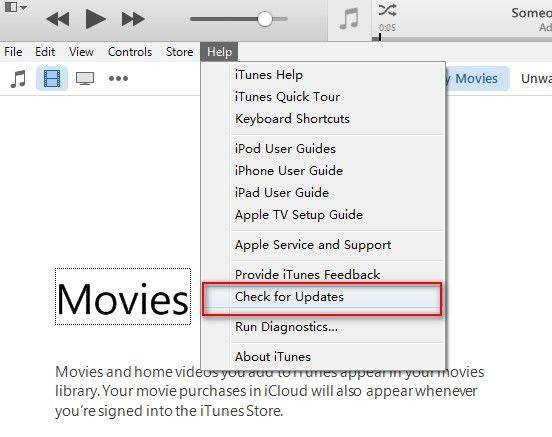
- Now, on the top menu bar, you would see a bunch of tabs, click on “Help” from the menu.
- Also, click on “Check for update” from the drop-down menu.
If any update is available, a dialogue box will show you details. Now, click on “Download iTunes” to begin updating your iTunes to the latest version.

2. Restart both iPhone And computer
A session loss or a glitch while running iTunes might have generated an issue. The ultimate solution we can try is to restart both the iPhone and the computer.
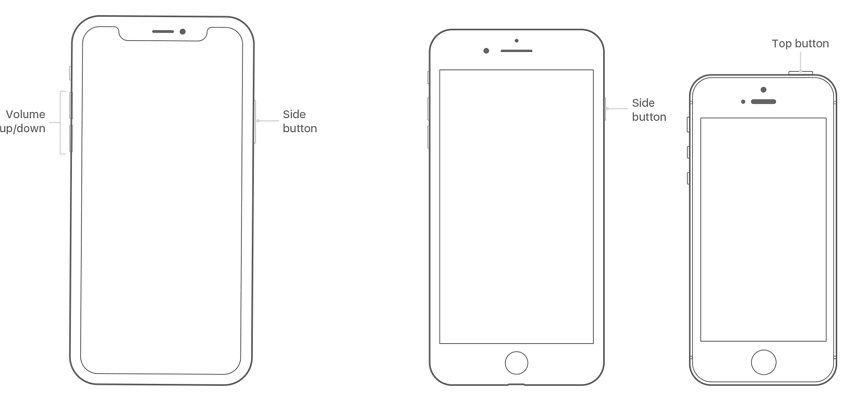
iPhone without home button:
- Press and hold still power and volume up button.
- Flow the slider to the right.
- Wait for 30 seconds for the iPhone to go completely dark.
- Press the power button for a while until you see the Apple logo.
iPhone with home button:
- Press and hold the still power button until the slider appears.
- Now, slide the slider to the right and wait 30 seconds for the iPhone to go completely dark.
- Lastly, press and hold the power button to turn on the iPhone.
How to restart Windows:
- Pin the Windows key and then click on the “Power” option.
On the available options, click on “Restart” to begin restarting your Windows computer.
3. Problem Still Exist? Fix iTunes Error with Tunescare
Assuming you have not solved the iTunes error yet, we have the most comprehensive solution to the issue. Tenorshare TunesCare is a robust application to help you with all the possible fixes related to Apple iTunes. The application solves the problem for every iOS device, including; iPhone, iPad, and iPods. You can use Tenorshare iTunes care either in Windows or Mac PC. Follow the detailed steps of the application usability in a stepwise guide below.
- Download the Tenorshare Tunescare application on your computer, after that install in your local directory. The processes are easy, and you might not get stuck installing.
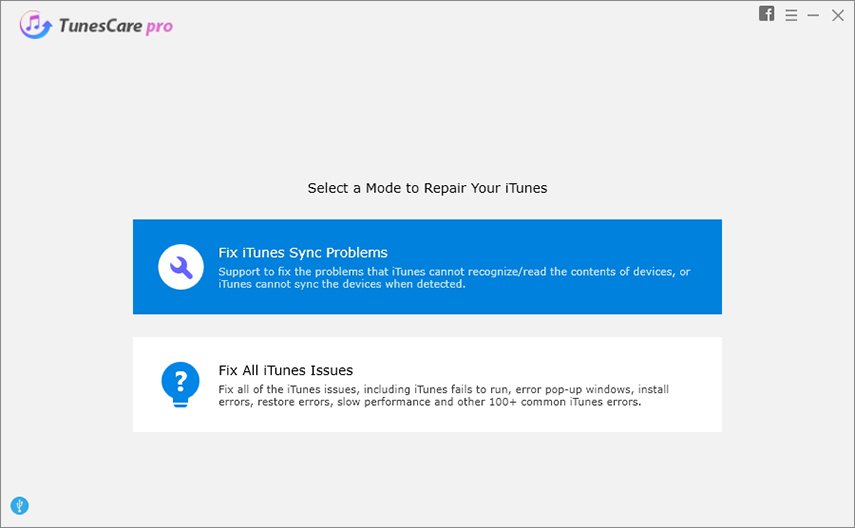
Launch the Tenorshare Tunescare application on your computer. Now, click on “Fix iTunes Sync Problem.”

Tunescare looks after your iTunes and provides suggestions to repair if it’s running fine and asks you to troubleshoot it. Check the description and click on “Repair iTunes.”

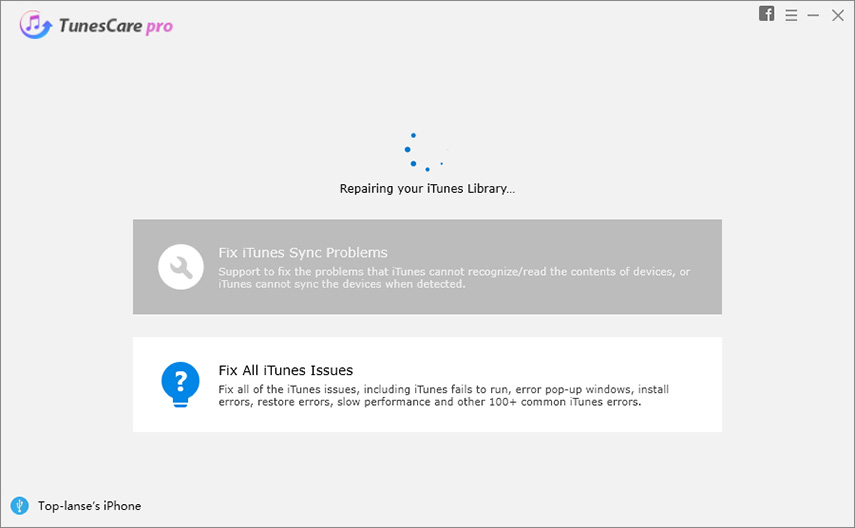
When you click on “Repair iTunes,” Tunescare checks and starts repairing iTunes on your computer. It basically checks for drivers and updates them if required.
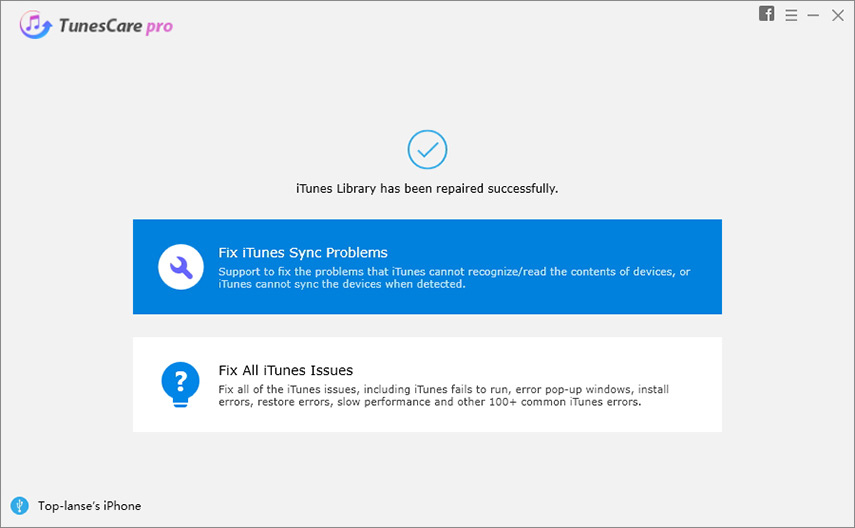
Now, after the process completes, iTunes flashes a message “iTunes is successfully repaired.” Tunescare will restart automatically and solve the issues.

Is There A Better Backup Tool Than iTunes?
If you are in search of a compact tool that works well like iTunes, then we are recommending you Tenorshare iCareFone. It is a fundamental tool that helps you backup, restore, and transfer data between Apple devices. Read through the guide below to learn details on using iCareFone.
- First things first, download and install Tenorshare iCareFone on your computer. It’s available to use on both Windows and Mac.
- Now, you need to connect your iPhone to your computer. After you connect your iPhone/iPad to the computer, it immediately prompts with “Trust this device” window. Click on it to ensure the device has a secure connection between devices.
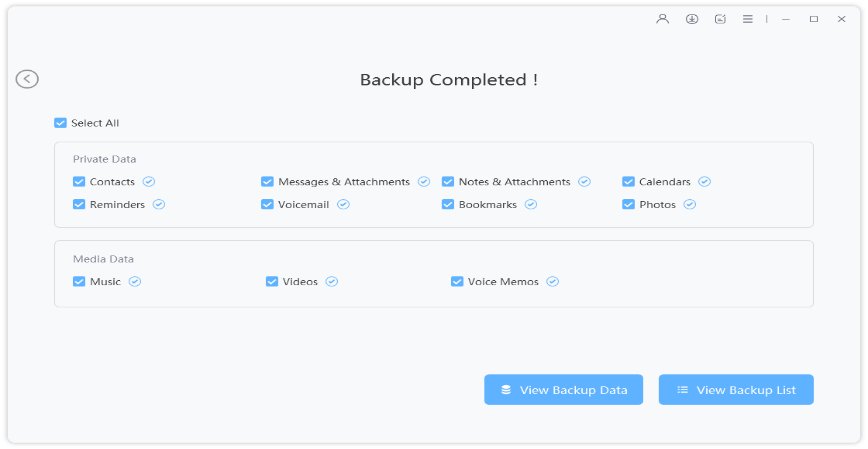
Launch Tunescare, and on the top menu, click on the “Backup and restore” tab.

On backup and restore, all file types are selected, you can manually manage them by unticking the non required one.
After that, select the location where you would like to store your backups, and then click on “Backup” covered in teal.

The time to backup depends on the size of the files on your device. You can, therefore, restore the files to your device at any time.
Related Read: iTunes Restore backup Greyed out
Conclusion
Readers, are you aware of fixing iTunes “Back Up Now” grayed out in Windows 10/8/7. The comprehensive solutions are well checked and tested. The best way you could fix the issue is by troubleshooting iTunes by Tenorshare TunesCare. Moreover, you can also use Tenorshare iCareFone tool to successfully backup your data with no issues. If you still have queries between the article section, feel free to contact us.
Speak Your Mind
Leave a Comment
Create your review for Tenorshare articles

Tenorshare iCareFone
Best Free iPhone Transfer & iOS Backup Tool
Easily, without iTunes
