Setting up and activating an iPhone 18 takes five steps: charge the phone,
connect to Wi-Fi, follow the on-screen prompts, activate your cellular plan,
and sign in with your Apple Account. If you're moving from an older iPhone,
Quick Start transfers your apps, settings, and data automatically; from
Android, Move to iOS handles it instead.
One thing worth knowing before you start: most iPhone 18 Pro and Pro Max units
--- in the US and a growing list of other regions --- ship without a physical
SIM tray and run on eSIM only. Confirming that with your carrier ahead of time
avoids the most common activation delay.
Part 1. How to Prepare Before You Set Up & Activate iPhone 18
Before you learn how to set up new iPhone 18 pro, prepare both your new
phone and your old device. A few simple checks can prevent interruptions
during setup. This preparation also makes how to activate new iPhone 18 much
easier because your internet connection, account details, SIM, and backup
will already be ready.
Charge your iPhone 18. A full data transfer can take a
while, especially with a large photo library --- keep the phone connected
to power throughout, and keep both phones charged and close together for a
wireless Quick Start transfer.
Confirm your SIM/eSIM situation first. Most iPhone 18 Pro
and Pro Max units sold in the US --- and, per recent reports, expanding to
more regions this generation --- ship without a physical SIM tray and run
on eSIM only, the same as the iPhone 14 through 17 in those markets. If
your carrier supports eSIM Quick Transfer, you can move your existing
number during setup without contacting them directly.
Have your Apple Account ready. Keep your email and
password on hand for iCloud, the App Store, iMessage, and FaceTime.
Activation and Apple Account sign-in are two separate steps --- activation
needs an internet connection first, sign-in comes after.
Update your old iPhone before transferring. Go to
Settings > General > Software Update and install whatever's
available --- an outdated OS on the source phone is one of the more common
causes of a stalled Quick Start transfer.
Back up before you begin. iCloud, a computer backup, or a
third-party tool all work. Tenorshare iCareFone can back up iPhone data to
a computer and manage items such as photos, videos, contacts, messages,
music, notes, calendars, reminders, and WhatsApp chats locally, separate
from iCloud.
Part 2. How to Set Up & Activate iPhone 18 (Step-by-Step)
With preparation done, here's how to set up and activate iPhone 18 step by
step. Apple guides you through the main screens, so you don't need advanced
technical knowledge --- these same steps also cover how to set up a new
iPhone 18 Pro. Follow them in order, and don't skip the cellular or Apple
Account screens; they're the two steps most likely to trip people up.
1.Power On, Choose Language, Region & Text Size
Press and hold the side button until the Apple logo appears, then follow the
on-screen prompts:
Hello screen --- press the Home screen or swipe up to
begin.
Language and region --- choose your preferred language
and country/region.
Text and icon size --- pick Default, Medium, or Large;
this affects how the phone looks from day one, so it's worth choosing
deliberately rather than skipping through.
2.Connect to Wi-Fi and Set Up Face ID
Connect your iPhone to a reliable Wi-Fi network. A stable connection helps
the activation and setup process continue without interruptions.
Next, create your device passcode and set up Face ID when the iPhone asks.
Face ID can unlock your device and authenticate supported purchases and
apps. According to Apple's own
Face ID security documentation, Face ID data is encrypted and stored only in the device's Secure Enclave
--- it never leaves the phone.
If you are asking how do I activate my iPhone, remember that the phone needs
an internet connection during activation. Wi-Fi usually provides the
simplest option.
3.Activate Cellular Service: eSIM Quick Transfer vs Carrier Activation
Your cellular activation method depends on your carrier, country, and iPhone
model --- it comes down to two paths:
eSIM Quick Transfer --- works if your old phone is an
iPhone 13 or later on iOS 17.4+, and your carrier is one of the dozens now
supported across the US, Canada, and Europe. Apple moves your existing
number over automatically during setup, no call to the carrier needed.
Carrier activation --- your carrier assigns the eSIM to
the phone directly; you'll usually see a notification prompting you to
finish setting up the mobile plan.
Coming from Android? You'll likely need your carrier's help unless both your
carrier and your Android phone support Apple's newer eSIM transfer process.
4.Confirm That Activation Worked
Once setup finishes, confirm activation actually worked:
Open Settings > Cellular and check that your mobile
line appears and stays turned on.
Make a test call and send a
test message.
Connect to Wi-Fi and open Safari to confirm the internet
works.
Sign in to your Apple Account and open the
App Store.
If all four check out, activation is complete.
Part 3. How to Backup and Transfer Your Data to iPhone 18
Data transfer matters just as much as activation. If you're moving from an
old iPhone, Quick Start is Apple's built-in transfer method. If you're
switching from Android, Apple's
Move to iOS
app handles that during initial setup.
For users who want an additional computer-based backup and transfer option,
Tenorshare iCareFone can help manage iPhone data.
Backup and Transfer Data From Old Device to New
iPhone 18
Tenorshare iCareFone
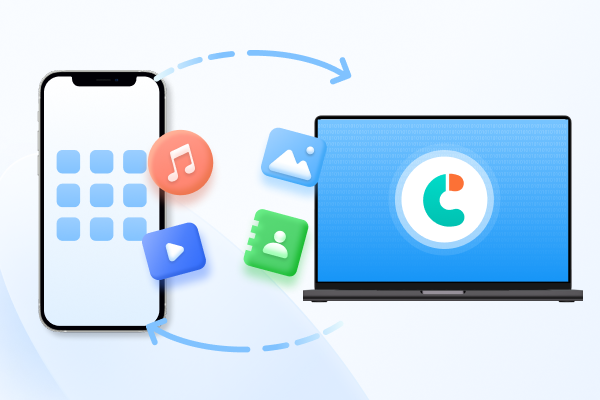
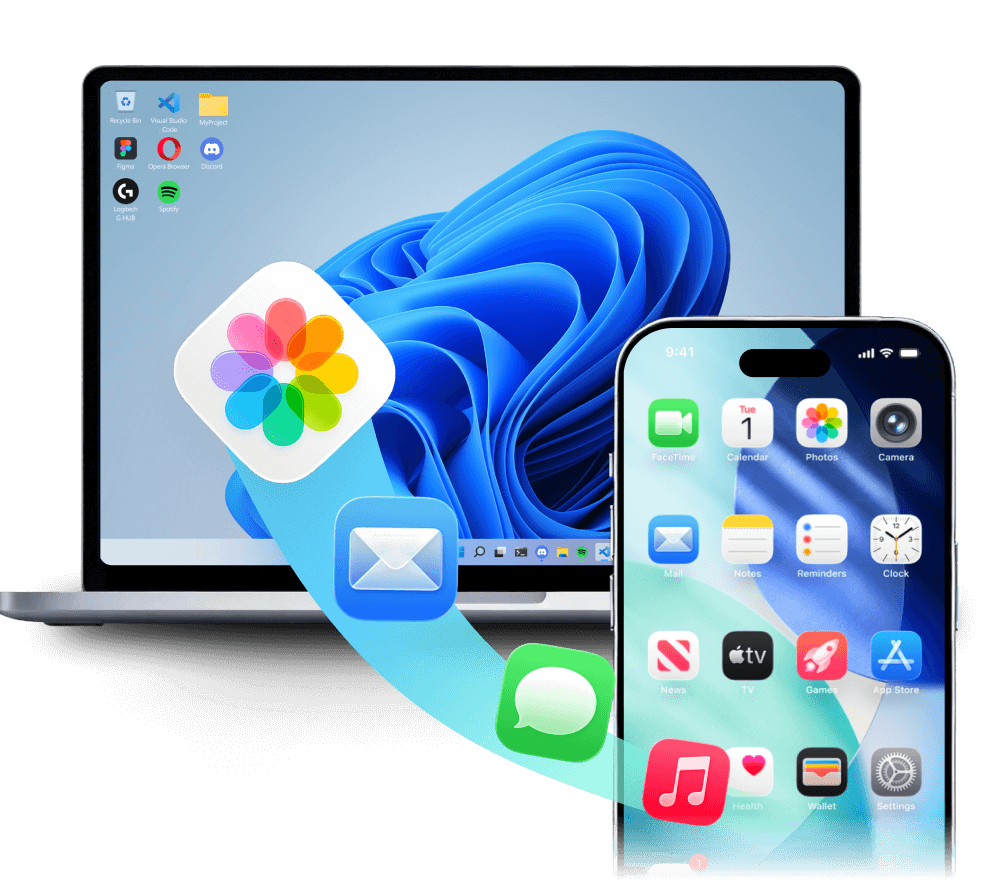
works as an iOS backup and file-management tool for Windows and Mac. It can
back up iPhone data to a computer and manage different types of files
between an iPhone and computer. This option can help when you want a local
copy of your information before How to Set Up & Activate iPhone 18. It
also gives you access to backup records on your computer instead of relying
only on cloud storage.
Key Features of iCareFone
iPhone backup: Back up iPhone data to a Windows PC or Mac
--- a useful safety net before any major change
Data management: Manage photos, contacts, videos, music,
messages, and other supported data --- handy if
Apple Intelligence storage on iOS 27
is eating into your free space.
Backup preview: View available backup information before
restoring supported files.
Selective data handling: Work with specific types of data
instead of treating the entire phone as one file.
Connect your iPhone to the computer with a USB cable. Open iCareFone,
select Backup & Restore, and choose Restore from the available
options. The software will display compatible backup files created with
iCareFone or iTunes.
Choose the backup file you want to use. If the backup is encrypted, enter
the correct backup password first. iCareFone will then extract the
available data so you can review the files before restoring them.
Choose the specific files or data types you want to restore. Depending on
the supported data type, you can restore the content directly to your
iPhone or export it to your computer for separate storage.
Confirm your selected data and start the restoration. Keep your iPhone
connected until iCareFone finishes the process. Afterward, check your
iPhone or computer to make sure the restored files are available.
Part 4. Troubleshooting: When Setup or Activation Doesn't Go Smoothly
Even when you follow How to Set Up & Activate iPhone 18 correctly, a
transfer or activation can sometimes stop. Most setup problems come from
weak Wi-Fi, outdated software, low battery, carrier issues, or an
interrupted connection.
Quick Start or Move to iOS Gets Stuck
If Quick Start stops during setting up a new iPhone 18 from old iPhone, keep
both devices close together and connected to power. Make sure Wi-Fi and
Bluetooth remain enabled. If the Quick Start prompt disappears, Apple
recommends restarting both devices and trying again.
For Setting up new iPhone 18 from Android, make sure Wi-Fi works on the
Android phone and keep both phones near each other during the Move to iOS
process. If you already completed iPhone setup, Apple says you generally
need to erase the iPhone to use Move to iOS again during setup.
"Could Not Activate iPhone" or eSIM Not Detected
If you see an activation error, first connect the iPhone to a stable Wi-Fi
network. Restart the phone and try again.
For eSIM problems, open Settings > Cellular and check whether your mobile
plan appears. Apple also recommends checking network provider settings under
Settings > General > About. If the eSIM still does not activate,
contact your carrier.
These steps can help when you search for how to activate new iphone 18 after
an unsuccessful first attempt.
Data Missing After Restore
Do not erase your old phone immediately after setting up a new iPhone 18
from old iPhone. First check whether the missing information still exists on
the old phone or in your backup.
Check iCloud settings, Photos, Contacts, Messages, and the apps that contain
the missing information. Some content may also need time to download after
you sign in.
If you created a local iCareFone backup, you can preview the backup and
restore supported data when needed.
Final Checklist Before You Start Using iPhone 18
Before you finish How to Set Up & Activate iPhone 18,
check these items:
Your Apple Account is signed in.
Face ID and your passcode work.
Wi-Fi connects correctly.
Your cellular plan appears under Settings > Cellular.
You can make a phone call.
Your important photos and contacts appear.
Your messages and important apps are available.
Find My iPhone is enabled.
Your backup exists before you erase the old phone.
Part 5. FAQs About Set Up & Activate iPhone 18
1. How long do I have to activate my new iPhone 18?
You should activate the phone during the setup process so you can continue
using its cellular and Apple services. Connect it to Wi-Fi or an available
cellular network and follow the onscreen instructions. If you are unsure how
to activate new iPhone 18, complete activation before moving to normal daily
use.
2. How do I know if my new iPhone 18 is activated?
You can check by connecting to Wi-Fi, signing in to your Apple Account,
checking your cellular plan, and making a test call. If the phone connects
normally and your carrier line appears under Settings > Cellular, the
main activation process has worked.
3. Can I set up a new iPhone without transferring everything?
Yes. During How to Set Up & Activate iPhone 18, you can choose to set up
the device without another phone and then manually download apps or restore
selected information later. Apple also provides manual setup when you do not
have another device.
4. What is the first thing you should do when you get a new iPhone?
Charge the iPhone, connect it to Wi-Fi, and keep your Apple Account details
ready. If you are moving from another phone, create a backup first. This
preparation supports the best way to set up a new iPhone and reduces the
chance of losing important information.
5. What should I do if Quick Start transfer fails or freezes?
Keep both phones close, connect them to power, and make sure Wi-Fi and
Bluetooth remain active. Restart both devices if the Quick Start prompt
disappears, then start the transfer again.
If the transfer continues to fail, create a backup of the old phone and use
another supported transfer or restore method.
6. How do I activate an eSIM during iPhone setup?
During setup, follow the cellular instructions and choose the available eSIM
transfer or carrier activation option. If your carrier supports Quick
Transfer, you can transfer the number from a nearby iPhone. You can also use
a carrier QR code when your provider gives you one.
If you are Setting up new iPhone 18 from Android, check whether your carrier
supports Android-to-iPhone eSIM transfer. Otherwise, your carrier may
provide a QR code or activate the eSIM for you.
Conclusion
That's really all there is to
how to set up and activate iPhone 18: prepare first ---
charge the device, confirm your eSIM situation, update your old phone, and
back up your data --- then let Apple's on-screen setup (Wi-Fi, Apple Account
sign-in, cellular activation) carry you through the rest.
Quick Start handles iPhone-to-iPhone transfers; Move to iOS covers
Android-to-iPhone. If you also want a local backup you control outside of
iCloud, Tenorshare iCareFone can back up and manage
supported iPhone data --- photos, contacts, messages, and more --- directly
on your computer.










 iOS Tips & Latest Updates
 Bug Fixes, Unlock Guides
 Giveaways & Freebies



By Jenefey Aaron
2026-09-11 / iPhone 18