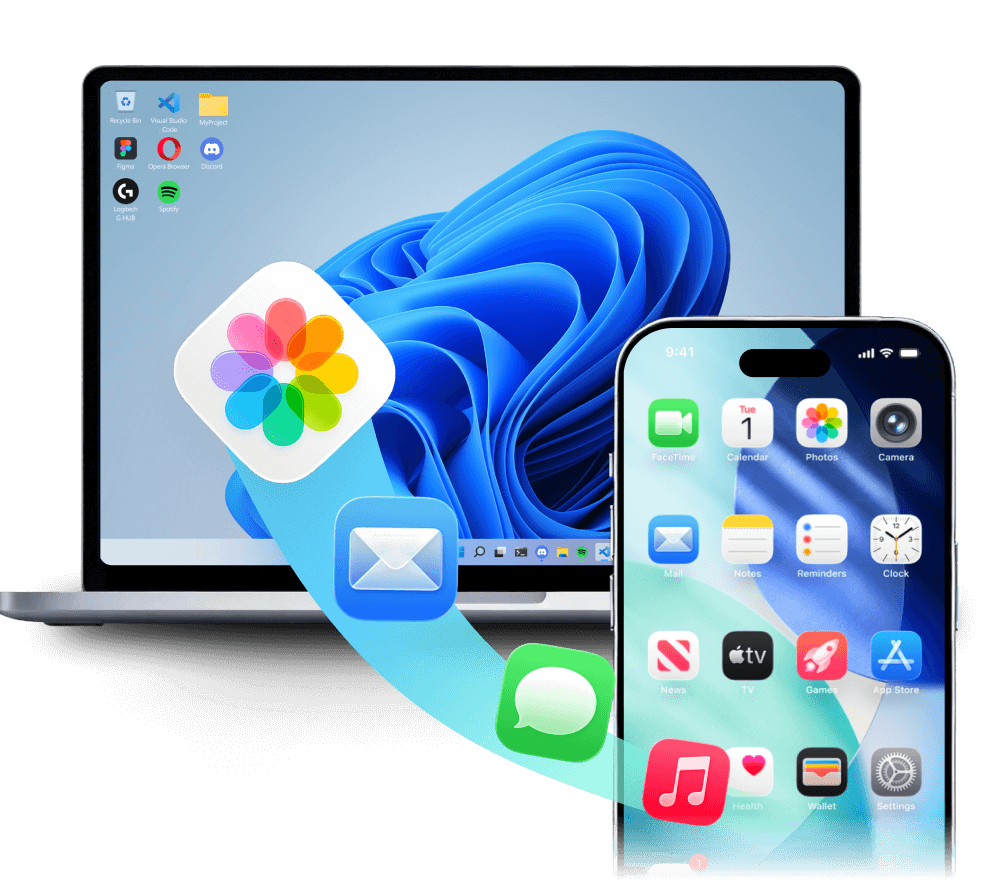
5 Ways to Backup iPhone Pictures to Computer
Well, a few weeks earlier I had to transfer all of my photos to my PC because my iPhone was out of space and there is no way I would delete any of my precious photos. Needless to say, this was the first time for me and I was completely stuck with no idea on how to backup pictures on iPhone. Thankfully, a friend taught me how to use iTunes and iCloud for data backup and also introduced me to other stellar third-party apps and now everything is history. So, now I am basically providing solutions for others like me through this article, I have mentioned official ways like iTunes and iCloud and third-party ways as well. So, let’s get started.
- Part 1: Official Ways to Backup iPhone Pictures
- Part 2: Other Feasible Ways to Backup iPhone Pictures
Part 1: Official Ways to Backup iPhone Pictures
As mentioned, backing up photos is very important and Apple has provided the users with more than one ways to do that. The official way means that the apps are designed and supplied by Apple for that purpose. We all know about iCloud and its outstanding features and there is also iTunes for backing up the whole device. There is another app, it is not well known for its backup capabilities but it can easily transfer photos to other iOS devices, the Photos app. The discussions on the apps are mentioned below:
Way 1: Backup with iCloud
iCloud is one of the best iOS apps ever created. iCloud is able to backup iPhone pictures with its Photo Library feature. And not only does it backup photos, but it also syncs pictures across connected devices. Needless to say, it is safe, simple, and widely used by people all over the world. If you want to know how to backup pictures to iCloud then read the instructions below:
1. Install iCloud on your computer.
2. Run the app and sign-in to your iCloud account.
3. Now, enter iCloud and go to “Photos”.

4. Activate the iCloud Photo Library option.
5. Now, on your iPhone, run Settings and then go to Photos & Camera.
6. Finally, activate the iCloud Photo Library feature.
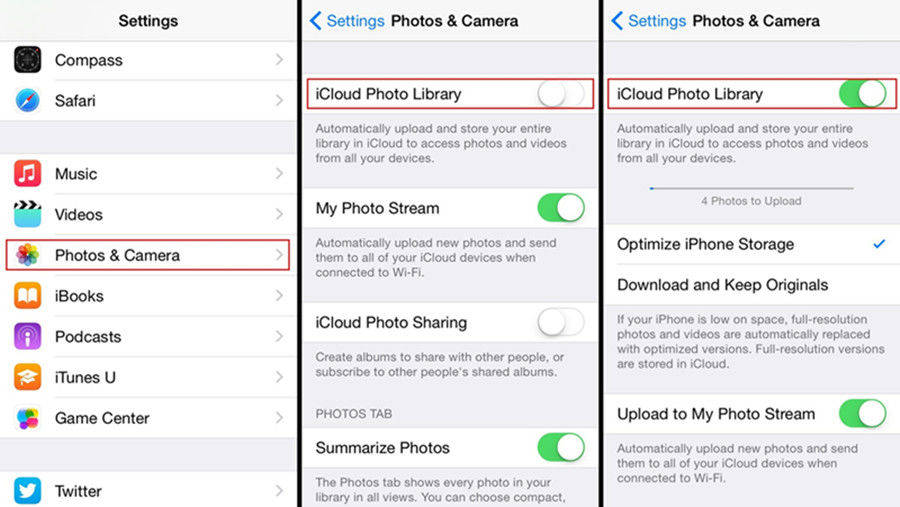
All of your photos will be synced automatically. Most users choose iCloud to backup photos because it is so simple and reliable. This same method is applicable for both Mac and Windows PC. But iCloud only comes with 5GB of free storage space and that is something very low when you think of the image file sizes nowadays. You can buy more storage but it isn’t cheap. Plus, it completely depends on good data or Wi-Fi connectivity.
Way 2: Backup with iTunes
Another app developed by Apple is iTunes. This app is also capable of creating backups but it works differently. iTunes is not able to create backup selectively at all. It will create the backup of the whole device along with your total data and then save it on your computer. The backup file is encrypted and it is not accessible too. So, If you want to access only your photos from this backup file, you are not allowed to do it. You will only be able to use it if you restore the backup file on your iPhone again. The same method can be applied for both Mac and Windows PC.
If you are not sure how to backup iPhone pictures to computer with iTunes, read below,
1. Install the latest version of iTunes on your computer.
2. Connect iPhone and the computer with USB cable. The app will be launched immediately.
3. Click on the device icon on the iTunes panel.
4. Go to Summary.
5. Navigate to the Backup section and select the Back up now option and then click Done.
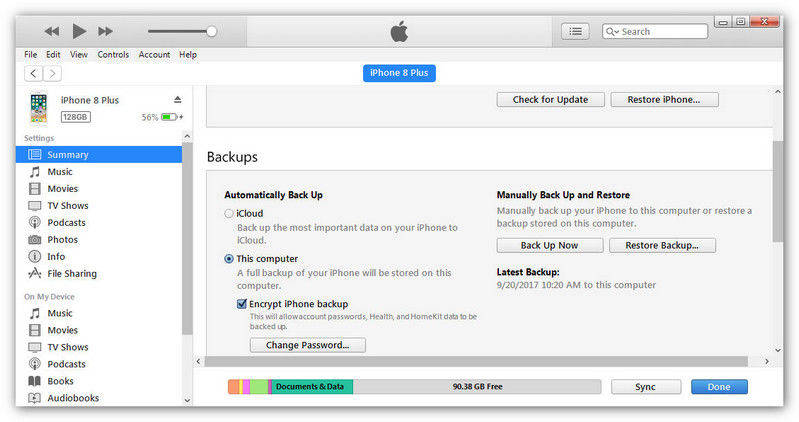
Unfortunately, as stated above, this is a complicated process and comes with various limitations. Nonetheless, it works and when it comes to backing up data, it is somewhat useful if you ignore the disadvantages.
Way 3: Backup with Photos App
Unlike iCloud and iTunes, Photos App is not actually able to backup photos to a cloud account or simply create a backup file. Photos App was designed to transfer your photos to one device to another. So, basically, it is a photo transfer that is helping in the whole backing up process. The steps to use Photos App are mentioned below,
1. Connect the iPhone to your Mac with USB cable.
2. Run the Photos App on the Mac.
3. Click on the Import option on the left of the Photos App panel.
4. Then click on iPhone and choose the photos.
5. After that click on Import on the top.
6. Then imported photos will be visible on the All Photos Album.
As you can clearly see, transferring photos with Photos App is very simple. Unfortunately, this app is specifically designed for iOS devices, so you can only backup photos to your Mac or other iOS devices.
Part 2: Other Feasible Ways to Backup iPhone Pictures
Now, those were the official ways to backup your photos but there are also other reliable ways to do the same task without even using the official apps like iCloud and iTunes. There is a third-party cloud service called Dropbox, it works a bit differently than iCloud but it is efficient. Finally, there is Tenorshare iCareFone, also a third-party app which can basically backup your whole iPhone but selectively with 1-click operation.
Way 1: Backup with iCareFone
If you are not really a fan of Apple certified apps and you also have no idea how to backup pictures from iPhone to PC, we suggest you should use Tenorshare iCareFone to backup your photos. It is a very trust-worthy software with a simple interface, which enables you to backup data efficiently. It is available for both Mac and Windows and it works very effectively on both. The main advantage of iCareFone when it comes to backing up photos or any data is that you can selectively choose which file you want to back up and then go for it. Also, the backup is extremely fast and it features 1-click backup too. Here are the steps:
1. You need to begin by downloading and installing the software on your computer.
2. Connect your device with iCareFone and choose the Backup and Restore option.

3. On the top of the next panel “Select All” option will be checked by default.
4. Uncheck that and select only Photos under the Media Data tab.
5. Lastly, click on the Backup option below.

6. You can View Backup Data to preview backed up photos.
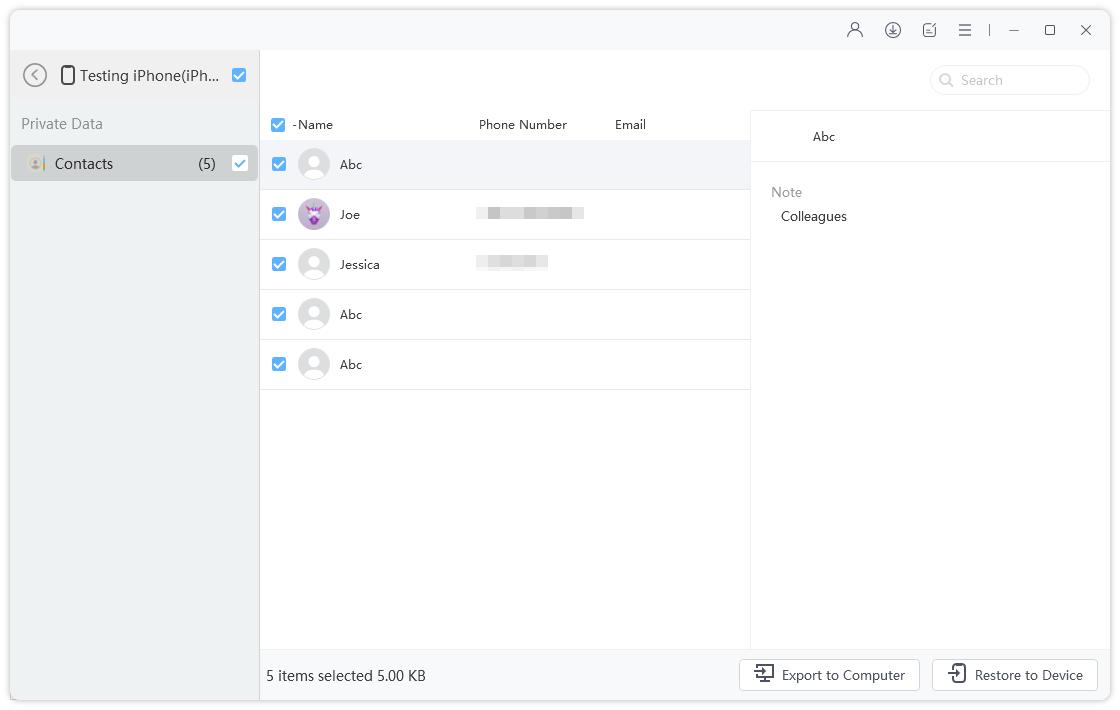
You can see that it is very simple to backup photos with Tenorshare iCareFone. It is fast, efficient and is able to back up any form of data selectively. Don’t miss the amazing program!
Way 2: Backup with Dropbox
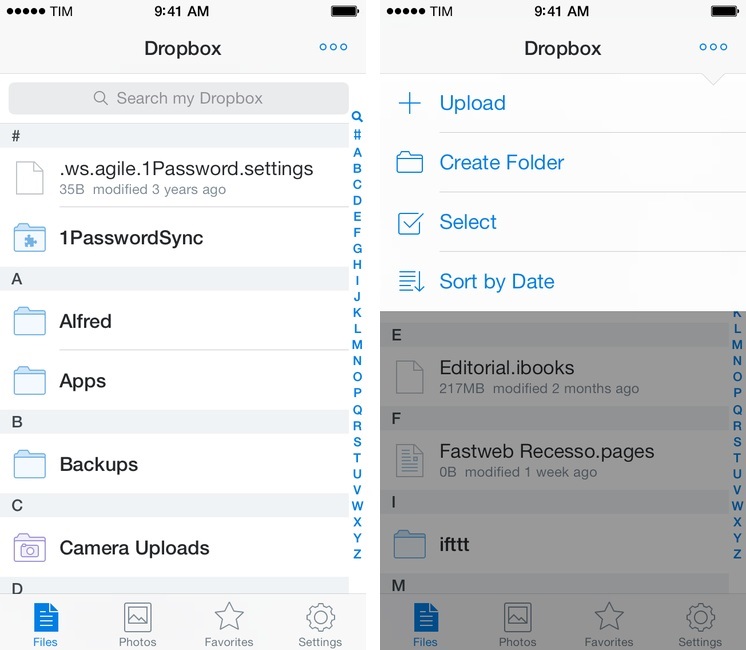
As mentioned earlier, Dropbox is a cloud service. There are a lot of people all over the world that uses this app for backing up their photos. There is a free and a paid membership, both are efficient just the paid one provides more cloud storage. Like other cloud services, this is also dependent on Wi-Fi but it is somehow a bit easier to operate and execute. The procedure to backup iPhone pictures to PC is mentioned below:
1. First, download and install Dropbox cloud service on your iPhone. Create an account.
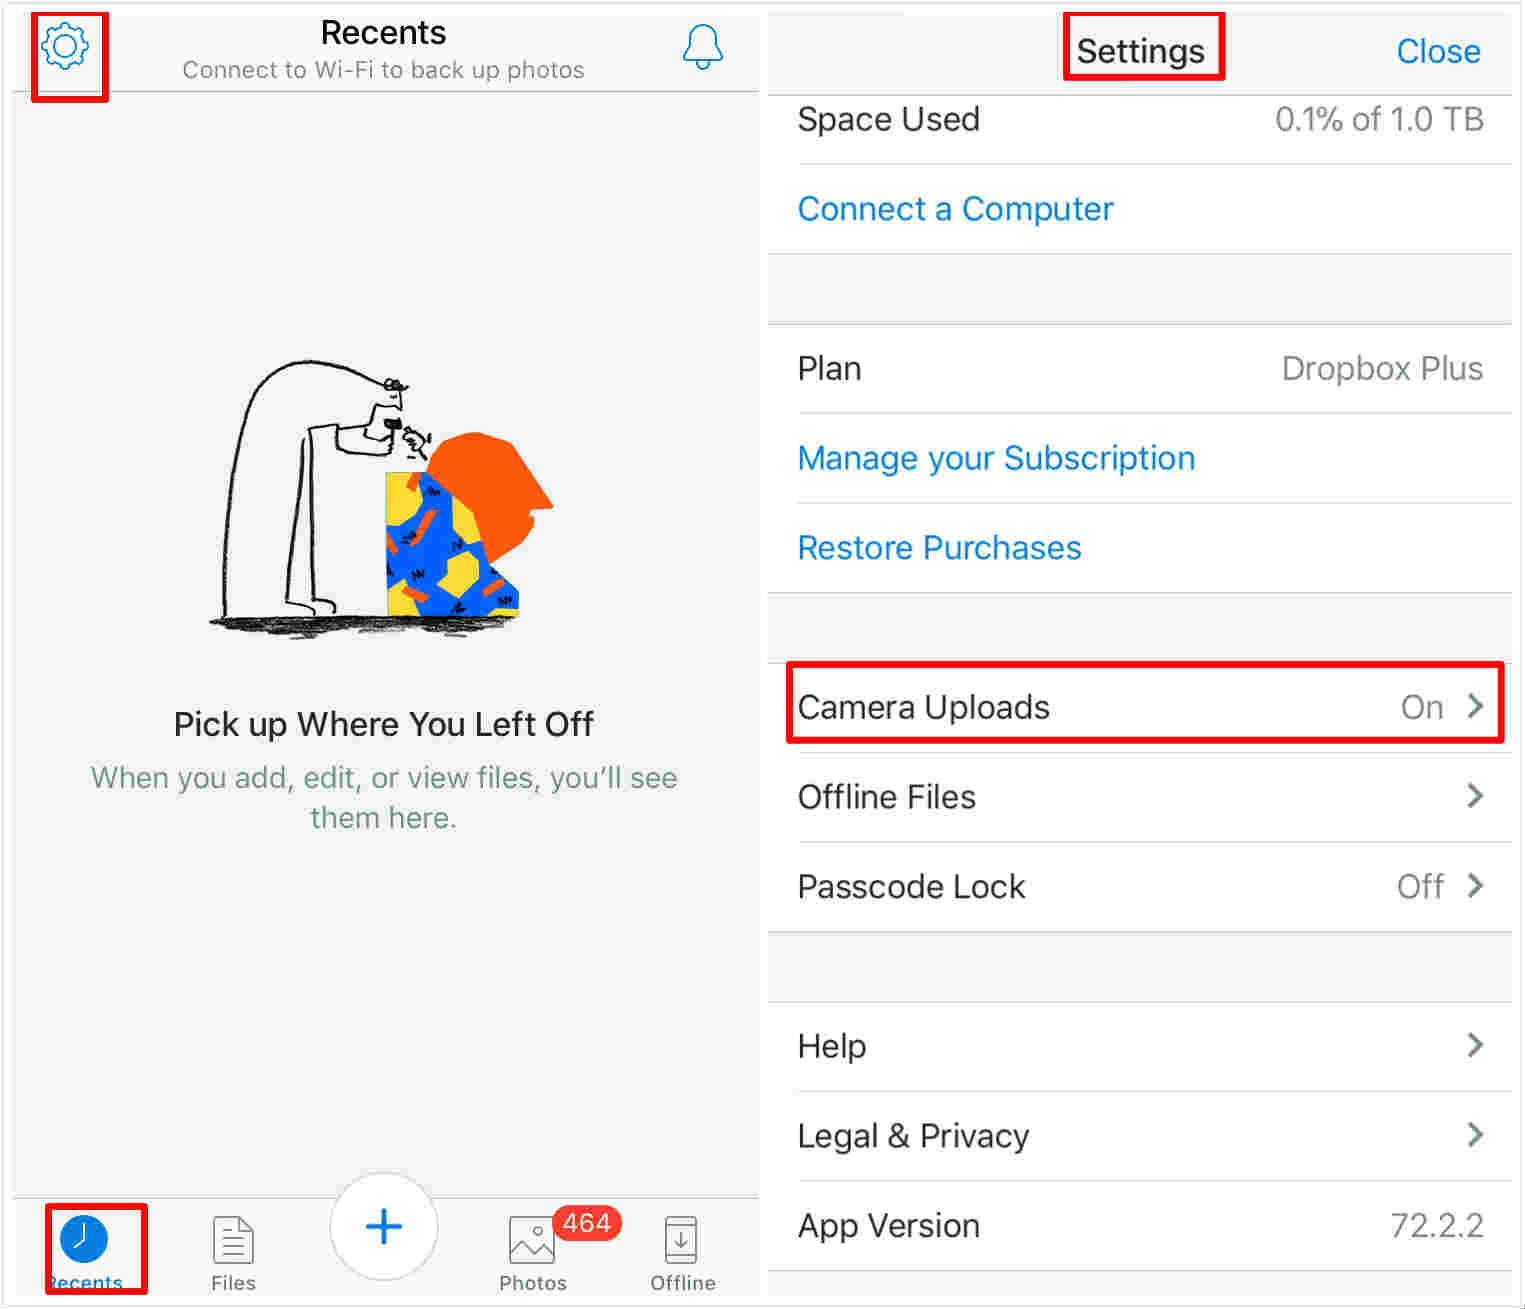
2. Open Dropbox and tap Settings. Turn on Camera Uploads here.
3. Now, whenever you are inside a Wi-Fi network, your photos will be uploaded automatically to your Dropbox account.
4. Now, go to your PC and open your Dropbox account from your browser.
5. Now, download the files from the cloud storage by choosing the required photos.
Mostly users prefer Dropbox because of its simplicity. It is reliable, fast and works on both Windows and Mac. The procedures are also the same.
Conclusion
Basically, there are more than a few ways to efficiently backup photos from iPhone to other devices but mostly users go for official options such as iCloud, iTunes or Photos App. There is no doubt that all of these apps are good and they will backup your photos efficiently. But now you have other third-party options such as Dropbox and Tenorshare iCareFone which are better in terms of everything. Dropbox is also a cloud service similar to iCloud but as discussed above it is different. Tenorshare iCareFone is a free app that will backup any data within just a few clicks. I highly recommend this software to you as it is the best in the business and it is leagues ahead from other apps here in this article when it comes to overall performance and effectiveness. Go for it!
Speak Your Mind
Leave a Comment
Create your review for Tenorshare articles

Tenorshare iCareFone
Best Free iPhone Transfer & iOS Backup Tool
Easily, without iTunes


