How to Recover Photos from Disabled iPhone
A broken or disabled iPhone can present a lot of challenges, one of which is how to get the device fixed so it is working normally. But even more important is what to do about the data on the device. If you cannot access the photos on your iPhone, it can be nearly impossible to recover them.
Therefore to recover deleted photos from a disabled iPhone XS/XS Max/XR/X/8/8 Plus/7/7 Plus/6S/6/SE/5s/5, you need to have a system and tool designed for that task. This article provides you with both.
- Part 1: How to Recover Deleted Photos From Disabled iPhone
- Part 2: Tips on How to Fix a Disabled iPhone
Part 1: How to Recover Deleted Photos From Disabled iPhone
One of the only effective tools to help you recover deleted photos from a disabled iPhone is Tenorshare UltData. Even though you can't access or use the device, this program can still get the deleted photos from your iTunes and iCloud backup. It goes without saying that you can only use it to recover photos that were included in a backup.
But this is crucial since you may not be able to restore an iCloud or iTunes backup to a disabled iPhone anyway. That said, here's how you can use Tenorshare Data Recovery to recover the photos from both iTunes and iCloud Backups.
Retrieve photos from disabled iPhone from iTunes backup
Begin by installing the program to your computer, launch it and then follow these simple steps;
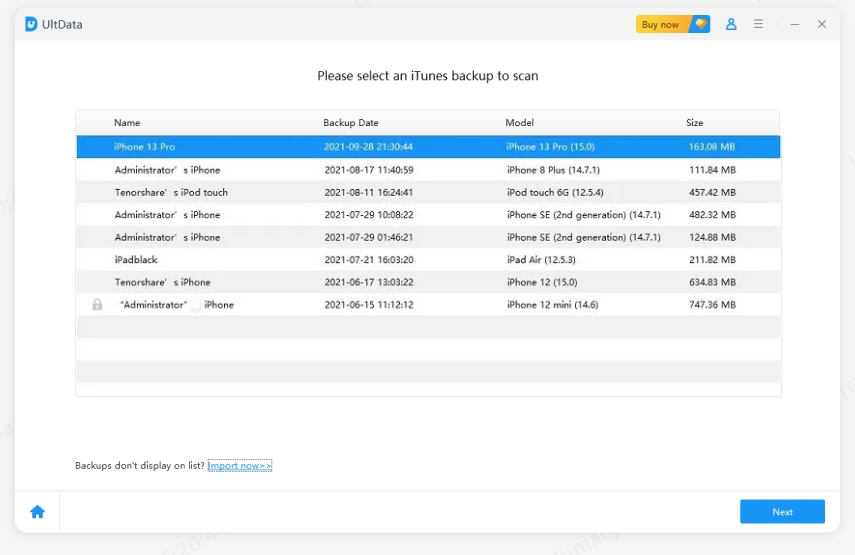
Step 1: In the main interface, select "Recover from iTunes Backup File" to bring up a list of all the iTunes backups you have on your computer.
Step 2: Choose a backup that contains the photos you want to recover and then click "Start Scan"
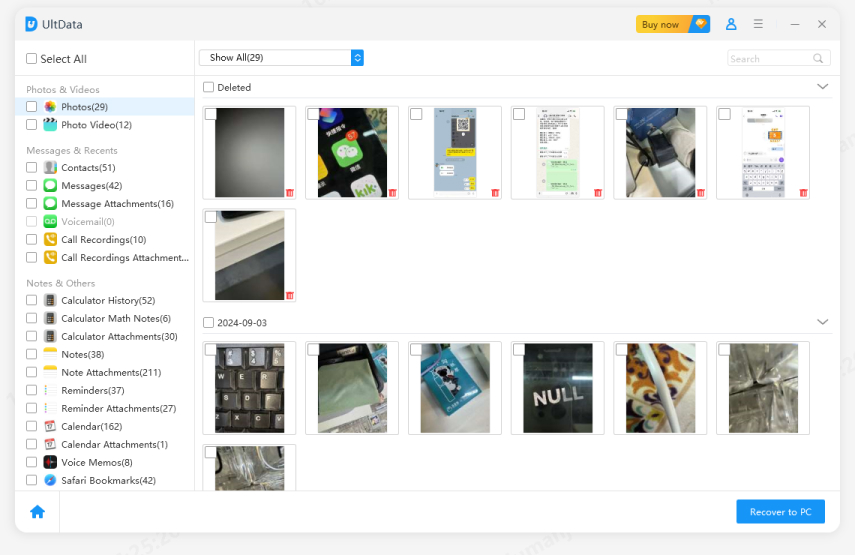
Step 3: The program will begin to scan the chosen backup and when the scan is complete, you should see all the data in that backup file on the next window. Select the photos you want to recover and click "Recover."
Recover Pictures from Disabled iPhone from iCloud Backup
In much the same way, you can use Tenorshare to recover the photos from an iCloud backup. Here's how to do this exactly;
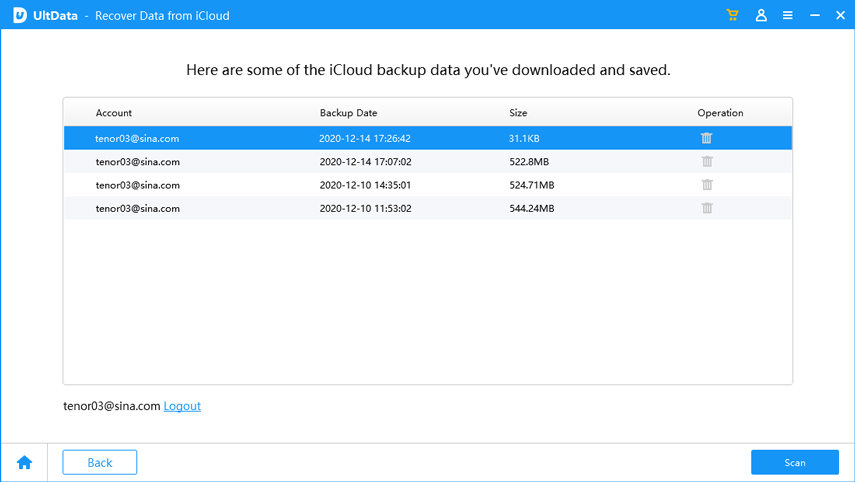
Step 1: In the main window, click on "Recover from iCloud Backup File" and then sign in to your iCloud account to see your iCloud backup files.
Step 2: Select one of the backups and then click "Next" to download it. Next, click "OK" to scan the backup file you selected.
Step 3:In the resultant window, you will see all the data in that backup file. Select the photos you need and then click "Recover" to save them to your computer.
Part 2: Tips on How to Fix a Disabled iPhone?
Then next logical step would be to figure out how to fix the iPhone so that you can transfer the photos back on to the device and continue to use it. One of the ways you can fix a disabled iPhone is through iTunes.
Please Note that this method will only work if you know your passcode and you had recently backed it up to iTunes.
Follow these simple steps to fix the iPhone;
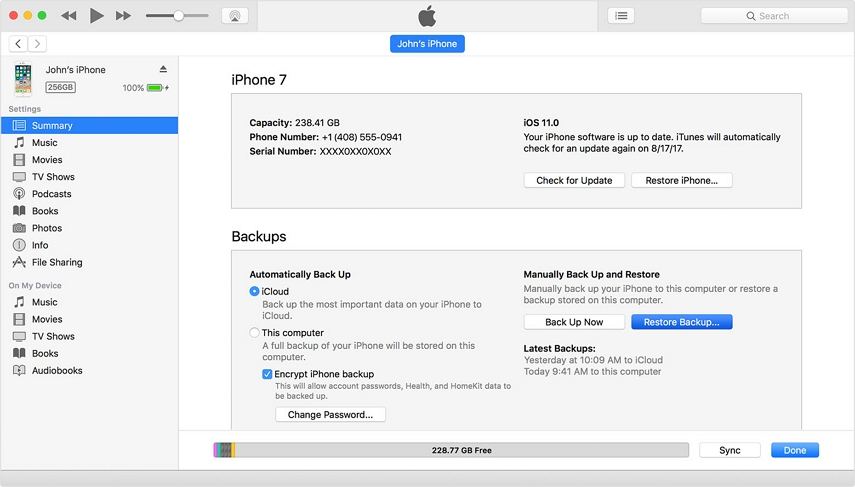
Step 1: Connect the iPhone to the computer and launch iTunes if it doesn't open automatically.
Step 2: Click on "Sync" and enter the passcode when requested. This will back up the iPhone to the computer.
Step 3: Click "Restore iPhone" and wait for the process to be completed.
If you don't know your passcode, you may need to erase all the data using recovery mode before you can fix the device.
Another way you can fix the disabled iPhone is to use Tenorshare 4uKey. This is the ideal tool to use when you don't remember your passcode and can't afford to lose all the data on your device if you reset it. It can be used to fix a device that has been disabled as a result of a forgotten password, an iPhone that is disables after typing in the wrong passcode too many times and an iPhone that won't restore in iTunes among others.
Summary
You can now easily recover photos from a disabled iPhone easily and quickly. Let us know how your device got disabled and whether you've been able to fix it or not.
Speak Your Mind
Leave a Comment
Create your review for Tenorshare articles
