then write your review
ReiBoot for Android-Best Android System Repair Tool
Fix 50+ Android issues & Free Enter/Exit Recovery Mode
Best Android Repair Tool
Fix 50+ Android issues, No Data Loss
On a rooted Android device, you can easily enjoy more powerful apps, improve battery life, custom ROMs as you like. That's why so many people look for ways to root their Samsung Galaxy S7/S7 Edge device. In this article, we will show you how to root Samsung Galaxy S7/S7 Edge with Android version 10, Pie, Oreo, Nougat or Marshmallow.
Here are a few things you should be aware of before you take below steps:
Tip: If you didn’t make a backup and lost data on Samsung galaxy after root, don’t hesitate to try Samsung Data Recovery to get back the deleted data (messages, photos, videos, contact and more) on Samsung Galaxy.
Also Read: How to Recover Data from Samsung Galaxy.
After everything is prepared, you can follow steps below to go through the Samsung Galaxy S7/S7 Edge rooting process.
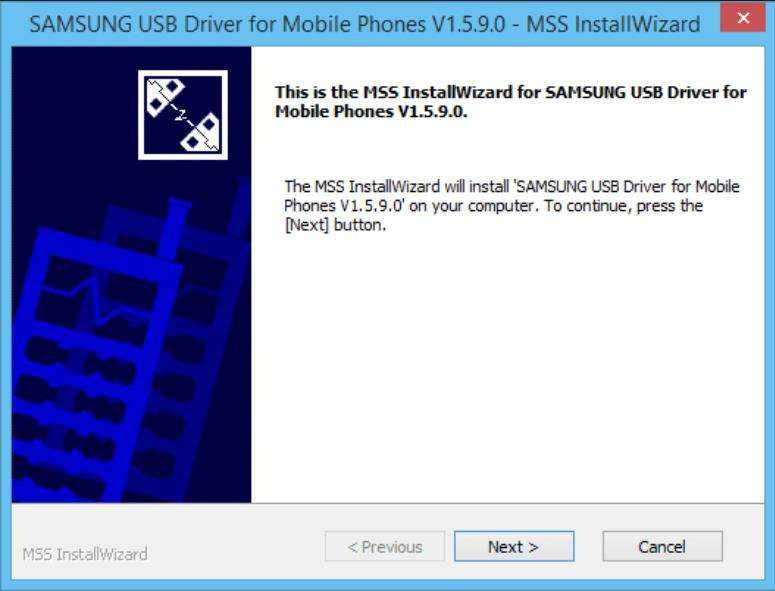
Download the Android USB driver for you GS7/GS7 Edge from Samsung Developerswebsite. Install it on your PC after downloading.
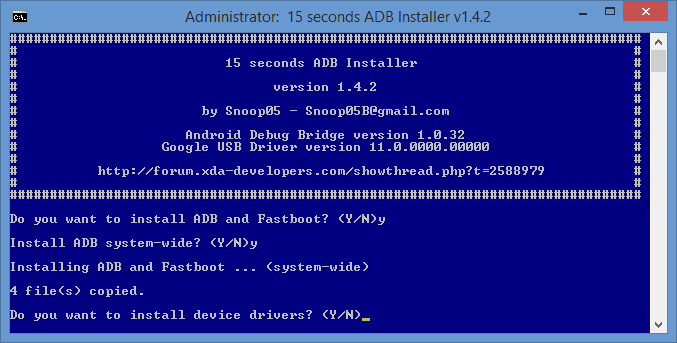
Download the 15 second ADB Installer.
Finally, restart your PC to make sure it’s installed.
Download CF Auto Root that contains Odin EXE file and rooted boot image (ended with.tar.md5).
Now run the EXE file as administrator and install it on your desktop so that you can quickly locate it.

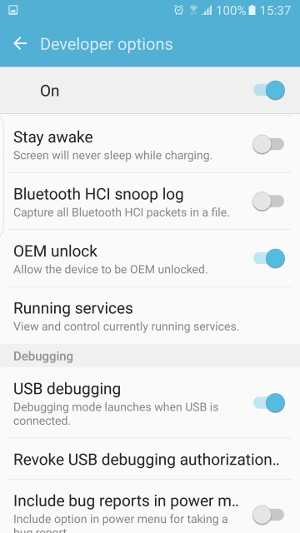
Let’s go back to the Galaxy S7 or S7 Edge and change some settings for a root.
Tap back and select Developer Options and turn on OEM unlock and USB debugging.
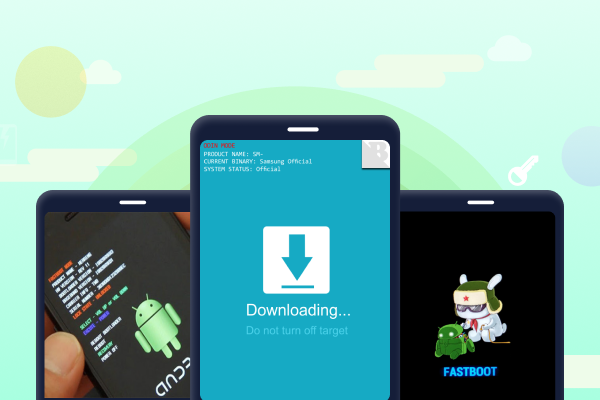
If you don’t know enter download mode, you can use a free tool – ReiBoot for Android to guide you how to boot into download mode. It is a useful Android tool that not only help you get into download mode but also help you fix a lot of Samsung device issues such as Samsung phone stuck in odin mode, fix galaxy S7 black screen, unfreeze a frozen Samsung tablet/phone.
Connect your Samsung phone to computer with the USB cable.
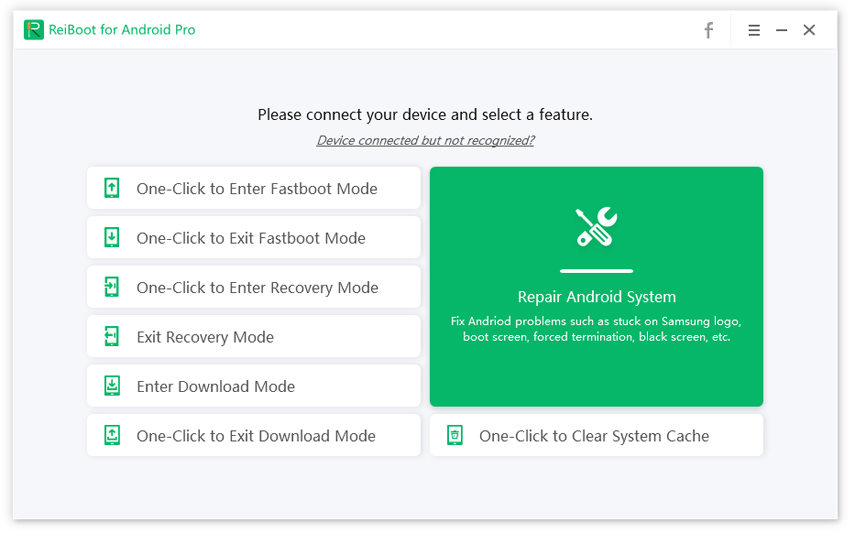
Choose your device brand and then follow the onscreen steps to enter download mode.

When you see a message saying Leave CS on Log tab, click Start button to root your Samsung phone.
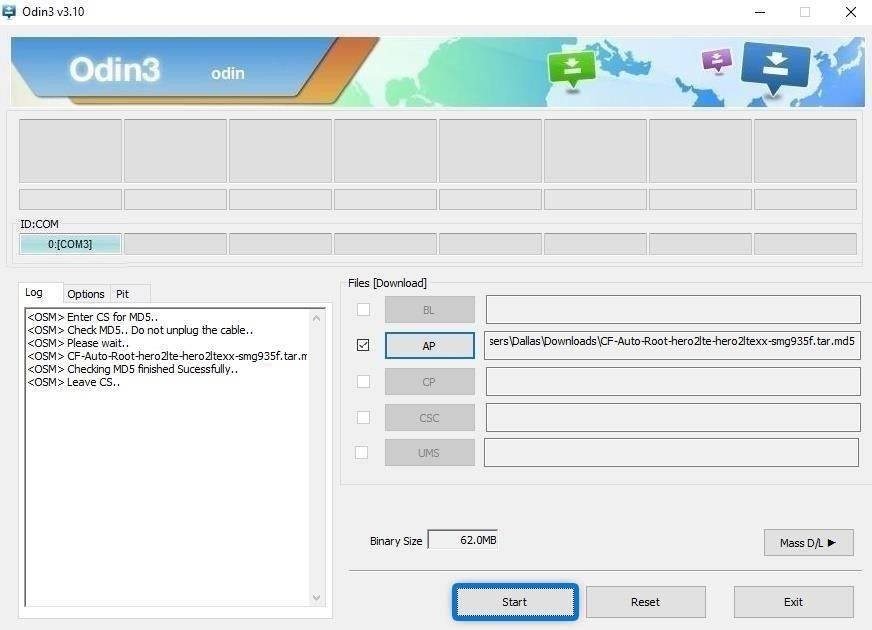
Download and run Root Checker app to verify whether the device has been fully rooted or not. If you are prompted with "Congratulations! Root access is properly installed on this device!", IT means you did everything right.
That’s all about how to root Galaxy S7/S7 Edge on Android 10, Pie, 8.0 Oreo, 7.0 Nougat, 6.0 Marshmallow or lower versions. Note that the rooting process isn't easy, so read the guide carefully before you start. In case that your Samsung get stuck during/after rooting, get ReiBoot for Android to help you repair all Samsung stuck issues.
then write your review
Leave a Comment
Create your review for Tenorshare articles
By Jenefey Aaron
2026-01-05 / Android Root