
then write your review

Cleamio: All-in-One Mac Cleaner & Optimizer
Clean junk files, free up space, and boost Mac performance
No.1 Mac Cleaner & Optimizer
Clean, speed up, and optimize your Mac
Have you ever searched your Mac for a file you know exists, only to find nothing? That’s often because macOS hides certain system and configuration files by default. This guide teaches how to show hidden files on Mac Sequoia, Tahoe, and other versions quickly in 4 ways.
It can help you troubleshoot issues, access advanced settings, or manage storage more effectively without risking system stability when done correctly.

The fastest and most used way to display hidden files in Finder macOS is through a simple Finder keyboard shortcut. This method works instantly and does not permanently alter system settings unless you want it to.
Shortcut: Command + Shift + Period (.)
Best For:
When to Use: Use this shortcut when you need a fast toggle without using Terminal or installing extra tools.
Open the "Finder" and navigate to any folder (such as Macintosh HD, an external drive, or a USB drive).
Press “Command + Shift + Period (.)”

Hidden files will appear, and you can press the shortcut again to hide them.
The shortcut itself is session-based, and the hidden files remain visible until Finder restarts. For permanent visibility, use the Terminal method in Part 2
If the Finder shortcut doesn’t fit your needs, macOS provides other reliable ways to view invisible files, ranging from built-in navigation tools to visual third-party apps.
This method lets you jump straight to hidden folders if you already know the file path. However, this method is not useful at all if you do not know the exact location of the hidden files.
Steps:
Below is a quick trick to view invisible files on a Mac:
Open Finder and click “Go” in the top menu.
Select “Go to Folder” and enter the file path (e.g., ~/Library), then click “Go".

This is the best method if you want hidden files to be always visible by default.
Steps:
Here is how you can always show hidden files on a Mac:
Open Terminal by pressing “Cmd + Space" and searching for "Terminal," then opening it.
Run the command “$ defaults write com.apple.Finder AppleShowAllFiles true”
Run the command “$ killall Finder”

Now, you will be able to see all hidden files by default.
Although this method unhides the hidden files, it can also be a privacy/security threat if your Mac is accessible by multiple users.
Funter is a Finder-style app that visually displays hidden files without Terminal commands.
Steps:
If you want to see hidden files in your Mac's external drive or internal drive, here are the steps to do that with Funter:
Download and install Funter and launch the app

Open Funter menu from the top bar, toggle “Show Hidden Files," and browse hidden files visually.
This might be the best approach for an average user who does not care much about their file privacy and integrity, especially when only they themself are using the Mac.
In most cases, hidden files don’t appear because Finder hasn’t refreshed, permissions are limited, or the files are stored in system-protected locations.
Try these steps in order if you want to view hidden files on a Mac:
Use Go > Go to Folder (Command + Shift + G).
Restart Finder (Option + Right-click Finder > Relaunch).
Check file permissions via “Get Info”.
Confirm the drive is mounted properly.
Restart your Mac.
These steps resolve most hidden-file visibility issues without advanced tools.
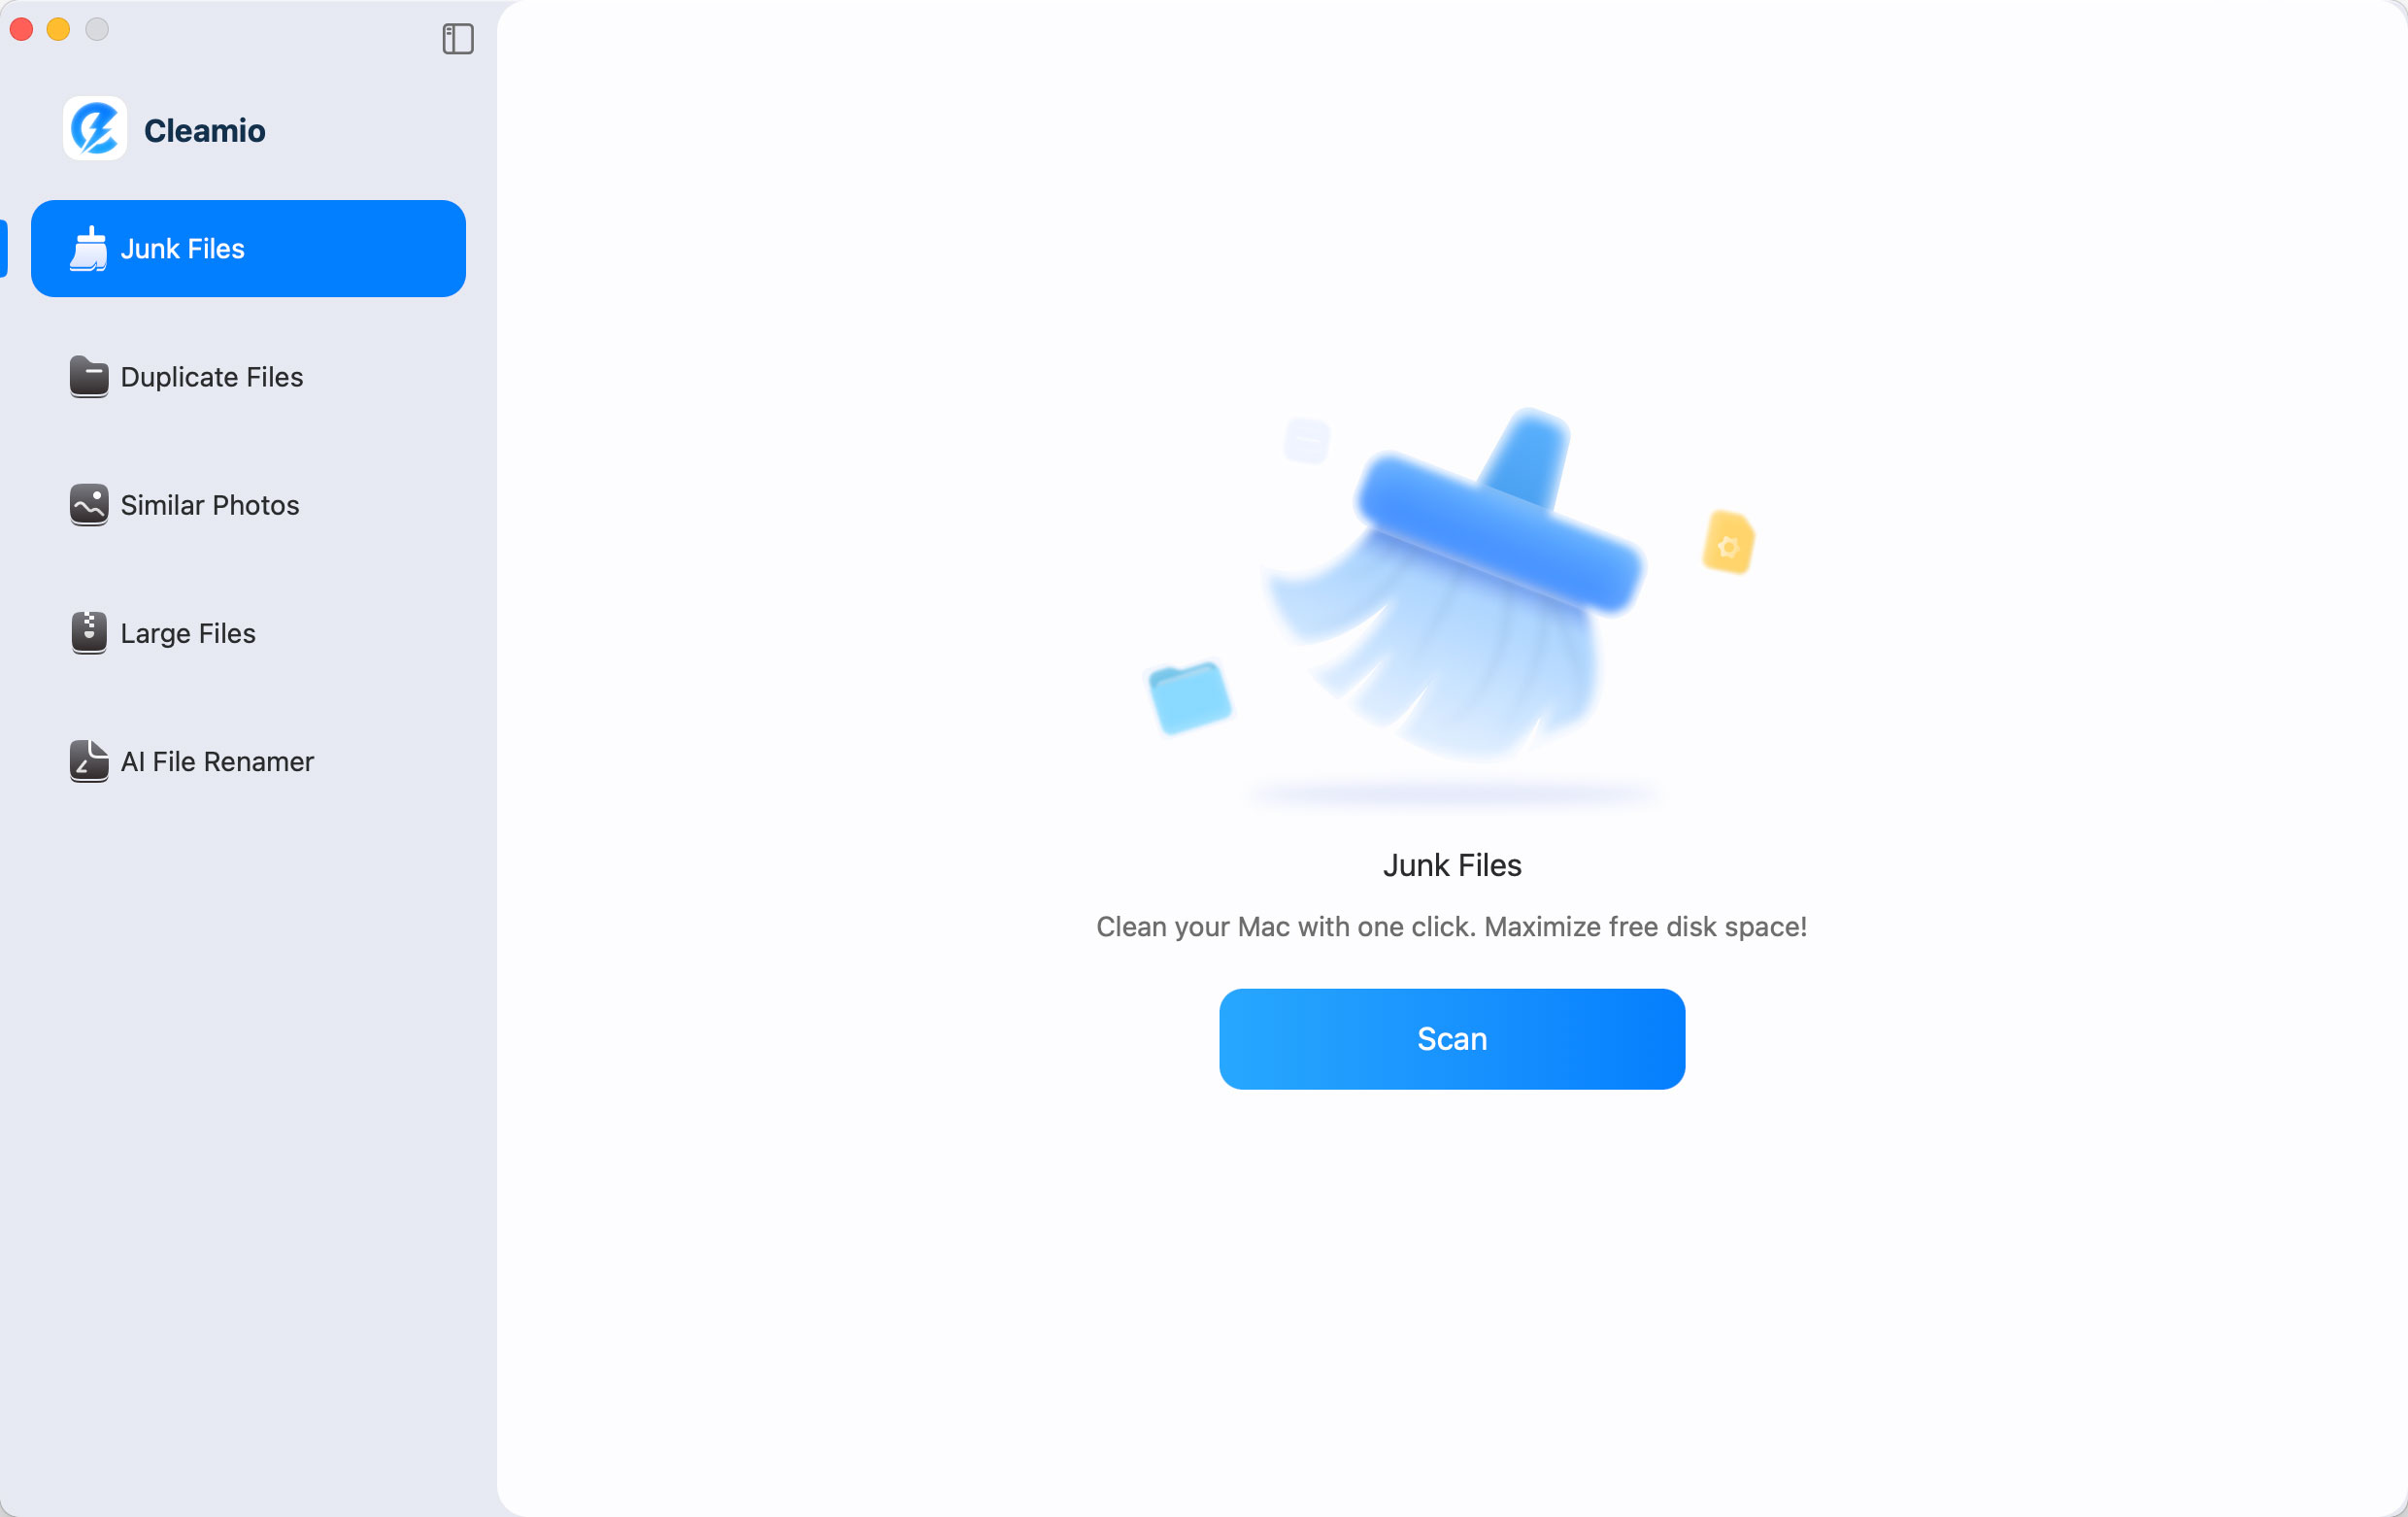
Sometimes, hidden files surface when you’re cleaning your Mac, not when you’re actively searching for them. This is where a professional Mac cleaner can help. Tenorshare Cleamio is an all-in-one Mac cleaning and app management tool that can surface hidden files during junk scans and app leftover removal without risking system damage.
Cleamio automatically lists certain hidden files and folders during scans, including:
However, Cleamio does not allow deleting protected system-level hidden files, reducing the risk of accidental damage.
Method 1:
Download and install Tenorshare Cleamio on your Mac and launch it. Now, go to the "Junk Files” section and click “Scan” to begin scanning your Mac.
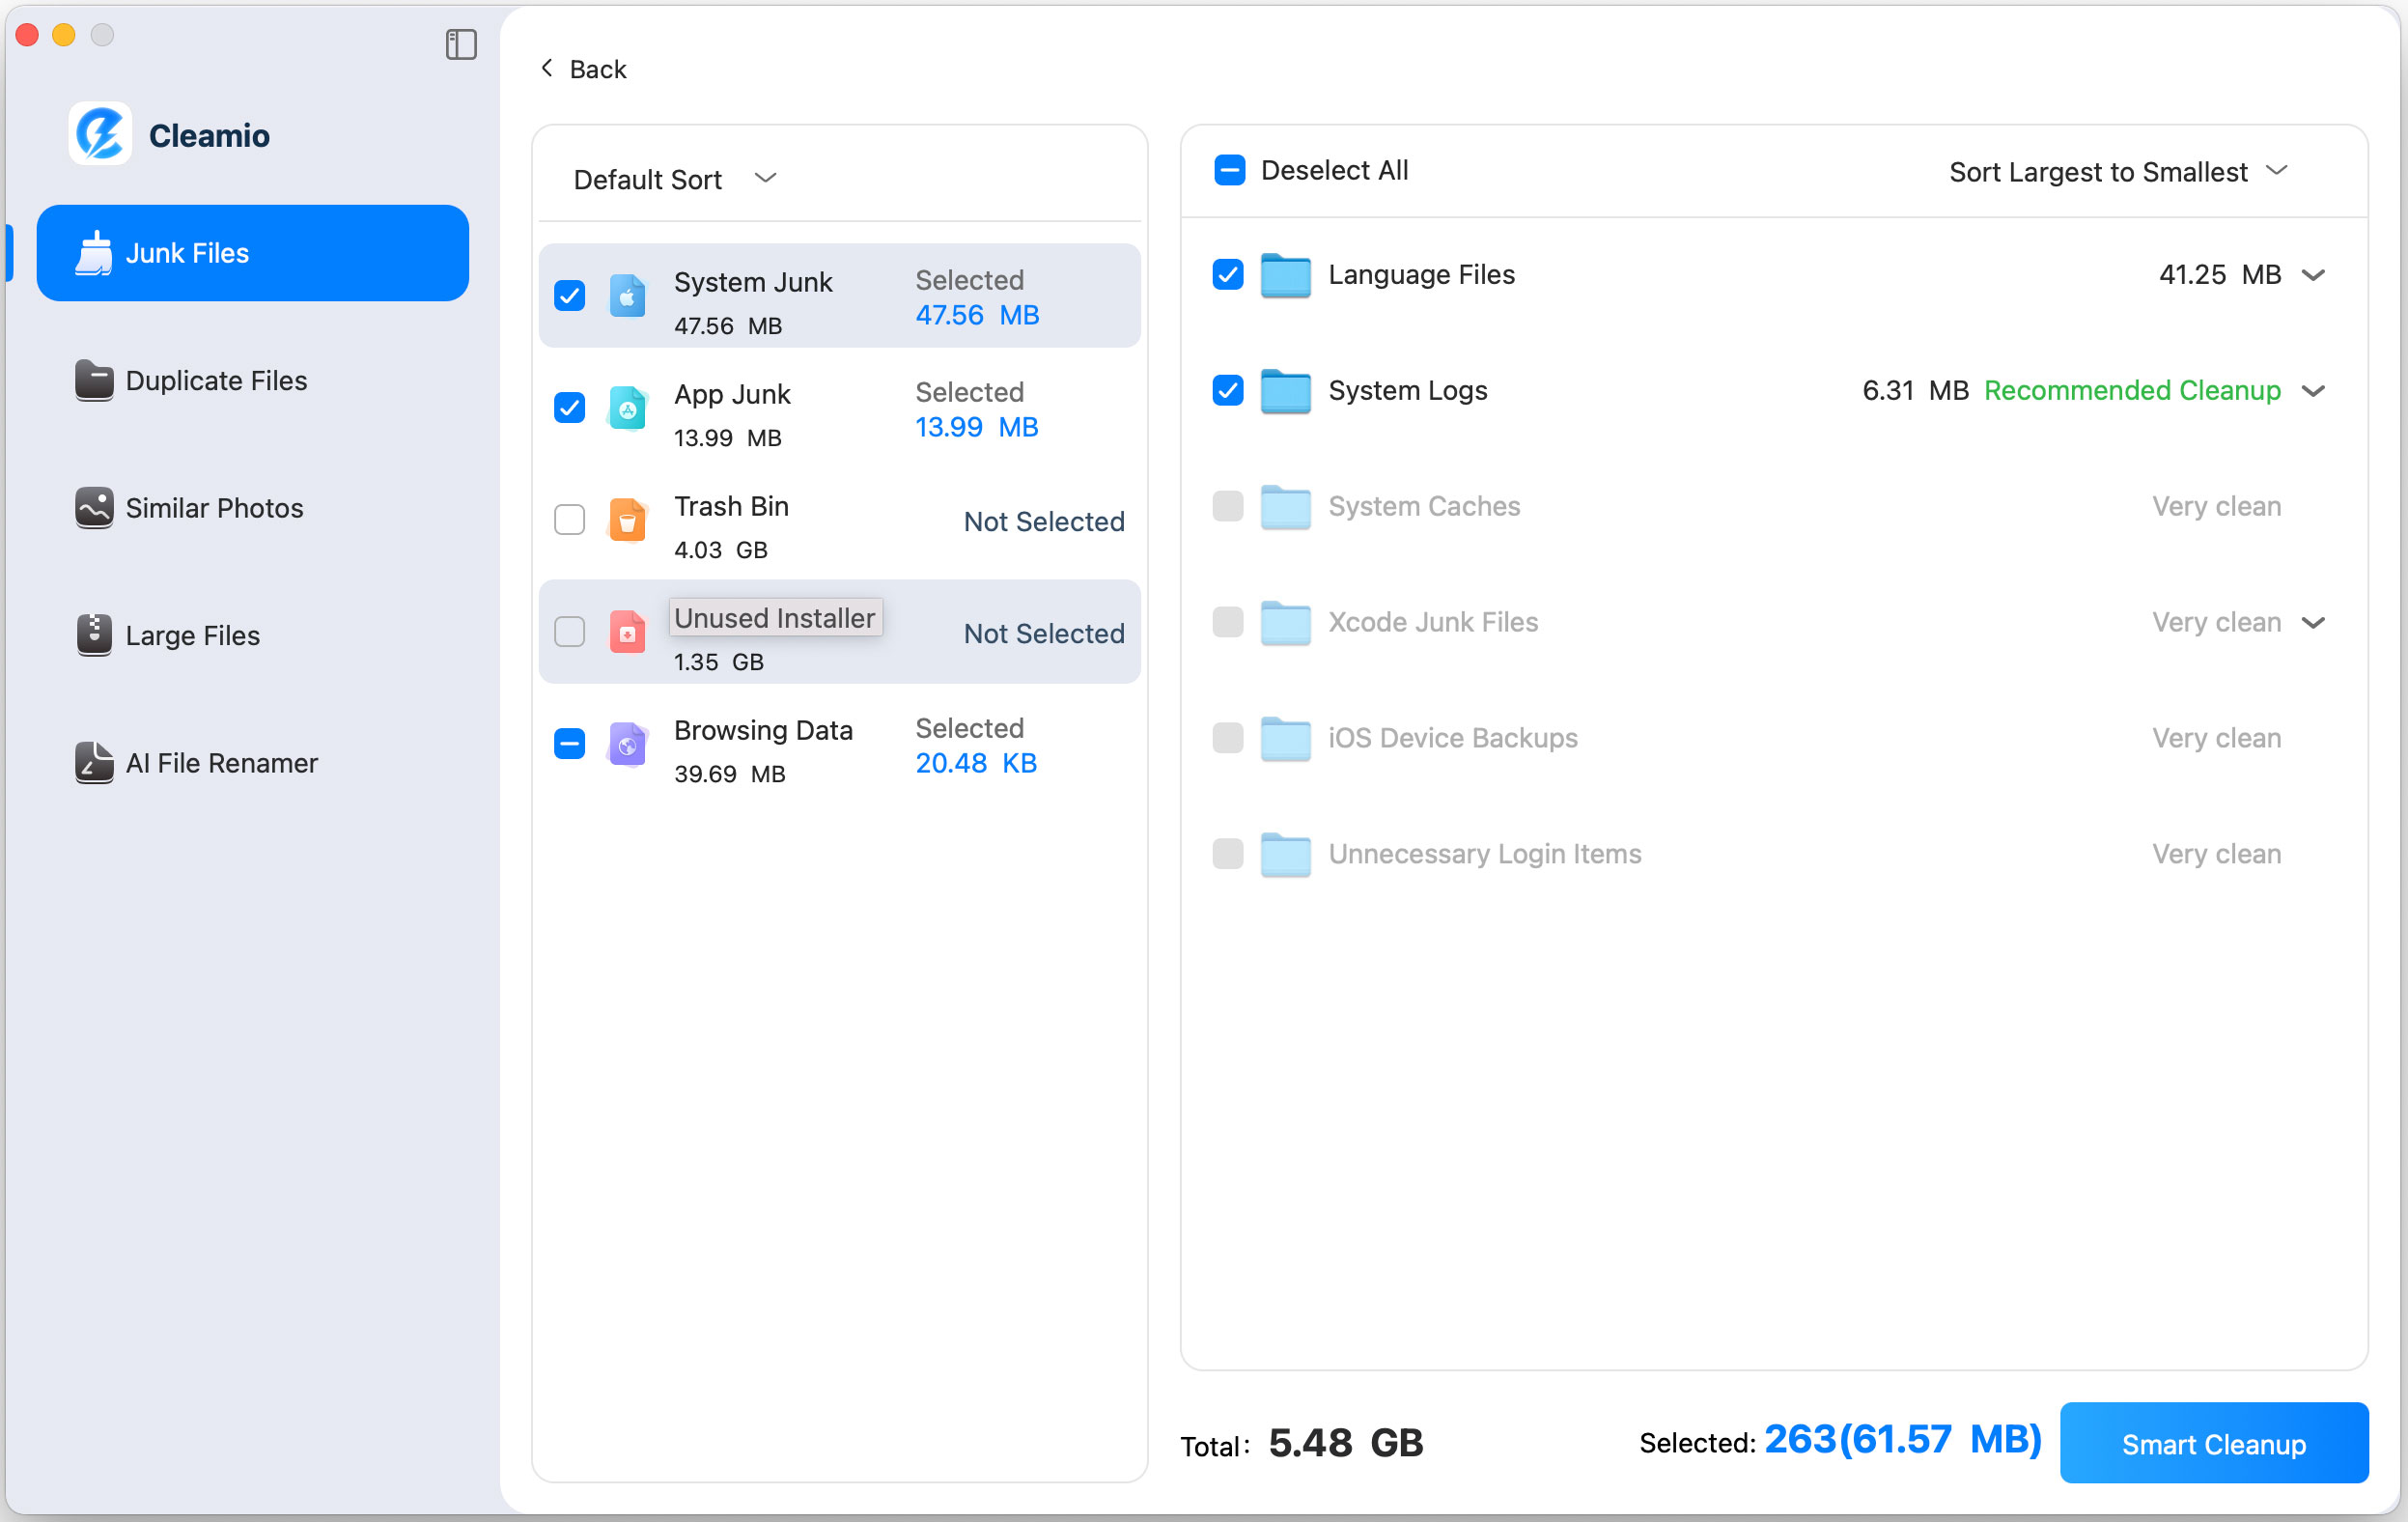
After the scan is complete, you can check all the Junk Files found on your Mac, and you can check them with their folder names or their file types. Expand each item and you can find detected hidden files. Choose them and click “Smart Cleanup”.
Method 2:
Now, go back to the Cleamio home interface and click "App Management" and click "Start."

Go to the "Residual Files" section, and you can see all the leftover files (including some hidden files) with the user-friendly Cleamio interface.

In this way, you can easily find any hidden files that won’t show in Finder otherwise, making it very easy and, more importantly, safe for an average user. The best thing about Cleamio is that it does not support deleting any system files, so you can be sure about the integrity of your system.
Use Terminal commands, Go to Folder, or a third-party tool like Funter or Tenorshare Cleamio.
You can use the terminal command “$ defaults write com.apple.Finder AppleShowAllFiles true" to make hidden files always visible by default on macOS. These files will remain visible even after you restart the Finder.
Reveal them first using Finder shortcut or Terminal, then open them like normal files.
No. The Finder shortcut and Terminal commands work the same across recent macOS versions.
Knowing how to show hidden files on Mac Sequoia, Tahoe, and more versions gives you greater control over your system, whether for troubleshooting, development, or storage cleanup.
While Finder shortcuts and Terminal commands work well, tools like Tenorshare Cleamio offer a safer, visual way to uncover hidden files during routine maintenance. Hence, making advanced file management both accessible and secure.
then write your review
Leave a Comment
Create your review for Tenorshare articles
All-in-One Mac Cleaner & Optimizer
Cleamio: All-in-One Mac Cleaner & Optimizer
Clean junk files, free up space, and boost Mac performance
No.1 Mac Cleaner & Optimizer
Clean, speed up, and optimize your Mac
By Jenefey Aaron
2026-07-09 / Mac Tips