then write your review
ReiBoot - No.1 Free iOS System Repair Software
Fix 150+ iOS Issues without Data Loss & Safely iOS 26 Upgrade/Downgrade
ReiBoot: No.1 iOS Repair Tool
Fix 150+ iOS Issues, No Data Loss
Google Maps timeline is a handy feature that makes your life better by working in the background. If you’re a casual user, you may not even know this feature exists.
But as you’re reading this article, you’re well-versed in it. If your Google timeline not working for any reason, you may be in a dilemma wondering why that’s the case. But don’t worry. In this article, we talk about everything you need to know about this issue.
There could be several reasons why your maps timeline not working. Here are some of the most prominent ones.
Now that you know why your Google Maps timeline may not be working, it’s time to talk about some possible solutions.
If your Google Maps timeline not working iPhone, the first thing to try is a phone restart. You see, many temporary system glitches take over your iOS system from time to time. To get rid of them, the fastest solution is to restart your device.
If your Google timeline not working iPhone/Android even after a restart, you should check to see whether your location history is turned on. To do that, follow the steps mentioned below.
If it’s not, turn it on by using the toggle.
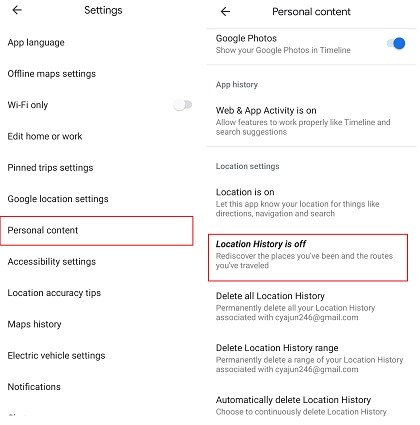
Note that this method works for iPhones, as well as Android devices.
If none of the methods mentioned above worked for you, there could be something wrong with your iOS system. Luckily, there’s an easy way to get rid of this problem — and it’s called Tenorshare ReiBoot.
ReiBoot is an application you can use to repair your system with ease. It doesn’t require you to be a tech geek as it’s easy to use. It has a detailed step-by-step users guide. Besides, it’s a great tool to enter/exit recovery mode for free with only one click.
Here’s how you can use it to reset your iOS system and fix the Google Maps timeline issue.
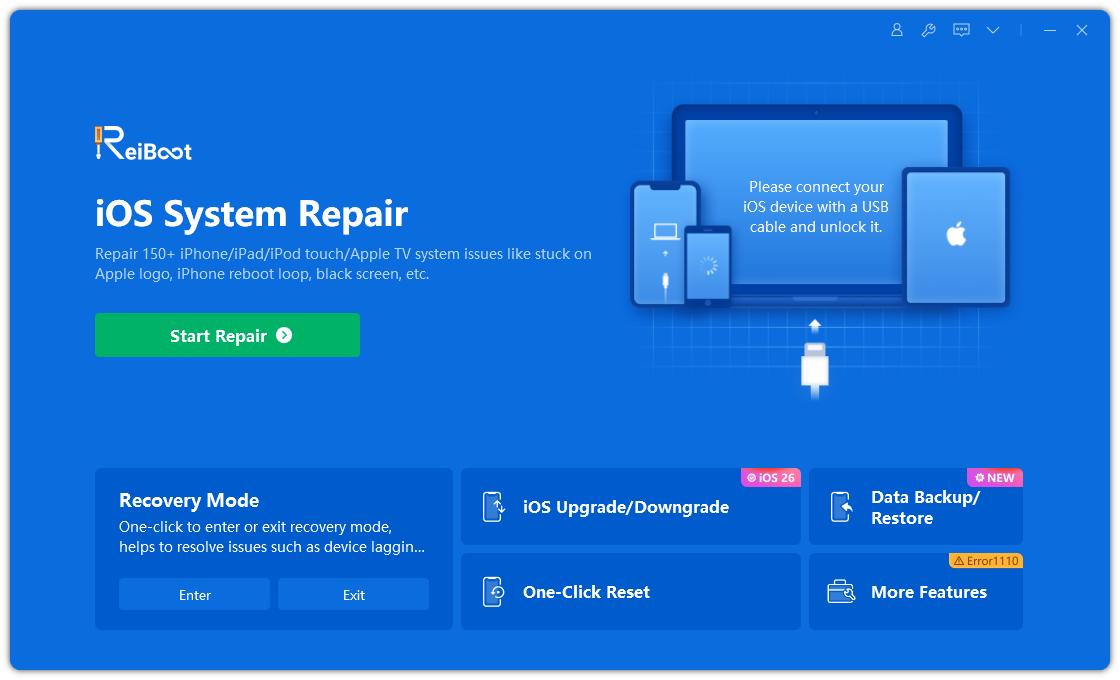
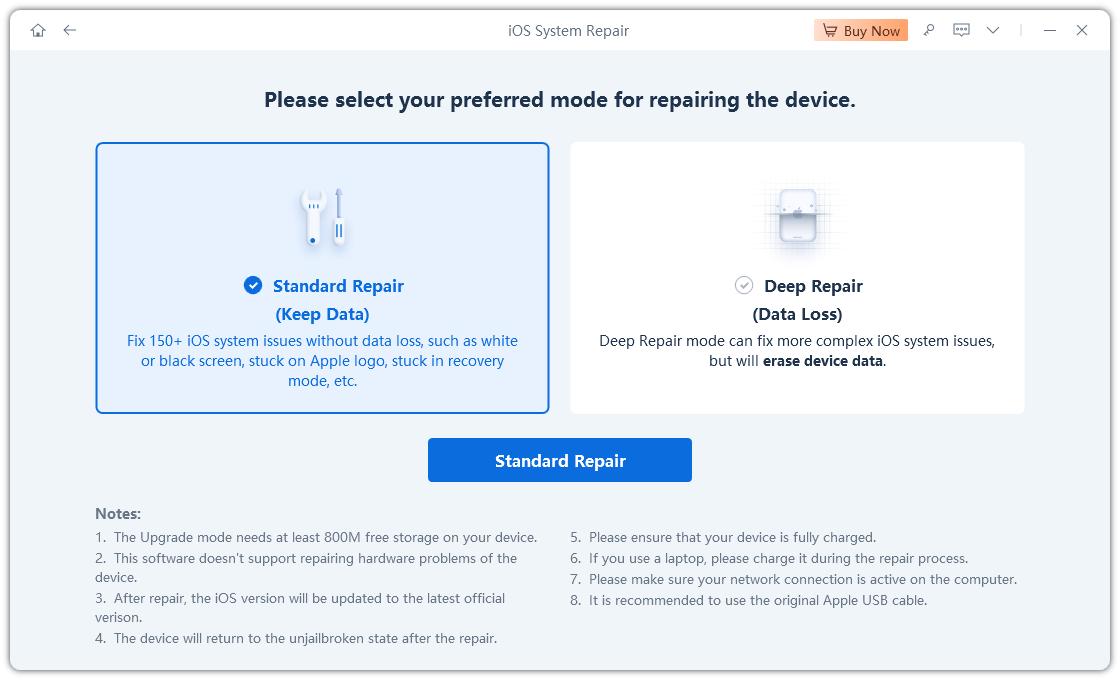
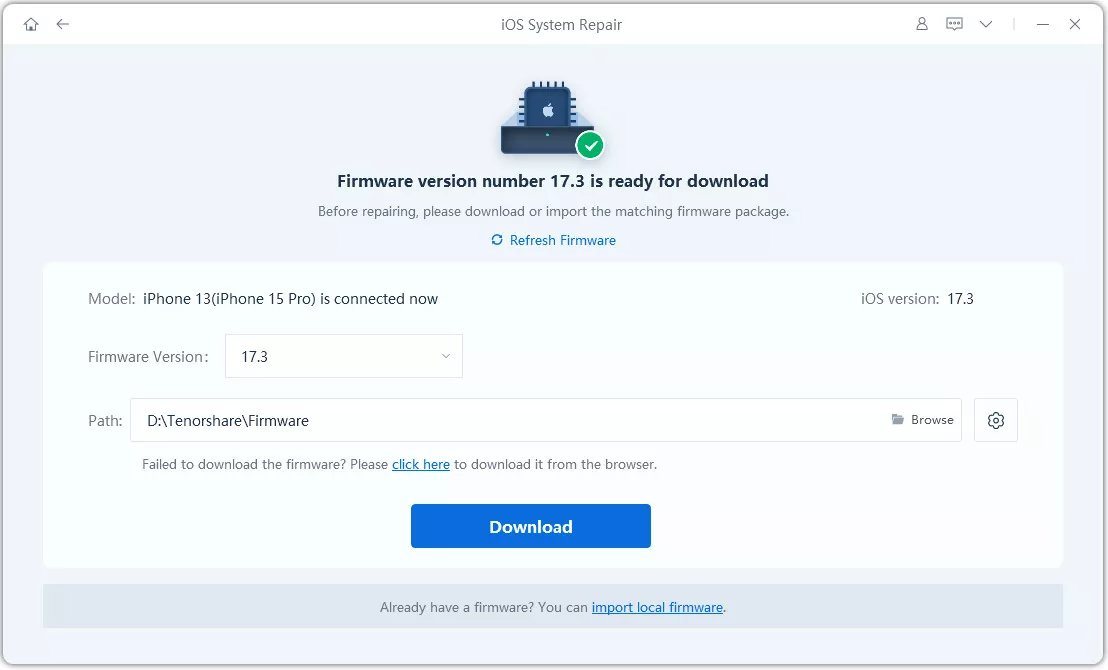
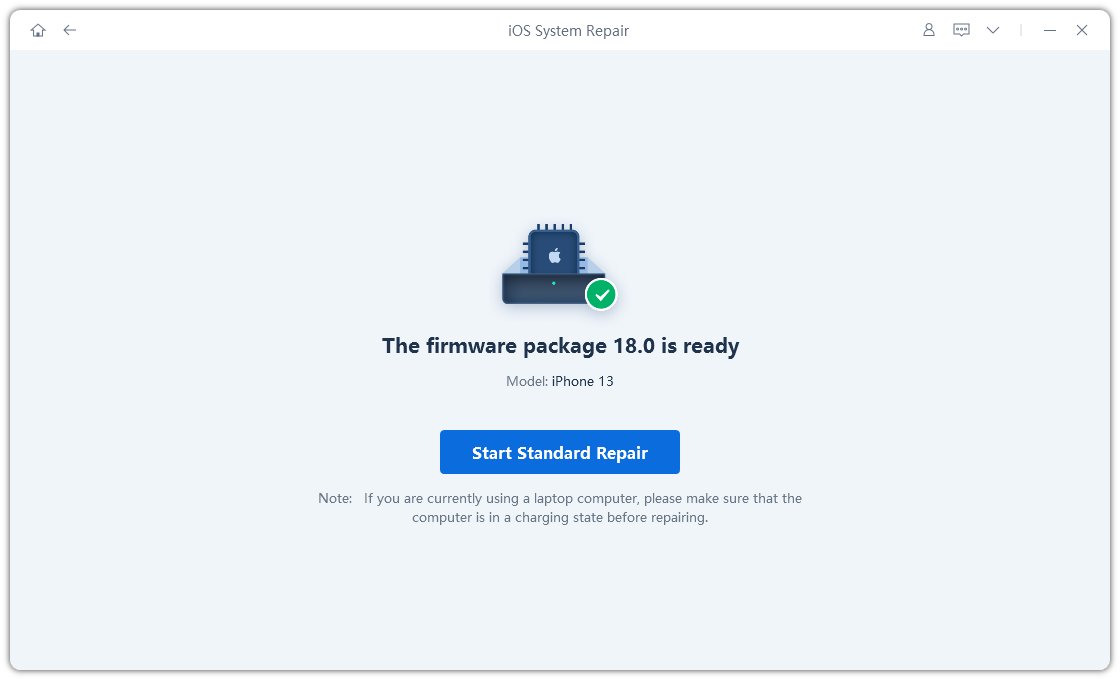
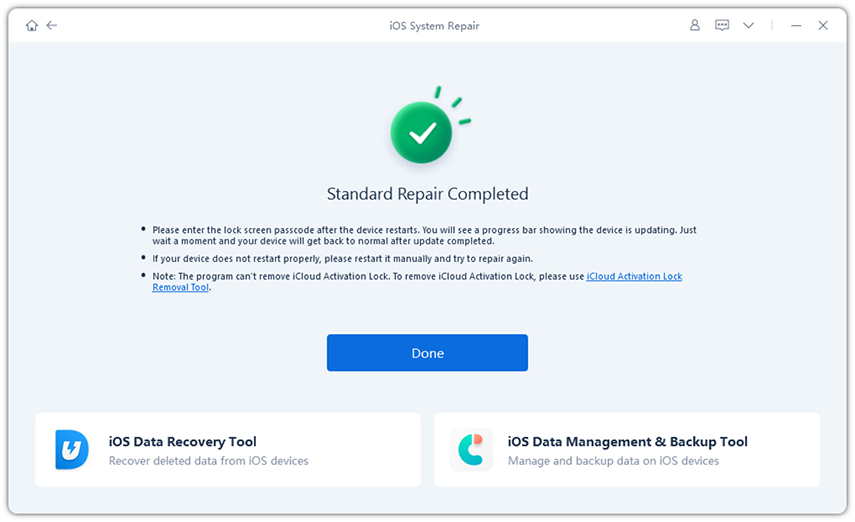
Now, your Google Maps timeline should work just fine on your iPhone. If it is still not, try a deep repair.
If you’ve tried the methods above and you’re still facing the issue and wondering why my Google timeline is not working, this method may help you out.
If you’re using an Android device, there’s a feature you can use to get rid of all the buggy storage and cached files on your phone. To do that, follow the steps.
Select “Clear Data” and tap “Yes” to confirm.

If you’re using an iPhone and your iPhone Google Maps timeline not working, you should try deleting the Google Maps and installing it again.
To do that, follow the steps.
If your Google Maps timeline iPhone not working even now, the next thing you must do is remove your Google account from the device and add it again. Doing so will eliminate all the issues linked to your Google account’s sign-in process.
To remove your Google account and put it back in, follow the steps mentioned below.
And finally, select “Remove from this device” under the account you’re using. Or choose "Sign out of Google Maps".

There you have it — this is everything you need to know about the Google Maps timeline not working issue.
Remember, if none of the first 5 methods work for you, Tenorshare ReiBoot is your best bet. It can be used to deal with Google timeline not working on iPhone issue and other all sorts of system-level bugs and glitches.
then write your review
Leave a Comment
Create your review for Tenorshare articles

By Anna Sherry
2026-02-03 / Google Maps Timeline Not Working? Why and How to Fix