

iCareFone - Free iOS Backup tool & Easy Data Manager
Backup/Transfer/Restore/Manage iOS Data with Simple Clicks
Backup/Manage iOS Data Easily
Backup/Manage iOS Data in Clicks
Hey everyone, I'm trying to transfer my photo albums from my iPhone to my PC. What's the best way to do this without losing any quality or data? I want to avoid using iCloud if possible. Any suggestions? Thanks!
- from Reddit
Losing your precious photos is always a troubling situation to find yourself in. That’s why most people prefer keeping a backup of their photos from iPhone to computer , which they can restore if something goes wrong with the phone itself.
However, not a lot of people know how to transfer photo albums from iPhone to PC . As you’re reading this post, we know you’re one of them. But don’t worry, we’re going to teach you how you can transfer your albums to a PC in no time!
How about one click to transfer photo albums from iPhone to PC. Too good to be true, right? Cheer up, as with Tenorshare iCareFone , you can do exactly that! With the all-in-one iOS data management tool Tenorshare iCareFone, you can quickly back up, transfer, and restore iOS data between devices and computers.
Who's It For : This method is perfect for users who want a quick and hassle-free way to transfer photo albums from iPhone to PC.
After following a few simple steps to set up iCareFone on your computer, you can transfer all your albums whenever you want with just a single click. Here’s how to transfer album from iPhone to PC using this method.


Download and install Tenorshare iCareFone on your computer. Connect your iPhone to the PC using a USB cable. Open Tenorshare iCareFone. On the home page of iCareFone, select the icon, “Photos” in the main interface.
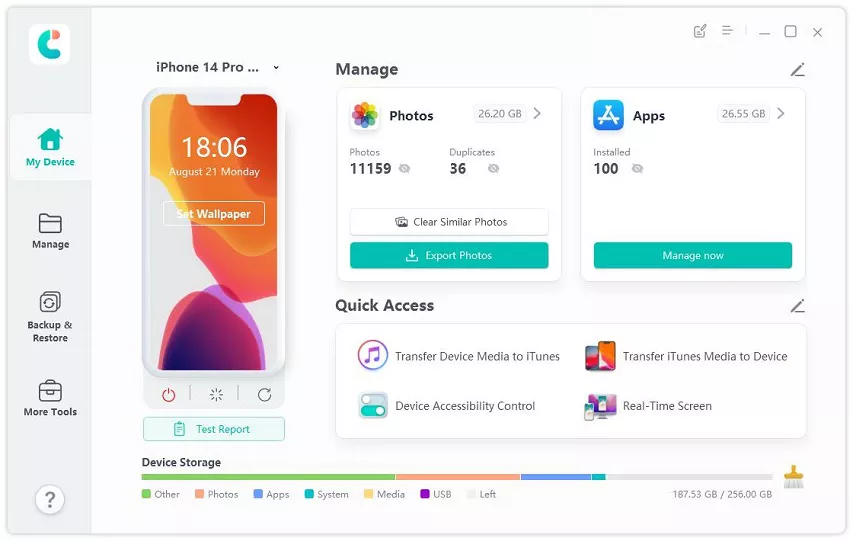
Then switch to “Albums”. Now you will see all your iPhone albums. Choose the one that you would like to export. And click on the “Export” button.

Now wait for the process to complete. Within seconds, the selected albums will be transferred to your computer.

Related read: Software to Transfer Photos from iPhone to PC .
If you’d like to know how to transfer photo albums from iPhone to computer without downloading a tool, this section has got you covered. You see, you can use your Windows PC’s built-in File Explorer to browse through your iPhone’s internal storage and copy/move files from there.
Without any delay, here’s how to transfer album from iPhone to PC using this method.
Who's It For : This method is ideal for Windows users who prefer a built-in, no-download solution to transfer iPhone photos to their PC.
Open the internal storage and copy the DCIM folder.


This method isn’t ideal. The DCIM folder will contain all of your photos scattered in different folders with random names; they won’t be in sequential order. And they won’t be all in a single folder, either.
You can use the iCloud.com web app or the iCloud desktop app for this job. However, from these two, we recommend using the desktop app because it offers a more streamlined experience.
That said, here’s how to transfer an album from iPhone to PC using this method.
Who's It For : This method is best for users who regularly sync their photos to iCloud and prefer a wireless transfer option to their PC.
Log in with your Apple ID, then check the iCloud Photos checkbox and apply it.

Now, open File Explorer on your computer and select iCloud Photos from the left panel.

Last but not least, you can use a cloud storage option to back up your photos to the cloud and restore them to your PC later on. However, be noted that this method may take a lot of mobile data as it will be used to upload and download all of your photos to the cloud.
You can use any cloud storage option of your choice, like OneDrive , Google Photos , and Dropbox . Here’s how to transfer iPhone album to PC using this method.
Who's It For : This method is suitable for users who prefer cloud storage and want to access their photos across multiple devices.
Open the app and back up/upload all the photos and videos you’d like to transfer.

Select all the photos you uploaded, and download them to your PC.

Shared Albums is a feature that lets you share photos included in an album with the people of your choice. You can choose to invite people to join your album or send them a link to view it.
If you’re running Windows 10 or 11, yes, you can use the Shared Albums feature on the iCloud app.
Related read: What is iPhone Shared Albums .
No. The iTunes app isn’t used for syncing photos. You have to use the iCloud app for this job.
Transferring photo albums from your iPhone to PC can be done easily using various methods, including Tenorshare iCareFone, Windows File Explorer, iCloud, and Cloud Drive. Among these, Tenorshare iCareFone stands out for its simplicity and speed. It allows you to transfer unlimited photos with just one click, ensuring high-quality results without the hassle of storage limits. For a seamless and efficient photo transfer experience, we highly recommend using Tenorshare iCareFone. It is the best choice for managing your photo albums effortlessly.
then write your review
Leave a Comment
Create your review for Tenorshare articles

Best Free iPhone Transfer & iOS Backup Tool
Easily, without iTunesiCareFone - Free iOS Backup tool & Easy Data Manager
Backup/Transfer/Restore/Manage iOS Data with Simple Clicks
Backup/Manage iOS Data Easily
Backup/Manage iOS Data in Clicks
By Jenefey Aaron
2026-06-08 / Transfer Photo