

ReiBoot - No.1 Free iOS System Repair Software
Fix 150+ iOS Issues without Data Loss & Safely iOS 27 Upgrade/Downgrade
ReiBoot: No.1 iOS Repair Tool
Fix 150+ iOS Issues, No Data Loss
To mark a major redesign of iOS and macOS, Apple is shifting to a year-based naming system. Instead of macOS 15, the next release will be called macOS 26, aligning with its 2025–2026 launch. Future iOS versions will follow the same pattern, with names like iOS 26 expected in June and September releases.
Despite the change, Apple will still use California landmarks as secondary names—this year’s macOS is rumored to be called macOS Tahoe.
In this article, we will guide you through simple steps to safely downgrade your Mac while keeping your information intact. This way, you can enjoy the stable version again without any hassle.

Yes, you can perform a macOS 26 downgrade to macOS 15. However, this process requires erasing your Mac's drive and reinstalling the older version of macOS. To prevent data loss, it's crucial to back up your important files beforehand. You can use Time Machine, iCloud, or manually copy files to an external drive. Note that Time Machine backups made on macOS 26 cannot be restored on macOS 15. Therefore, ensure your backup is from macOS 15 or earlier. After backing up, you can proceed with the downgrade process.
Before you downgrade the macOS, it’s essential to back up your data. This ensures your personal files, applications, and settings are preserved for a smooth transition back to macOS 15.
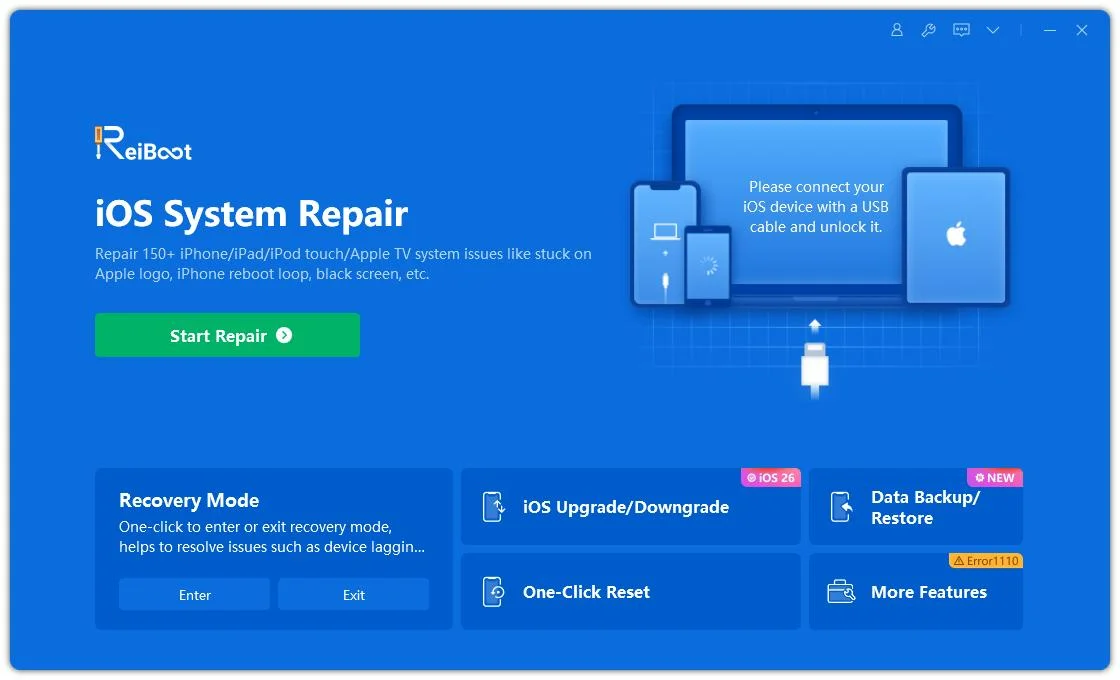
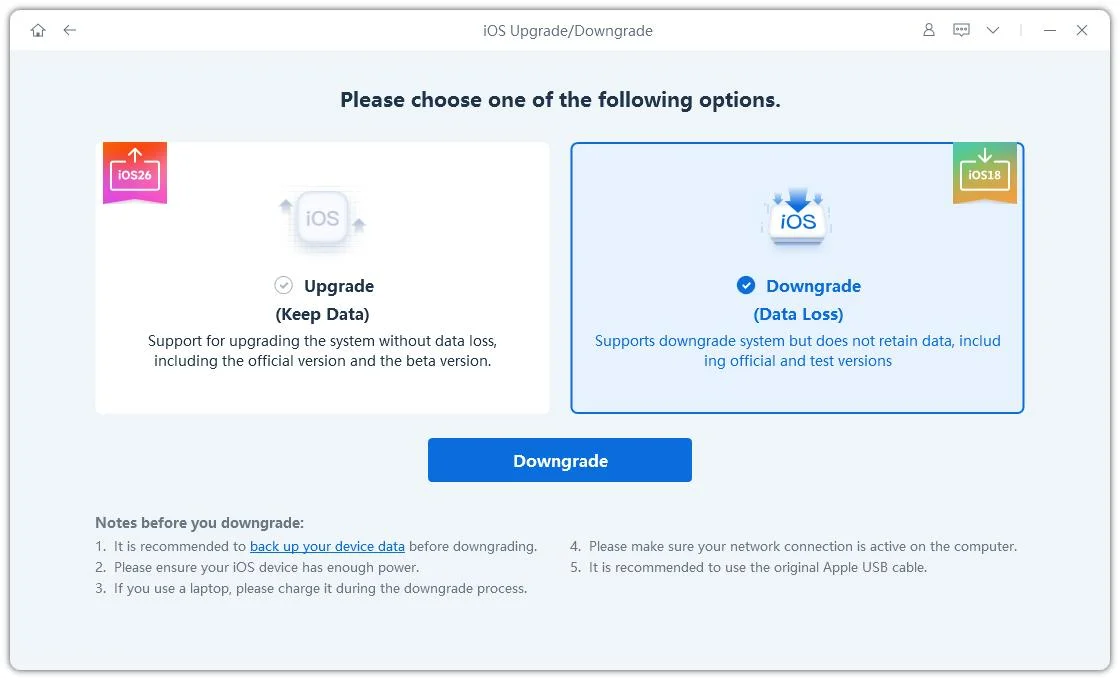
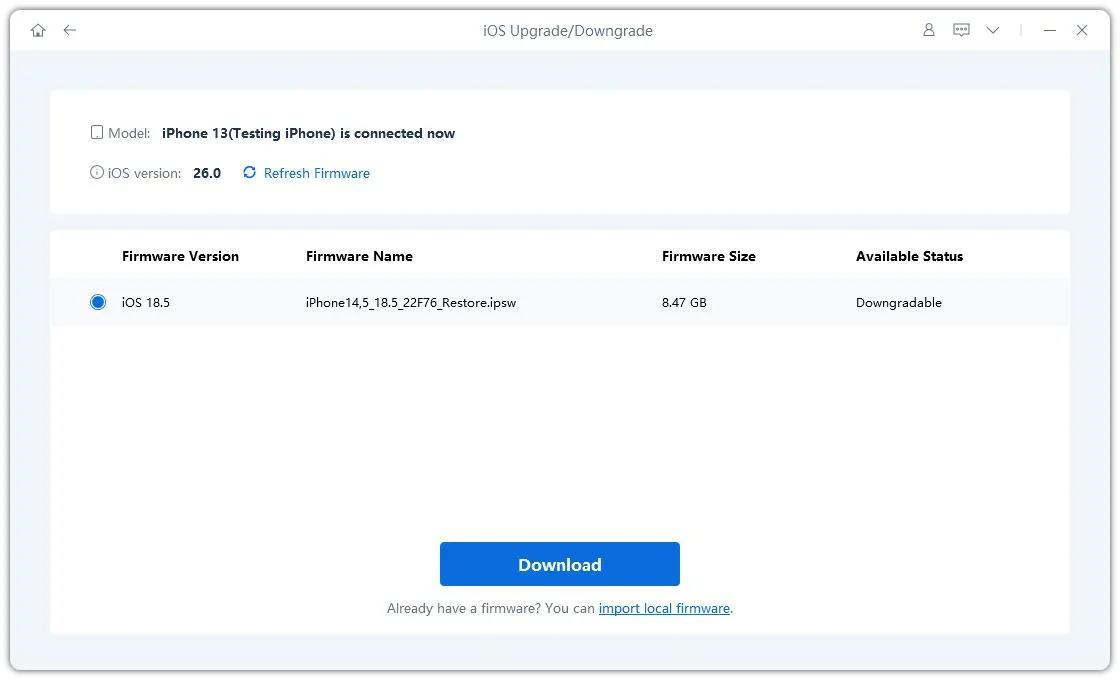
Now let’s talk about one of the easiest ways to downgrade macOS 26 to 15 — using Tenorshare ReiBoot. This tool is well-known for being reliable and simple to use. If you’re not very tech-savvy, don’t worry. ReiBoot has a clean and easy-to-understand interface, so you won’t feel lost while using it. Everything is straightforward, and you don’t have to go through a bunch of complicated steps.
The best part? It offers a one-click downgrade option, which means the tool does all the hard work for you. You just follow a few prompts, and that's it. This cuts down the chances of making mistakes, which can happen easily with manual methods.


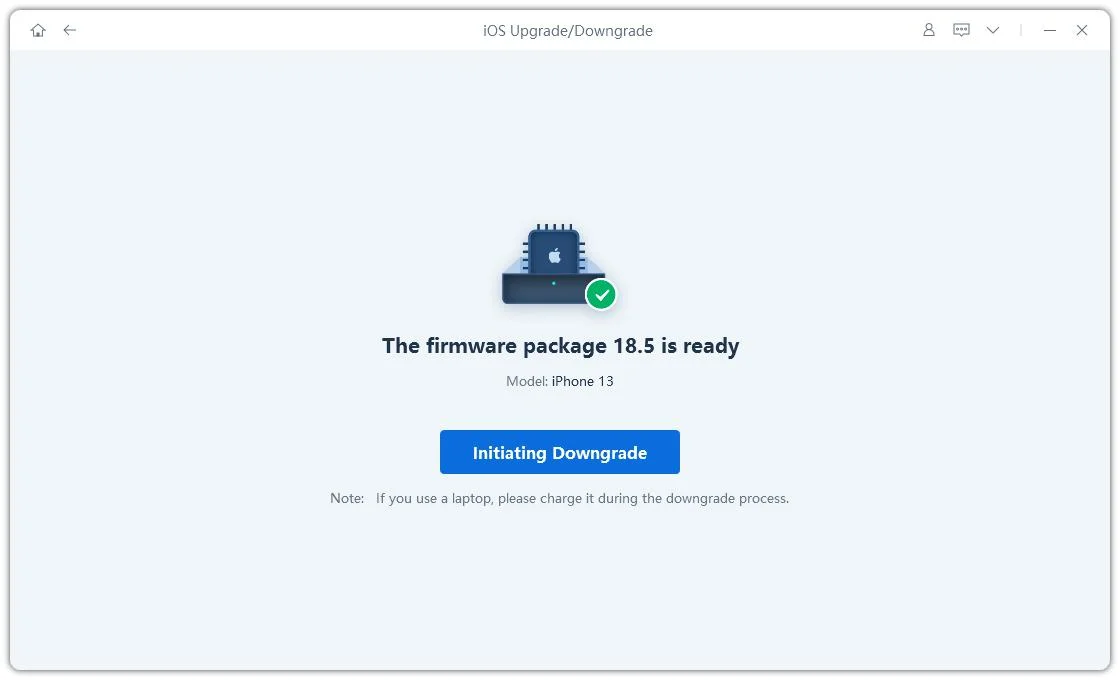
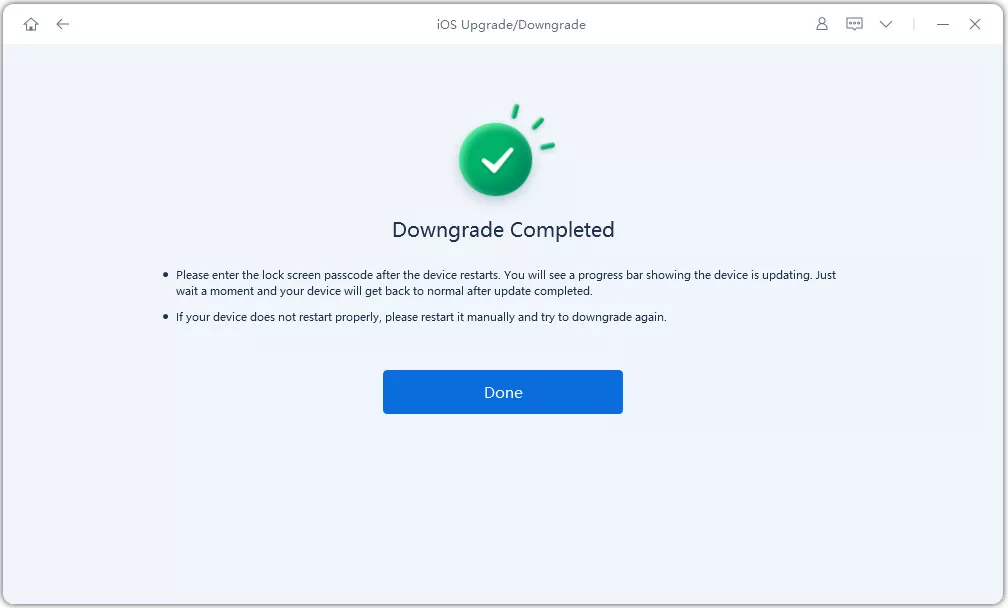
After the process finishes, your Mac will restart.
If you've been regularly backing up your Mac using Time Machine, you're in luck. Time Machine makes it quite easy to go back to an earlier version of macOS, including downgrading from macOS 26 to 15. This method is especially helpful if you want to keep your data and settings just the way they were before the upgrade.
Here’s how you can do it:
Step 1: Plug in the external hard drive or storage device that you used for your Time Machine backups.
Step 2: Restart your Mac and immediately press and hold the Command (⌘) + R keys. Keep holding them until the Apple logo or spinning globe appears. This will start your Mac in Recovery Mode.
Step 3: In the macOS Utilities window, select “Restore from Time Machine Backup.” Click Continue, then choose the backup source (your external drive). You’ll be shown a list of available backups. Pick the most recent one that was created before you installed the macOS 26.
Step 4: Follow the on-screen steps to restore your system. Your Mac will begin copying all the data from the chosen backup, including macOS 15.
Step 5: Once the restore is complete, your Mac will automatically restart. It should now be running macOS 15, just like it was at the time of the backup.

If you didn’t use Time Machine or a third-party tool, you can still downgrade macOS 26 to 15 using macOS Recovery Mode. This method allows you to reinstall an older version of macOS, such as Sonoma or Ventura, depending on what originally came with your Mac or what’s available. It works on both Intel-based Macs and those with Apple Silicon.
Here’s how to downgrade from macos 16 to 15 it step by step:
Step 1: Shut Down and Boot into Recovery Mode
First, shut down your Mac completely. Then press the Power button and quickly use one of the following key combinations:

To downgrade macOS, you’ll likely want to use Shift + Option + Command + R if your Mac originally came with Sonoma or Ventura.
Step 2: Enter Your Admin Password
Once the macOS Utilities screen appears, you’ll be asked to enter your password. Do that and press Continue, then click Next.

Step 3: Reinstall macOS
Click on Reinstall macOS, and follow the instructions shown on the screen. You’ll need to select your Mac’s main disk (usually named “Macintosh HD”) as the install location.

Step 4: Wait for the Installation to Complete
Once you start the reinstall, your Mac will download and install the older version of macOS. This process might take a while, depending on your internet speed. Make sure your Mac stays powered on and connected to Wi-Fi.
If you don’t have a Time Machine backup or don’t want to use recovery mode, you can downgrade macOS Sequoia to Sonoma using a bootable USB installer. This method lets you install an older macOS version directly from a USB drive. Before starting, make sure you:
Here’s a simple step-by-step guide on macos rollback from:
Step 1: Open the Mac App Store and search for macOS Monterey. Click Download, and it will be saved automatically in your Applications folder. Don’t open it yet just keep it there for later.

Step 2: Now, plug in your USB drive to your Mac and get it ready to be used as a bootable drive.
Step 3: Open Disk Utility using Spotlight search. On the left side, find your USB drive listed under “External” and click on it. Then, click the Erase button at the top.

Step 4: In the pop-up box, choose the format “Mac OS Extended (Journaled)” and click Erase. This will prepare your USB drive. When it’s done, click Done.
Step 5: Open Terminal and paste this command:
Sudo/Applications/Install\ macOS\ Monterey.app/Contents/Resources/createinstallmedia --volume /Volumes/USB --nointeraction
(Note: Replace "USB" if your drive has a different name.)

Step 6: Type your Mac login password when asked, then click OK to let your Mac access the USB drive.
Step 7: The terminal will start copying the macOS Monterey files to your USB. Once it’s done, close Terminal, turn off your Mac, and get ready to enter recovery mode.
Step 8:
You’ll see the bootable installer disk appear on the screen.
Step 9: Click Install macOS Monterey and then Continue. Choose macOS if prompted, and press Next. Enter your password when asked.
Step 10: Follow the steps on the screen to install Monterey.
If your Mac doesn't support the latest macOS version, Software Update won't offer it and will indicate that your Mac is up to date. This occurs because newer macOS versions require specific hardware capabilities that older Macs may lack. For instance, macOS Sequoia supports Macs with Apple silicon and certain Intel processors, excluding some older models.
Reinstalling macOS without erasing your disk preserves your files, apps, and settings. However, it's always recommended to back up your data before proceeding, as unexpected issues can occur.
Looking to downgrade macOS 26 to 15? It might sound tricky, but with the right method, it’s easier than you think. Whether you choose Time Machine, Recovery Mode, or a bootable installer, always remember to back up your data first. And if you prefer a simple, no-stress solution, Tenorshare ReiBoot is worth trying. It’s user-friendly, doesn’t need technical skills, and helps you downgrade in just one click, with no headaches, and no fuss. So if bugs are bothering you, go back to stable macOS 15 smoothly and safely with ReiBoot.

Tenorshare ReiBoot - Fix iOS Issues


then write your review
Leave a Comment
Create your review for Tenorshare articles

ReiBoot - No.1 Free iOS System Repair Software
Fix 150+ iOS Issues without Data Loss & Safely iOS 27 Upgrade/Downgrade
ReiBoot: No.1 iOS Repair Tool
Fix 150+ iOS Issues, No Data Loss
By Jenefey Aaron
2026-07-14 / iOS 26