How to Wipe Cache Partition in Android Recovery Mode

Updated on 07/25/2019 / Fix Android
100 % Helpful
"What exactly is 'wipe cache partition' in the recovery menu of the phone and what does it do? Can somebody explain wiping the cache partition and what does it benefit if I wipe it?"
For Android users, you may need to get into recovery mode for troubleshooting Android phones such as rooting, forgetting lock-screen passcode or forgetting pattern mode gesture. Particularly, you can see "wipe cache partition" after getting access to Android system recovery. What is it, how does it work on Android devices and how to use Android recovery mode to wipe cache partition? In this post, I will introduce the details which are compatible with Samsung, Galaxy, LG, Sony, Motorola, Xiaomi, Huawei, etc.

There are two kinds of cache in Android, which are app cache and system cache. The former stores data on a per-app basis, and the latter caches key bits of Android as well as a few apps. Consequently, in order to wipe cache, you can use the below 2 methods.
- Option 1. Use Wipe Cache Partition to Clear System Cache Android
- Option 2. Use ReiBoot for Android to Wipe System Cache Partition with Only 1 Click
- Additional Tips: Use Settings to Clear Individual App Caches
Option 1. Use Wipe Cache Partition to Clear System Cache Android
How to wipe cache partition Galaxy S7? If you are getting trouble with your Android devices, such as dreaded black screen of death, you might have to wipe cache partition. Take Samsung as an example, the specific steps are:
1. Power off your Android device.
2. Press and hold Volume Up/Down and Power key at the same time until the boot screen displayed.
3. Make use of Volume Down button to get access to Android system recovery mode.
4. Press Power key to confirm it.
5. Once you see the Android robot, hold down Power button.
6. Press and release Volume Up key.
7. Press Volume Down to the "wipe cache partition" option to clear cache on Android phone.
8. Press Power key to highlight it.
9. Press Volume Down button to choose Yes.
10. Press Power button to select it.
11. Press Power key to restart your device.
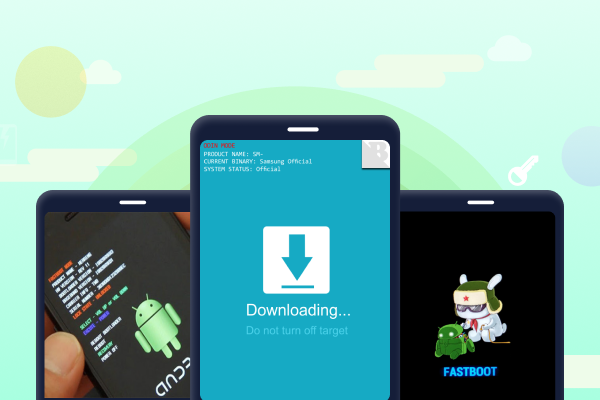
Note: It's worth mentioning that you may see different recovery mode screens in different mobile devices. However, wipe cache partition Huawei/Nexus 5X/Moto G3/Pixel/S8/S4 option is easily to be found in most of them.
Now let's see the supported version in this way:
1. Supported Android versions: Android 4.4-9.0 (KitKat, Lollipop, Marshmallow, Nougat, Oreo)
2. Supported Android devices:
- Samsung (Galaxy S7/S7 Edge, S6/S6 Edge/ S5/S4/S3, Galaxy Note 5/Note 4/Note 3/Note 2, Galaxy Nexus, Samsung Galaxy Tab, etc.)
- HTC (HTC 10, HTC One M, HTC One X+, HTC One S, HTC Desire X, HTC Desire C, HTC One V, HTC Explorer, HTC EVO 4G LTE, HTC Droid DNA, etc.)
- LG (LG Optimus F7, LG Optimus F9, LG Optimus G, etc.)
- Motorola (Motorola Droid Razr Maxx HD, Motorola Razr I, Motorola Droid Razr HD, Motorola Atrix HD, etc.)
- Sony (Sony Xperia XA, Sony Xperia X, Sony Xperia Z, Sony Xperia C, Sony Xperia TL, etc.)
- Huawei (Mate 10, Mate 10 Pro, Mate 10 Lite, P10, P10 Plus, P9, P9 lite mini, Honor 7X, Honor 9, etc.)
- Xiaomi (Redmi Y1, Redmi Y1 Lite, Mi Note 3, Mi Mix 2, Mi A1, Mi Max 2, Mi 6, Mi 5c, Redmi Note 4X, etc.)
- Other Devices…
Option 2. Use ReiBoot for Android to Wipe System Cache Partition with Only 1 Click
Since to wipe cache partition is too complicated, you will need an easy-to-use tool to handle with this problem. Tenorshare ReiBoot for Android is one of them. This is a piece of software that is designed to fix Android system recovery mode issues. For your convenience, the new procedure to wipe system cache partition is given below:
Step 1. Download, install and run this program to any available computers.

Step 2. Connect your Android device to the computer so that ReiBoot for Android will recognize it. Take note that to enable USB debugging is needed when it is the first time to connect mobile device.
Step 3. Select "One-Click to Clear System Cache" to wipe cache partition in your Android cellphone.
Step 4. Now your temporary files and system cache partition are removed.
Additional Tips: Use Settings to Clear Individual App Caches
Except for the above alternatives, you are able to clear app cache Android on the Settings. Just navigate to Settings, hit on Storage, and then you will see how much space is being used by the partition under Cached Data option. At this time, click on Cached Data and tap on Okay to clear cache Android.
So that's all about Android recovery mode wipe cache partition. Hope you have learned well from them. Last but not least, if you need help or have something to share with me or other users, don't hesitate to use the comments field below. I will assist you as long as I receive them.
Speak Your Mind
Leave a Comment
Create your review for Tenorshare articles
Don’t forget to share this post!


