iReboot for PC/Mac Download & How to Use iReboot [iReboot Reviews]
Since computers are so powerful, many install multiple operating systems on a single machine. It’s practical and saves you from the hassle of keeping a separate computer for each operating system. Whenever you want to use another OS, you can switch to that instantly. However, when it comes to using multiple OS on the computer, the difficult part is switching to the other OS as it requires a manual method of first shutting down the computer. What if there’s a tool that can automate the whole process? Let’s take a deeper dive into it and find it out.
- Part 1: What Is iReboot?
- Part 2: How to Free Download iReboot for PC/Mac?
- Part 3: How to Use iReboot?
- Part 4: How to Uninstall iReboot Completely
- iReboot Best Companion: All-in-one iOS System Repair Tool
Part 1: What Is iReboot?
If you’re a power PC/Mac user, you must know the hassle of switching between multiple operating systems. For instance, if you’re using Windows and want to switch to another operating system, you’ll first need to shut it down and indulge in a complex recovery process, then reboot into another OS.
That’s what the iReboot is built for, enabling you to switch between the different operating systems easier without shutting down the PC. It sits on the taskbar like a police cap. Instead of shutting down the PC, access the iReboot and select the OS directly to reboot it.
iReboot for Mac kills the hassle of switching between the OS by automating. It offers a one-click solution, saving time and effort to perform the manual steps.
Part 2: How to Free Download iReboot for PC/Mac?
When it comes to iReboot download, It’s easy to download the iReBoot for PC/Mac, considering it’s a popular tool. There are two versions of iReboot, a free version and a paid version. If you want to try it for the first time, it’s preferable to go with the free version and then move to the paid version if needed.
Here's how to download the iReboot free for PC/Mac:
1. Simply go to the Neosmart Technology site - the company behind the iReboot. Then tap the Download button.
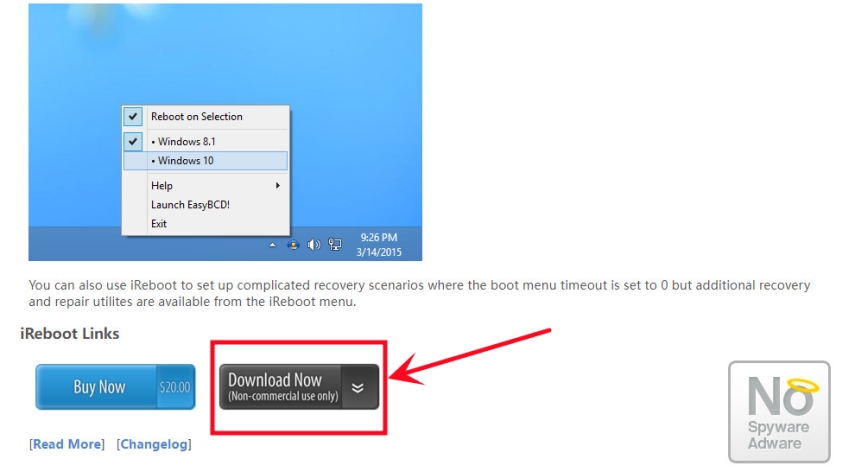
2. Input your Name and Email.

3. Your computer will automatically download the iReboot (If not, you can check your Email to download iReboot via link in mail. ). Tap it when it done.

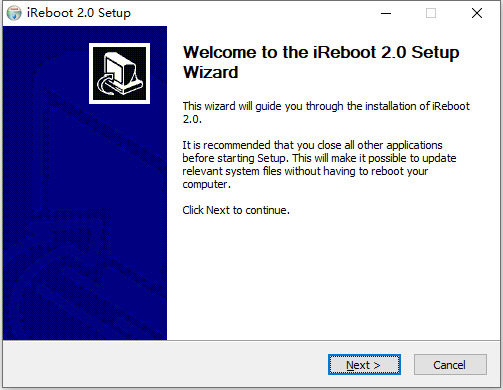
4. Follow the steps to download iReboot on your computer.
Part 3: How to Use iReboot?
Using the iReboot is pretty straightforward - just like any other program on the PC/Mac. You don’t have to perform complex processes to set it up for the first time. If you don’t know how to use iReBoot, the following are the steps to give you an idea of how to use iReboot.
Step 1. Once you’ve downloaded the iReboot and successfully installed it on your computer, it’ll sit in the tray pan on the screen's bottom right corner.
Step 2. Right-click on it, and make sure the Reboot on Selection option is selected.
Step 3. Select the OS you want the computer to reboot in, and then the computer will automatically shut down and reboot the selected operating system.
That’s how simple it is to use the iReboot. Once installed on your computer, you can access it from the tray pan in the bottom right corner of the screen and switch to the available operating systems.
Part 4: How to Uninstall iReboot Completely
Uninstalling iReboot from the computer is as simple as installing it for the first time. However, sometimes unexpected errors or problems might occur, making it difficult to uninstall it completely from the computer.
If you’re also stuck in such a situation, the alternative way to uninstall the iReBoot is through Revo Uninstaller Pro, which completely removes the program from the computer. Here’s how to uninstall iReBoot completely:
- Install and launch the Revo uninstaller Pro on your computer.
- Select Module “Logs Database”.
- Type the “iReboot” in the search bar. You’ll see the iReboot logs that are compatible with your Windows version.
- Select the compatible iReboot logs, then click the Uninstall button to remove it from your computer.
iReboot Best Companion: All-in-one iOS System Repair Tool
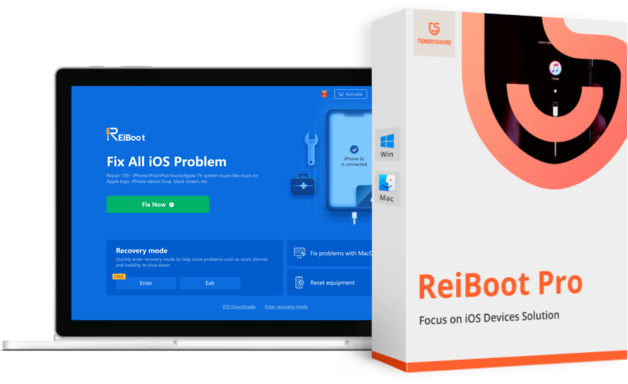
Similar to iReboot, it has the companion Tenorshare ReiBoot. It’s designed to help fix the iOS-related issues on iPhone and iPad with a one-click solution. You can fix all the iOS-related problems like the iPhone stuck on the Apple logo, the iPhone's frozen screen, and the iPhone's black screen.
You don’t have to seek professional help and spend a lot to fix your iPhone’s software issues. Instead, you can fix it with one click using Tenorshare ReiBoot. Just like the iReboot free program, Tenorshare ReiBoot is also a free troubleshooting program.
Here’s how to fix the iOS problem with Tenorshare ReiBoot:
-
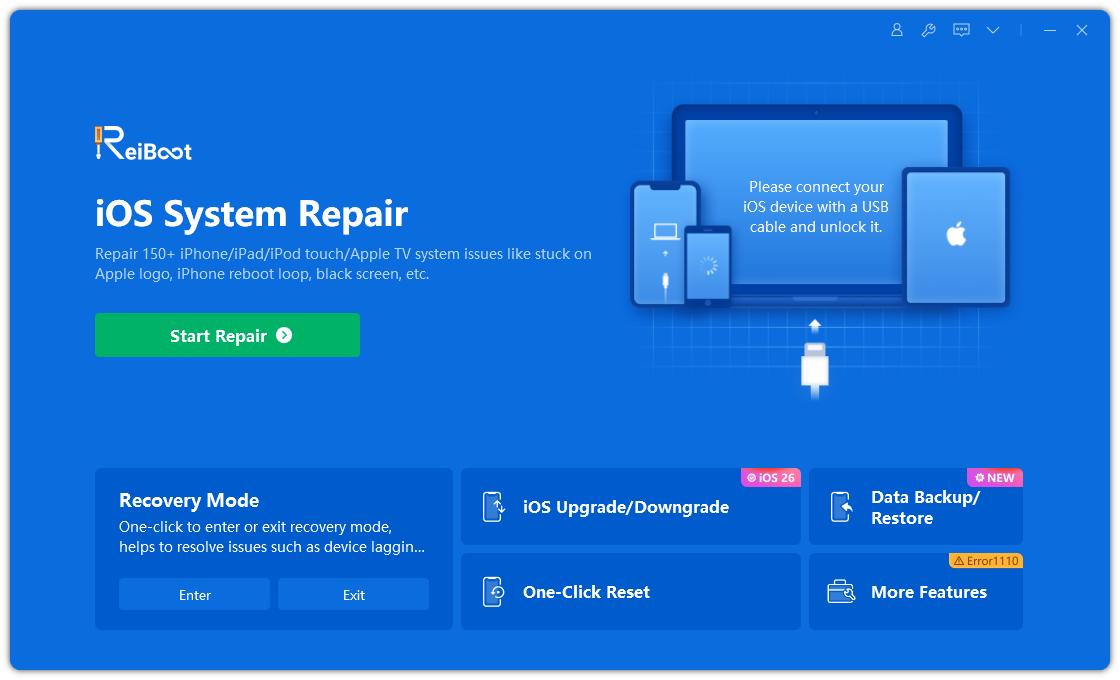
Install the Tenorshare ReiBoot on your computer and launch it. Connect your iPhone to the computer using a cable, and hit the Start Repair button.

-
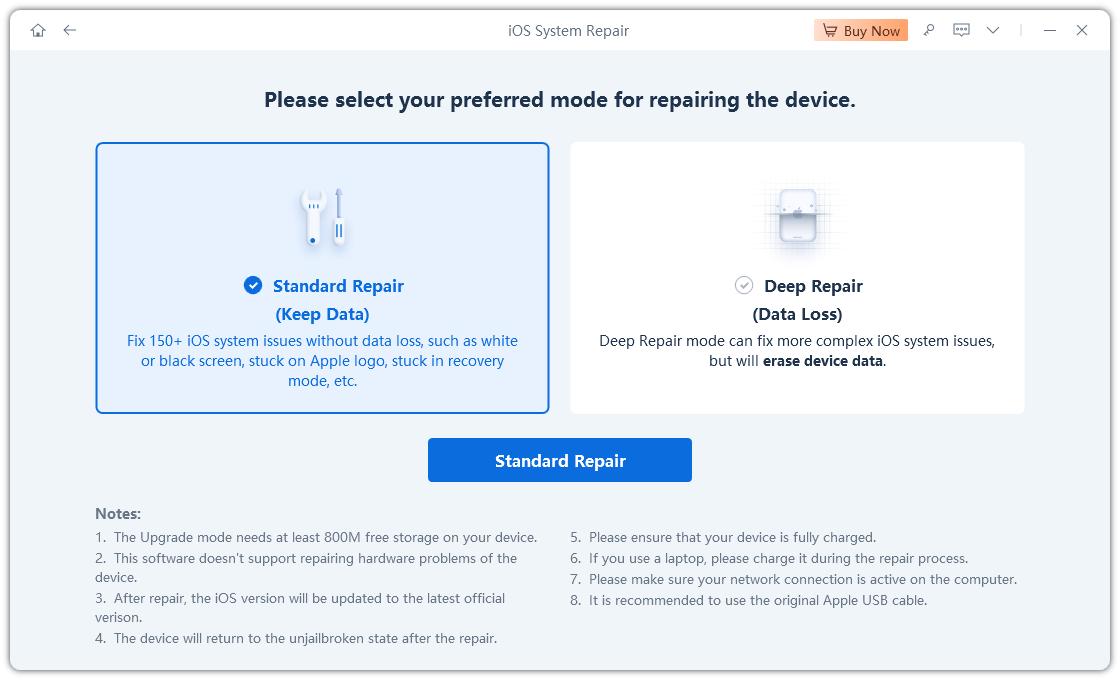
Choose the Standard Repair button, then click on it.

-
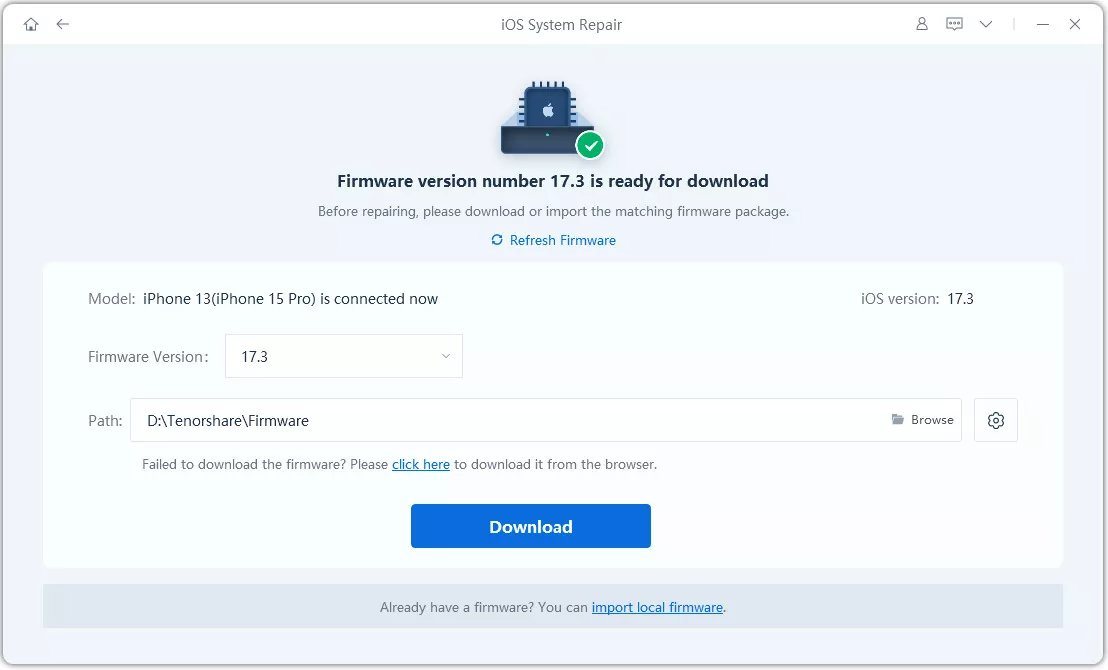
Click on the Download button to download the compatible firmware package for your iPhone. If you’ve already downloaded it, click the Browse button to import it.

-
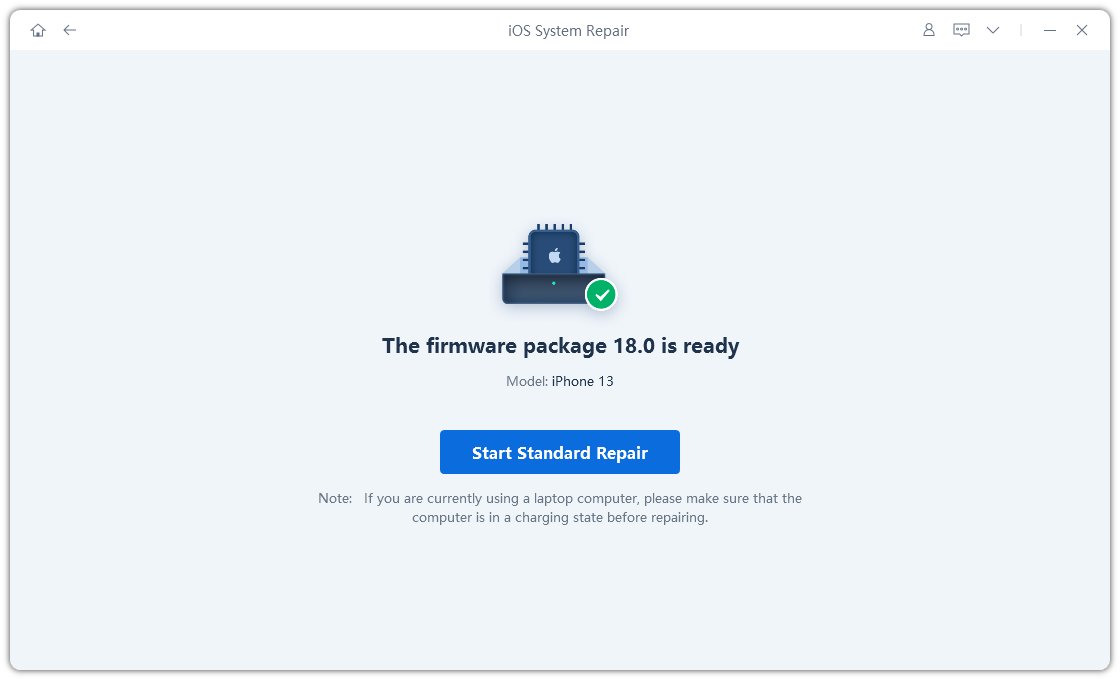
Once the downloading is completed, click on the Start Standard Repair button and let the process complete.

-
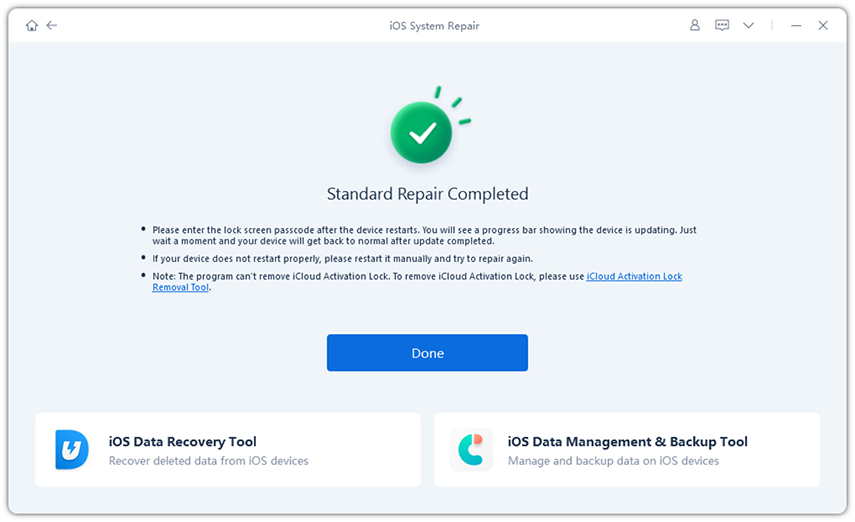
Once the progress bar is complete, the program will show a Done screen, and your iPhone will automatically restart.

Conclusion
iReboot for Mac/PC is an excellent tool for computer users who frequently need to switch between operating systems. It eases shifting between the operating systems by offering a one-click solution.
Besides this, its companion Tenorshare ReiBoot is also a great tool to fix all iOS-related issues on iPhone and iPad with a one-click process.
- Downgrade iOS 26 to iOS 18 ;
- Fix iPhone won't restore in recovery mode, my iPhone is stuck on the Apple Logo,iPhone black screen of death, iOS downgrade stuck, iPhone update stuck, etc.
- Support all iPhone models and the latest iOS 26 and earlier.
Speak Your Mind
Leave a Comment
Create your review for Tenorshare articles
