
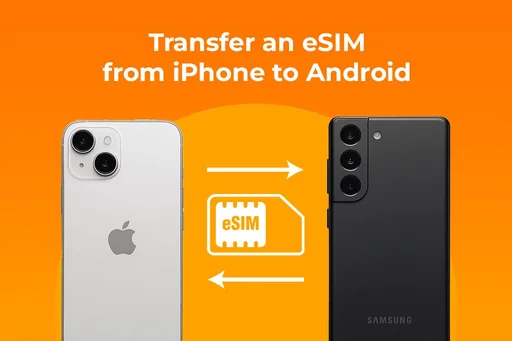
iPhone to Android eSIM Transfer: A Simple How‑To
Learn how to transfer eSIM from iPhone to Android step-by-step. Includes QR & no-QR methods, common issues, and bonus tips for complete data migration.
In this complete guide, you will learn how to transfer eSIM from iPhone to Android using a simple, step-by-step approach. Whether you're switching to a Samsung, Google Pixel, or any Android smartphone, we’ll help you complete your mobile eSIM transfer with minimal hassle.
Part 1: What You Need to Know First About Transferring Your eSIM from iPhone to Android
Before diving into the process, there are a few things you need to check to make sure iOS to Android eSIM support is even available in your region or through your carrier.
1. How to Verify If You Can Transfer Your eSIM from iPhone to Android
Not all carriers or devices currently support eSIM transfers. Some providers may limit eSIM usage or require reactivation when switching platforms. Likewise, not every Android phone supports cross-platform eSIM migration. To avoid issues, it’s important to check with your carrier and ensure your Android device is compatible before starting the transfer process. To avoid frustration, follow these steps to confirm your setup supports eSIM migration:
- Check with Your Carrier:
Visit your carrier’s website or contact support to confirm that eSIM to Android transfer is supported. - Check Android Device Compatibility:
Your Android phone must support eSIM functionality. Common models that do include:Google Pixel 3 and newer;Samsung Galaxy S20 and newer;Motorola Razr and some OnePlus models - Ensure Your iPhone Has an Active eSIM Plan:
Go to:
Settings > Cellular > Your eSIM line
It should show active status.
- Look for Transfer Options:
In some cases, your iPhone may allow you to view or export eSIM settings, but typically you’ll need to switch eSIM from iPhone to Android using a QR code provided by your carrier.

Essential Requirements for Transferring an eSIM from iPhone to Android
Once compatibility is confirmed, it’s important to gather all the necessary tools and information before starting. Having everything prepared in advance—like your carrier details, device settings, and internet access—will help ensure a smooth and hassle-free transfer process.
What You will Need:
- Active eSIM plan on iPhone
- A compatible Android device with eSIM capability
- Internet connection (Wi-Fi or mobile)
- Carrier support for eSIM reactivation
- eSIM QR code or activation details (if applicable)
Part 2: Steps to Transfer an eSIM from iPhone to Android
Once you’re ready, here’s exactly how to transfer eSIM from iPhone to Android, step by step.
Step 1: Turn Off the eSIM on Your iPhone
To avoid any conflicts during the migration, disable the eSIM line on your iPhone:
- Go to Settings > Cellular > Select eSIM line
- Tap Turn Off This Line
- Wait a few seconds, then press the Side button again to turn it back on.

Step 2: Get a New eSIM QR Code from Your Carrier
Contact your carrier and request a new QR code for eSIM activation. Some carriers offer this via their website or app.
If you’re wondering how to transfer eSIM from iPhone to Android without QR code, check if your carrier supports automatic
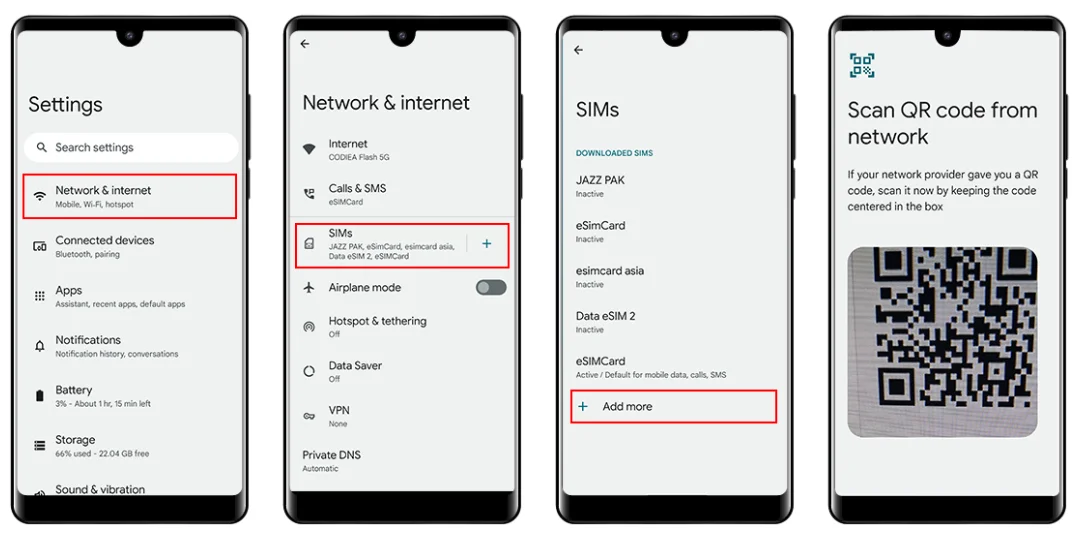
Step 3: Add the eSIM on Your Android Phone
Once you have the QR code:
Open Settings on Android
Go to Network & Internet > SIMs > Add SIM
Choose Use a QR Code
Scan the QR code provided by your carrier
Confirm and follow on-screen steps

If QR code isn’t used, your carrier may provide a manual activation code or activation via app.
Step 4: Activate and Test Your eSIM
Once added, restart your Android phone. Go to Mobile Network settings and verify that your eSIM is active and showing signal.
Make a test call or send a message to ensure everything is working.
Bonus Tip: Completing Your Data Migration After eSIM Transfer
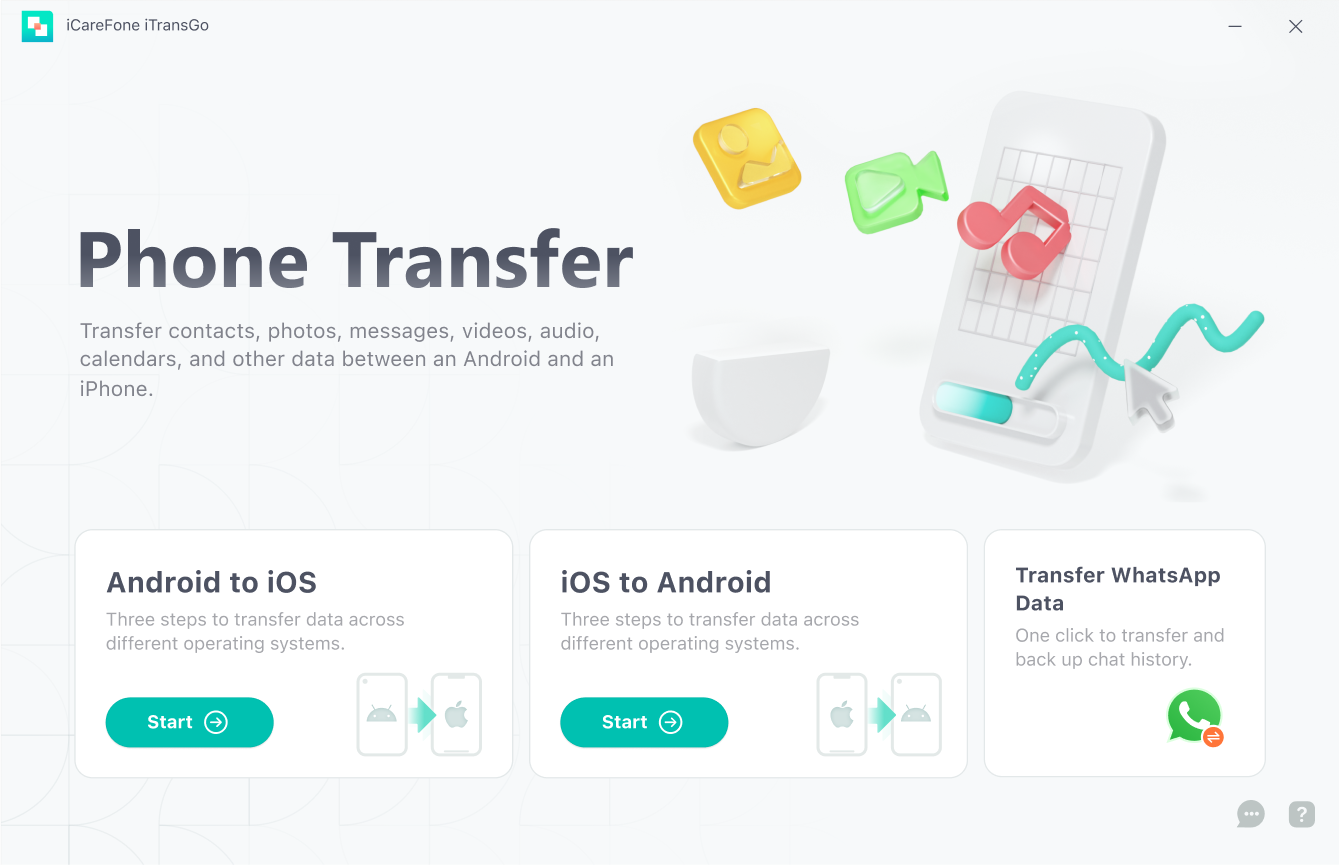
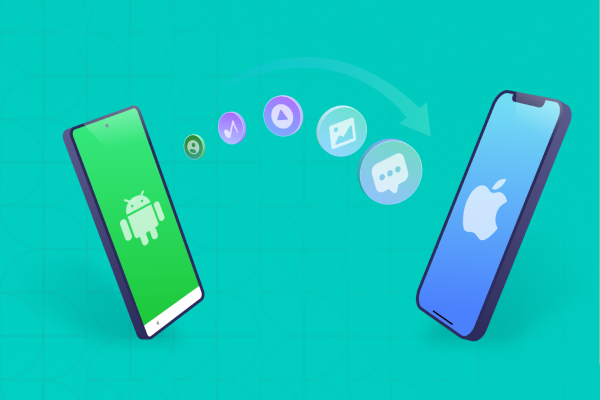
After you've successfully switched your eSIM from iPhone to Android, the job isn't done just yet. Your mobile number may be active, but what about all your important data? Moving essential content like contacts, messages, is the next critical step to ensure a seamless transition. Without a proper transfer tool, you risk losing valuable data or spending hours manually setting up your new phone. That's where a dedicated data migration solution like iTransGo by Tenorshare can make the process fast, easy, and stress-free.
- Intuitive OneClick Workflow:No technical skills needed—just connect both devices and follow the on-screen steps.
- No Reset or Data Loss:Unlike some built-in tools, iTransGo keeps your current Android setup intact.
- Supports All Major Data Types:Transfer WhatsApp data, call logs, photos, videos, music, app data, and more.
- Local & Secure:Everything happens over a secure USB connection—no cloud syncs or privacy risks.


How to Use Tenorshare iTransGo for Data Transfer?
Transfer data between phones with Tenorshare iTransGo is easy and fast. Here’s how:
- First, open Tenorshare iTransGo on your computer. Once it’s up, hit "Start" to pick your transfer type—Android to iPhone, iPhone to Android, whatever. That gets things going.
- Next, plug both your old phone and new one into the computer with USB cables. Once connected, you’ll see options to choose what data to move: contacts, messages, photos, apps, etc. Pick what you need, and you’re set.
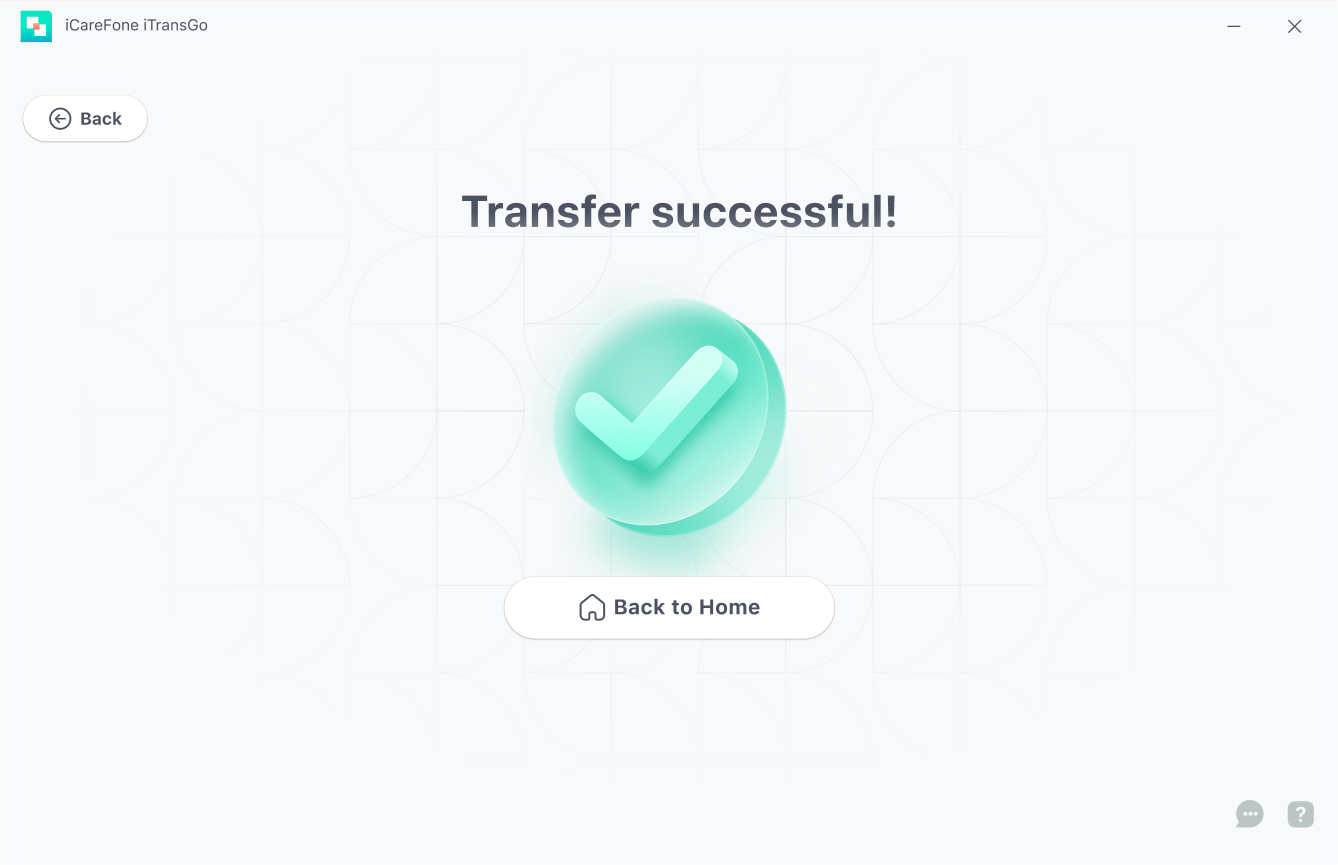
- When it’s done, the screen’ll say "Transfer successful." Boom—your data’s safely on the new device, no issues.

Part 3: Common Issues When Moving eSIM from iPhone to Android
Even if you carefully follow all the steps, unexpected issues can still arise during the eSIM transfer process. These problems may vary depending on your carrier, device model, or network settings. Whether you're performing an eSIM transfer from iPhone to Samsung or another Android device, here are some common challenges users face—and how to troubleshoot them effectively.
Common eSIM Migration Problems:
1. Unable to Scan the eSIM Activation QR Code
- Make sure your Android camera is clean and focused
- Try increasing brightness or scanning from a printed version of the code.
- If scanning still fails, ask your carrier for a manual activation code
2. Receiving Error Messages When Activating Your eSIM
- Restart your device and try again.
- Ensure internet connection is stable.
- Check if the eSIM profile is already in use (it may still be active on the iPhone).
3. Unable to Make or Receive Calls or Texts After eSIM Migration
- Verify that the correct APN settings are applied.
- Check that your number is not still linked to iMessage/FaceTime (on iPhone: Settings > Messages > Turn off iMessage).
- Contact your carrier to check provisioning status.
Part 4: People Also Ask About Transfer eSIM from iPhone to Android
Q1. Can You Transfer an eSIM Without Scanning a QR Code?
Yes, but it depends on your carrier. Some offer eSIM activation through their mobile apps, carrier settings, or SMS-based profiles.
Q2. Can You Migrate an eSIM to a New Phone if the Old Device Is Unavailable?
Usually, yes—but again, you’ll need to contact your carrier to deactivate the old eSIM and issue a new QR code or activation credentials.
Q3. Can You Transfer a Physical SIM to an eSIM?
Yes, many carriers allow you to convert a physical SIM to an eSIM. On iPhone, this is done via:
Settings > Cellular > Convert to eSIM
On Android, options vary by manufacturer and carrier.
Final Thoughts
The shift from iPhone to Android is no longer the technical nightmare it once was. With eSIM adoption on the rise and broader iOS to Android eSIM support, moving your cellular service is now faster and easier.
Just remember the key takeaways:
Now that you know exactly how to transfer eSIM from iPhone to Android, you can enjoy your new device with confidence. For a quick, safe, and complete data migration, we highly recommend using iTransGo by Tenorshare. It’s designed to make switching from iOS to Android seamless—with just one click.

Tenorshare iTransGo - No.1 Phone Data Transfer Tool

- Transfers data from iPhone to Android without resetting and vice versa
- Six types of data are supported: photos, contacts, messages, videos, calendars and music


Speak Your Mind
then write your review
Speak Your Mind
Leave a Comment
Create your review for Tenorshare articles
Related articles
All topics

By Jenefey Aaron
2026-07-14 / Transfer