ReiBoot - No.1 Free iOS System Repair Software
Fix 150+ iOS Issues without Data Loss & Safely iOS 26 Upgrade/Downgrade
ReiBoot: No.1 iOS Repair Tool
Fix 150+ iOS Issues, No Data Loss
Got a disabled iPhone 6s, 8, SE, XR, 11, 12, or 13 and need to enter recovery mode? Whether you're locked out or your iPhone is stuck, this guide walks you through how to enter recovery mode—with or without a computer, no matter your model. Plus, we’ll share the fastest way using a one-click tool.
One-step & free to put iPhone in recovery mode when disabled. Fix iPhone issues effortless.
After discussing why Apple has disabled your device, let us learn various simple ways on how to put iPhone in recovery mode when disabled.
To get a disabled iPhone 8 or later into recovery mode:
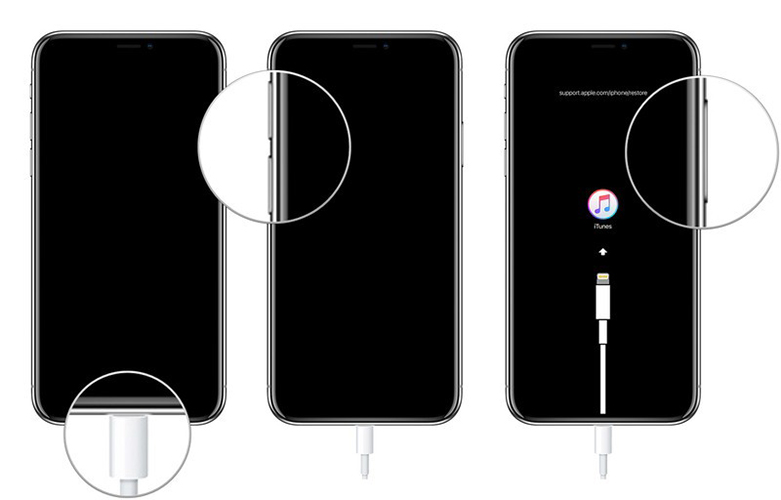
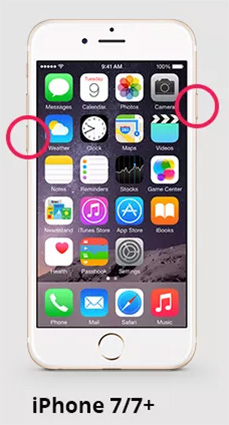
Follow the below steps to get a disabled iPhone 7 or 7 plus into the recovery mode.
Switch your phone off and then press and hold Side button and Volume Down button simultaneously until you see the recovery mode on the screen.
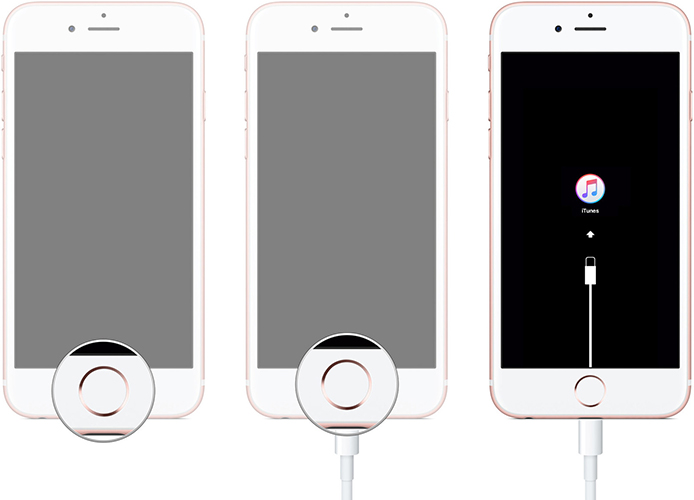
For SE 1 and iPhone 6s or earlier, follow the below steps to get into the recovery mode.
Long press the side button (or top button) and the Home button at the same time. Release them when the recovery mode appears on the screen.
Manually entering recovery mode can be tricky and time-consuming, especially if your buttons are unresponsive or you're unsure of the steps. Tenorshare ReiBoot simplifies the process significantly:
With just one click, ReiBoot gets the job done—no complex button combinations, no iTunes, and no risk of data loss.
Now, follow these steps to remove the disabled screen:
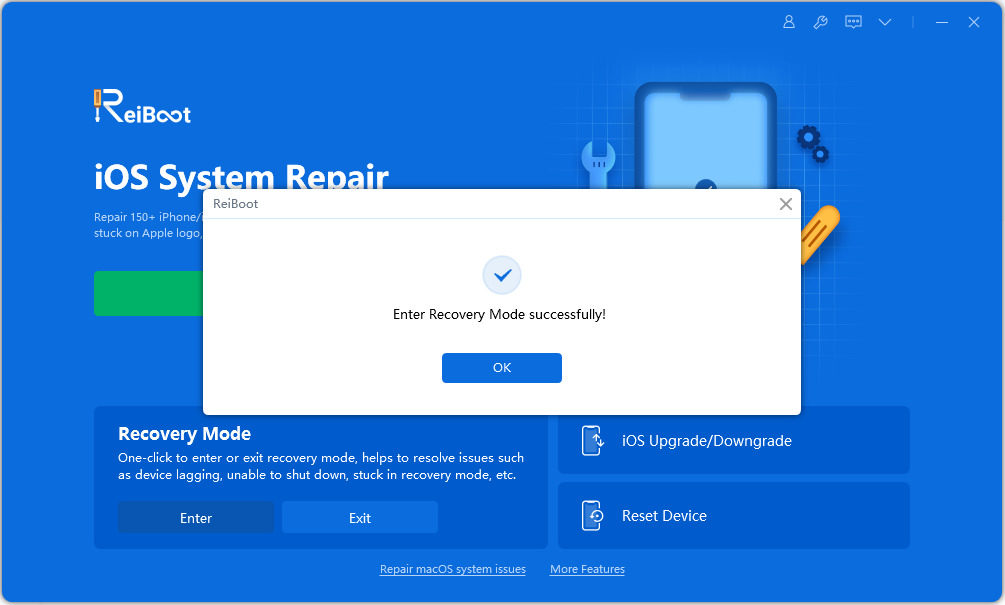
Download ReiBoot. After connecting your iOS device, choose Trust when asked. Then, click Enter on the main screen to fix the iphone 16 pro max recovery mode issue.
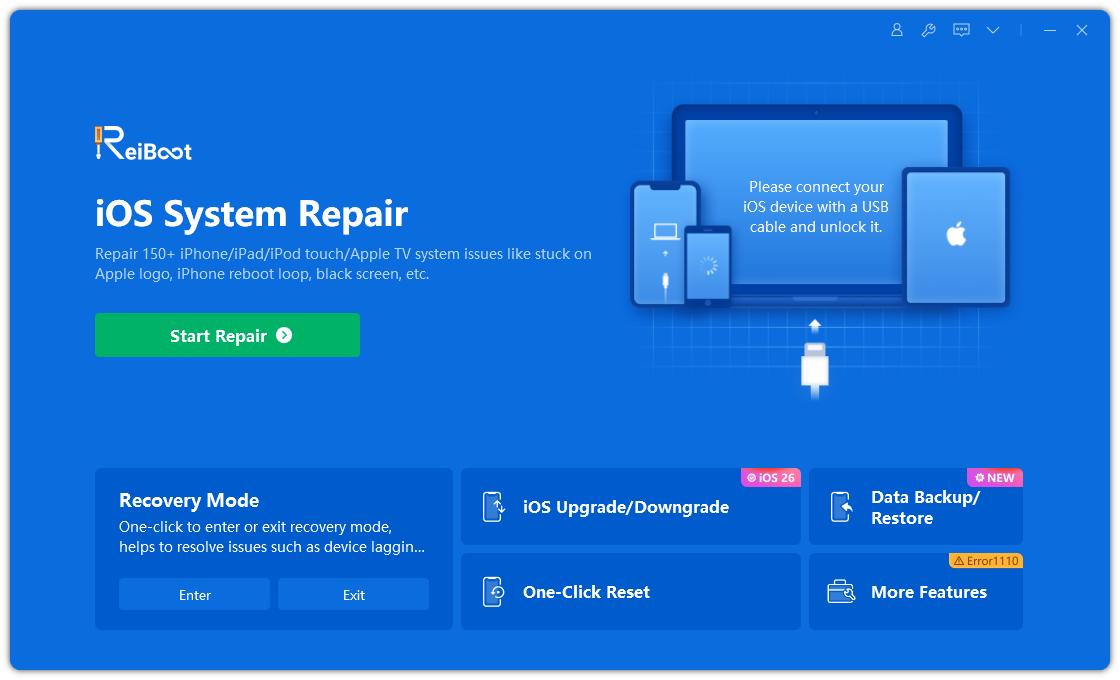
Entering iphone recovery mode won't take more than a minute.
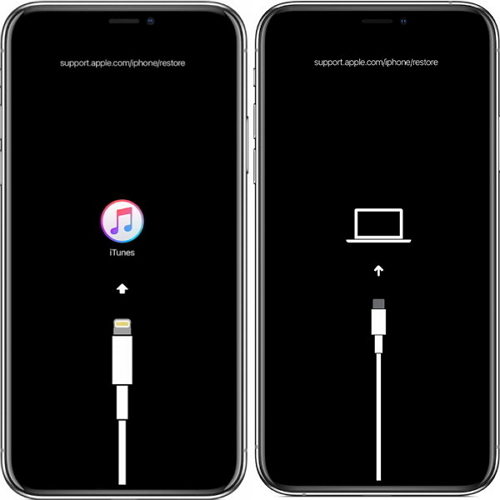
Your iPhone restarting and showing 'Connect to iTunes or Computer' on the display.
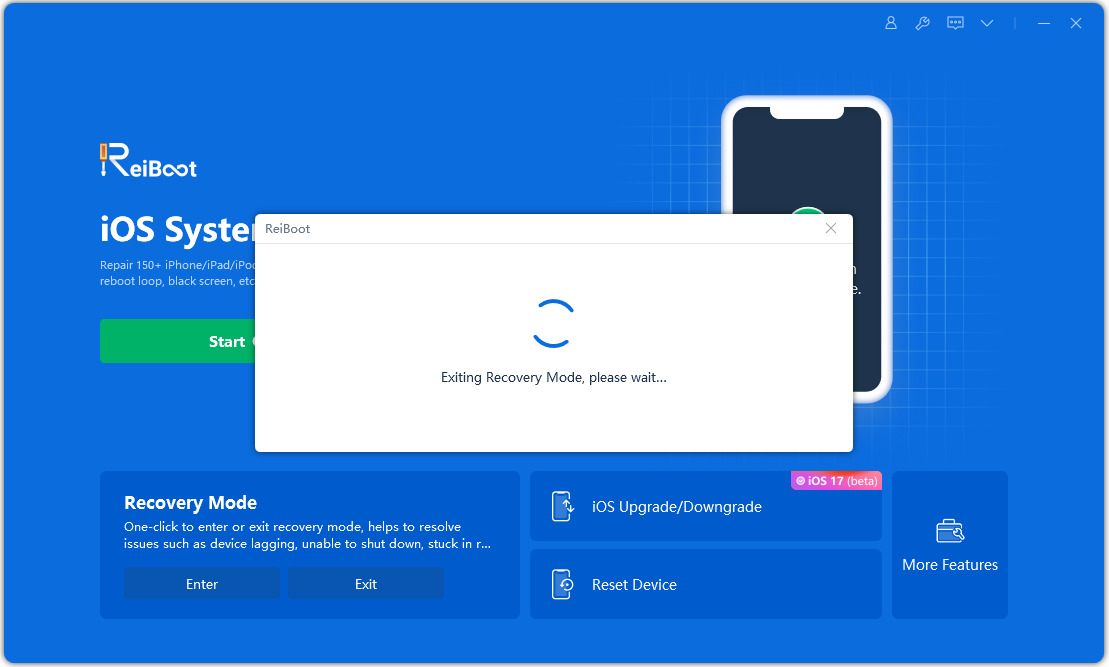
Here's how to easily go out of recovery mode with only one click:
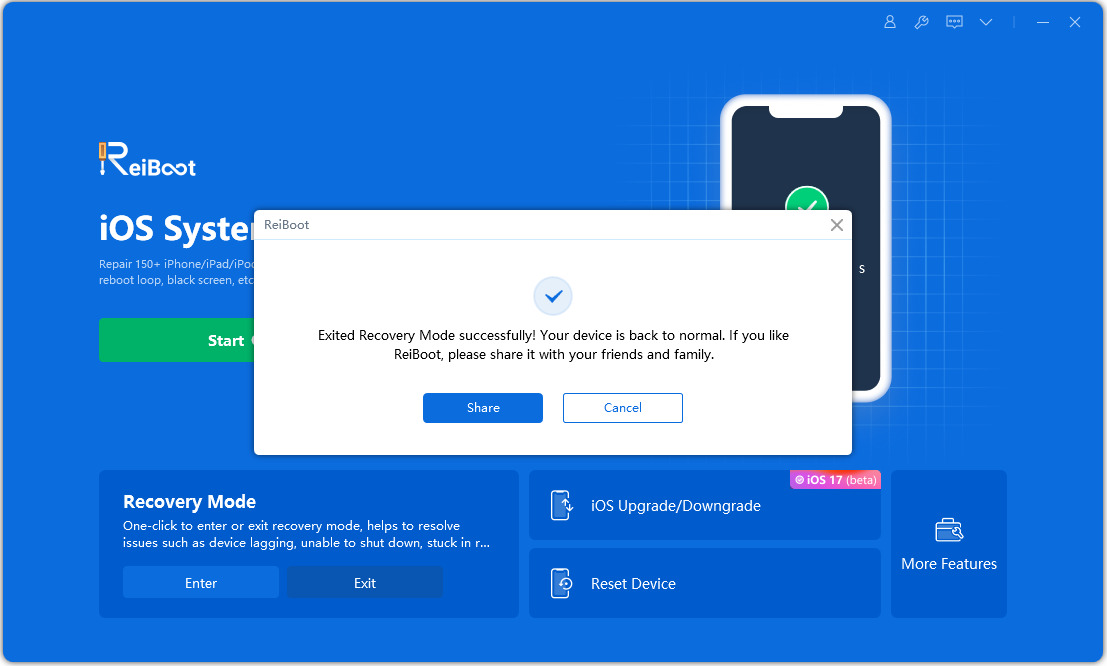
Connect your iPhone to your PC. With only one click, you can exit recovery mode by selecting the Exit button.
Your device will force the iPhone out of recovery mode in minutes.
iTunes is the official method to fix a disabled iPhone. However, users should bear in mind that this method is viable only if you have recently connected the disabled iPhone with the same iTunes. That’s why this method doesn’t work in most cases.
In any case, follow the below steps to put the disabled iPhone screen using iTunes.
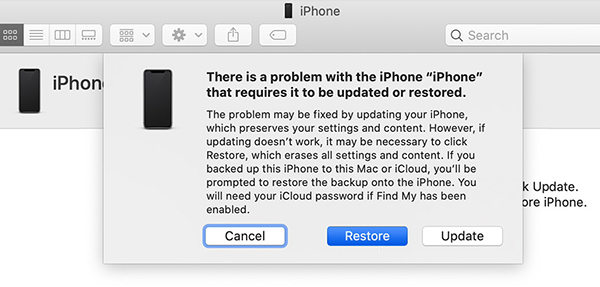
Once your iPhone is in recovery mode, iTunes will provide the option to Restore or Update your iPhone. If you choose Restore, iTunes will download the latest iOS version and install it on your device, which will erase all the data. If you choose Update, iTunes will attempt to fix the problem without erasing your data.
Tips to Consider
An iPhone becomes virtually useless when it’s disabled as it locks the user out of using any of its feature. Knowing that how frustrating it can be for users, this blogpost has outlined a step-by-step guide on how to put locked iPhone into recovery mode and then how to bypass the locked screen.
With its stellar features and 100% reliability, Tenorshare ReiBoot is the best tool you can fall back on to get rid of the disabled screen.
then write your review
Leave a Comment
Create your review for Tenorshare articles
By Jenefey Aaron
2026-02-08 / iPhone Fix