

ReiBoot - No.1 Free iOS System Repair Software
Fix 150+ iOS Issues without Data Loss & Safely iOS 27 Upgrade/Downgrade
ReiBoot: No.1 iOS Repair Tool
Fix 150+ iOS Issues, No Data Loss
You’re all set to lose yourself in the latest Sandman season on Netflix, iPhone 17 in hand, and snacks lined up. But your brand new phone just won’t connect to Wi-Fi. Meanwhile, your laptop and your old iPad are connected to the internet like nothing’s wrong.
In this post, we’ll lay out the exact reasons why your iPhone 17 is not connecting to WiFi. More importantly, you’ll learn how to fix this issue according to those reasons, so you can get back to streaming Sandman!
If your iPhone 17 won’t connect to WiFi, it could be because of reasons such as:
Here are 10 ways to fix iPhone 17 WiFi issues based on the reason they happen. So, pick accordingly:
If your iPhone 17 is not connecting to WiFi automatically, restart the phone and router. Restarting your iPhone can fix temporary glitches, refresh the system, and clear corrupt network data that may block Wi-Fi. Whereas restarting your router helps by clearing memory, fixing IP conflicts, cooling it down, and refreshing network channels to remove glitches or slow connections. Here’s how to restart your iPhone 17 and router:
Step 1: Press and hold a “Volume” or “Side” button. Then, drag the slider.
Step 2: Wait 30 seconds, then press and hold the “Side” button to restart your iPhone.

Step 1: Unplug the router (use the power button if available, but not the reset button). Wait 30–60 seconds to clear memory and let it cool down.
Step 2: Plug it back in and power it on. Wait 1–3 minutes for the router lights to come back on and reconnect.
When your iPhone 17 is not connecting to WiFi or 5G, turn Wi-Fi off and on, and forget/rejoin a network. Toggling WiFi gives your iPhone a quick refresh, fixes small glitches, and forces it to reconnect to the network. While forgetting/rejoining a network clears outdated or corrupted data, updates the connection info, and helps solve router-related changes or connection issues. Here’s how to toggle WiFi and forget/rejoin a network:
Step 1: Open “Settings.” Next, tap “Wi-Fi.” Switch Wi-Fi off. Then, on again.
Step 2: Tap the “i” icon next to your WiFi network. Then, select “Forget This Network” and confirm.

Step 3: Choose the network again. Enter the WiFi password. Hit “Join.”
If your iPhone 17 WiFi is still not working, it could be because you’re using a VPN. It can slow down or block Wi-Fi by rerouting traffic, using the wrong settings, or clashing with certain networks and apps. So, deactivate it to check if it’s causing the WiFi problem. Simply, open the VPN app you’re using. Then, tap the disconnect button to switch it off.

In case your iPhone 17 is not connecting to WiFi or data, it could be in Low Data Mode. This mode limits streaming quality, pauses app updates, and slows downloads to save data. So, when you switch it off, this step lets apps refresh in the background, speeds up downloads, and restores full functionality. It can also prevent issues like weak or disconnected hotspots. Here’s how to switch off Low Data Mode:
Step 1: Open “Settings.” Next, tap “Wi-Fi.” Click the “i” icon next to your WiFi network. Next, switch off “Low Data Mode.”

Step 3: If you’re using cellular data, open “Settings.” Then, tap “Cellular.” Step 4: Click “Cellular Data Options.” After this, choose “Data Mode.” Pick “Standard” or “Allow More Data on 5G.”

iCloud Private Relay can cause problems with certain Wi-Fi networks, websites, or apps that rely on IP filtering or monitoring. It may also slow down browsing or conflict with VPNs and router settings. So, if your iPhone 17 is not connecting to WiFi, deactivate the iCloud Private Relay to check if it’s the reason for it:
Step 1: Open “Settings” on your iPhone 17. Then, choose your name at the top of the screen.
Step 2: Click “iCloud.” Next, select “Private Relay.” Toggle off “Private Relay.”

You can reset your network settings if your iPhone 17 won’t connect to the internet. This will eradicate any internet errors by removing Wi-Fi passwords and Bluetooth connections, preferred networks, and VPN settings. Here’s how to reset network settings on your iPhone 17:
Step 1: Head to “Settings” on your iPhone 17. Then, choose “General.”
Step 2: Tap “Reset.” Next, click “Reset Network Settings.”

If iPhone 17 is not connecting to WiFi after resetting network settings, try to fix it by changing the DNS manually. This can fix “No Internet Connection” errors. It also prevents apps from overriding your DNS with faulty settings. Here’s how to change DNS manually on iPhone 17:
Step 1: Open “Settings.” Next, tap “Wi-Fi.” Click the “i” icon next to your WiFi network.
Step 2: Move to “Configure DNS.” Then, select “Manual.” Erase old DNS servers if listed.

Step 3: Tap “Add Server” and enter any of the following DNS. Hit “Save” afterward:

Switching Airplane Mode on and off resets all wireless connections, which can fix small glitches or conflicts that might be stopping your iPhone 17 from connecting to WiFi. It also clears cached network data that may block Wi-Fi. Here’s how to toggle the Airplane Mode on and off on an iPhone 17:
Step 1: Open Settings on your iPhone 17. Toggle Airplane Mode on.
Step 2: Then, wait for 10–15 seconds. Turn it off.

Router settings can sometimes block or disrupt the iPhone 17’s connection to WiFi if they’re outdated, too strict, or not fully compatible. Things like old firmware, channel interference, or band steering between 2.4 GHz and 5 GHz can also cause issues. So, adjust these settings to fix the Wi-Fi problems. However, the steps may vary by router, so check the manual or the maker’s website.
Connecting your iPhone 17 to another Wi-Fi can also help you find out if the issue is with your phone or your main network. If it functions fine on another Wi-Fi, the problem is likely your router or the internet. If it doesn’t, the issue is probably deeper in your iPhone’s iOS.
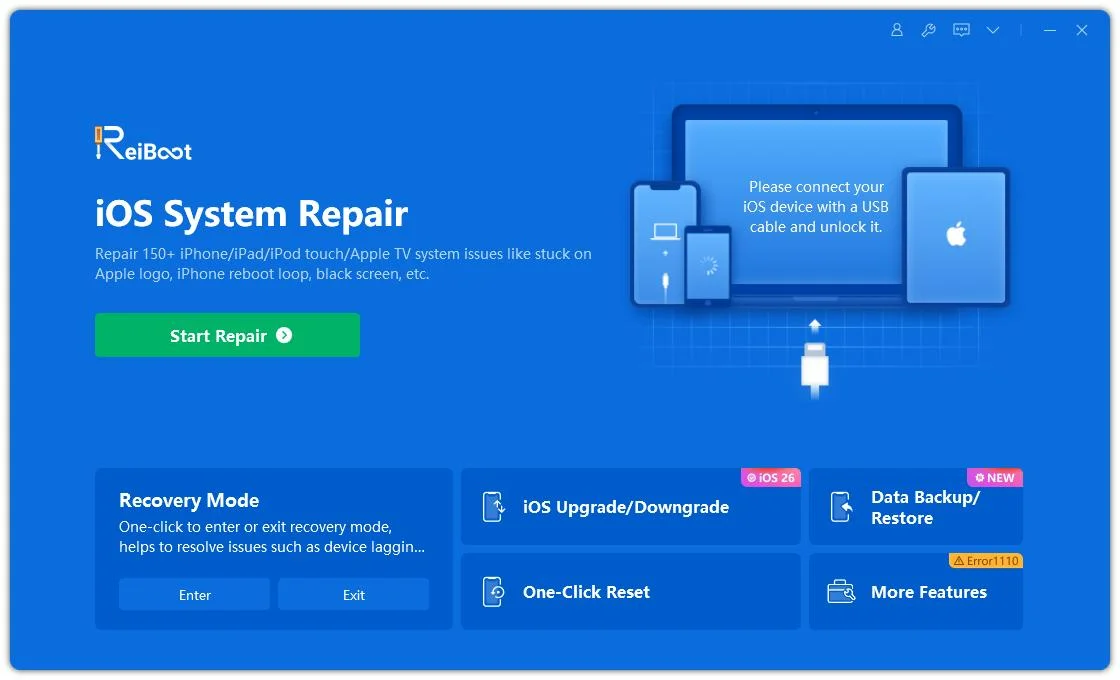
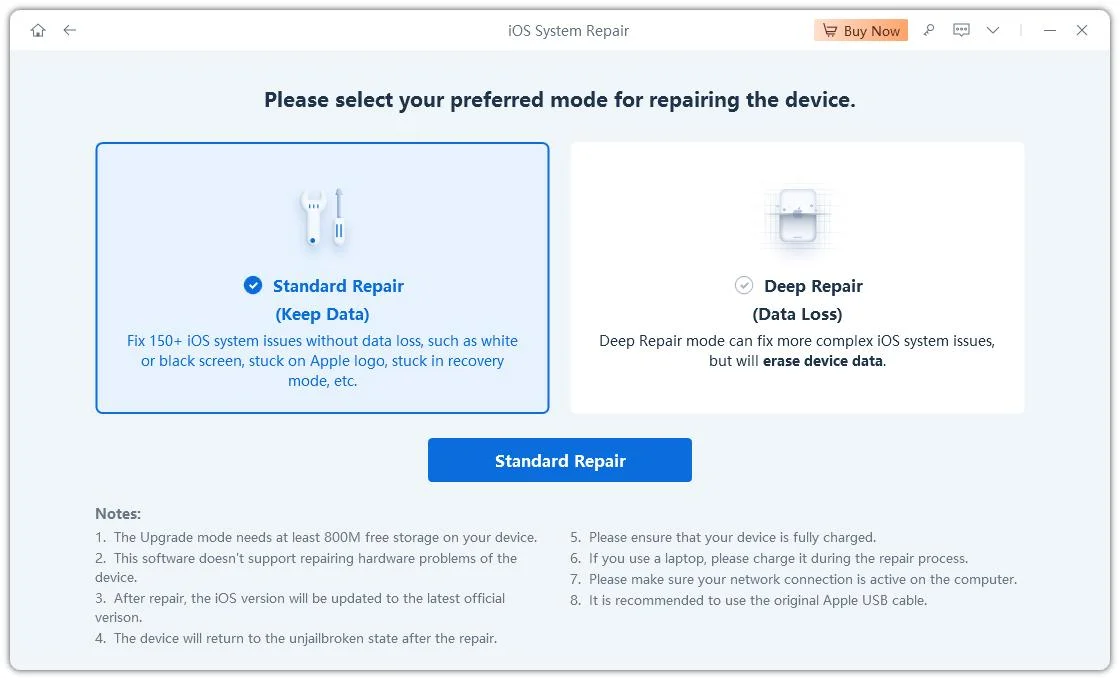
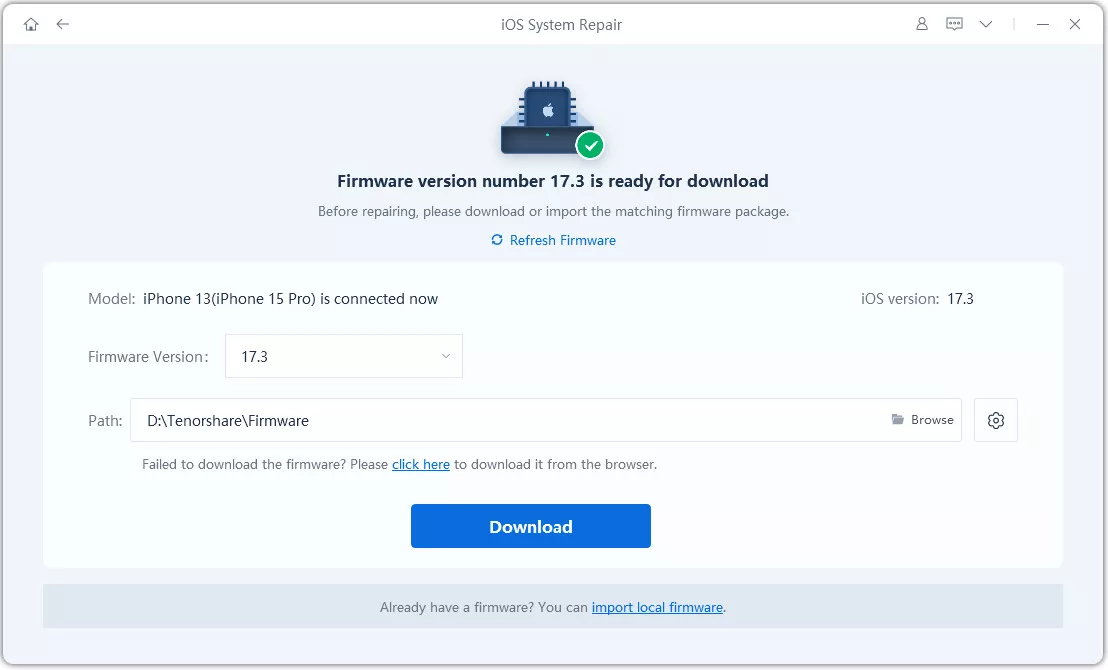
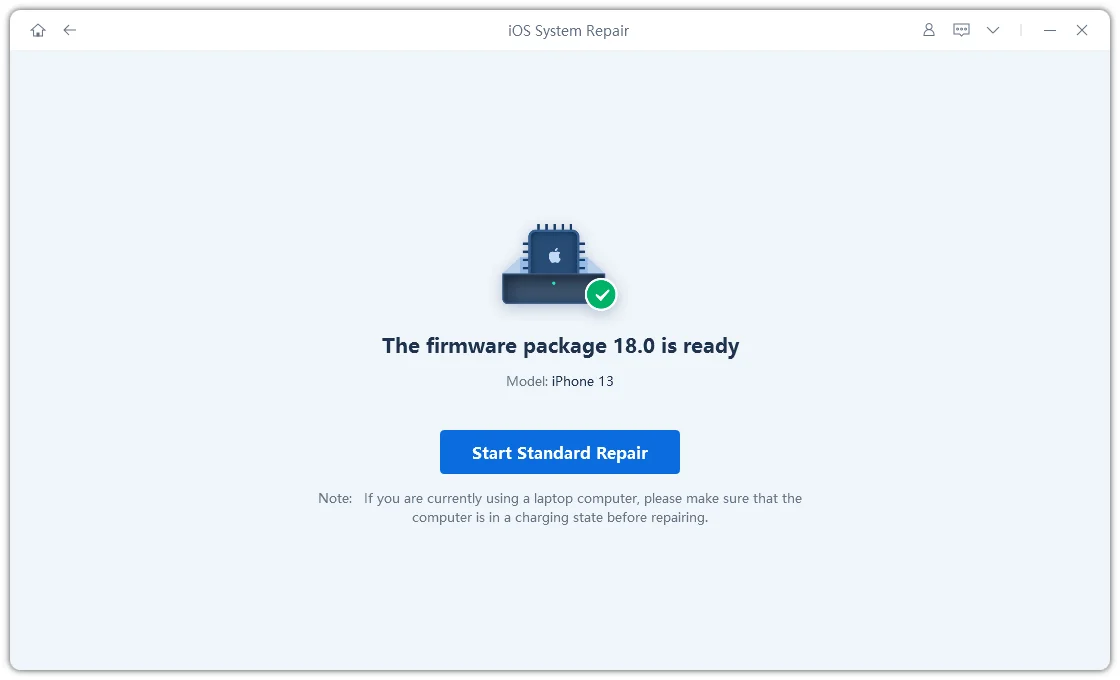
Even after trying out all 10 solutions, if your iPhone 17 is not connecting to WiFi, it could be because of an iOS glitch. Not because of an internet issue. Rather than resetting your iPhone 17 to fix an iOS issue like this, you can employ an iOS Repair tool like Tenorshare ReiBoot. It can troubleshoot iOS problems like not connecting to WiFi or cellular data without losing data or jailbreaking. Here are this tool’s primary features at a glance:


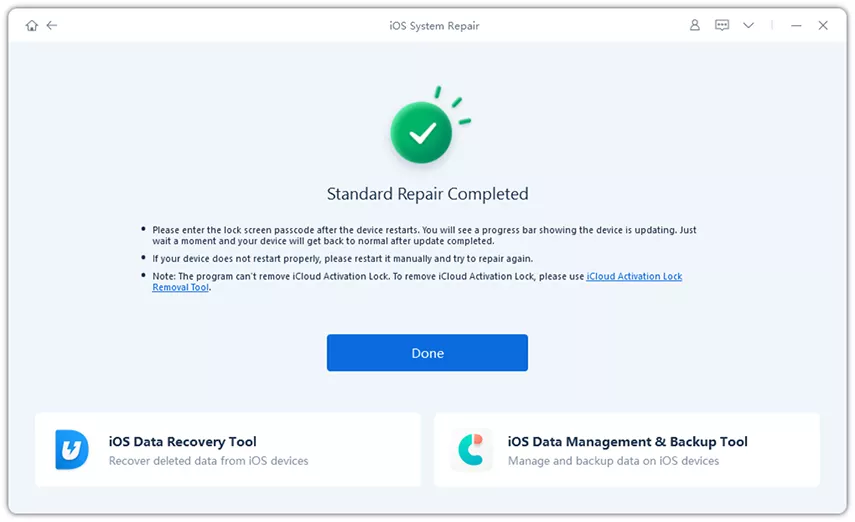
Here’s how to employ Tenorshare ReiBoot to fix the WiFi issue on your iPhone 17:
If your iPhone 17 is not connecting to WiFi, the problem could be with the router, settings, software, or the phone itself. We’ve shared solutions like restarting devices, toggling Wi-Fi or Airplane Mode, forgetting/rejoining networks, disabling VPN or iCloud Private Relay, changing DNS, and testing another WiFi network.
But if nothing seems to fix the issue, the problem may be iOS-related. In such a case, employ an iOS Repair tool like Tenorshare ReiBoot. It can safely fix an iOS issue that’s stopping your iPhone 17 from connecting to the WiFi without losing data.

Tenorshare ReiBoot - Fix iOS Issues


then write your review
Leave a Comment
Create your review for Tenorshare articles

ReiBoot - No.1 Free iOS System Repair Software
Fix 150+ iOS Issues without Data Loss & Safely iOS 27 Upgrade/Downgrade
ReiBoot: No.1 iOS Repair Tool
Fix 150+ iOS Issues, No Data Loss
By Jenefey Aaron
2026-06-17 / iPhone 17