

iCareFone - Free iOS Backup tool & Easy Data Manager
Backup/Transfer/Restore/Manage iOS Data with Simple Clicks
Backup/Manage iOS Data Easily
Backup/Manage iOS Data in Clicks
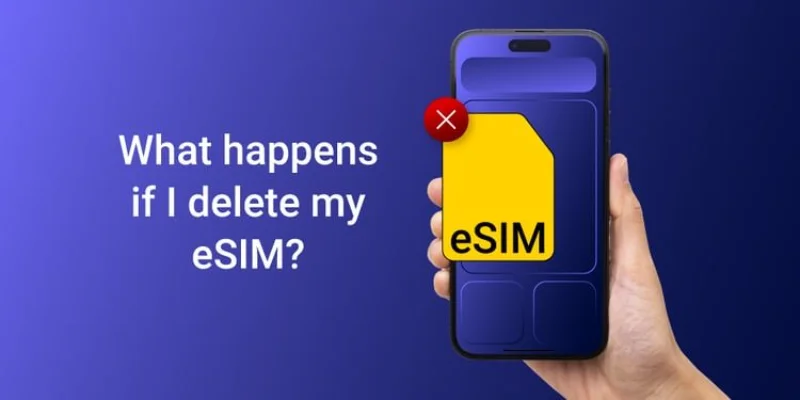
The iPhone 17 brings advanced eSIM support, making it easier than ever to manage cellular plans without a physical SIM card. But many users still wonder: what happens if I delete eSIM on iPhone 17? Will it erase contacts, cancel a carrier plan, or affect personal data?
The truth is, deleting an eSIM only impacts your mobile line, not your apps, photos, or iCloud files. Still, it can create service issues if done carelessly. This guide explains the risks, fixes, and best practices for removing or transferring eSIMs, helping you avoid mistakes when switching or upgrading.
Before removing an eSIM, it’s important to know what actually happens. Deleting it is not the same as erasing a physical SIM it has specific effects you should be aware of.
Once you delete the eSIM, your iPhone 17 will immediately lose access to mobile data, calls, and texts associated with that plan. You won’t be able to use the number unless you reinstall or re-activate it.
Deleting an eSIM doesn’t just stop service it removes your carrier profile from the phone. To use the same plan again, you’ll need to contact your carrier or scan the QR code provided by them.
While it sounds permanent, deleting an eSIM is often reversible. Many carriers allow you to re-download the same eSIM as long as your plan is still active.
If you are upgrading to the iPhone 17, transferring your eSIM can be confusing. Here’s what you need to consider before deleting it from your old phone.
Apple allows you to transfer your eSIM from an older iPhone during the setup of your new iPhone 17. This ensures a smooth switch without losing your number or carrier settings.
You should never delete the eSIM from your old device until you’ve confirmed it works on your new phone. Removing it too soon may leave you without service.
Some carriers support automatic eSIM transfer, while others may require you to scan a new QR code. Always check your carrier’s instructions before making changes.
When managing eSIMs, users often face different situations, especially when upgrading phones or switching carriers. Let’s look at common scenarios and what actions are recommended when what happens if I delete eSIM on iPhone 17.
If you’re upgrading, you might wonder, should I delete eSIM from old phone to new phone 17? The best approach is to first transfer the eSIM to your iPhone 17. Once you confirm the new phone is working, then you can delete the eSIM from your old device. This avoids the risk of losing service during the switch.
The answer depends on the situation. If you plan to sell, trade in, or give away your iPhone, then yes you should I erase eSIM on iPhone 17 to prevent someone else from using your plan. But if you’re simply troubleshooting or planning to reuse the phone, erasing may not be necessary.
Some users report issues where they can't delete eSIM iPhone 17. This can happen if the eSIM is the active default line, if the carrier has restrictions, or if a software glitch is preventing deletion. In such cases, switching to another line or contacting your carrier is often the only fix.
If you’re moving from an older device, you might need to remove eSIM from iPhone 13 before setting it up on iPhone 17. The process is straightforward: delete the profile on the old phone after transferring the service, then activate the new profile on iPhone 17 using your carrier’s QR code or app. Always confirm that the transfer is complete before removing the old one.
The steps to delete an eSIM from an iPhone may vary slightly depending on your model and iOS version, but the overall process is straightforward. Follow these steps to safely remove an eSIM profile from your device:
After completing these steps, the eSIM profile will be removed. If you have multiple eSIMs, repeat the process for each one you want to delete.

When upgrading to a new iPhone, many users worry about losing contacts or important files. Although deleting an eSIM does not directly remove your address book, it is always wise to back up before making any changes.
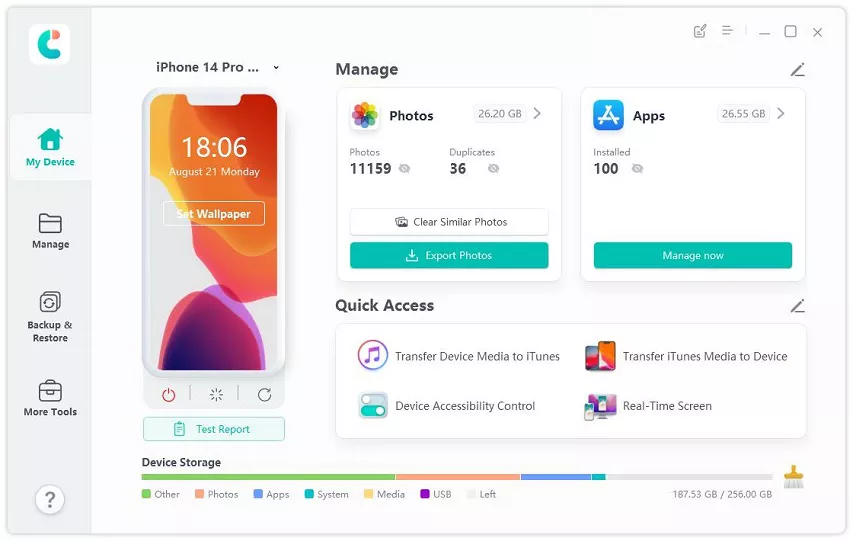
Tools like Tenorshare iCareFone make the process simple and secure by allowing you to transfer contacts, photos, and other data with ease. Whether you are removing eSIM from iPhone 13 or erasing the eSIM from iPhone 17, using such tools ensures you won’t risk losing anything valuable.


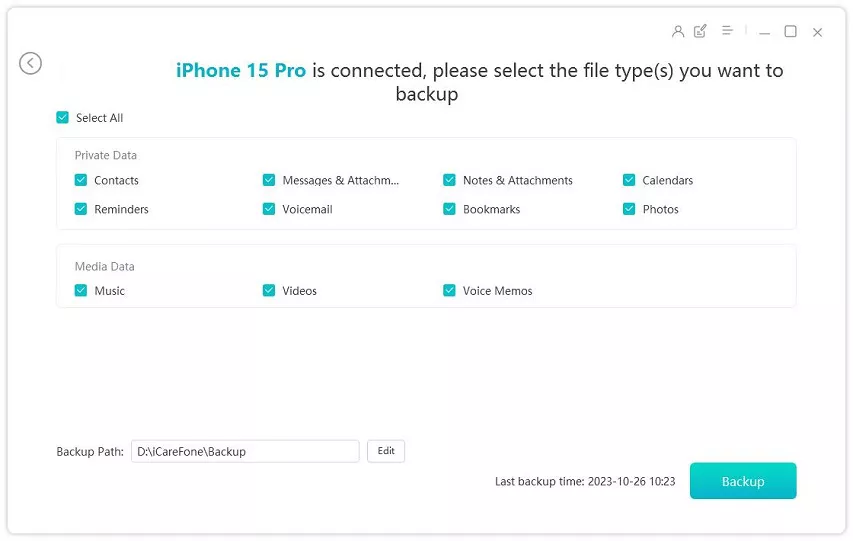
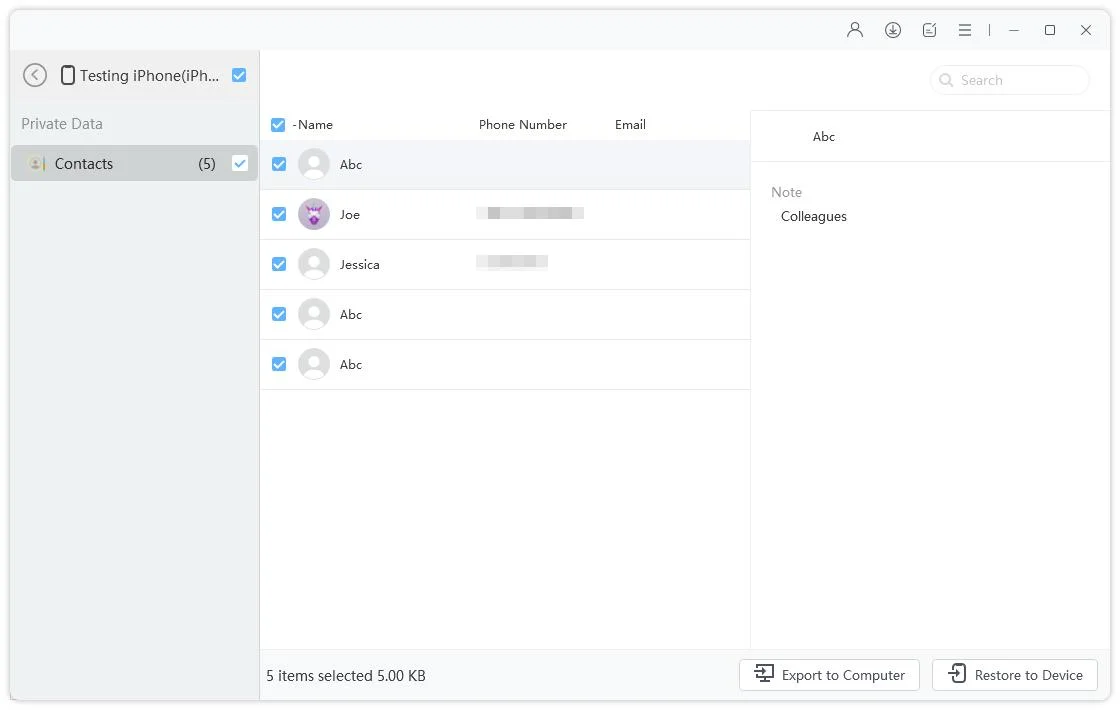
Download and install Tenorshare iCareFone on your computer. Open iCareFone and connect your old iPhone to the PC. Choose “Backup & Restore” from the right menu.
Then select all the data and click on Backup button.
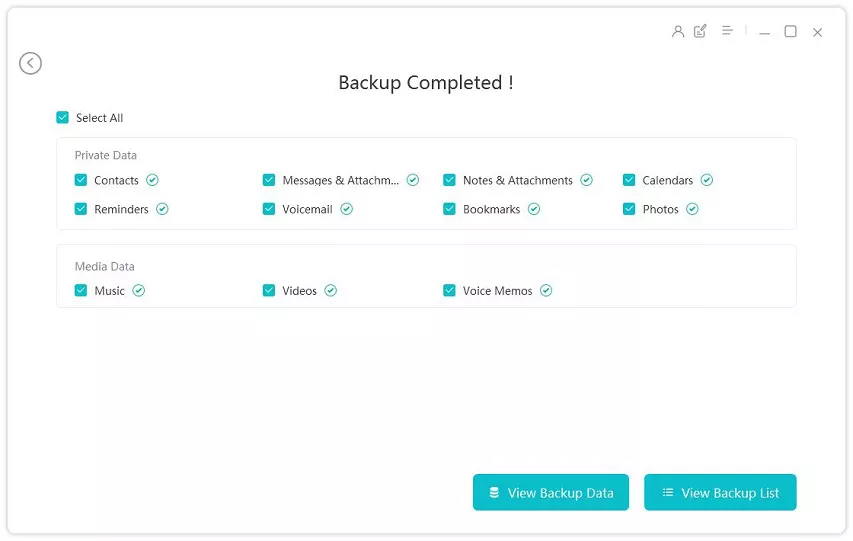
When the backup is completed, choose “View Backup Data”.
And boom, all your stuff is now in the new iPhone! As simple as that!

Deleting or transferring an eSIM on your iPhone 17 is straightforward, but it’s important to follow the right steps to avoid service disruptions. Deleting an eSIM only affects your cellular plan, not your data like contacts or photos. Always transfer your eSIM to the new iPhone first, and only delete it from the old one once everything is set up.
To make sure you don't lose important data like contacts and photos during the process, Tenorshare iCareFone is a great tool. It helps you transfer data easily, back up your files, and restore them quickly.

Tenorshare iCareFone - Best iOS Backup Tool and File Manager


then write your review
Leave a Comment
Create your review for Tenorshare articles

Best Free iPhone Transfer & iOS Backup Tool
Easily, without iTunesiCareFone - Free iOS Backup tool & Easy Data Manager
Backup/Transfer/Restore/Manage iOS Data with Simple Clicks
Backup/Manage iOS Data Easily
Backup/Manage iOS Data in Clicks
By Jenefey Aaron
2026-06-08 / iOS 26