How to Enter/Exit iPod Touch Recovery Mode in 2025
2024 and iPods?! It’s obvious that you already miss the headphone jack. Well, if your trusty music-friend, iPod Touch, has decided to take a break and is stuck on a loop or unresponsive, this blog is for you. We’ll walk you through the process on how to enter and exit iPod Touch recovery mode and find out different methods to fix your iPod Touch.
- Part 1: What Does Recovery Mode Do on the iPod Touch?
- Part 2: How to Put iPod in Recovery Mode
- Part 3: How to Get iPod out of Recovery Mode
- Part 4: How to Put iPod Touch in Recovery Mode and Exit without iTunes [Keep Data]
Part 1: What Does Recovery Mode Do on the iPod Touch?
When you put iPod Touch in recovery mode, it initiates a process of reinstalling the iOS, fixing all the unknown system errors. It is used to fix boot loops when your iPod Touch is continuously restarting. Recovery mode is also useful when your iPod Touch isn’t responsive to the inputs. Moreover, if you want to downgrade your iPod Touch to the previous version of iOS, putting your iPod Touch in recovery mode would surely help.
Whether it’s your iPhone, Mac, iPad, iPod, or any other iDevice, a recovery mode helps you fix your iDevice and bring it to its factory default settings. However, you must keep ‘recovery mode’ as a last resort option since it formats everything on your iDevice. If it’s your iPod, all of your saved media files and settings will be erased (you can restore your songs back when you sign-in again with your iCloud).
Part 2: How to Put iPod in Recovery Mode
Working with iPod Touch recovery mode might sound complex, but it's a fairly straightforward and easy-going process. As it allows you to reinstall the operating system (iOS) on your iPod, it fixes most of the unknown software-related issues that might be causing malfunctions. In this part, we'll break down the steps involved in entering recovery mode, making it easy for you to troubleshoot your iPod Touch.
In order to put iPod in recovery mode, you need to follow the steps mentioned below.
1. Shutdown iPod Touch
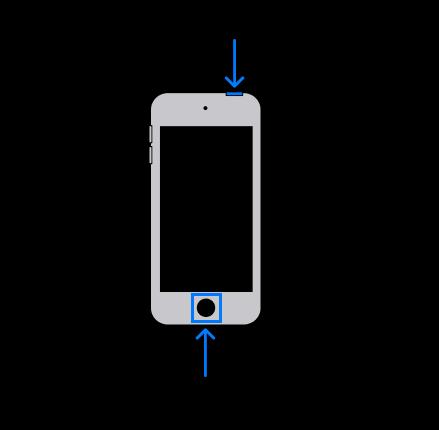
Turn off your iPod Touch by pressing and holding the Sleep/Wake button. After about 4 seconds, you’ll see a slider on screen. Slide to power off your iPod Touch. If your iPod Touch is unresponsive and you can’t slide the slider, you can also press and hold both Sleep/Wake button and Home button on your iPod Touch and keep holding until the device shuts down.
2. Connect your iPod Touch with a Computer
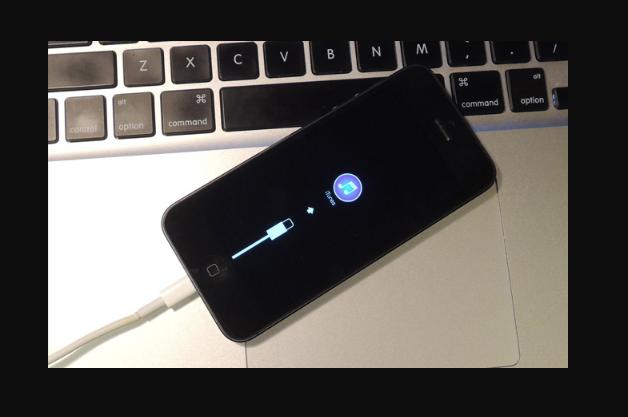
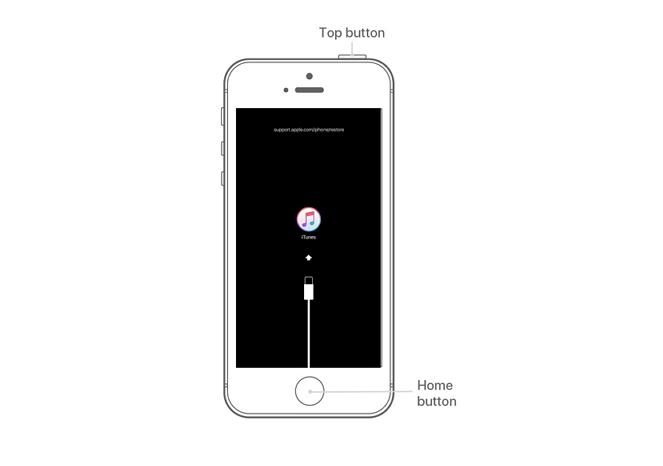
Connect the thunderbolt with your computer and do not plugin the iPod yet. Press and hold the Home button for more than 10 seconds on your iPod and connect the cable with it. When you see the "Connect to iTunes" screen, release the Home button.
3. Launch iTunes on computer
Once you launch the latest iTunes on your computer, you’ll see a pop-up notifying you about the iPod Touch recovery mode. You’ll see two options: Update and Restore. Choose any of the given options to proceed.
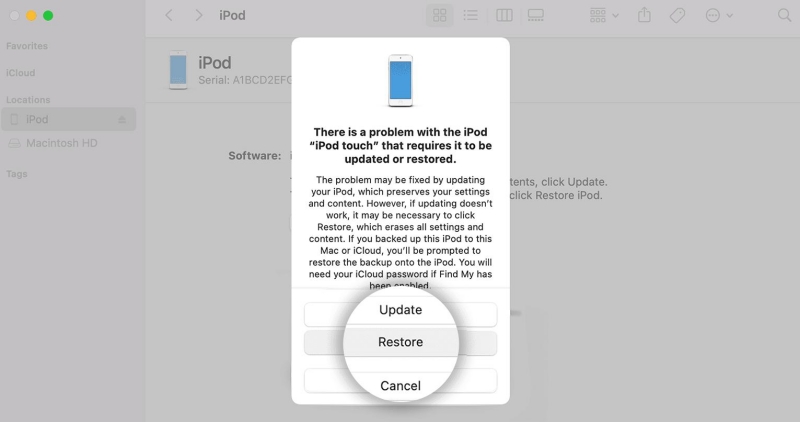
Now, all the necessary steps are completed for the recovery mode. It’s time to get iPod Touch out of recovery mode.
Part 3: How to Get iPod out of Recovery Mode
So, you have finally made it this far. Your iPod Touch is in recovery mode and now it’s time to get it out of it. Getting your iPod Touch out of recovery mode is as important as putting it in in the first place. In order to get iPod Touch out of recovery mode, you need to follow these steps:
1. Unplug your iPod Touch from the computer.
2. Restart the device by pressing and holding both the Sleep/Wake button and Home button until iPod Touch reboots.
3. Your iPod Touch will restart as fresh and it will be out of recovery mode already.
Part 4: How to Put iPod Touch in Recovery Mode and Exit without iTunes [Keep Data]
So, you’ve just learned how to put iPod Touch in recovery mode and get iPod Touch out of recovery mode, but the problem is that the whole process takes forever and you lose all your data as well - it’s a pain, right?
Not anymore! Tenorshare ReiBoot is here to save the day! You won’t have to use iTunes in order to put iPod Touch in recovery mode and exit. And the best part? Your data will remain safe!
Here’s a complete guide on how to use Tenorshare ReiBoot to work with getting into the iPod Touch recovery mode without losing any data.
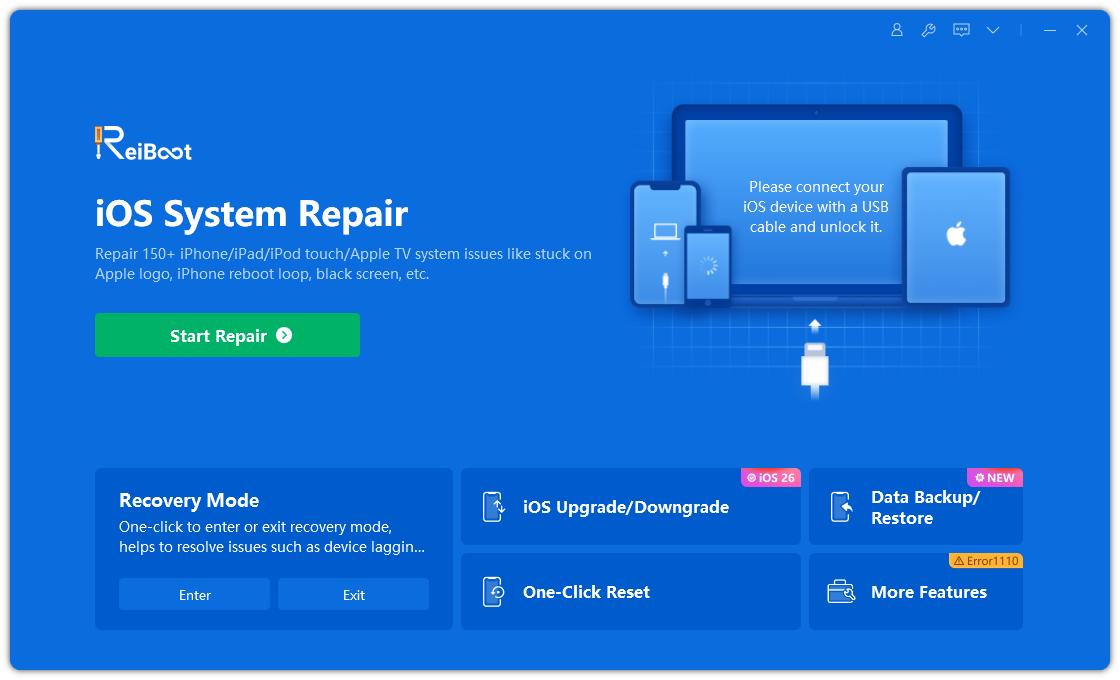
Download and install Tenorshare ReiBoot on your computer and connect your iPod Touch via a thunderbolt cable.

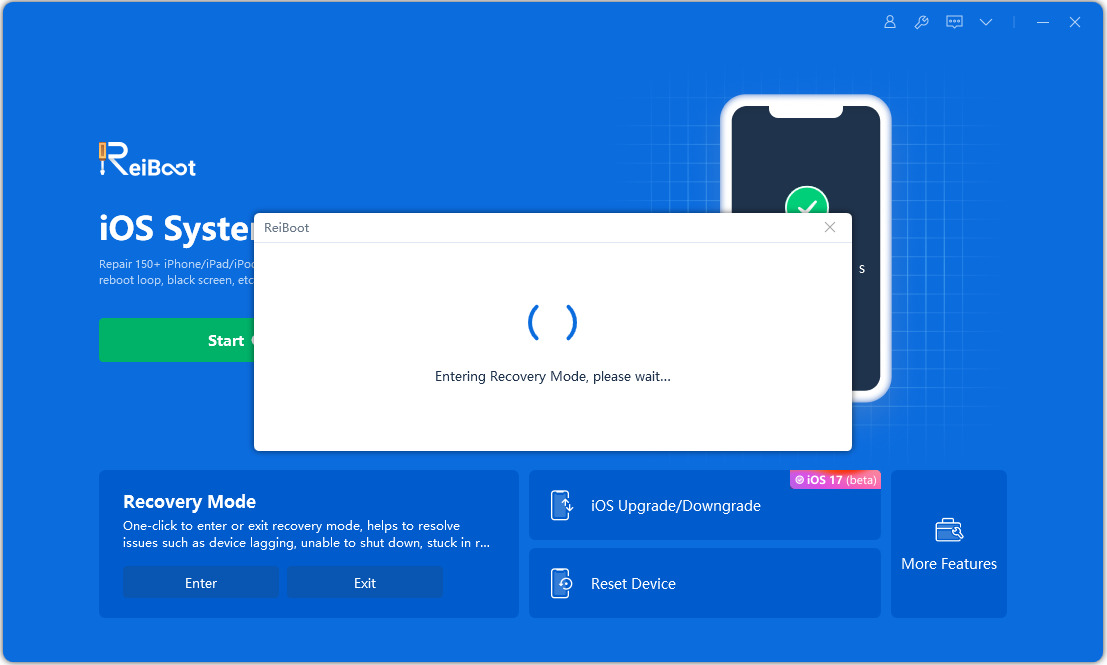
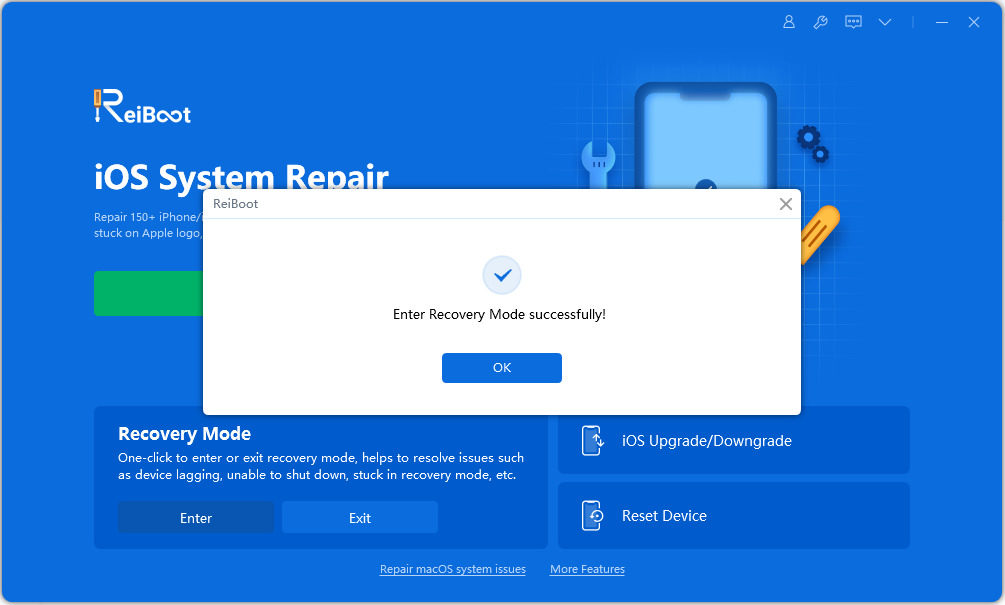
Once ReiBoot recognizes your iPod Touch, click Enter to put it in the Recovery Mode. It’s that easy!

In just a few seconds, your iPod Touch will be in Recovery Mode and you'll be able to see the ‘connect to iTunes or Computer' screen.

This is how simple and easy it is to put iPod Touch in recovery mode with Tenorshare ReiBoot. Now, let’s learn how to get iPod Touch out of recovery mode using Tenorshare ReiBoot.
As soon as the iPod Touch gets detected by the program, you’ll see an option of Exit on the bottom of the window. Click on it to get iPod Touch out of recovery mode.
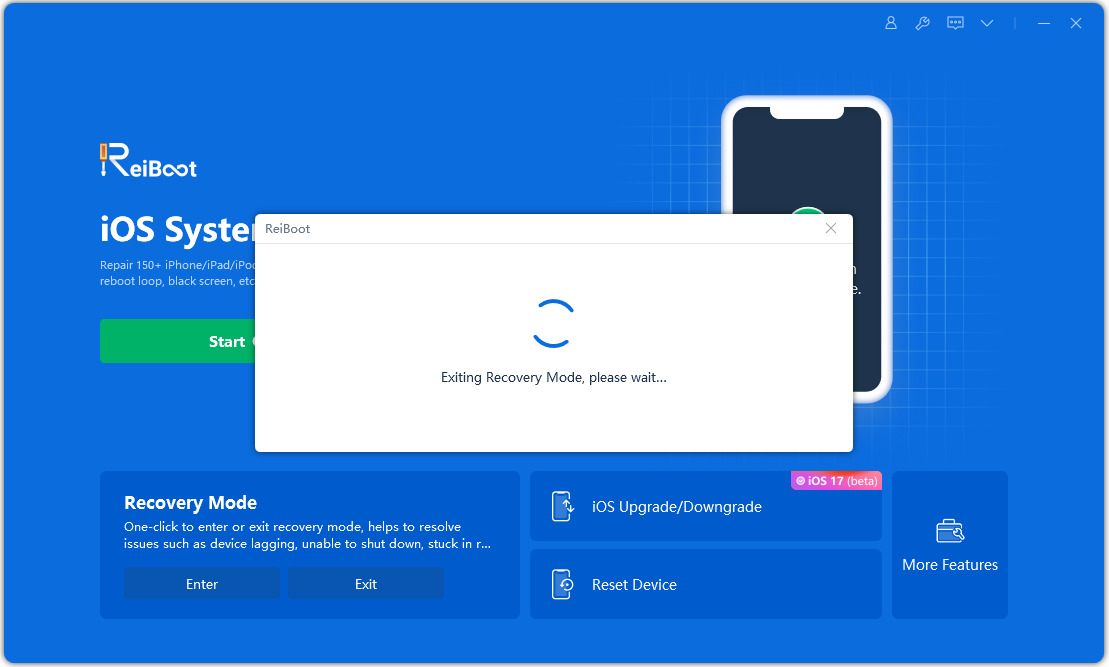
Within a few seconds, your iPod Touch will reboot normally and you’ll find all your data within your device.
Conclusion
Whenever your iPod Touch throws a tantrum, don’t despair! You know now how to work with iPod Touch recovery mode with and without iTunes. Recovery mode might seem daunting, but as you’ve seen, it’s a fairly straightforward process that can breathe new life into your favorite music player.
But the only problem you face after you get iPod Touch out of recovery mode, is the loss of data. For those who can’t see their data getting lost, Tenorshare ReiBoot offers something valuable. It lets you put iPod touch in recovery mode without using iTunes and it also keeps your data safe when you get iPod Touch out of recovery mode - a win-win!
- Downgrade iOS 26 to iOS 18 ;
- Fix iPhone won't restore in recovery mode, my iPhone is stuck on the Apple Logo,iPhone black screen of death, iOS downgrade stuck, iPhone update stuck, etc.
- Support all iPhone models and the latest iOS 26 and earlier.
Speak Your Mind
Leave a Comment
Create your review for Tenorshare articles


