Guideline for Tenorshare ReiBoot
Guideline for Win
Try ReiBoot Now
Tenorshare ReiBoot provides a quick and easy way to repair iOS system issues such as stuck on the Apple logo, boot loops, and more. Fix your iPhone or iPad to normal without data loss in just a few simple steps.
Tenorshare ReiBoot is the best choice. It is a professional iOS system recovery tool with two repair modes - Standard Repair and Deep Repair that help repair iPhone system in few minutes, and fix almost all iOS stuck issues completely. It supports fixing iPhone 16 /16 Plus/16 Pro/16 Pro Max and more.
Step 1 Download and Install ReiBoot on PC or Mac
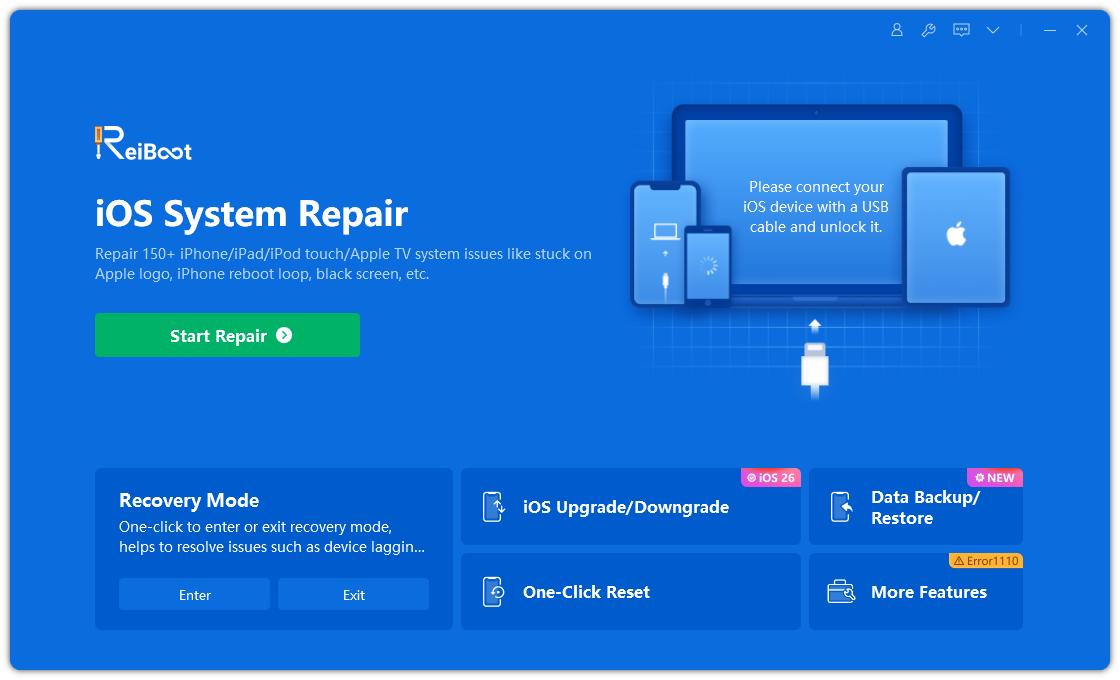
Run ReiBoot on your computer and connect iPhone to computer. Once the device is recognized, click 'Start Repair' button to use iOS System Recovery tool.
![]() Note:
Note:
To repair iOS system successfully, it's highly recommended that you connect the iOS device to the computer using the Apple original lightning USB cable.
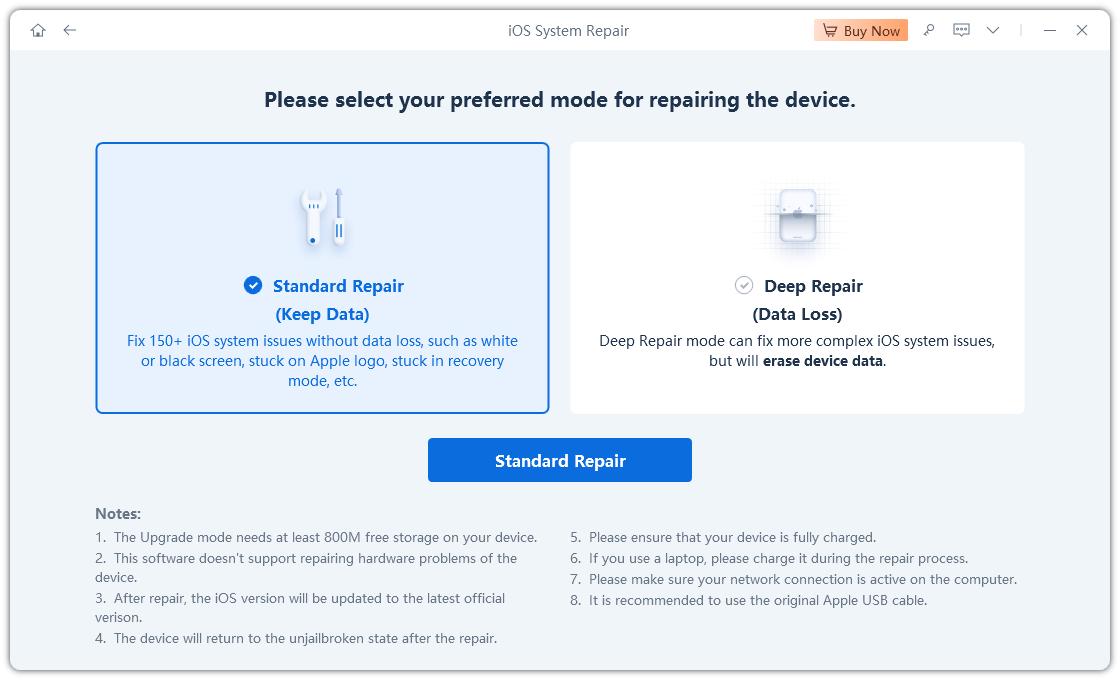
Step 2Choose Standard Repair
Choose Standard Repair. Also, read the instructions below to get an idea about the requirements of the tool.
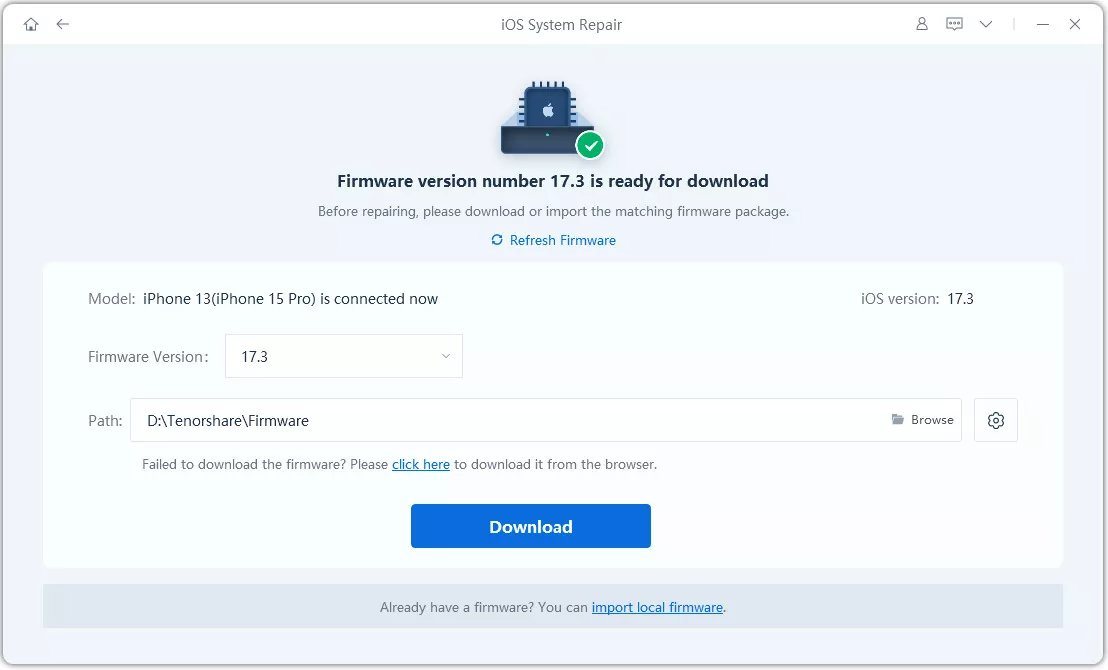
Step 3 Download Firmware Package
If you're ready, click 'Download' to download the latest firmware package. It will take some time due to about 5GB firmware package.
Note:
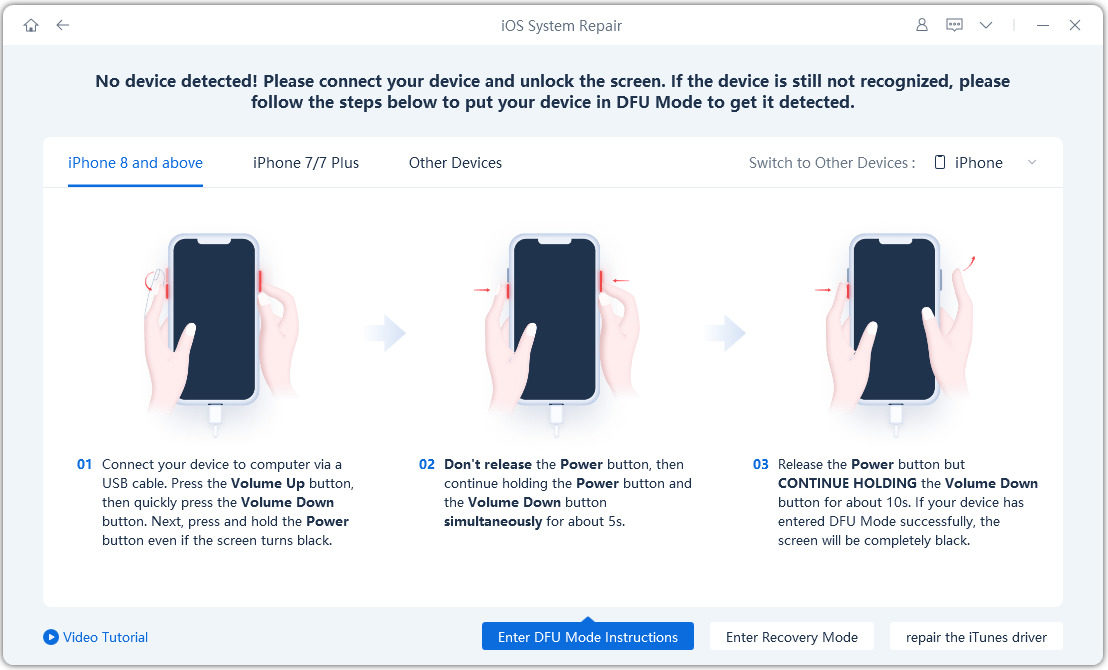
If your device can't be detected, ReiBoot will help your device enter Recovery Mode first.
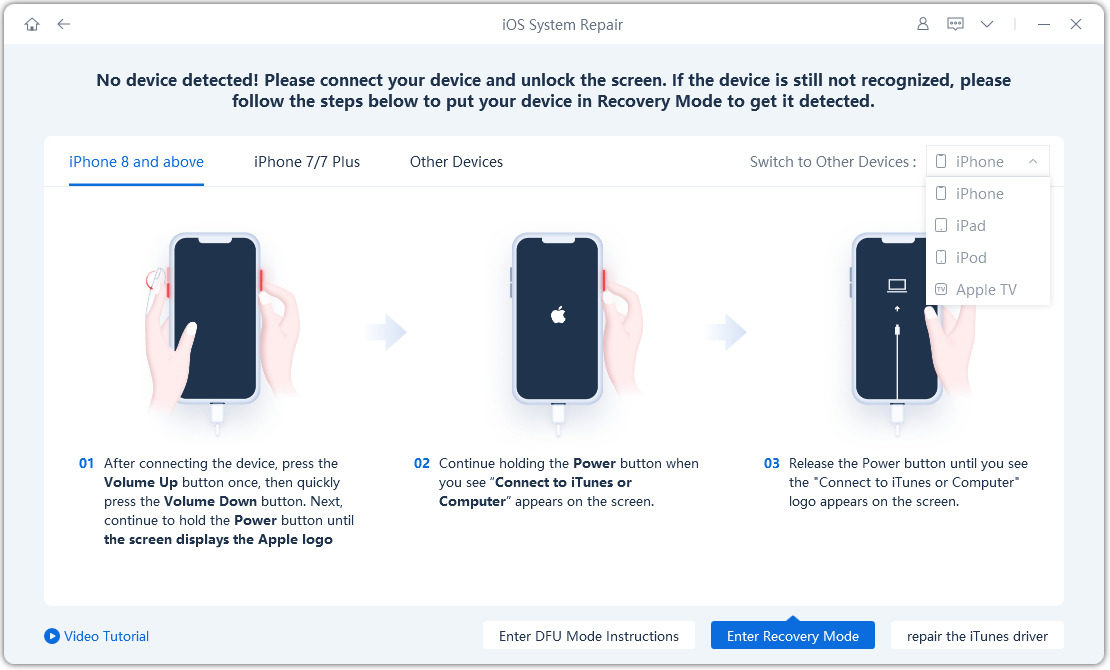
However, when the device doesn't show up even in Recovery Mode, click 'Try DFU Mode' on the bottom.
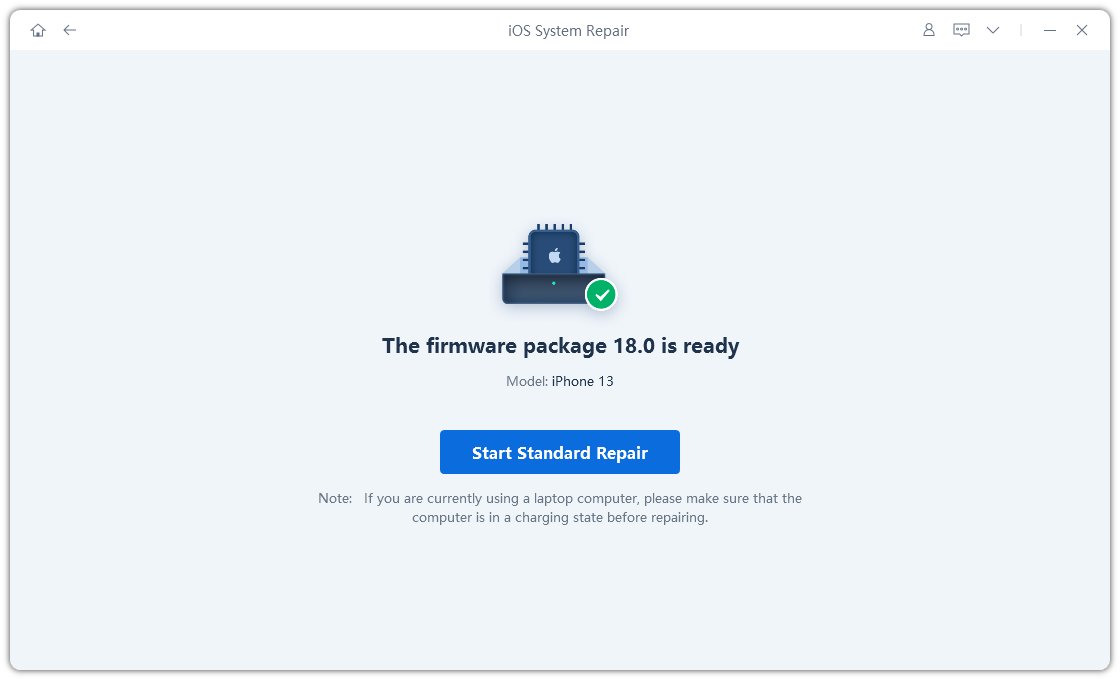
Step 4 Click 'Start Standard Repair' to Proceed
In the below interface, select 'Start Standard Repair' and read the note below to avoid repairing process failure.
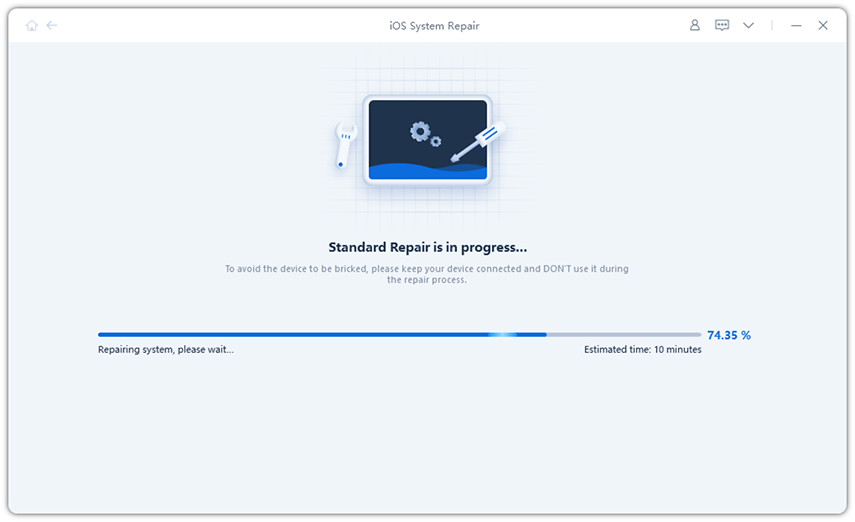
The whole repair process will take a few minutes, please wait patiently.
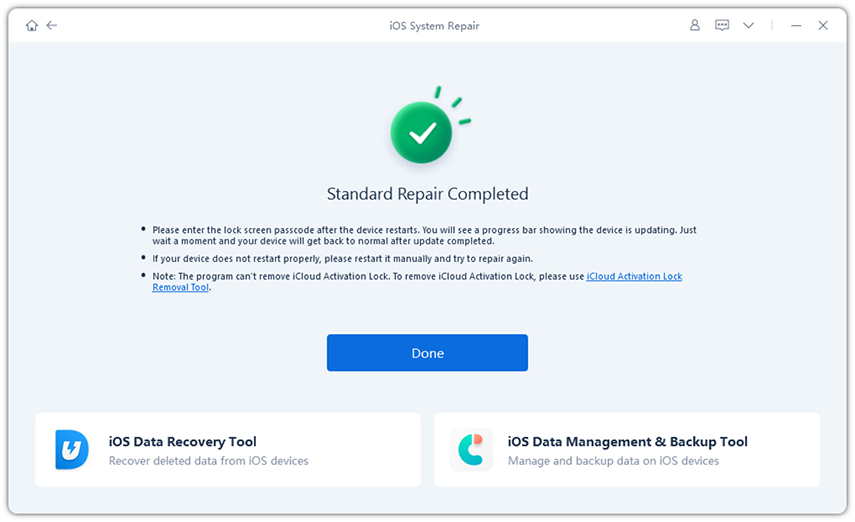
After the repair is done, your iOS device will automatically reboot and all your data will not be erased.
Deep Repair can fix more serious iOS system issues with a higher success rate but it will cause data loss. So when Standard Repair fails repair, you can take Deep Repair for a try.
Step 1 Download and Install ReiBoot
Download and run ReiBoot, connect your device to computer via a USB cable. Click Start Repair on the interface.
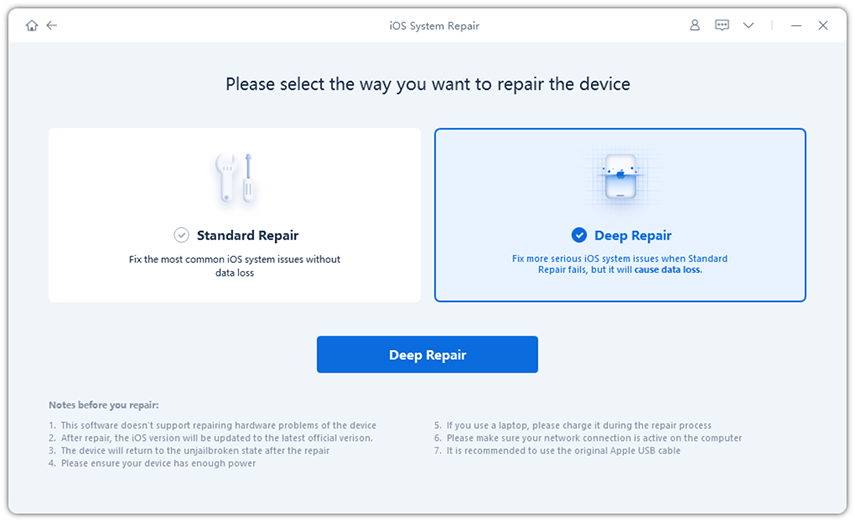
Step 2 Choose "Deep Repair" to Proceed
Choose Deep Repair. Also, read the instructions below to get an idea about the requirements of the tool.
Step 3 Download Firmware Package
Now, you can start downloading firmware package by pressing 'Download' button and it will take a few minutes.

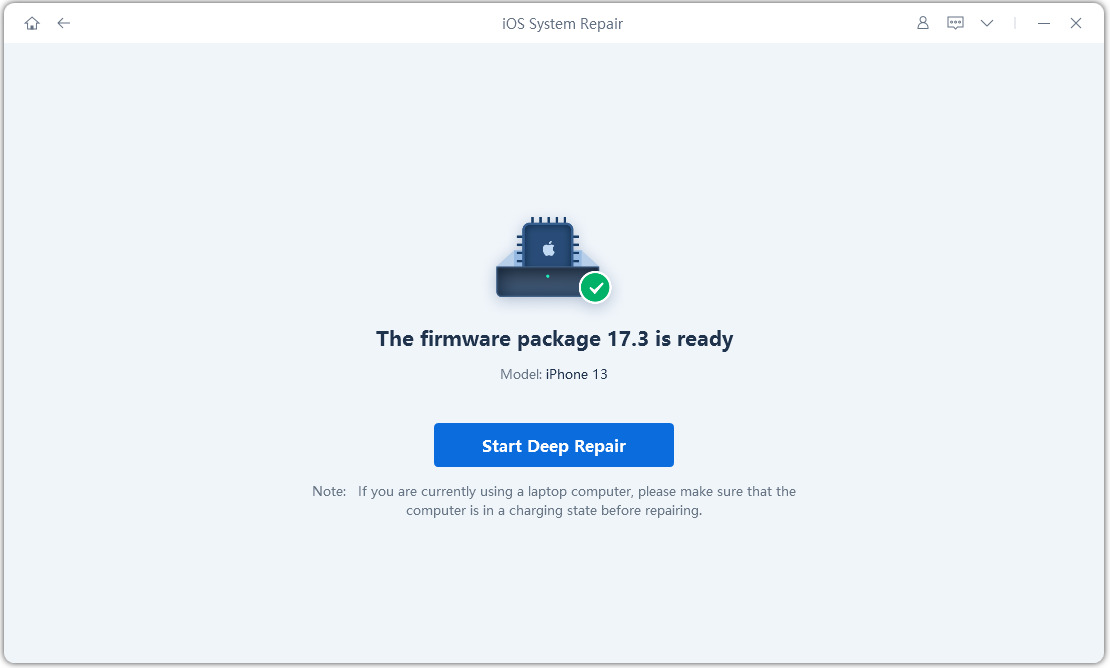
Step 4 Click 'Deep Repair'
In the following interface, read the note below carefully. If there's no problem, please click 'Start Deep Repair'.
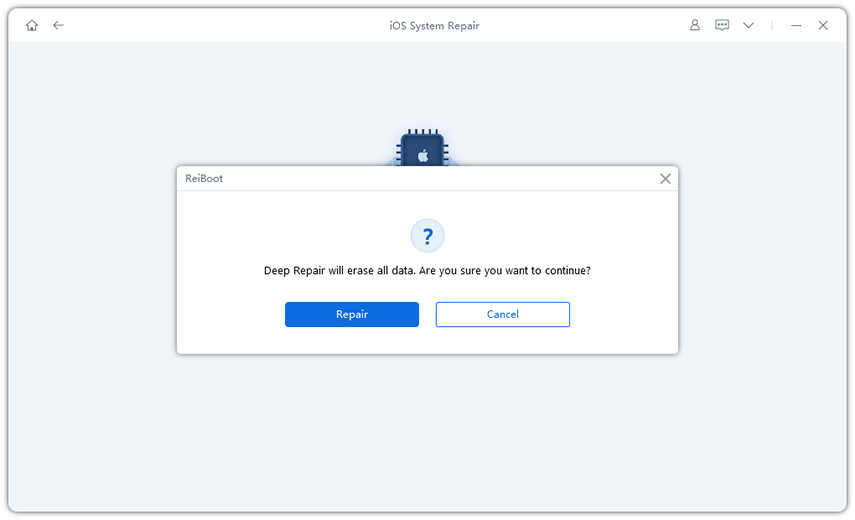
Deep Repair will cause all data and settings loss. If the device can operate, you can back up data first and then try again. If not, just click 'Deep Repair' to proceed.
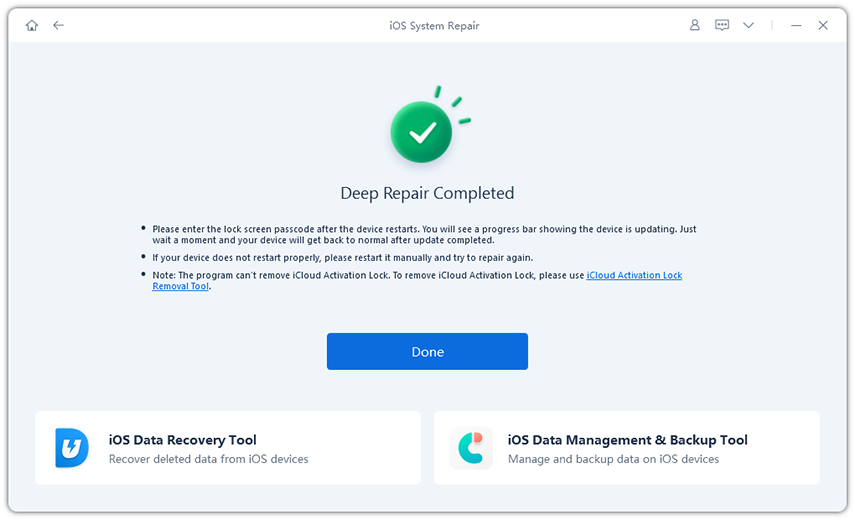
After a while, your device will be repaired successfully, just to check if your device goes back to normal.
Was this page Helpful ?
Still Need Help?
Just contact our support team and we will reply to you within 24 hours on business days.
Contact Support