How to Recover Deleted Photos from MacBook in 3 Ways?【2024】
by Anna Sherry Updated on 2021-08-30 / Update for Mac Data
"I accidently delete the photos.library file, cleaned the trash bin. please help how to recover deleted photos library on MacBook? thanks you"
For the Mac users out there, there are dozens of apps that you can use to view and manage photos in high-quality on your machines. Perhaps that is the reason why a lot of people go for MacBooks when their work revolves around photos. However, one thing should be noted here that storing photos on a digital device comes at a risk of data loss. If you ever lose photos on your Mac due to any reason, you have several ways for MacBook photo recovery.
Photos can get deleted for a variety of reasons. Maybe you accidentally pressed the delete button or maybe you were working with an app and it suddenly deleted all the photos on your machine. Regardless of the reason, the following guide should teach you how to recover deleted photos from MacBook Pro using multiple methods.
So, if you are ready to recover your deleted photos, here is how to do it on your Mac:
- Method 1. Recover Deleted Photos on MacBook from Trash
- Method 2. Find Deleted Photos/Photos Library from MacBook in Recently Deleted Album
- Method 3. Recover Deleted Photos from MacBook with MacBook Photo Recovery
Method 1. Recover Deleted Photos on MacBook from Trash
Unless you are a person who has never used a computer, you would know that anything that you delete using the standard delete method on your Mac does not get deleted permanently. The deleted files stay in Recycle Bin on Windows and in Trash on Macs.
So, what you can do is you can recover the deleted photos from the Trash on your MacBook. If you are not sure how to do it, the following should teach you how to recover deleted photos on MacBook from the Trash:
Step 1. Launch the Trash app on your Mac by clicking on its icon in your Launchpad.
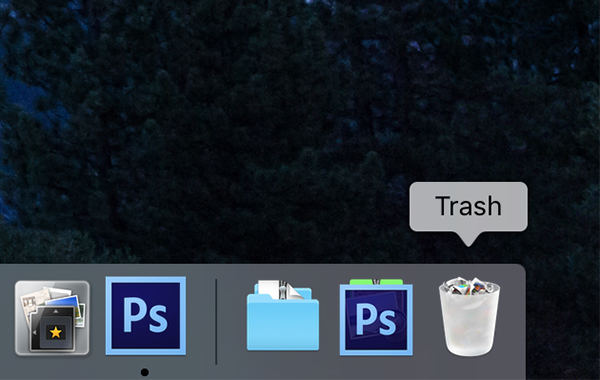
Step 2. When the Trash launches, find the photo that you accidentally deleted and right-click on it and select Put Back.
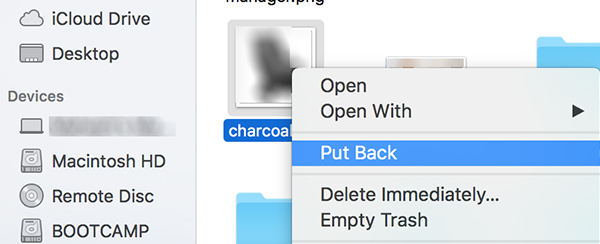
The Trash app will restore the photo at its original location on your Mac. That is how you recover photos on a Mac from the Trash.
Cons: The main disadvantage of using the method is your photos get deleted even from the Trash after 30 days have passed since you deleted them for the first time. This is not an ideal method if you want to recover photos that were deleted a month ago.
Method 2. Find Deleted Photos/Photos Library from MacBook in Recently Deleted Album
If you use a photo management app such as the Photos app on your Mac, you do have an option to recover your deleted photos. Most photo management apps including the Photos app do have an option to let you restore your deleted photos on your Mac.
The following shows how you can find and restore deleted photos using the Photos app on your MacBook:
Step 1. Click on Launchpad in your Dock, search for and click on Photos, and the Photos app will launch on your machine.
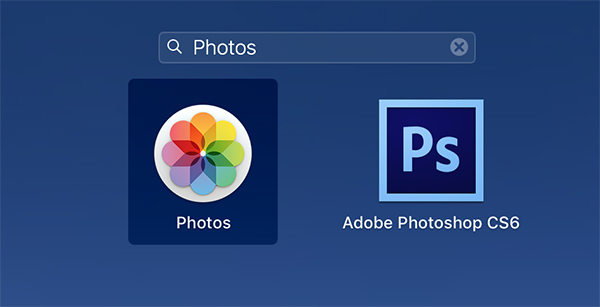
Step 2. When the app launches, you will find an album called Recently Deleted under the Library section. Click on it to open the album.
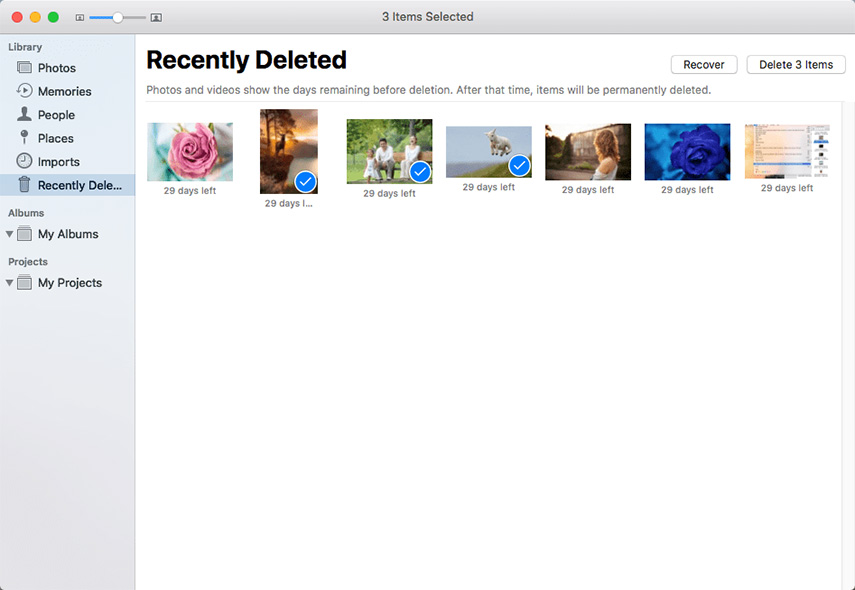
Step 3. On the following screen, select the photos that you wish to recover on your Mac and then click on the Recover button at the top to start recovering your photos.

The app will recover your chosen photos and these photos will be added to their existing photo albums in the app.
Cons: Deleted pictures and videos can be recovered for up to 30 days (unless you have zero storage space on your computer), or can be deleted immediately and forever. And some users report that they find no 'Recently Deleted' menu option in Photos on Mac.
Method 3. Recover Deleted Photos from MacBook with MacBook Photo Recovery
If you could not recover your photos using any of the methods mentioned above, you may want to use a third-party software to get your deleted photos back on your MacBook. Fortunately, there is a great software called 4DDiG for Mac Data Recovery that allows you to recover photos in addition to dozens of other file formats on your Mac.
- Recover photos that are not found in Trash on your Mac
- Supports recovering photos in various file formats that include JPEG, PNG, GIF, TIFF/TIF, BMP, PSD, ORF, RAF, MRW, and RAW
- Recover all deleted photos without any quality loss
- High successful recovery rate and fast scanning speed
- Support macOS BigSur 11.0, macOS 10.15, macOS 10.14 (macOS Mojave), mac OS X 10.13 (High Sierra), 10.12(macOS Sierra), and earlier verisons
If you think you have found the software you were looking for, the following is how you use it to recover your photos.
Step 1: Download and launch the software on your Mac. Choose a drive where your photos were saved before they got deleted and click on the Scan button.

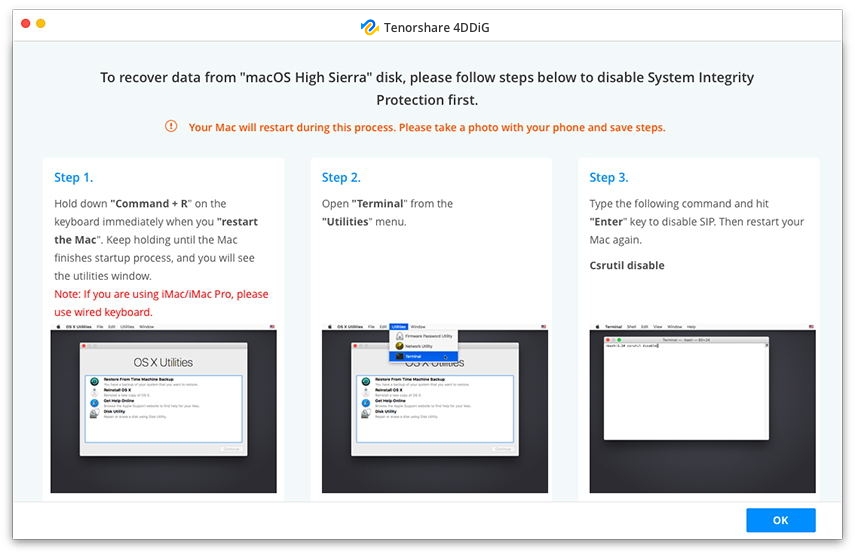
Step 2: If your MacBook runs macOS High Sierra or later, disable the SIP option as shown below in your system.
Step 3: When the software has scanned your drive, select the photos you wish to recover and click on the Recover button at the bottom.

Step 4: Choose a folder where you would like to save the recovered photos and click on the Open button.
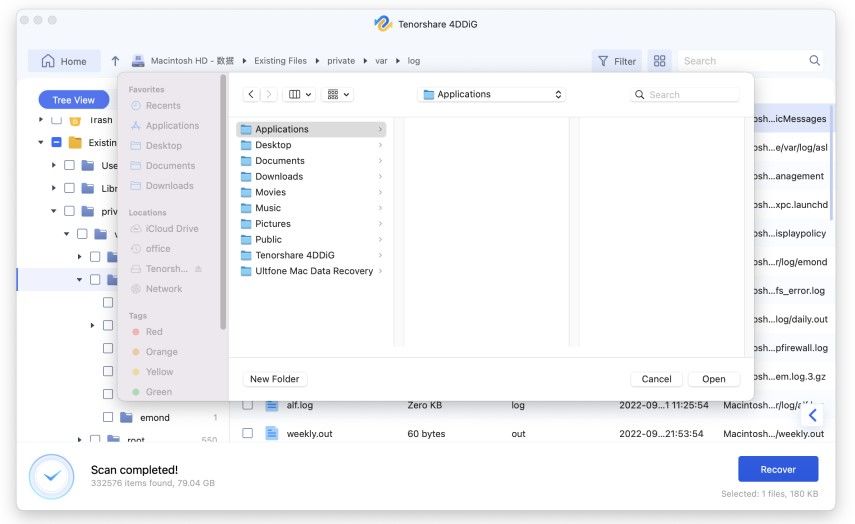
There you go. Your selected photos should now be available at your chosen destination.
Conclusion
If you ever get your photos deleted on your MacBook, you don't need to worry too much as our guide above should teach you to recover deleted photos MacBook and you will get your deleted photos back in no time with Tenorshare 4DDiG.

