How to Recover Deleted Files on macOS Mojave in 3 Way?
by Anna Sherry Updated on 2021-08-27 / Update for Mac Data
"I'm trying to recover my data from my intern SSD…The problem started while I was doing the update to macOS Mojave. My MacBook Pro could not finish this process and stopped halfway through it."
"I accidentally deleted some files and emptied the trash on my MacBook Pro running macOS Mojave 10.14. Is there a way to recover the files without purchasing software?"
If you have been keeping an eye on macOS updates, you have likely heard of the macOS Mojave update. This is a significant update and version for the macOS and it brings with it tons of new features for Mac users. Many users have already updated their Macs to this latest version and it seems some of those users lost their data doing so. If you are one of those, here is how you recover data on macOS Mojave.
For many users, the Mac Mojave 10.14.1 update deleted everything on your machines leaving you helpless and panicking. Fortunately, there are some ways you can recover the lost data from your Macs running the Mojave version. The following guide covers multiple of those recovery methods to help you restore your deleted data on your machine.
- Part 1. How to Restore Data on macOS Mojave Data from Trash Bin?
- Part 2. How to Restore Data on macOS Mojave Data with Time Machine?
- Part 3. How to Recover Data on macOS Mojave with Professional Mac Data Recovery Tool?
Part 1. How to Restore Data on macOS Mojave Data from Trash Bin?
Trash Bin on your Mac is yet another place where you can find deleted files. If the macOS Mojave update has deleted any files using regular deletion methods, you will likely find your deleted files in the Trash Bin app on your Mac.
It is worth checking out Trash Bin to see if you can recover any files. The following is how you do it on your Mac running macOS Mojave:
Step 1. Click on the Trash Bin icon in the Dock of your Mac to launch the bin.
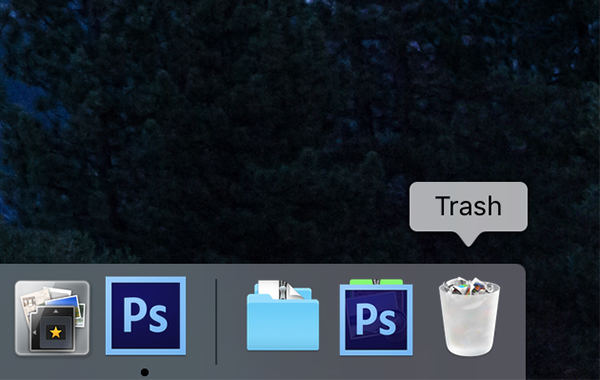
Step 2. When the Trash Bin launches, you will see all the files that have been deleted from your Mac. Find and click on the file or files you would like to recover and right-click on them and select Put Back.

The Trash Bin will put the deleted files back at their original location on your Mac. That way you will be able to access your files from the place where they used to be at. That is what you do when you lost data after macOS Mojave upgrade.
Part 2. How to Restore Data on macOS Mojave Data with Time Machine?
If you would not like to engage a professional software to recover your lost data, you may use the built-in tools on your Mac to recover your data. Your Mac comes equipped with some of the best recovery tools namely Time Machine and Trash Bin to help you restore the files that have been deleted from your machine.
It is easy to use any of these methods to restore data as both have easy to use interfaces and work seamlessly with other elements on the Mac. If you are ready, the following are the recovery methods for you.
If you have ever restored data on your Mac, you have likely used the Time Machine utility. Fortunately, you can use it on macOS Mojave too to recover files after macOS Mojave update. The utility works like a charm to help recover files and the following is how you use it on your machine.
Step 1. Click on Launchpad in your Dock and search for and click on Time Machine to launch the utility on your Mac.
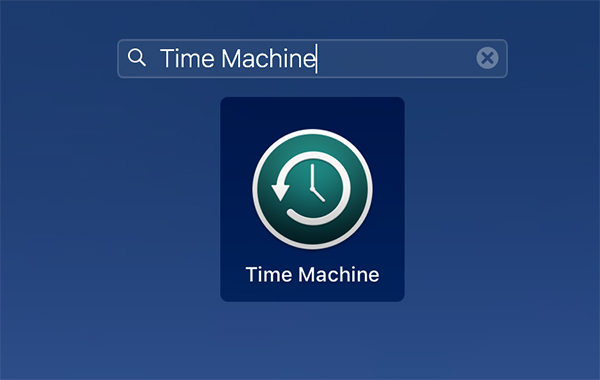
Step 2. When the Time Machine utility opens, a Finder window will launch where you can select the files and folders you would like to recover. Make your selection and then click on the button that says Restore to restore your files.
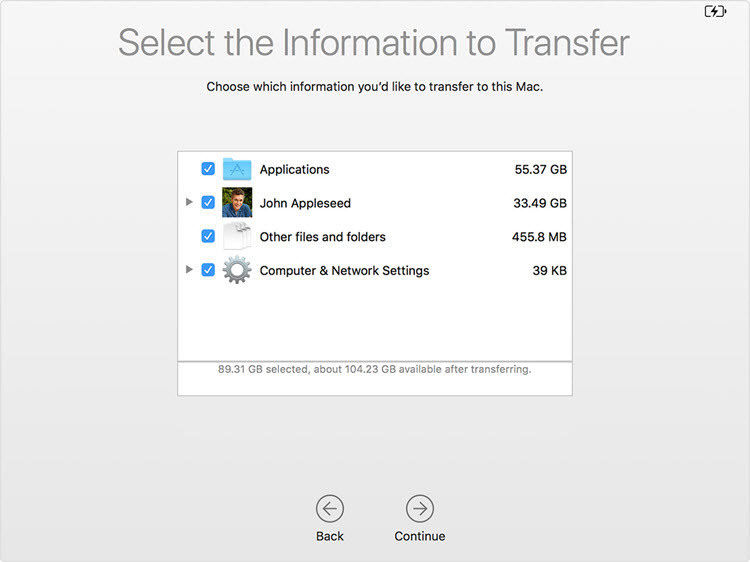
That's all. Time Machine will restore the selected files on your Mac. You may then use those files as you did before on your Mac.
Part 3. How to Recover Data on macOS Mojave with Professional Mac Data Recovery Tool?
If you have been unable to find your files in Time Machine and Trash Bin, chances are the files are gone for good and it is beyond the capabilities of these tools to recover your files. In this case, what you can do is you can use a third-party data recovery software to recover your files.
Enter 4DDiG for Mac Data Recovery, a data recovery software that allows you to recover deleted files from almost any scenario on your Mac. It works on all the versions of macOS including macOS Mojave to help you recover your files. The following is a list of things it can do for you on your Mac.
- Recover Data from macOS Mojave 10.14 start-up disk.
- Recover lost data after mocOS Mojave update.
- Recover deleted, formatted or inaccessible files in macOS Mojave.
- Recover photos, videos, music, documents and up to 500 types of files without quality loss.
- Recover deleted files from Mac, SSD/HDD, USB flash drive, memory card, digital camera, and other storage device in macOS Mojave.
- Fully support APFS, HFS+, FAT32 and other file system.
- Support macOS 10.14 Mojave, 10.13 High Sierra, 10.12 Sierra or below and Windows 10/8.1/8/7/Vista & XP.
It is worth giving the software a try to recover your files and the following is how you do it.
Step 1 Obtain the latest version of the software and open it on your Mac. Select your drive from the list and click on the button that says Scan.

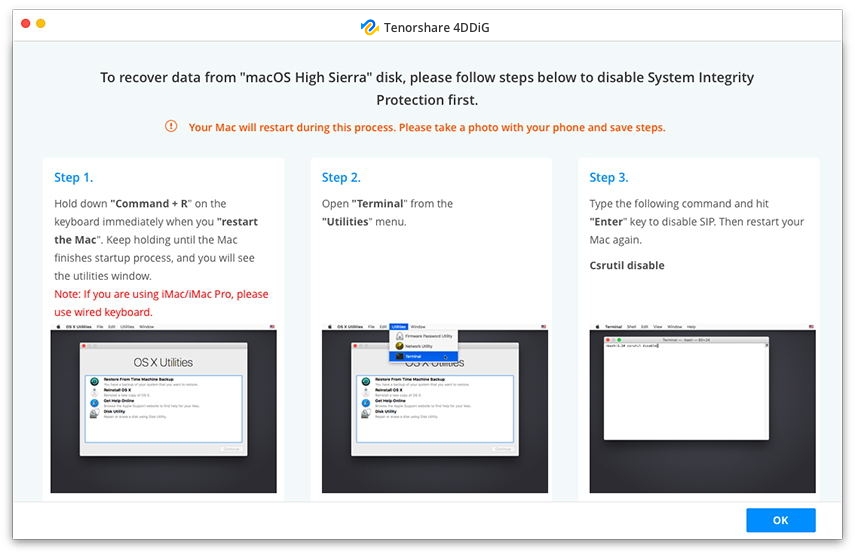
Step 2 Disable SIP on your system using the instructions in the following image.
Step 3 You will see a list of files that can be recovered. Select the files you want to recover and click on Recover.

Step 4 Choose a folder to save your recovered files in.
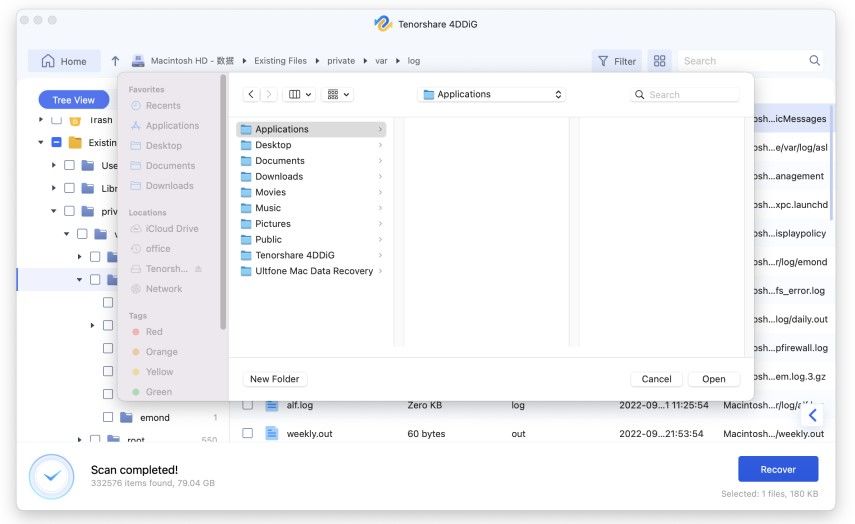
You are done. Your chosen files will be recovered to your selected folder on your Mac. That is how you recover lost files from macOS Mojave hard disk.
Conclusion
If you booted-up your Mac after the macOS Mojave update only to find your files are missing, the above guide should help you recover your files on your Mac. All the methods should work fine with macOS Mojave to help restore your files but we highly suggest you try Tenorshare 4DDiG which can recover deleted data even from your emptied Trash Mac.

