then write your review
ReiBoot for Android-Best Android System Repair Tool
Fix 50+ Android issues & Free Enter/Exit Recovery Mode
Best Android Repair Tool
Fix 50+ Android issues, No Data Loss
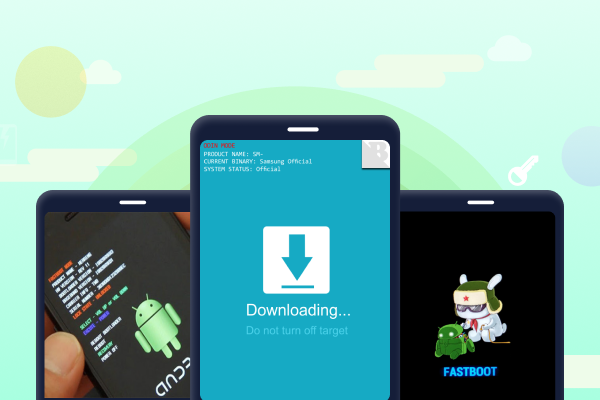
Odin is a lightweight yet highly capable flashing tool for Samsung smartphones and tablets. It is a preferred choice among most Android users when it comes to flashing an Android OS running device.
However, using it at times can be quite technical and some users may face the issue of Odin not detecting Samsung phone issue. This simply means that the Odin flash tool is unable to recognize your device. One quick fix to solving the Odin not detecting Samsung phone issue is to reinstall the Odin flash tool. But besides this, there can be a few other issues as well when using the Samsung Odin flash tool. This article explains 6 solutions to fix Odin not detecting Samsung phone failure.
Despite the fact that the Samsung Odin flash tool remains one of the top choices among Android users for flashing their devices, there is a downside to it. This simply means that chances are that you might come across a failure before or during the Samsung Odin mode.
Whether you are facing with the Odin not detecting Samsung phone issue or having trouble in the Samsung Odin mode, can be attributed to several reasons.
If you receive an error message mentioning failure during the data writing or flashing operation, it can be due to two main reasons.
First, there can be a lack of permission to proceed with such operation. And second, there could be some other app or issue in the device preventing device flash.
Another clear reason for Samsung Odin mode failure can be because of using a corrupted firmware file. Old, obsolete, and corrupted firmware versions will most likely result in Samsung Odin mode failures.
We recommend our readers to always download the latest and most recently updated versions of Samsung Odin. Doing this will primarily ensure that you have a smooth experience when undergoing the Samsung Odin mode. Otherwise, the outdated Odin version may prevent you from successfully completing the Samsung Odin mode.
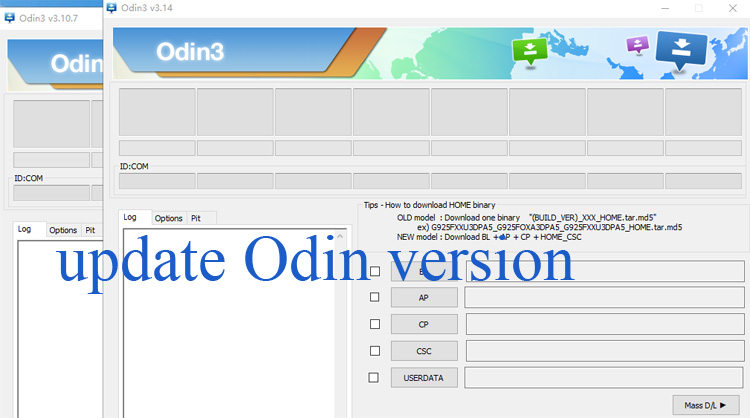
Lastly, Odin not detecting Samsung phone issue could be because your computer lacks the necessary drivers to run the Samsung Odin mode. Hence, always ensure that your computer is equipped with all the necessary and updated versions of the drivers required for this task.
If you are experiencing any issues while using the Samsung Odin flash tool, we can surely help you out. This section has some easy-to-use step-by-step solutions to fix the Odin not detecting phone issues.
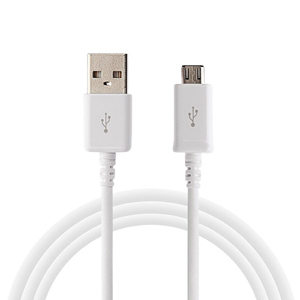
Since the Odin works with a wired connection i.e. a USB cable and not wirelessly, the primary reason behind facing Odin not detecting phone issue may be due to a faulty USB cable.
Check to ensure that the USB cable you are using isn’t either damaged or have a dead port on either side. To avoid this situation or not face it at all in the first place, we suggest you use your device’s original USB cable.
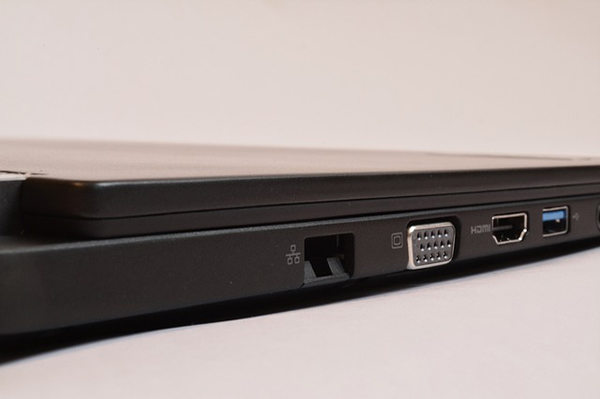
As a second precaution to avoid any issues, check whether the USB port you are using is faulty or not. A faulty USB port may result in the Odin not detecting phone failure. Remember that each PC and laptop device comes with several USB ports, so try disconnecting the current one and attach the USB cable to another one.
In order for the device to enter the Samsung Odin mode, your device must have a specific option enabled. Hence, in the developer’s option menu in the settings tab, check that USB debugging and OEM Unlock features are enabled. Odin not detecting phone issues also occur when these two options remain disabled. Therefore, enable these options first and then continue.
If still facing with the Odin not detecting phone issue after trying all of the above, it is possible you’re your PC or laptop is missing the necessary Samsung USB drivers for mobile phones. Again, we recommend that you always visit the official Samsung website to download Samsung USB driver for Odin.
You can also fix the Odin not detecting phone issue by updating the Samsung phone drivers with device manager on your Windows PC. To do this, use the following steps:
As evident from the above, entering the Samsung Odin mode using traditional methods can be quite risky and disadvantageous. For instance, many users are liable to easily fail in the first attempt to enter the Samsung Odin mode. Similarly, following each step as mentioned above can be complicated as well.
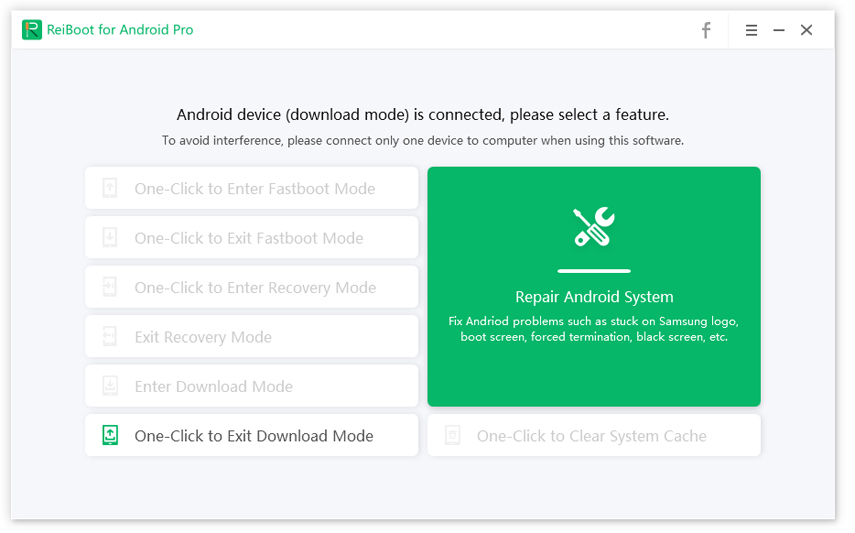
But do not worry since we have a surprise solution for you out there. Simply use a reliable software such as ReiBoot for Android to enter Samsung Odin mode with just one click.
Tenorshare ReiBoot for Android is a one-way solution answering all your worries on how to enter the Samsung Odin mode. With just one easy click, you can enter and/or exit the Samsung Odin mode or Download mode for free to flash your Samsung devices. This quick and efficient tool is also capable of fixing over 50 well-known Android system issues in a single go.
The steps below will guide you on how to enter Odin mode in one click.
Download ReiBoot for Android, connect your Samsung device to computer with the USB cable and click on Enter Download Mode.
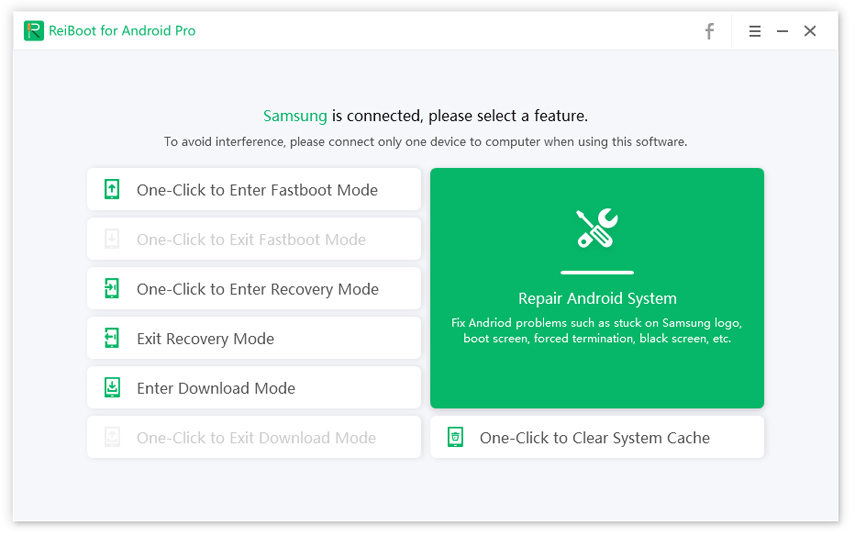
Follow the one-screen instruction to enter download mode.
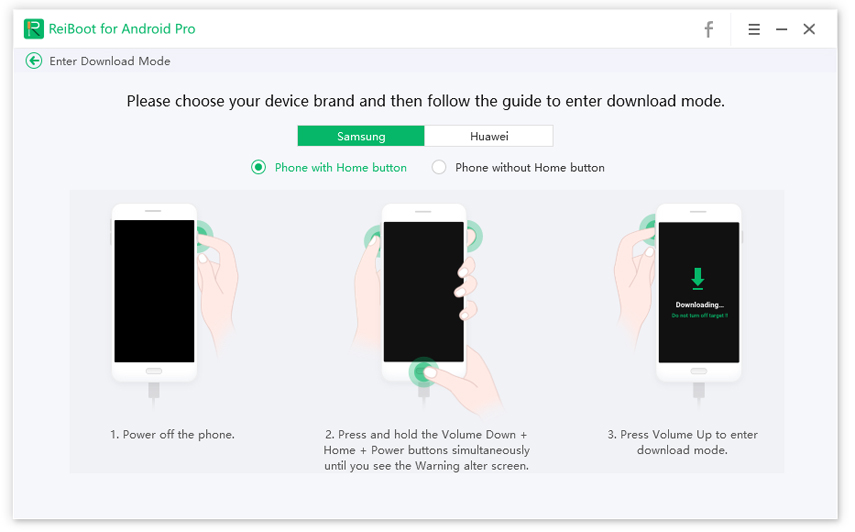
Your Samsung device has successfully entered download mode.
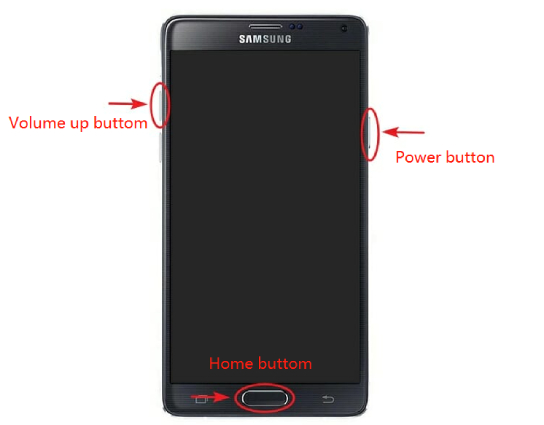
How to enter and exit the Samsung Odin mode differs for Samsung phones with home button and Samsung phones with Bixby key.
For Samsung phones with home button:
Now simultaneously press the Volume Down, Home, and Power buttons.
For Samsung phones with Bixby key:
To exit the Samsung Odin mode:
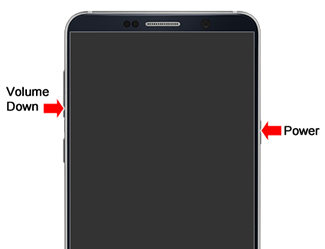
If the above doesn’t work, you can then try using the force restart technique to restart your Samsung phone. For this, simultaneously keep pressing the Volume Down button and the Power button for some time until the device restart option is displayed.
The flashing process itself in the Samsung Odin mode may last for about 10 to 12 minutes. However, your device may require additional time to reboot. Odin mode should not exceed flashing more than half an hour. If it still flashing, your Samsung device might stuck in Odin mode.
While the above article may seem that fixing the Odin not detecting Samsung phone issue is hard and complex, the truth is that it is not. Instead of using the list above to fix any kind of Odin not detecting phone issues, why not use it as a checklist. Doing this will ensure that you have taken care of everything important in the very beginning. Thus, now you can continue easily with using Odin to flash your Android device.
However, we highly recommend that you directly use the amazing ReiBoot for Android software. Doing this will give you an easy one-click solution to skip any kind of Odin not detecting Samsung phone issues.
then write your review
Leave a Comment
Create your review for Tenorshare articles
By Sophie Green
2026-02-08 / Fix Android