


UltData - Best iPhone Data Recovery Tool
Recover Deleted & Lost Data from iOS Devices Easily, No Backup Needed!
UltData: Best iPhone Recovery Tool
Recover Lost iPhone Data without Backup
Has updating your iPhone to iOS 18 left you with a big messy voicemail inbox? It seems like the latest update has a habit of merging all your voicemails into one giant audio file. This whole merged voicemail mess can be super confusing, but don't worry! This guide is here to help you fix merged voicemails after iOS 18 update and get your voicemail back to normal. We will try to understand why it's happening and then show you some easy ways to unmerge your messages and hear everyone clearly.
So why exactly is the iOS 18 update causing voicemails to merge? There are a few reasons why you are facing this problem.
1. Shared iCloud Account: If you have multiple devices like an iPhone and iPad that are using the same iCloud account, the update may have started pooling all voicemails received on any device into one combined message. This is because iCloud syncs voicemails across devices linked to that account.
2. Software Bugs: Let's face it, even the smoothest software update can have its bumps. It's possible that iOS 18 itself just has a bit of a voicemail merging bug. Many users report that even if they have separate iCloud accounts set up for each device, the voicemails still merged after the iOS 18 update. This suggests there may be an underlying software bug in iOS 18 that isn't properly separating voicemails intended for individual devices and accounts.
Now that you know why the merged voicemails after iOS 18 update issue occurs, let us tell you the top 3 tips to fix it. Separating your accounts and voicemail settings is key to ensuring voicemails stay separated.
Sharing an Apple IDs seems to be the issue in this case. If you’re sharing a common Apple ID with someone and are facing the merged voicemails after iOS 18 update, this is most possibly the reason.
One easy fix is to make sure each of your devices has its own unique Apple ID. We know why you would want to use the same ID across all your devices; so you don't have to remember multiple passwords and logins, right? But sharing your Apple IDs is likely what caused your voicemails to get merged in the first place!
To separate them, start by creating an individual Apple ID for each iPhone, iPad, or iPod touch. Then you'll need to transfer any existing data like contacts, photos, and of course voicemails over to the new Apple IDs. This might take a little time and effort, but trust us, it's worth it to finally hear your messages clearly again.
Once you've created separate Apple IDs, double check your iCloud settings as well. Making sure each device has its own unique iCloud account associated with it is important for preventing merged voicemails after iOS 18 update.
Go into the Settings app on each iPhone, iPad, or iPod touch and sign out of iCloud if already logged in. Then sign back in using the Apple ID you created specifically for that device.
If you're still experiencing merged voicemails after iOS 18 update even after creating separate Apple IDs and iCloud accounts, it may be time to reset your voicemail settings from scratch. This can help clear out any bugs or issues from the update.
To do so, open the ‘Phone’ app and go to the Voicemail tab which is located at the button right. Scroll down and tap on ’Greeting’.
This will take you to your custom voicemail greeting options. From there, select the Default tab to reset your voicemail greeting from any custom one you may have set previously. Switching back to the carrier-provided default greeting helps refresh your voicemail configuration to its initial settings.
If your voicemails have already been fully combined into one long audio file after updating to iOS 18, there is no need to worry. Tenorshare UltData is a powerful iPhone data recovery software that can help recover your individual voicemails even from a merged message. Whether you have an iPhone, iPad, or iPod Touch, Tenorshare UltData is compatible with them all.
All you need to do is to follow a 3-steps guide to recover your individual voicemails from a merged message. Tenorshare UltData scans through merged data of all kinds, including voicemails, to reconstruct the original separated files.


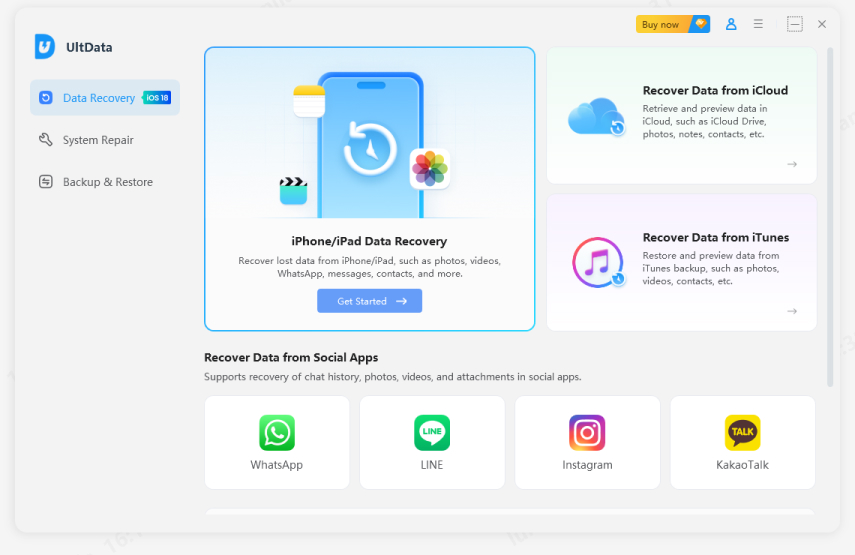
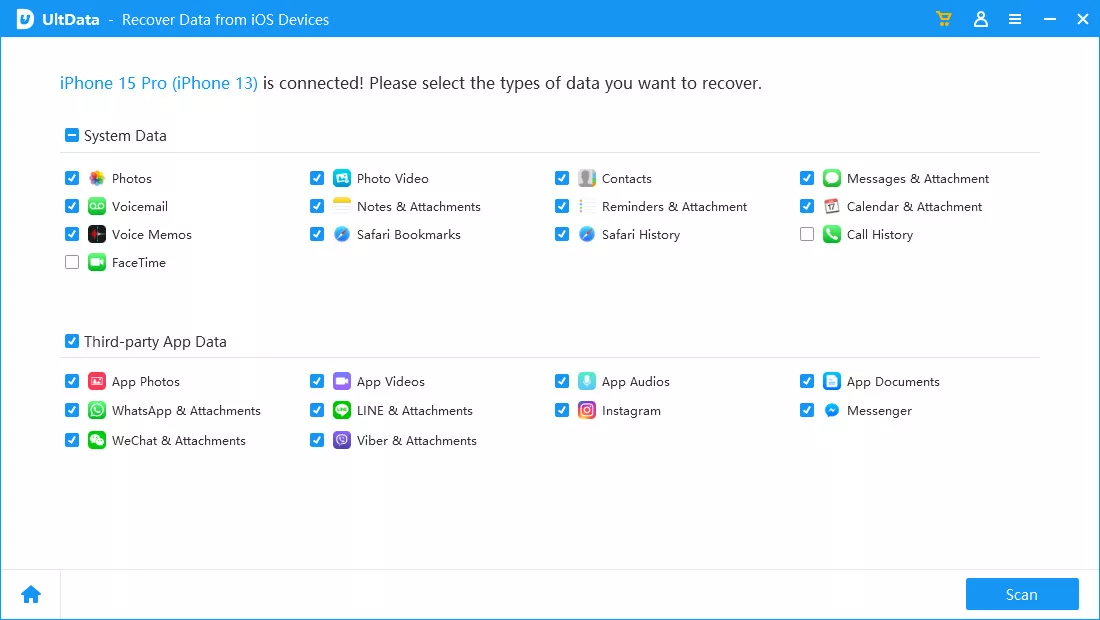
On your computers, download and install Tenorshare UltData. After installing the program, connect your device with the computer via a thunderbolt cable. Tap into Recover Data from iOS Devices.
Run the program. Initiate the scanning of your data. The program will search for the lost files from your iPhone.
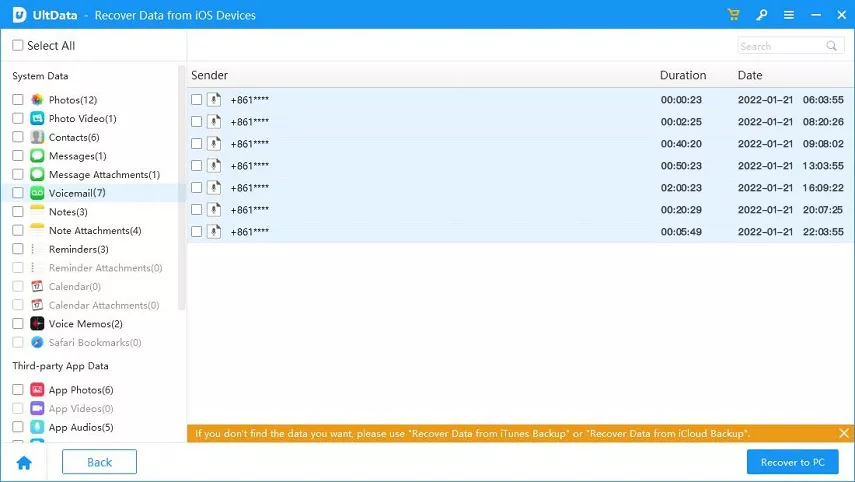
Once the scanning is completed, Tenorshare UltData will show you the preview of the recovered files. You can choose "Show All" or "Show only Deleted" to see all the data. Select the ones you want to recover, and proceed with the recovery process.
Recover lost/deleted photos, messages and 35+ other data directly from iPhone/iPad without backup, or selectively from iCloud or iTunes backup.
Between separating Apple IDs and iCloud accounts, double checking settings, and resetting voicemail configurations, you should now be able to listen to individual voicemails again without them all being merged into one long audio file.
However, if you find your voicemails are still merged, try Tenorshare UltData. It is able to recover lost or deleted voicemails, even if they have been merged, with fast and reliable results. You can test out Tenorshare UltData right now to get your voicemails back.

UltData - Best iPhone Data Recovery Software


then write your review
Leave a Comment
Create your review for Tenorshare articles
UltData - Best iPhone Data Recovery Tool
Recover Deleted & Lost Data from iOS Devices Easily, No Backup Needed!
UltData: Best iPhone Recovery Tool
Recover Lost iPhone Data without Backup
By Jenefey Aaron
2026-06-08 / iOS 17