

ReiBoot - No.1 Free iOS System Repair Software
Fix 150+ iOS Issues without Data Loss & Safely iOS 27 Upgrade/Downgrade
ReiBoot: No.1 iOS Repair Tool
Fix 150+ iOS Issues, No Data Loss
If you’ve just got your new AirPods and want to break the language barrier, you’re in the right place. Apple’s latest feature lets you activate AirPods 3 live translation and understand conversations in real-time, no translator needed! In this guide, we’ll walk you through How to Use/Activate AirPods 3 Live Translation step by step. Whether you’re traveling, chatting with international friends, or just curious about the feature, this guide will help you set it up easily and start translating languages instantly with your AirPods 3. Let’s get started and make communication smoother than ever!

AirPods 3 Live Translation is an advanced feature that allows your AirPods to act as a real-time language translator. It works through the Translate app and uses Siri and Apple’s smart system to convert spoken words from one language to another instantly.
In simple words, when someone speaks a different language, your iPhone or iPad processes their words and plays the translated version directly into your AirPods. This feature makes conversations smoother without needing to open your phone or type anything.
Whether you are traveling, attending international meetings, or talking with someone who speaks another language, AirPods Pro 3 translation can help you communicate easily. The AirPods Pro 3 live translation feature supports several languages and is constantly improving with new software updates. It is a simple yet powerful tool that breaks language barriers and makes global communication effortless.
Travelling abroad can be exciting, but language barriers often make communication tricky. With AirPods Pro 3 live translation, Apple has made it easier to talk to people in other languages without constantly checking your phone. This feature uses Apple’s intelligence system to translate spoken words in real time directly through your AirPods. Here’s how to set it up and use it properly while you’re travelling.
To use AirPods Pro 3 live translation, your iPhone must be running iOS 18 or later with Apple Intelligence enabled. The feature currently works on AirPods Pro 3, AirPods Pro 2, and AirPods 4 with Active Noise Cancellation. Make sure your AirPods are paired and running the latest firmware. Live translation isn’t available in all regions; for example, Apple has confirmed that it’s not yet offered in the European Union due to regulatory restrictions.
At launch, the feature supports several languages including English, French, German, Portuguese, and Spanish. Apple plans to expand this list over time to include languages such as Italian, Japanese, Korean, and Chinese.
Using AirPods Pro 3 live translation can completely change how you communicate while travelling. It allows you to have real conversations in different languages without constantly reaching for your phone. Before starting, make sure your iPhone is running the latest iOS version and that Apple Intelligence is turned on. Once that’s set, follow the steps below carefully to start using Live Translation the right way.
Step 1: Download the Languages Before using Live Translation, you’ll need to download the language models you want. This ensures that all translation processing happens directly on your iPhone, keeping your conversation private and secure.
Go to the Settings app on your iPhone, tap the name of your AirPods, and then open the Translation section. Under “Languages,” select the languages you want to download — one for the person you’re speaking to and one for yourself. Once downloaded, your iPhone can translate conversations instantly, even without an internet connection.

Step 2: Connect Your AirPods Put your AirPods Pro 3 in your ears and connect them to your iPhone. You can confirm the connection through the Bluetooth settings or the automatic pop-up on your iPhone screen. If Apple Intelligence isn’t enabled yet, turn it on from your iPhone’s settings before proceeding.
Step 3: Open the Translate App After connecting your AirPods, open the Translate app on your iPhone. At the bottom of the screen, tap the Live tab to enter real-time translation mode. Here, select the language the other person will speak and the language you want your AirPods to translate into. This step ensures that your AirPods and iPhone are ready for smooth two-way communication.

Step 4: Start Live Translation There are several ways to begin Live Translation. You can open the Translate app, tap Live, and then select Start Translation. Alternatively, you can start it hands-free or with shortcuts:
Step 5: Listen to the Translation Once the feature is active, simply listen as the other person speaks. Your AirPods will automatically translate their speech into your chosen language and play it in your ears. If you’re in a busy or noisy area, you can improve translation accuracy by moving your iPhone closer to the person speaking. This allows the iPhone’s microphones to assist your AirPods in picking up clearer audio for more accurate translation.
If you recently updated your iPhone to iOS 26 and found that some features—like Live Translation—aren’t working smoothly yet, don’t worry. Many users prefer to return to iOS 18, which is more stable and compatible with most apps. The good news is that you can safely downgrade without losing your personal data. The easiest and most reliable way to do this is by using Tenorshare ReiBoot, a trusted iOS system repair and downgrade tool.


ReiBoot is designed for both beginners and advanced users who want a simple, one-click solution for fixing iOS issues or moving between versions. It supports all major iPhone and iPad models and works perfectly with both beta and public versions of iOS.
First, visit the official Tenorshare website and download ReiBoot on your computer. It’s available for both Windows and macOS. Once downloaded, install the program and launch it.

Use a lightning cable to connect your iPhone or iPad to your PC. When prompted, tap Trust This Computer on your device to establish a secure connection.
From the main ReiBoot interface, click on iOS Upgrade/Downgrade. This option allows you to switch between different iOS versions without losing your existing photos, messages, or settings.

You’ll now see two options, Upgrade and Downgrade. Choose Downgrade to start rolling back from iOS 26 to iOS 18.
ReiBoot will automatically detect the latest stable iOS 18 firmware suitable for your device. Click Download to let the tool fetch the correct package. Unlike manual methods, you don’t need to find or install an IPSW file yourself, ReiBoot handles everything in the background.

Once the firmware download is complete, tap Initiating Downgrade. ReiBoot will begin uninstalling iOS 26 and installing the iOS 18 version. This process might take several minutes, so make sure your device stays connected during the downgrade.

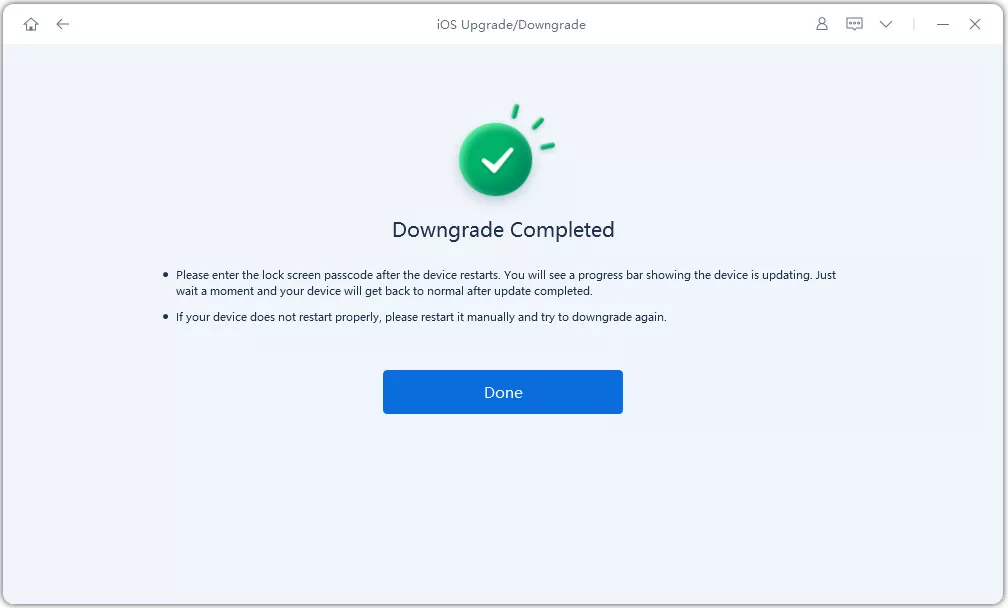
After the installation is finished, ReiBoot will automatically reboot your device. You’ll see the familiar iOS 18 welcome screen without any data loss. Finally, click Done on your computer to complete the process.
Mastering how to use or activate AirPods 3 Live Translation can truly make your travel and communication experience effortless. Whether you’re chatting with locals, navigating a new city, or learning a new language, this feature transforms your AirPods into your personal translator — quick, private, and accurate. However, if your iPhone is running iOS 26 and the feature isn’t performing as smoothly as before, it might be time to switch back to iOS 18 for better stability. The safest and easiest way to do this is by using Tenorshare ReiBoot, which lets you downgrade iOS versions without losing any data.
To activate Siri, wear your AirPods and simply say “Hey Siri.” You can also press and hold the stem on one AirPod until you hear a chime. Make sure Siri is enabled under Settings → Siri & Search on your iPhone for smooth access.
Wear your AirPods and press the force sensor on the stem until you hear a small tone — that means Noise Cancellation is active. You can also go to Settings → AirPods → Noise Control and select Noise Cancellation manually.
Open the Find My app on your iPhone and select your AirPods from the device list. Their last known location will appear on the map, and you can tap Play Sound to help locate them if they’re nearby.
Yes, Siri can control this feature easily. Just say, “Hey Siri, turn on Noise Cancellation” or “Switch to Transparency mode,” and it will adjust the settings instantly without you touching the AirPods.

Tenorshare ReiBoot - Fix iOS Issues


then write your review
Leave a Comment
Create your review for Tenorshare articles

ReiBoot - No.1 Free iOS System Repair Software
Fix 150+ iOS Issues without Data Loss & Safely iOS 27 Upgrade/Downgrade
ReiBoot: No.1 iOS Repair Tool
Fix 150+ iOS Issues, No Data Loss
By Jenefey Aaron
2026-07-14 / change location