Guideline for Tenorshare PixPretty
Guideline for Win
Try PixPretty Now
Discover how to enhance your photos with PixPretty in just a few clicks. Explore AI-powered tools for color correction, retouching, and creative effects today.
Try PixPretty Now
Presets are categorized into: Color Presets, Portrait Presets, and Composite Presets.
Step 1 Account Input
Enter the email you used to register PixPretty here.

Step 2 Password Input
Enter the password you used to register PixPretty to log in. If you forgot your password, click "Forgot your password? below to reset it.

Step All Projects
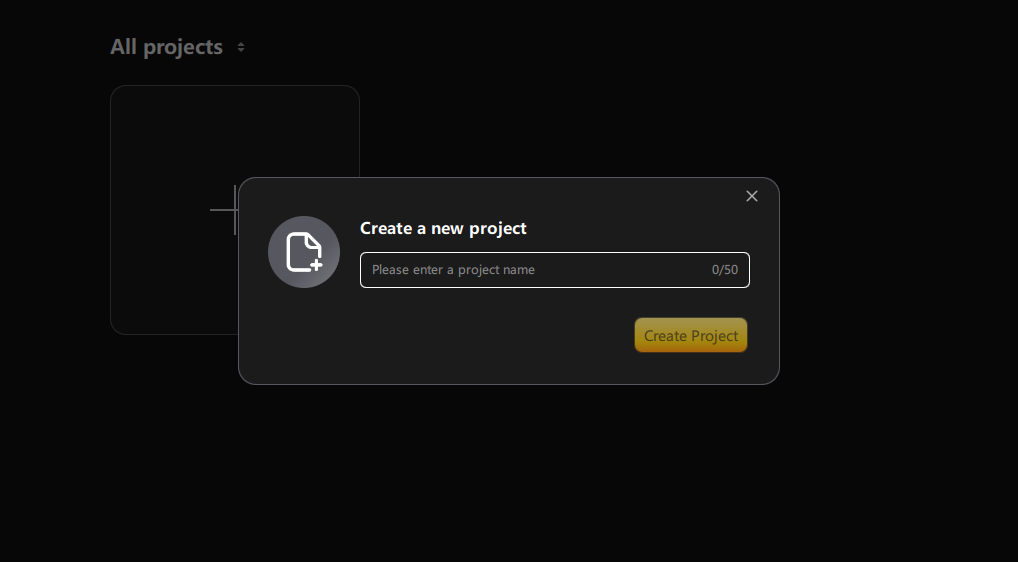
Includes creating new projects and managing local ones.


Area 1 Overview
Area 2 Toolbar
Includes zoom ratio adjustment, drag tool, and presets.
Area 3 Image Preview Area
Preview your retouched images in this area. Click the "Compare Views" button in the bottom-right corner to see a before-and-after comparison.
Area 4 Personal Panel
Area 5 Thumbnail Panel
View all thumbnails within the current project. Click the "+" icon to add more images, use the filter button to filter images by specific rules, or the sort button to arrange them accordingly. You can also mark images using star ratings.
Area 6 Function Panel
Switch between different feature modules and access sub-tools within each module in this area.

Area 1 Toolbar
Area 2 Thumbnail Area
Area 3 Metadata
Displays metadata information for the currently selected image.
Area 4 Presets
Use and manage your presets here.


1 Preset Types
Color Presets, Portrait Presets, and Combined Presets.
When applying multiple presets of the same type on a single photo (or applying a single-type preset followed by a combined preset), the final effect will be determined by the last preset applied. When applying presets of different types repeatedly, the final effect will be a combination of all presets applied.
Example: If you first apply a portrait-type “Texture Skin” preset, then apply a “Creamy Skin” preset, the effects from the “Texture Skin” preset will be overridden and only the “Creamy Skin” effect will be active. However, if you apply the “Texture Skin” preset followed by a color-type “Film - Blue Ice” preset, the effects of both presets will be stacked and combined.
Tip Multiple Presets
When applying multiple presets of the same type on a single photo (or applying a single-type preset followed by a combined preset), the final effect will be determined by the last preset applied. When applying presets of different types repeatedly, the final effect will be a combination of all presets applied.
Example: If you first apply a portrait-type “Texture Skin” preset, then apply a “Creamy Skin” preset, the effects from the “Texture Skin” preset will be overridden and only the “Creamy Skin” effect will be active. However, if you apply the “Texture Skin” preset followed by a color-type “Film - Blue Ice” preset, the effects of both presets will be stacked and combined.
Tip Edit
After finishing edits on a single photo, use the shortcut Control + C / Command + C to copy the adjustment settings. Then press Control + A / Command + A to select all photos, and finally use Control + V / Command + V to paste the settings, applying batch retouching.
When copying, you can select which effects to sync in batch, click “Save Settings,” and then use Control + V / Command + V to paste the effects to other photos.
Tip Save
You can also save the edited photo’s effects as a new preset, select all photos, and quickly apply this preset to all.
Was this page Helpful ?
Still Need Help?
Just contact our support team and we will reply to you within 24 hours on business days.
Contact Support
