How to Downgrade iOS 15 Beta to iOS 14 without Data Loss on Windows
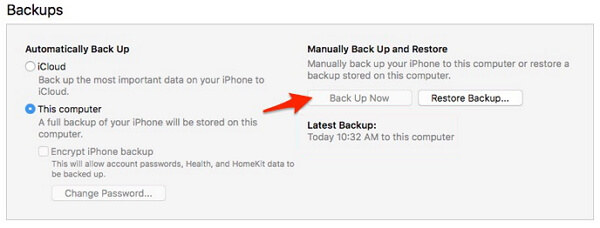
- Prior to downgrading iOS with ReiBoot, you need to back up your device data using iTunes.
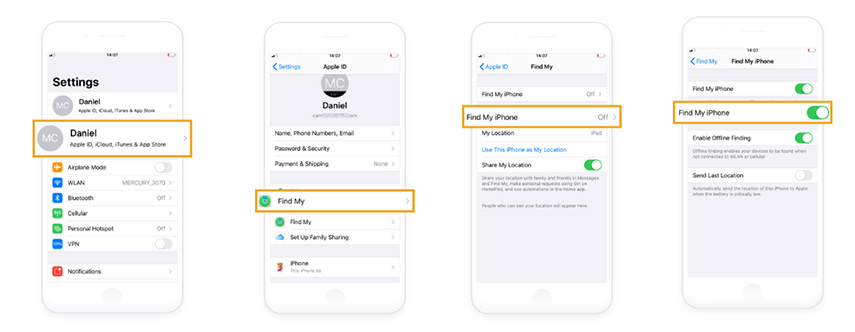
- To ensure a successful downgrade, turn off “Find My iPhone” on your device using the following instructions.
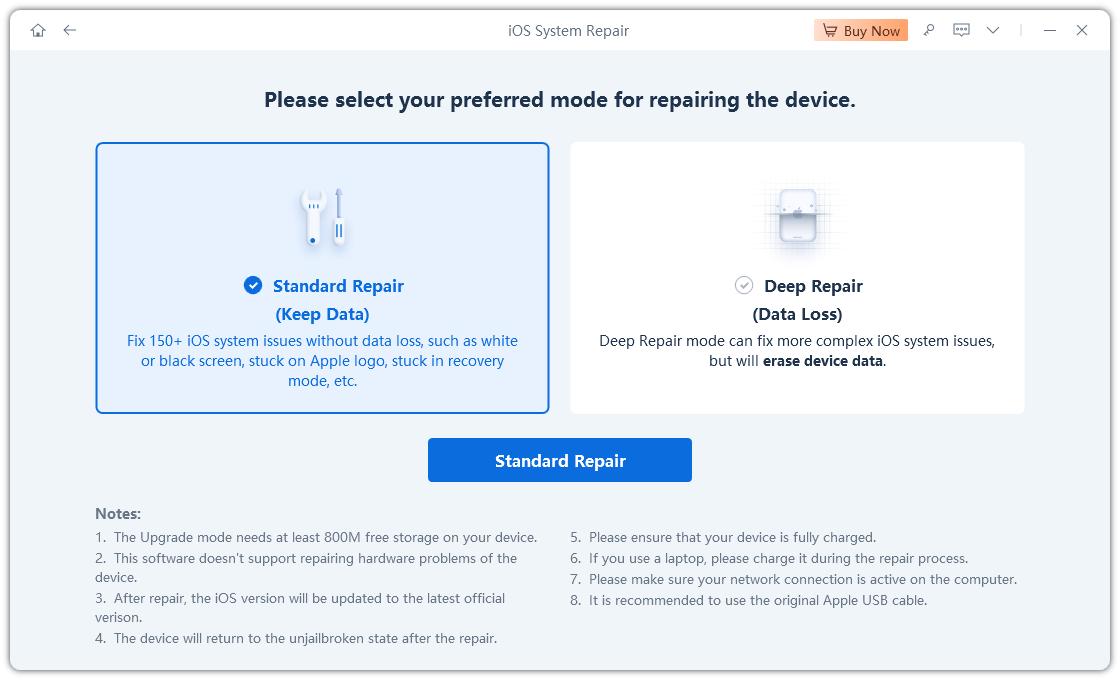
- After completing the above steps, return to ReiBoot to repair your iOS.
After the repair is complete, your device will be downgrade to the latest iOS 14 official version, and now, you need to find the directory where your device was backed up previously. To do that:
For installing iTunes from the Microsoft Store:
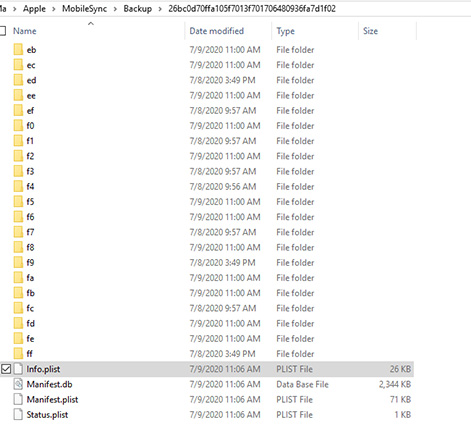
You can locate the previous corresponding backup directory under your account name by: C:\Users\Administrator\Apple\MobileSync\Backup.
 Note:
Note:Administrator represents the Windows Administrator Name set by yourself.
For not installing iTunes from the Microsoft Store:
You can locate this directory: %Appdata%\Apple Computer\MobileSync\Backup to find the previous corresponding backup.
- After locating the backup directory, find the file “info.plist”.
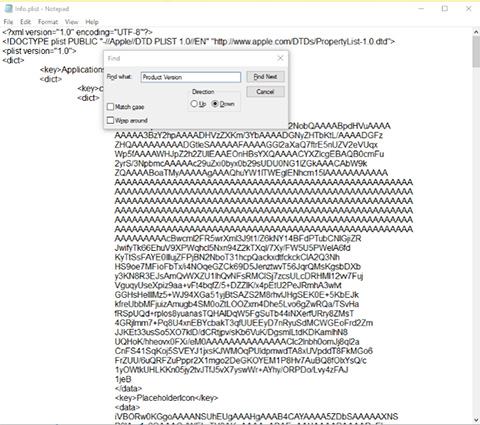
- Open the “info.plist” file in Notepad, use “Ctrl + F” to search for “Product Version”.
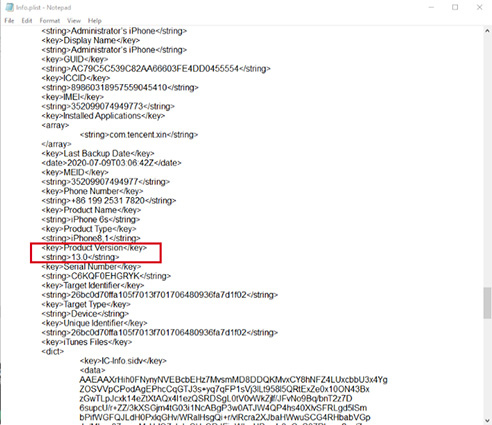
- Modify the version number from 15.0 to 14.0, save the file, and close Notepad.
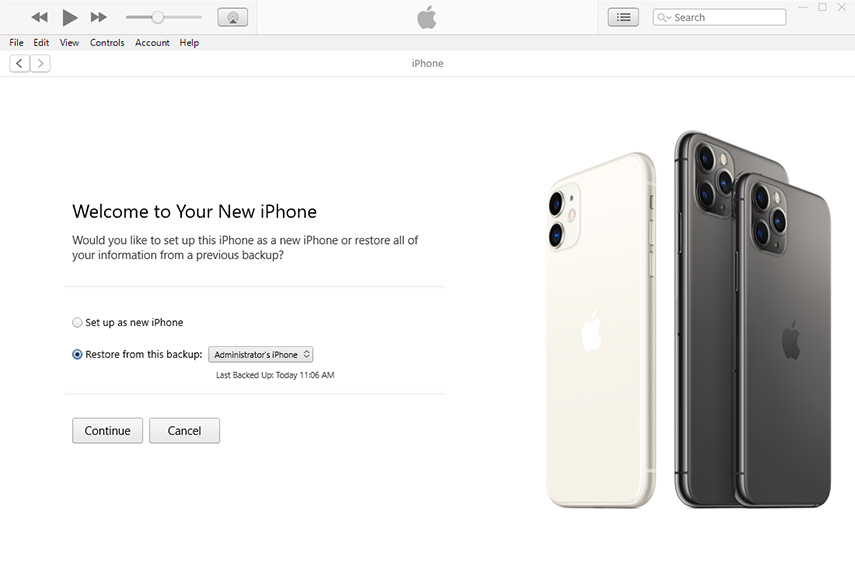
- Then re-open iTunes, the program will automatically detect the file you just backed up, click “Continue” to restore backup.
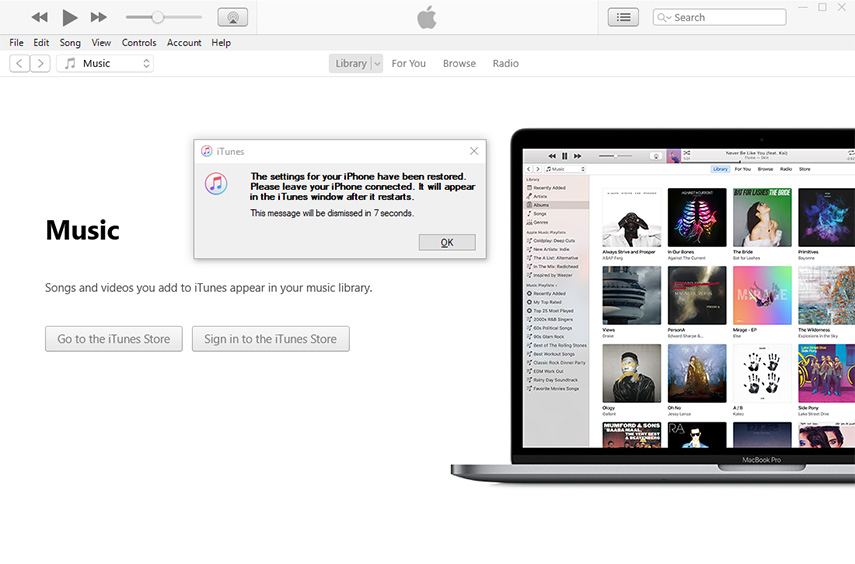
- After a few minutes, iTunes will confirm that your data has been restored successfully.
- After completing all steps, your device will be successfully downgraded to iOS 14 without data loss.

Note:
The process won't erase your device data.
