Everything about Mac Recovery Mode
by Anna Sherry Updated on 2020-01-13 / Update for OS X
Are you tired of trying to enter into mac recovery mode? Well, you are not alone. There are so many users who are unable to boot their Mac in recovery mode. People usually boot their Mac in recovery mode to wipe all the data of the device, trying to fix problem with disk or solving troubleshoot start up problem, downgrading their macOS and restoring from Time Machine backup. In this article, we will discuss everything about MacBook Recovery mode and how to boot Mac in Recovery mode. You will also learn about the different macOS utilities and key combination that are used for entering in recovery mode.
Part 1: How to Boot Mac in Recovery Mode
People boot their Mac in recovery mode for different purpose as recovery hard drive partition contain the version of macOS that has been installed on Mac which makes it easy to solve troubleshoot issue or the system problem.
Procedure on how to start Mac in recovery mode:
1. Turn ON your Mac or if it is turned ON then restart your Mac. In both the situation as soon as the Mac begin to start, immediately hold Command and R keys unless you don’t see an Apple logo or spinning globe.
2. If you see spinning globe that means Mac is starting macOS recovery through internet as it is unable to start from built-in recovery system.
3. Finally you will see Recovery Mode Utilities window on your Mac screen.
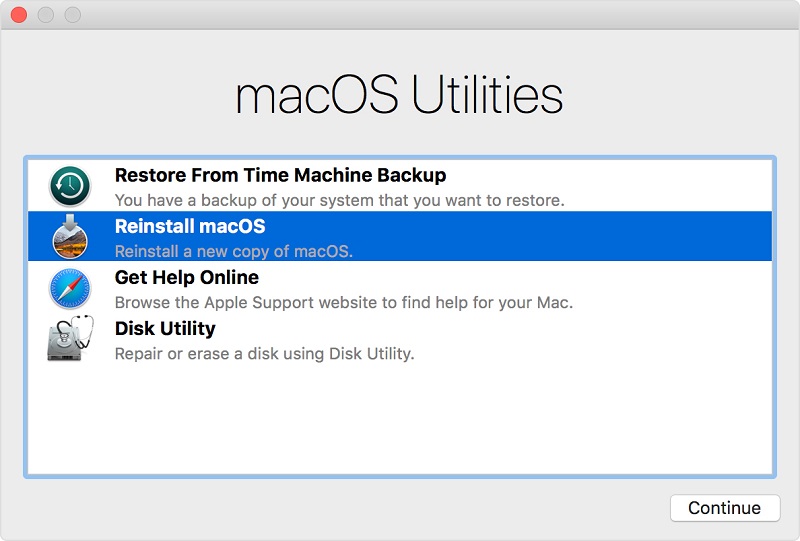
4. Select the option according to your preference.
Now you don’t need to ask anyone how to restart Mac in recovery mode. There are different key combination that can be used to boot in Recovery mode and it depends on your preference or what you want to do. Let’s see what are the keys combination and what are their use.
- Command + R: You can use this key combination to install the latest version of macOS that was installed on your Mac without upgrading to a later version. If your Mac is using OS X EL Capitan or older version then you should use Command + R which will make sure that the installation isn’t associated with your Apple ID.
- Option + Command + R: This combination key is used to upgrade to the latest macOS that is compatible with your Mac.
- Shift + Option + Command + R: This key combination will install the macOS that came with Mac or the version closest to it which is still available.
Part 2: What You Can do with macOS Recovery
There are 4 utilities that you will see once you are in Mac OS Recovery mode. So let’s see what are these utilities and how they work.
1. Restore From Time Machine Backup:
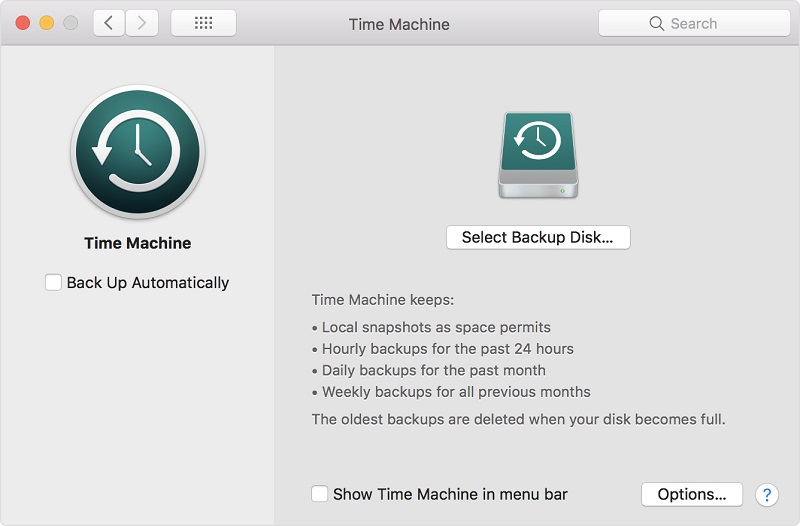
The first utility that you will see in Recovery mode is Time Machine Backup. This utility helps to restore your Mac from the external hard disk or Time Capsule that contains a Time Machine of your Mac. Time Machine is the built-in backup feature of Mac and it will erase the disk that you are restoring before receiving the macOS and other different contents of Time Machine backup.
2. Reinstall macOS (or Reinstall OS X):
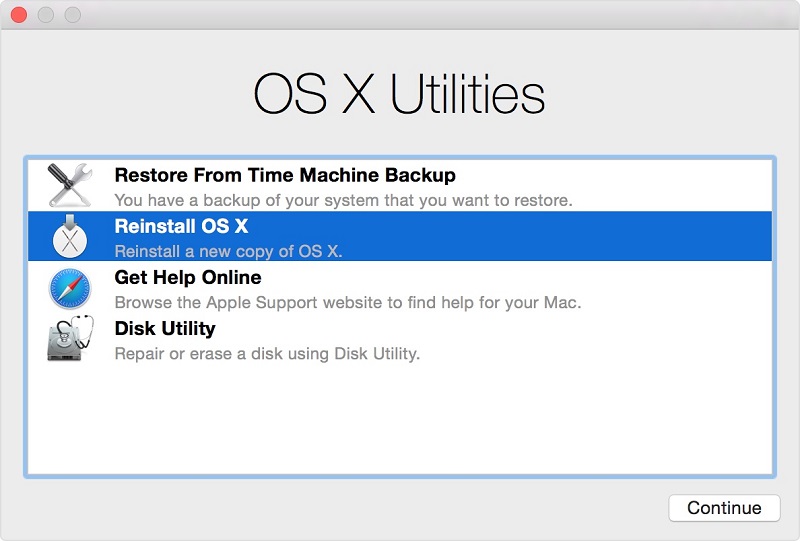
Using this utility you can easily download and reinstall the Mac operating system of your Mac. This utility fully depends on the key combination that you use while booting your Mac in recovery option. The key combination are Command + R, Option + Command + R, Shift + Option + Command + R whose detail are already mentioned above.
3. Get Help Online:
In this utility, you can get help online. Just use Safari browser to browse the web and search help for your Mac. There you will also see a link of Apple's support website which might help you to solve your issue. Browser plug-ins and extensions are disabled.
4. Disk Utility:
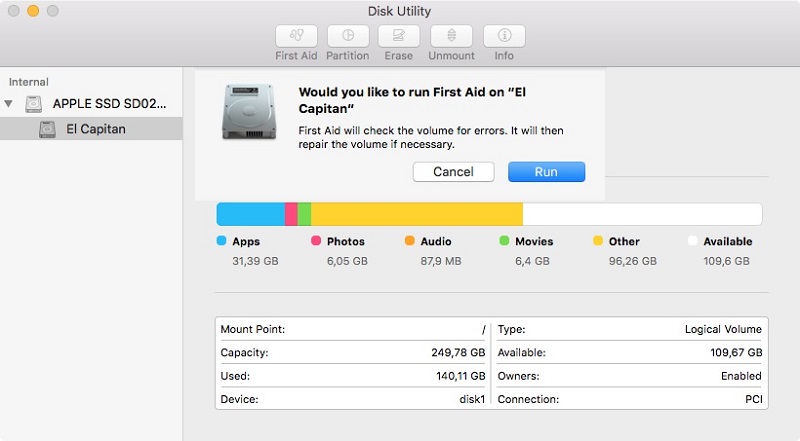
This is the fourth utility option that you can see on your recovery mode screen. Using disk utility you can repair or erase your startup disk or other hard drive. You can even fix some disk problem like multiple apps quit unexpectedly, external device not working properly, file is corrupted or your computer won’t start up.
Some of the additional utilities that are available from the Utilities menu in the menu bar are given below:
- Firmware Password Utility
- Network Utility
- Terminal
In this article you learned how to boot into recovery mode Mac and what can you do after entering in recovery mode. If you have accidently deleted photos from Mac then you should better try Tenorshare Any Data Recovery for Mac, which works perfectly fine to recover your photos. This tool doesn’t limit there, it can recover various other files like music, video, documents, system files etc and the best part about this tool is, it easily recovers files from internal/external hard drive, USB drive, memory card, and other storage device. So you should definitely go for Any Data Recovery if you lose any file on your system or other removable device.
Feel free to comment below and let us know if you have any query related to this topic. Your feedback will be highly appreciated.
- Recover data deleted, formatted or lost on Mac;
- Restore files from hard drive and external storage devices;
- Recover data from failed/crashed/dead MacBook;
- Fully supported latest macOS 10.15 Catalina;
