Four Ways to Fix iTunes Error 310 When Connecting to iTunes Store
by Jenefey Aaron Updated on 2024-04-18 / Update for iTunes Tips
“I keep getting an iTunes error 310 when I try to sign in. Says that I’m not connected to the internet but I am. Is there anyone can fix the issue? ”
“I cannot get connect to iTunes store, error 310 always shows up, what can I do?”

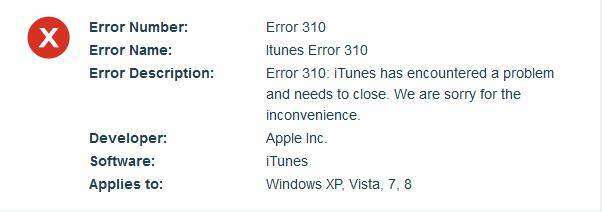
How to solve iTunes error 310? This could be caused by a variety of factors like corrupt download or incomplete installation of iTunes software, Windows registry from recent iTunes-related software changed and so on.
We’re here prepared four common and effective ways, which have helped many people experiencing iTunes error 310.
Here is fast way from Apple Communities that has helped many users fix iTunes error 310.
Way1: Set the Internet Explorer
When you get iTunes error 310 when connecting to iTunes store, you should check whether the other browsers like Google and Mozilla can function normally. If they can but the iTunes cannot connect, it could be a problem with the connection with Internet Explorer.Here are some specify settings you should do.
- Open up Internet Explorer and you'll probably get a "Poxy Server Isn't Responding" message.
- If that's the case, go up to "Tools" in the browser tool bar select "Internet Options".
- In "Internet Options" window that pops up, click the "Connections" tab at the top. Click "LAN Settings" near the bottom of the section.
- If the "Proxy server" checkbox is marked with a check, click to uncheck it.
- Click "Ok" to close the "Local Area Network (LAN) Settings" window. Click "Ok" to close the "Internet Options" window
- Either refresh the page or close and re-open Internet Explorer, it should be working now.
Way2: Turn off Parental Control
This is another powerful way that has gained many users’ recognition and it’s been proved to be very efficient to fix the issue.
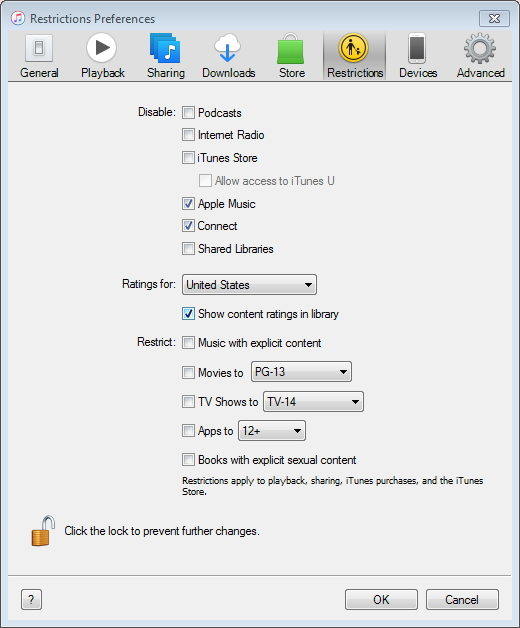
- Launch iTunes. Open iTunes Preferences dialog box. (Alt Key > Edit menu > Preferences option).
- In the dialog box that opens, click the Restriction tab. Disable access to iTunes Store by checking the box labelled as “iTunes Store”.
- The grey colored “Allow access to iTunes U” checkbox will be automatically enabled. Select it.Click OK, exit and reopen iTunes.
- You’ll now be redirected to iTunes U. Repeat Steps # 2-3 above; uncheck the “Allow access to iTunes U” box and save changes. Exit & re-open the program. In case you aren’t redirected, skip this step.

Way 3: Check and Solve the Internet Connection Issue
If you’re not quite sure whether the internet is fine, you can check the internet connection and solve the issue by the following steps.
- Check whether your Wifi router is in range.
- Check the signal strength. Open your Router Configuration page that typically looks like 192.168.X.X
- Reset your Wifi Router while it is turned on. Unpack the device, press and hold the small Reset button for 5-10 seconds. You’ll then need to re-login with the default login configuration.
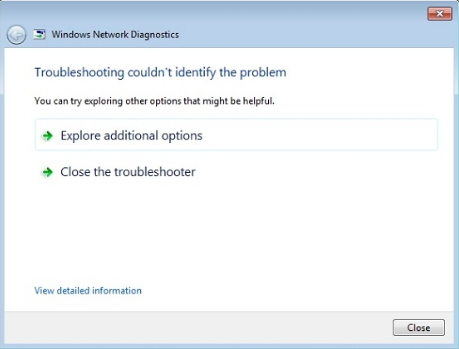
- Use the Network Diagnostic wizard. In the Search Box on your taskbar, type and open the “Troubleshooting” keyword.
- When it opens into Control Panel window, click Network and Internet icon. Try both Internet Connections and Network Adapter categories to sort out any issues that result into iTunes error 310. If that doesn’t help, please switch to 3G or use another available Wifi.

Way 4: Unblock iTunes from Hosts File
The Hosts file may be blocking iTunes. Resetting it to system defaults may fix iTunes error 310.
- Run Notepad as Administrator. Type “Notepad” in the Search Box of your Taskbar. In the Search Results, right click Notepad, choose Run as administrator. You cannot modify the Hosts file without adequate Administrative permissions to Notepad.
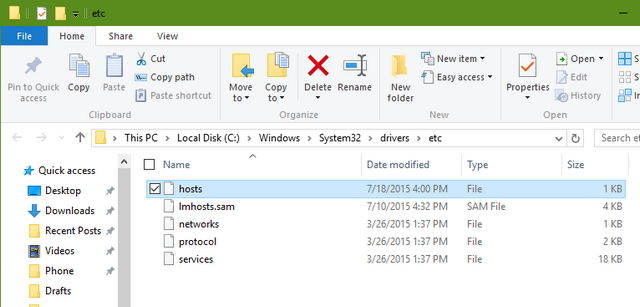
- Press Ctrl + O, locate this file:
- C:\Windows\System32\Drivers\ETC\HOSTS
- Click File | Save as. Name the backup as “HOSTS_BACKUP” and store it on your Desktop.
- Repeat Step # 2.
- Select all (Ctrl + A) and delete all text (Del).
- Save the file (Ctrl + S).
- Exit Notepad and restart the system.

If the error message persists after restarting the system, please restore the HOSTS backup file, rename it as HOSTS and then replace the original file. After that, the error 310 won’t appear anymore.
Hope the above ways can help you sign in your iTunes account and connect to iTunes store. If you want to back up your files, Tenorshare iCareFone can help you store all backups separately on computer. It can back up data in different times while iTunes can only back up the newest data.

