How to Completely Wipe A Windows 10/8/7 Computer?
by Jenefey Aaron Updated on 2021-09-07 / Update for Data Recovery
Wiping a hard drive typically means deleting all the information on the drive. Just deleting everything on your drive doesn’t wipe a hard drive or formatting doesn’t always completely wipe out a hard disk either. You will definitely need some extra steps to properly wipe out a Windows 10/8/7 computer completely. So, the inevitable question arises “How to wipe a computer and erase everything effectively?” In this article, we will elaborate on the wiping out process so that you can do a proper reset of the hard disk on your computer and start afresh. So, let’s get started.
- Part 1: How to Completely Wipe Windows 10?
- Part 2: How to Completely Wipe Windows 8?
- Part 3: How to Completely Wipe Windows 7?
- Bonus: How to Recover Deleted Data from Windows 10/8/7
Steps to Erase the Hard Drive on a Windows 10/8/7 Computer
As, the operating systems are different in terms of overall working process, the procedures are a bit different for different versions of Windows as well. But nothing complicated when it comes to a typical question like “How to erase a hard drive totally?” So, if you want to know how to clear a computer, follow the steps below carefully for each of the versions.
Part 1: How to Completely Wipe Windows 10?
1. First, go to the Start menu on your Windows 10 computer.

2. Now, tap the Settings option that typically depicts a gear icon.
3. Inside the Settings Window, choose the option “Update & security”.

4. Choose Recovery from hand side panel.

5. Simply tap the Get Started button inside the “Reset this PC” tab.
6. Now, you have either choose between two options: 1. Keep my files and 2. Remove Everything. If you want to keep your personal data, opt for 1 and if you want to wipe out everything choose the latter.

7. Just follow the onscreen prompts from now onwards to get started with the recovery process.

After the process ends, your Windows will be completely reset, erasing everything. This is how to wipe a hard drive on Windows 10 computers.
Part 2: How to Completely Wipe Windows 8?
1. First and foremost, press and hold the Windows key along with "C" on the keyboard to open the Charms menu.
2. Select Search and enter “reinstall” inside the field. Don’t tap enter!
3. Now, choose Settings

4. Select “Change PC Settings”.

5. Tap “Remove everything and reinstall Windows” option on the left-hand side of the panel.

You will the "Reset your PC" option. Tap Next.

7. Now, you will get a screen which will say "Do you want to fully clean your drive". Here choose “Just remove my files” for a quick deletion or go for “Fully clean the drive” option to have everything erased.

8. Tap Reset when you see "Ready to reset your PC" screen.

The hard disk on your Windows 8 computer will be erased completely. So, now you know how to completely wipe a computer running on Windows 8.
Part 2: How to Completely Wipe Windows 7?
1. For Windows 7, you will need a restore disc or an original Windows 7 installation disc.
2. Now, before proceeding, make sure your computer is preset to boot from your CD drive.
3. Put in the Windows 7 restoration disc in the CD-ROM drive and let the computer restart.
4. When you see this prompt: "Press any key to boot from CD," just press any key on your keyboard.

5. Tap Enter right at the Windows Setup screen.

6. Now when prompted, again press any key on the keyboard.
7. Select Language and choose your Preferences accordingly and tap Next to proceed.

8. Accept all the terms and conditions in the Agreements page and again tap Next.

9. Now, inside the Installation Type screen, carefully select Custom.

10. Choose Drive options. This is the advanced menu.

11. For your required Disk 0, wipe out all partitions.

12. When all the partitions are deleted, you will see “Unallocated space”.

13. Tap on Disk 0 and again tap Next.

14. Wait for your PC to restart after following the onscreen prompts.
The whole Windows installation program will start off by making a brand new partition. Then it will format the partition, and later install Windows on your hard disk. This whole formatting process will wipe out your entire hard drive before installation of Windows 7. This process is also applicable for Windows Vista as well. You will only need a Vista installation disc and everything is the same. So, this is how to delete everything on your computer running on Windows 7 or Vista.
Bonus: How to Recover Deleted Data from Windows 10/8/7?
Sometimes we may accidently deleted what matters to us without finding them from Recycle Bin. In this case, a professional data recovery tool like Tenorshare 4DDiG can easily help you out. 4DDiG supports to recover 1000+ file types including audio, video, music, documents, contacts and more across Mac and Windows OS as well. Apart from supported formats, it can selectively recover data with the help of its one of a kind Preview feature. Overall, it is a great tool that offers value to the users. For how to use Tenorshare 4DDiG to recover deleted data from Windows, follow the steps below:
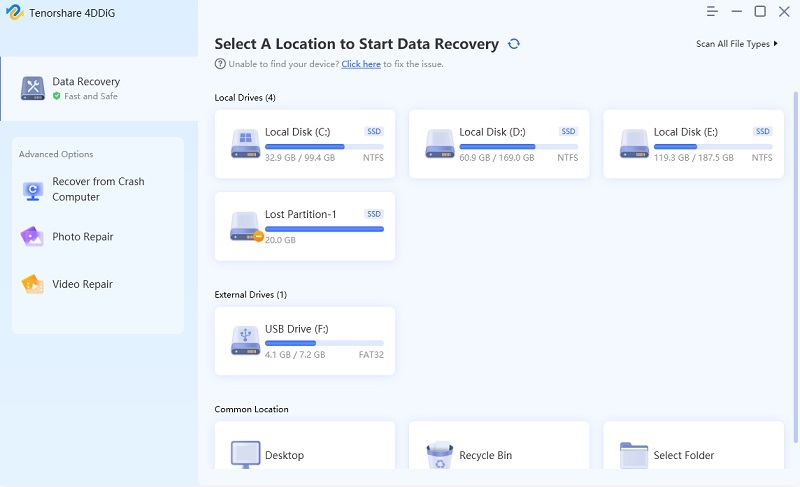
- Download and install Tenorshare 4DDiG on your Windows PC and run it. Select a location where you lost your files and click Scan to proceed.
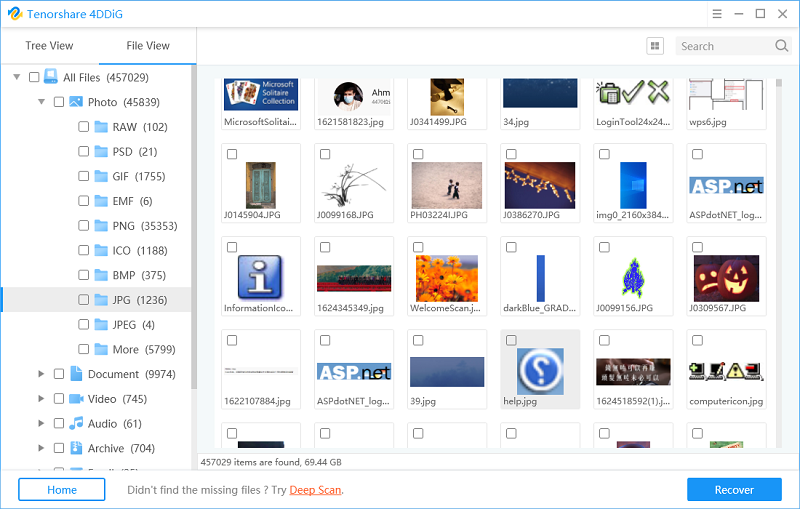
- It should take a while for 4DDiG to scan out all deleted data from the selected drive. After the scanning, you can preview to find target files.
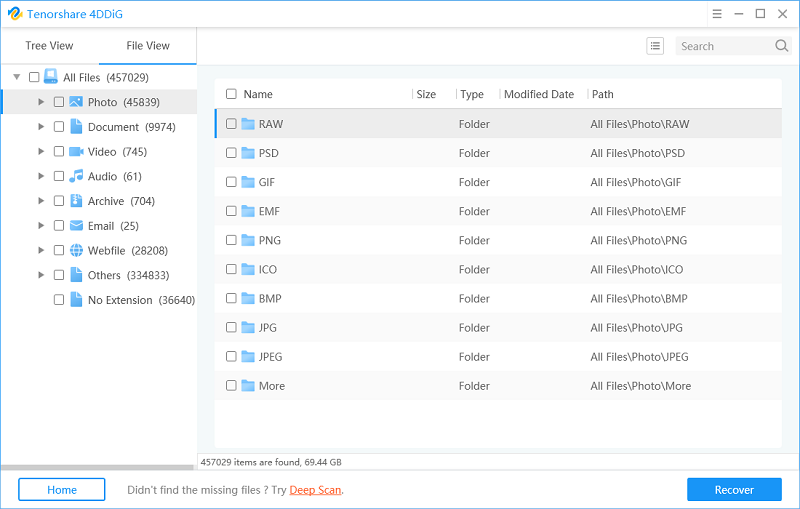
- Finally, you can choose desired files and click Recover to save them to a safe location.


Conclusion:
So, here is the complete step by step guide on how to clear a computer running on Windows 10/8/7. Keep in mind, restoration of your computer will erase all your information of your hard drive and it will just act as new. So, once it is completed, you can’t reverse the process. So, it is better you go for a backup beforehand in case you have some precious data on your disk. In case, you have lost some important data while formatting or just accidentally, we highly recommend you to go for a professional data recovery tool like Tenorshare 4DDiG Data Recovery.

